User Permission in Subnets
This guide walks you through the process of adding a user group within a subnet in LightMesh. User groups help manage permissions and access for multiple users, allowing you to control who can view or modify resources within the specified subnet. By organizing users into groups, you can streamline administrative tasks and enhance security, ensuring that only authorized personnel have access to sensitive network information.
1. Introduction
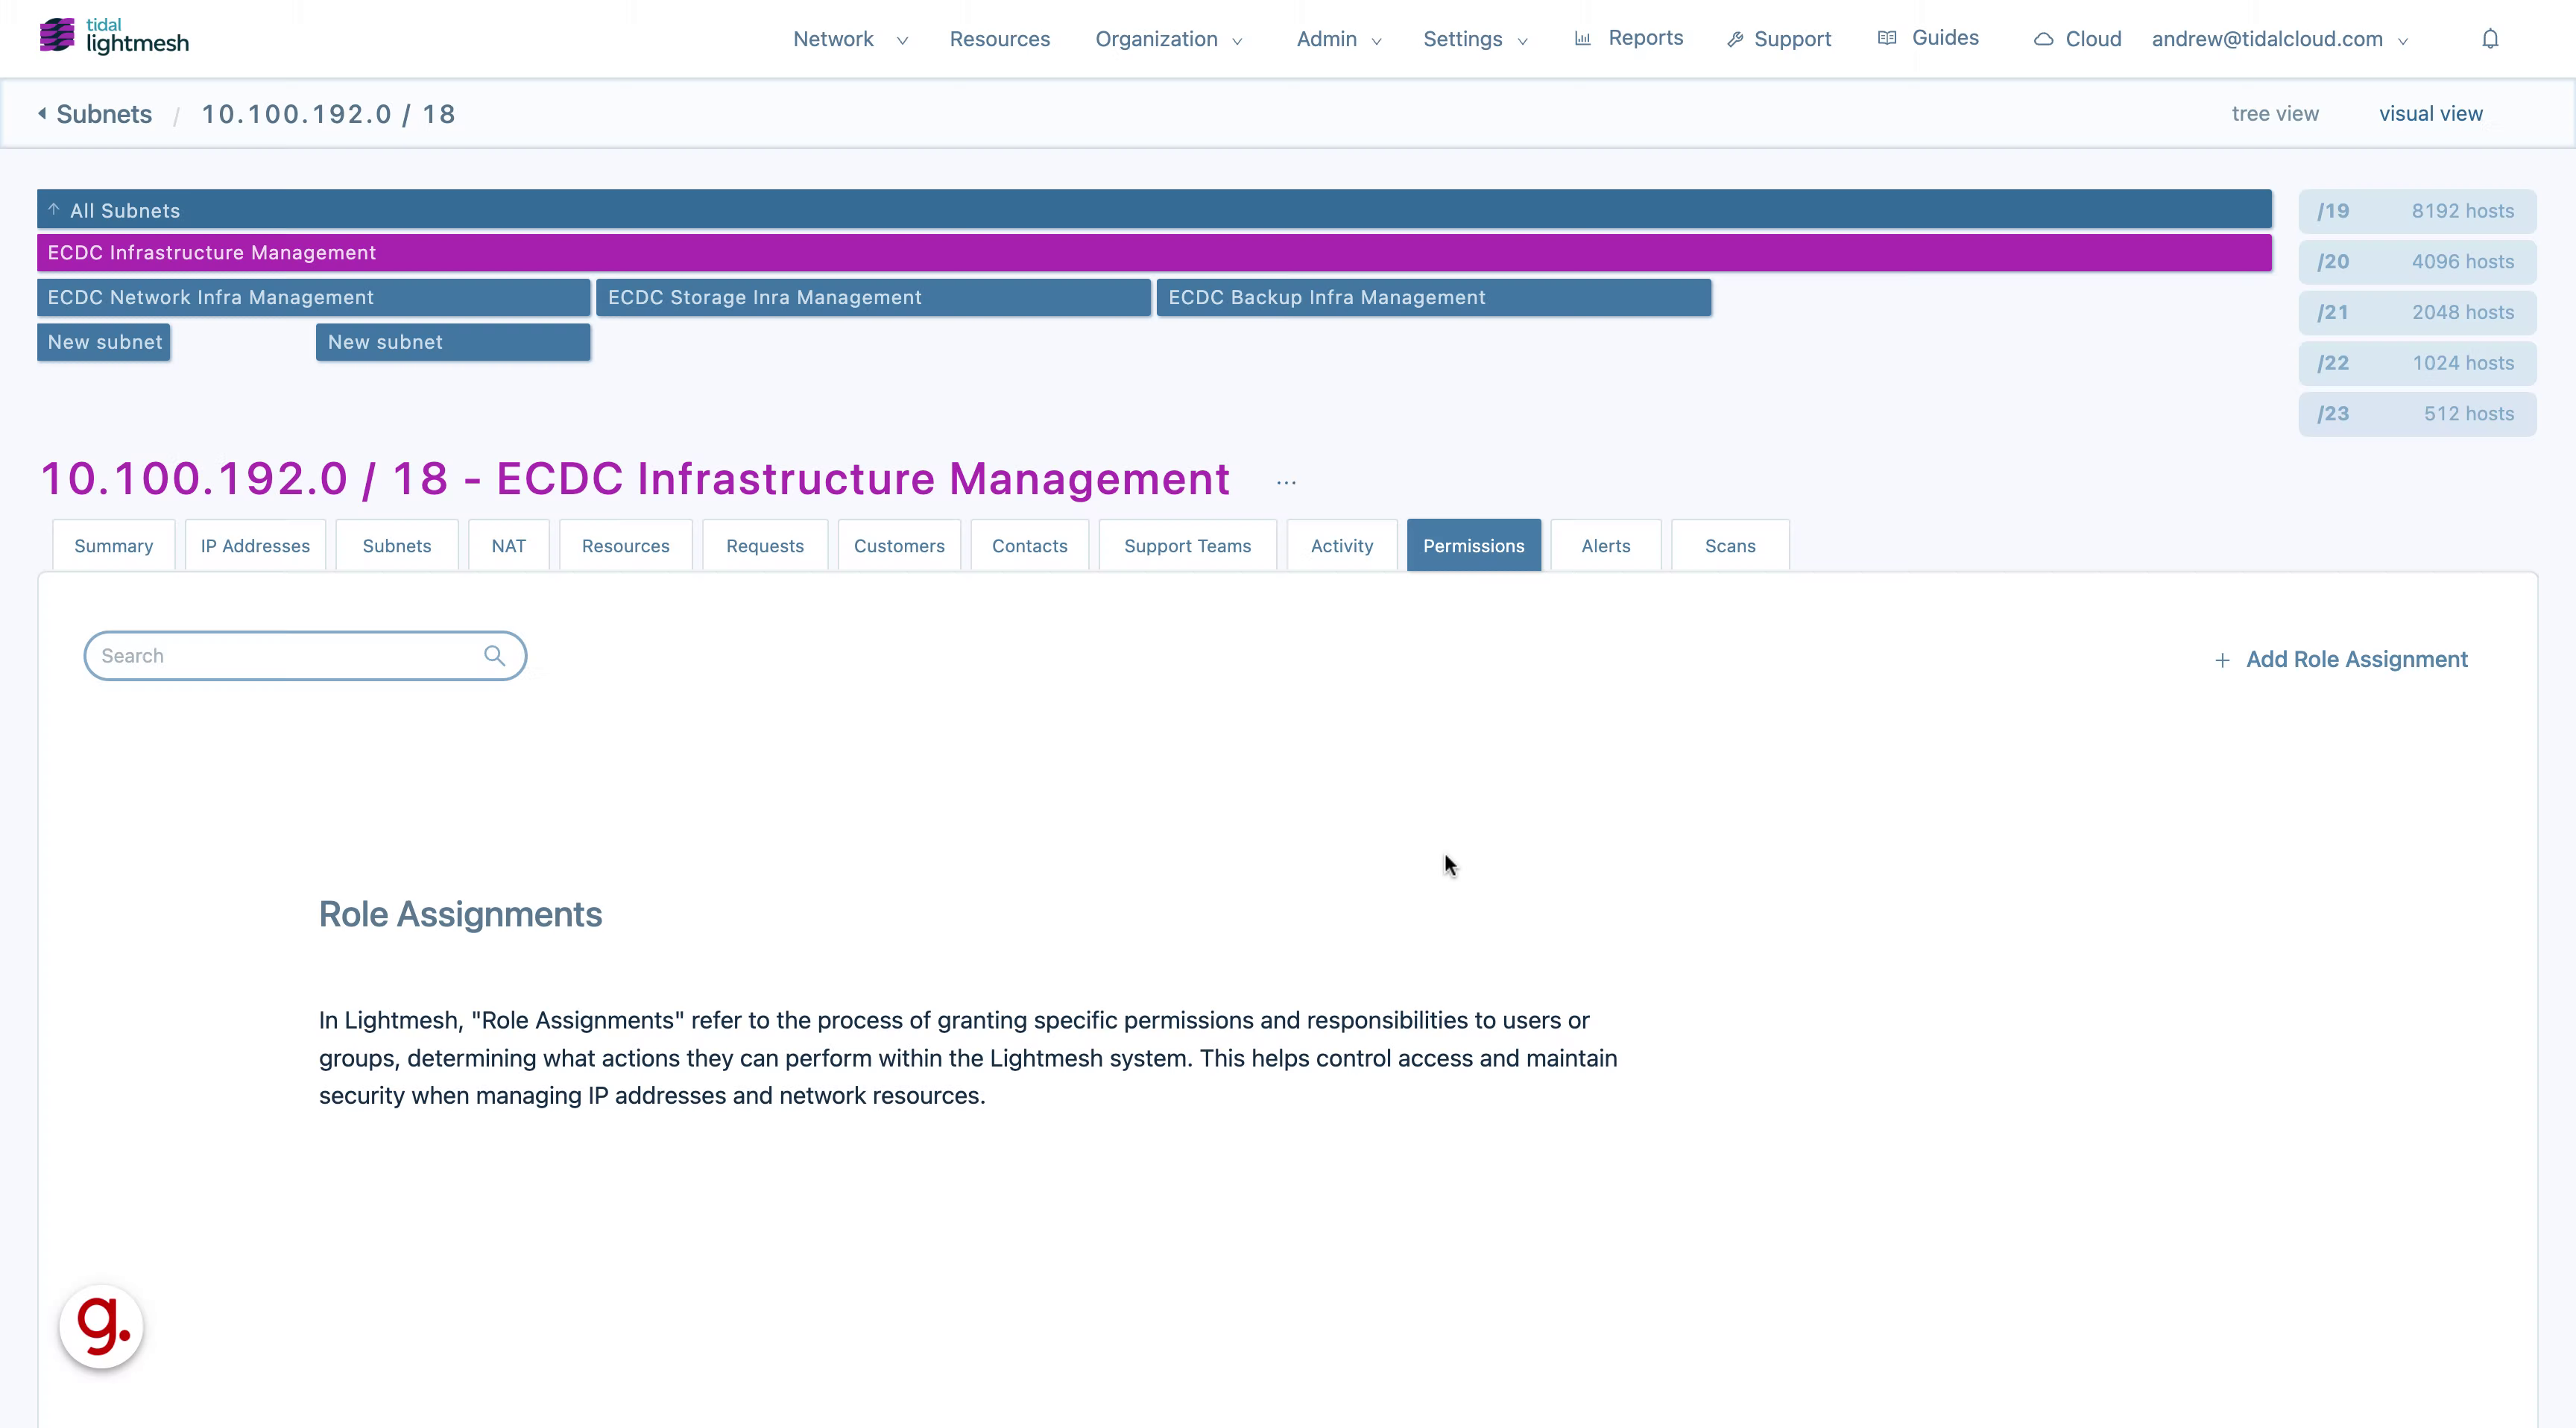
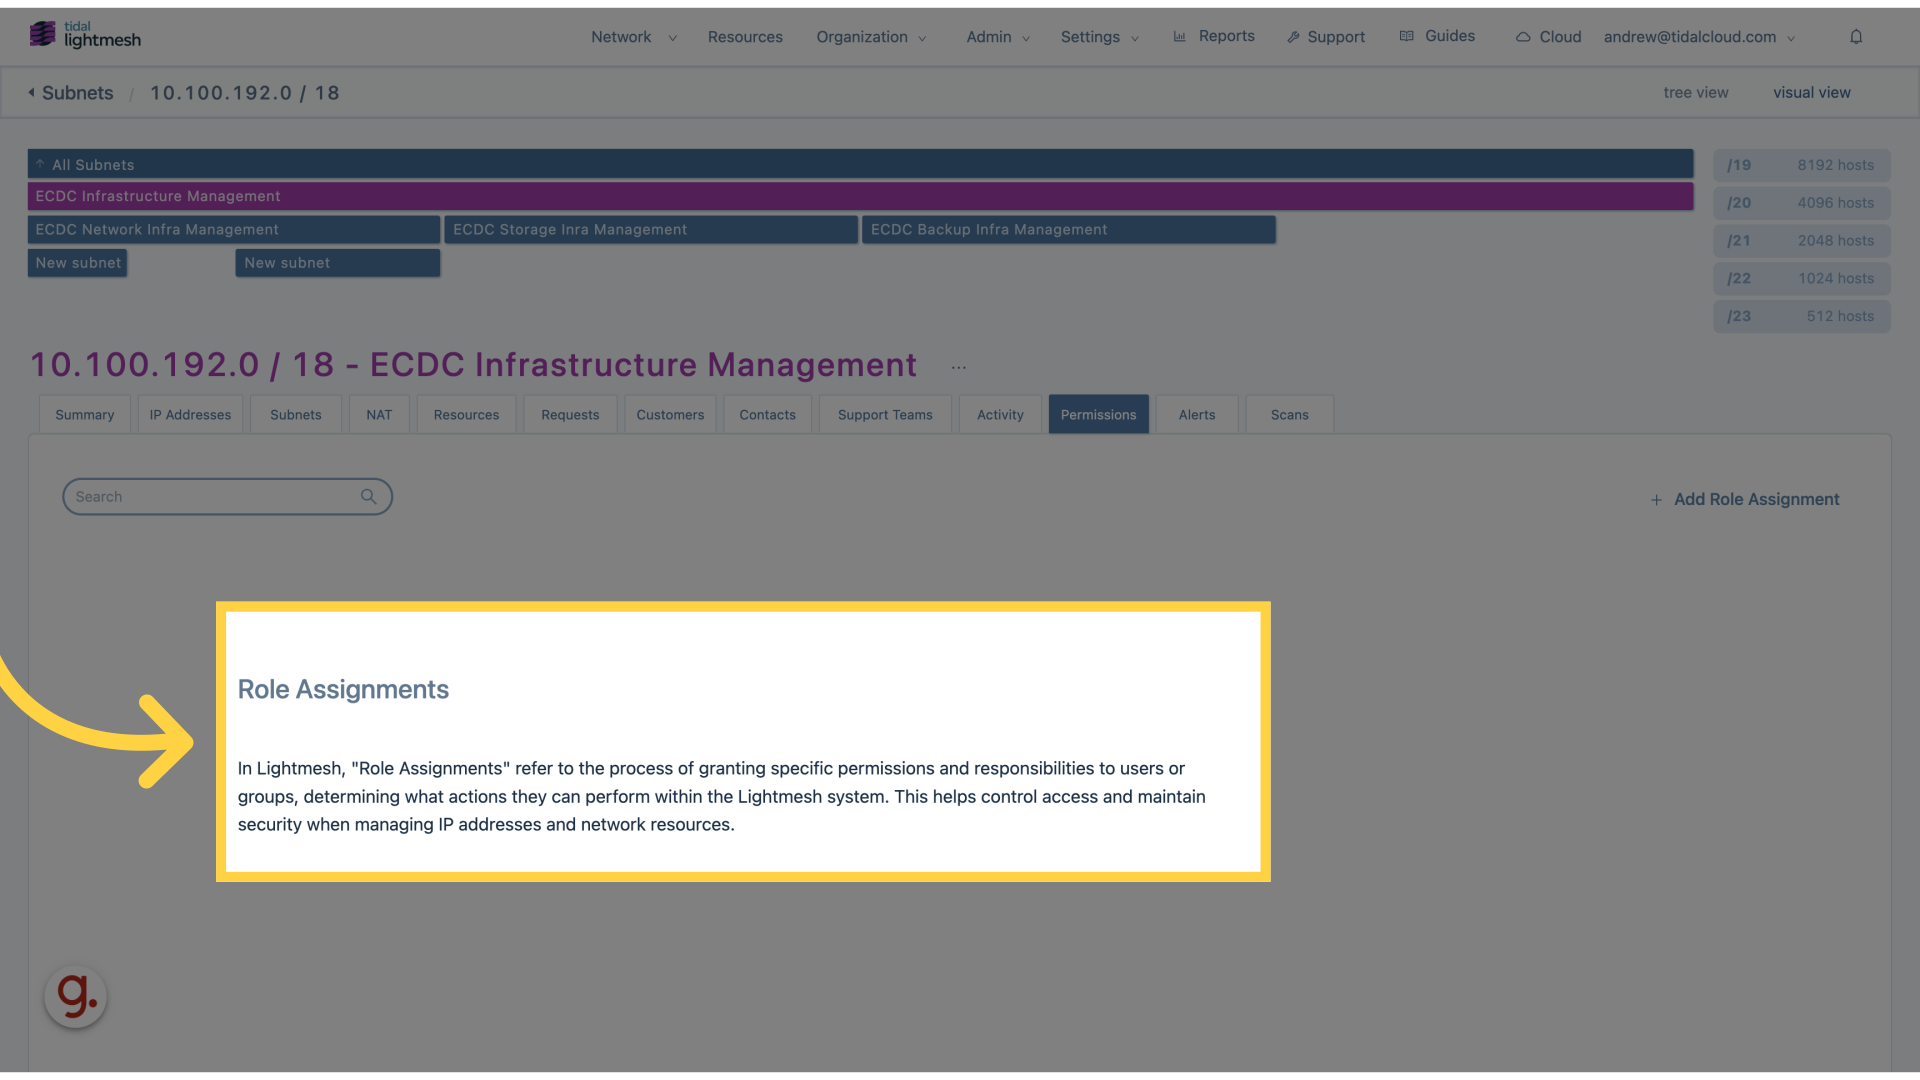
2. Click “Role AssignmentsIn Lightmesh, “Role Assignments” refer to the process of granting specific permissions and responsibilities to users or groups, determining what actions they can perform within the…”
Access the Role Assignments section to manage permissions.
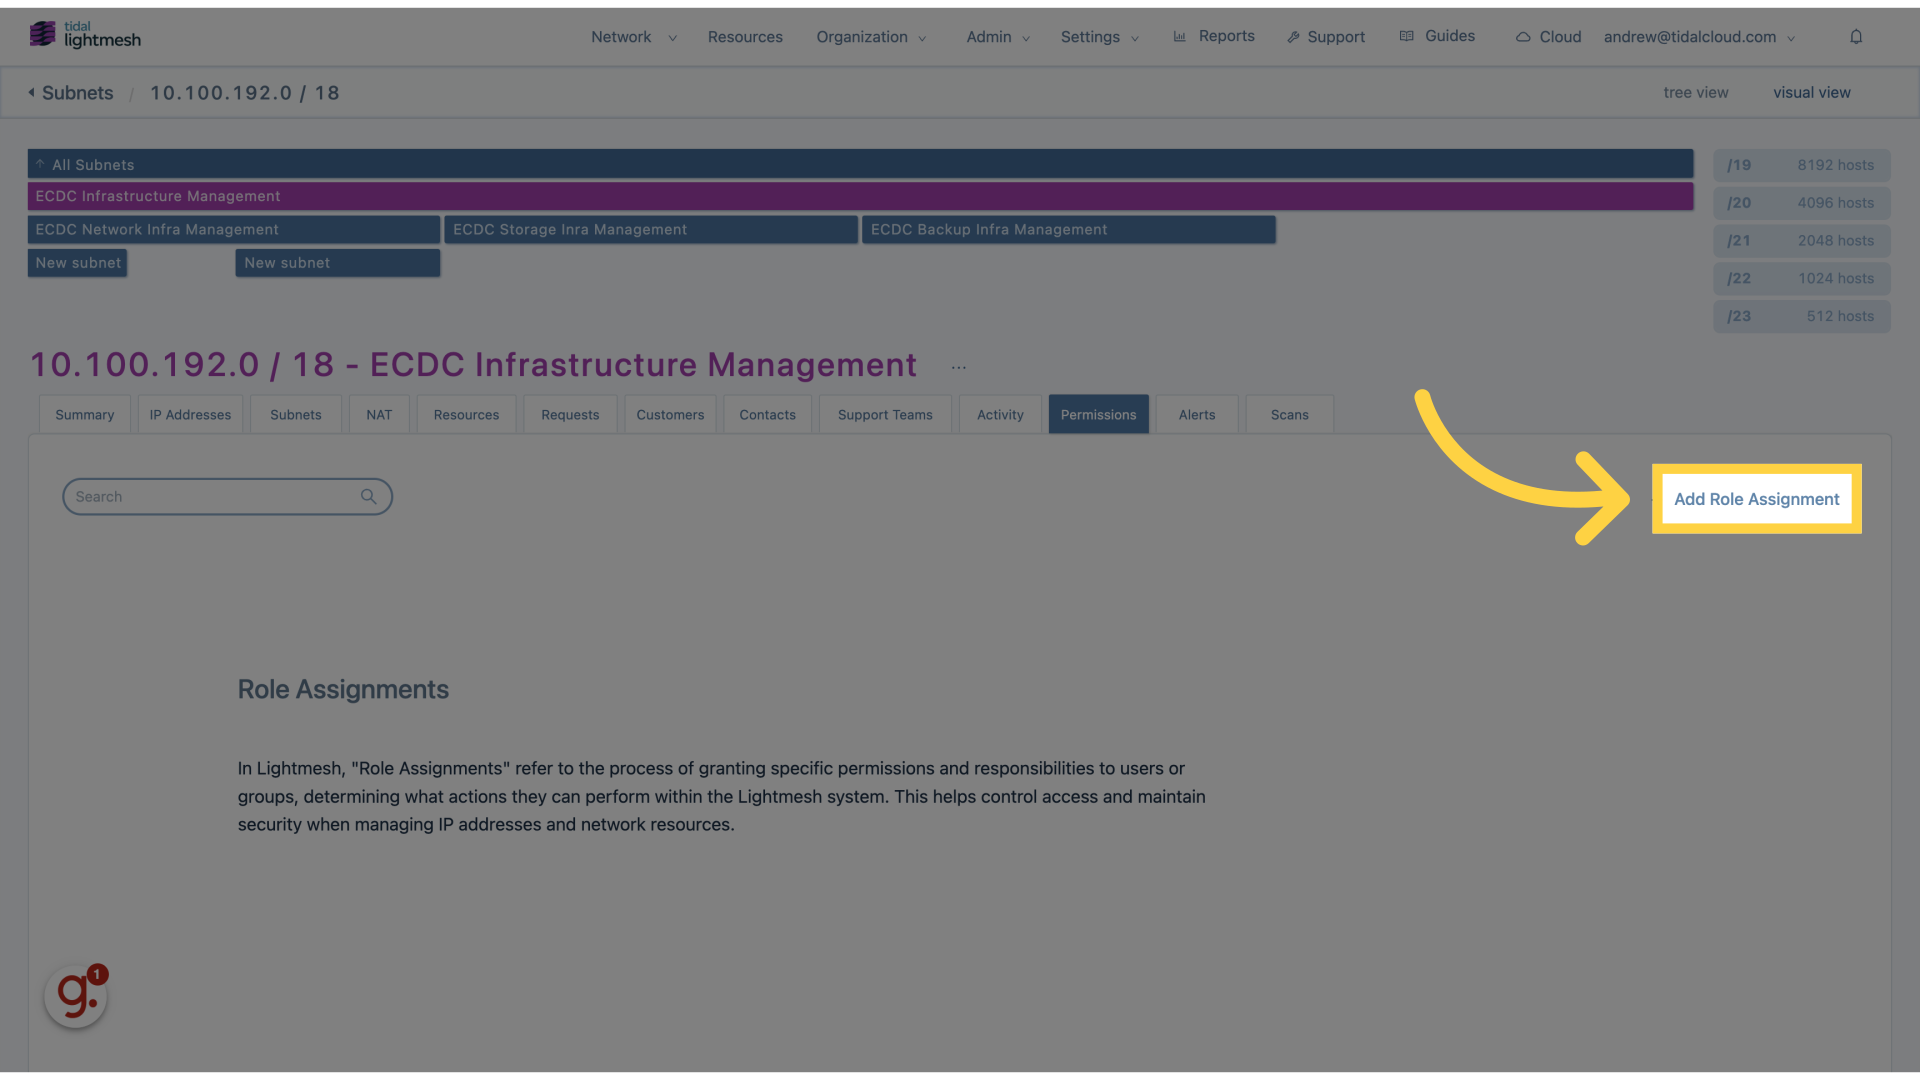
3. Click “Add Role Assignment”
Add a new role assignment for users or groups.
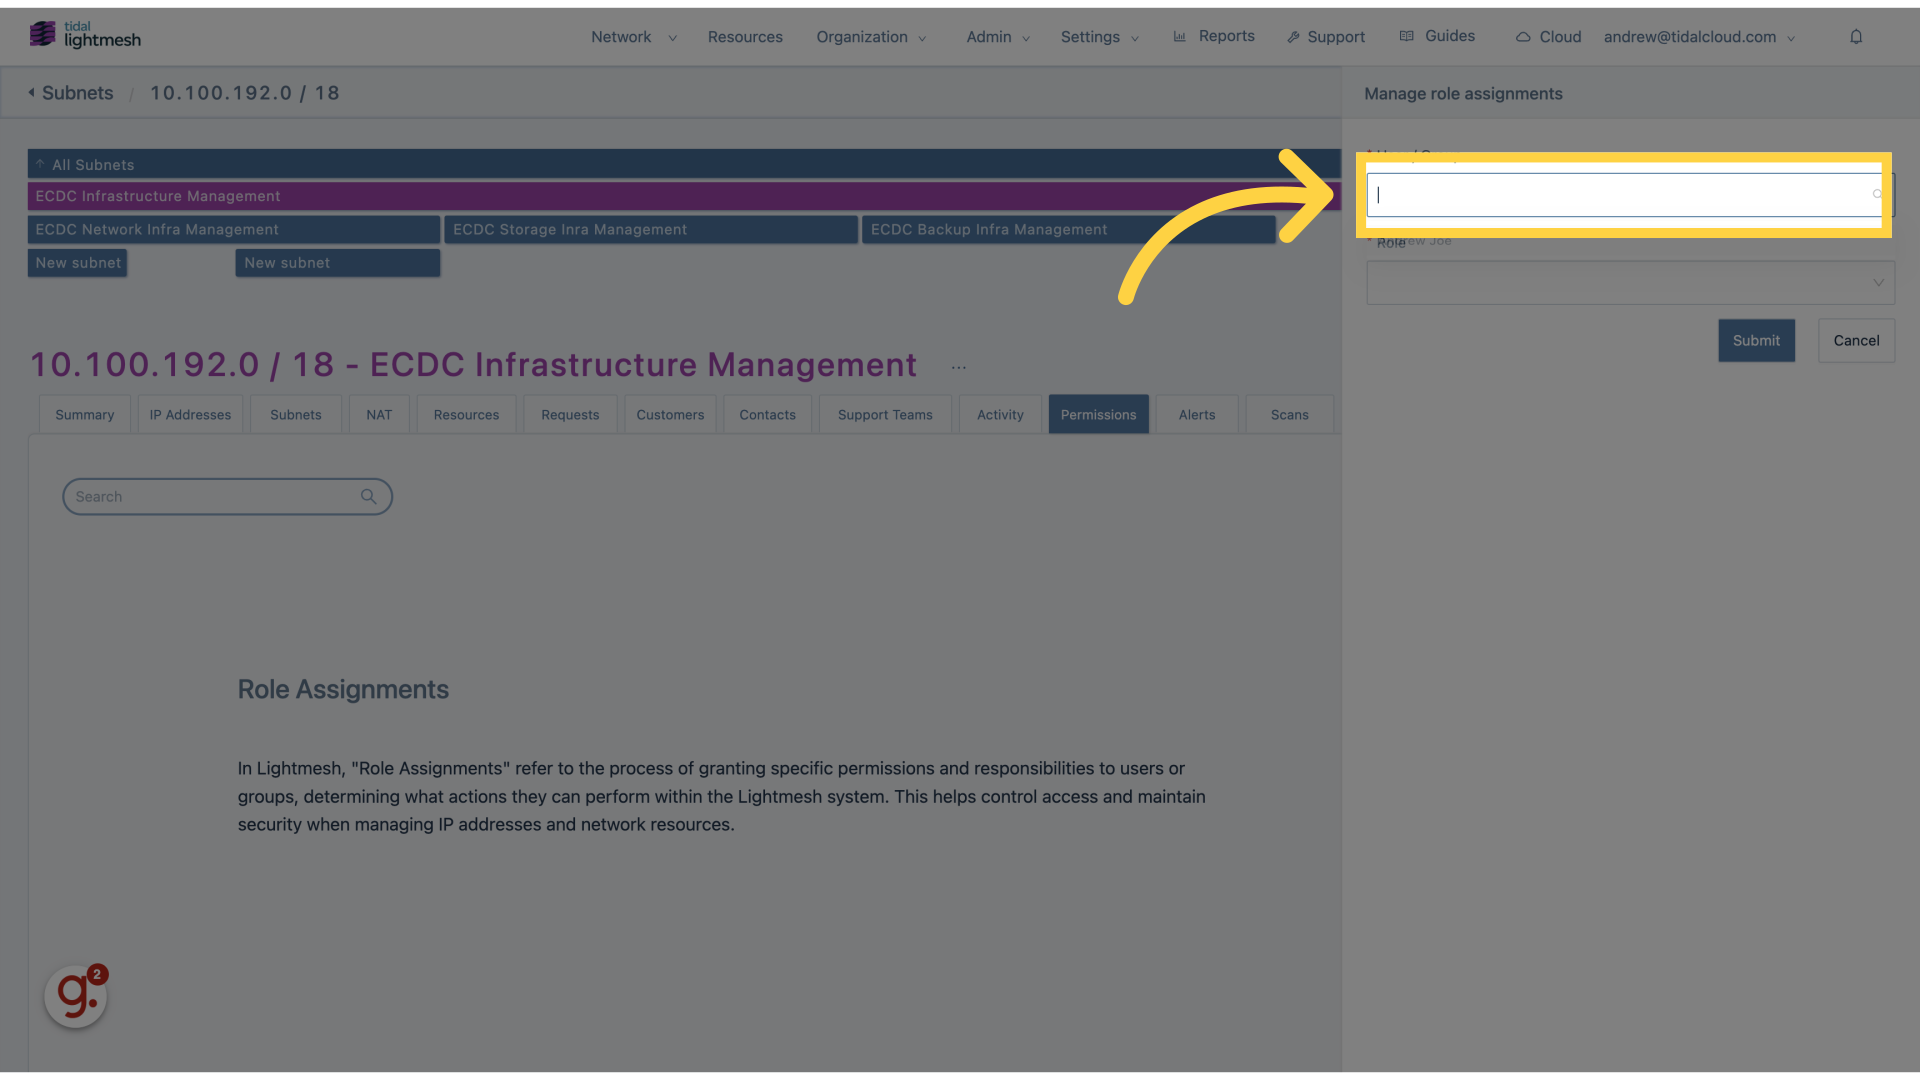
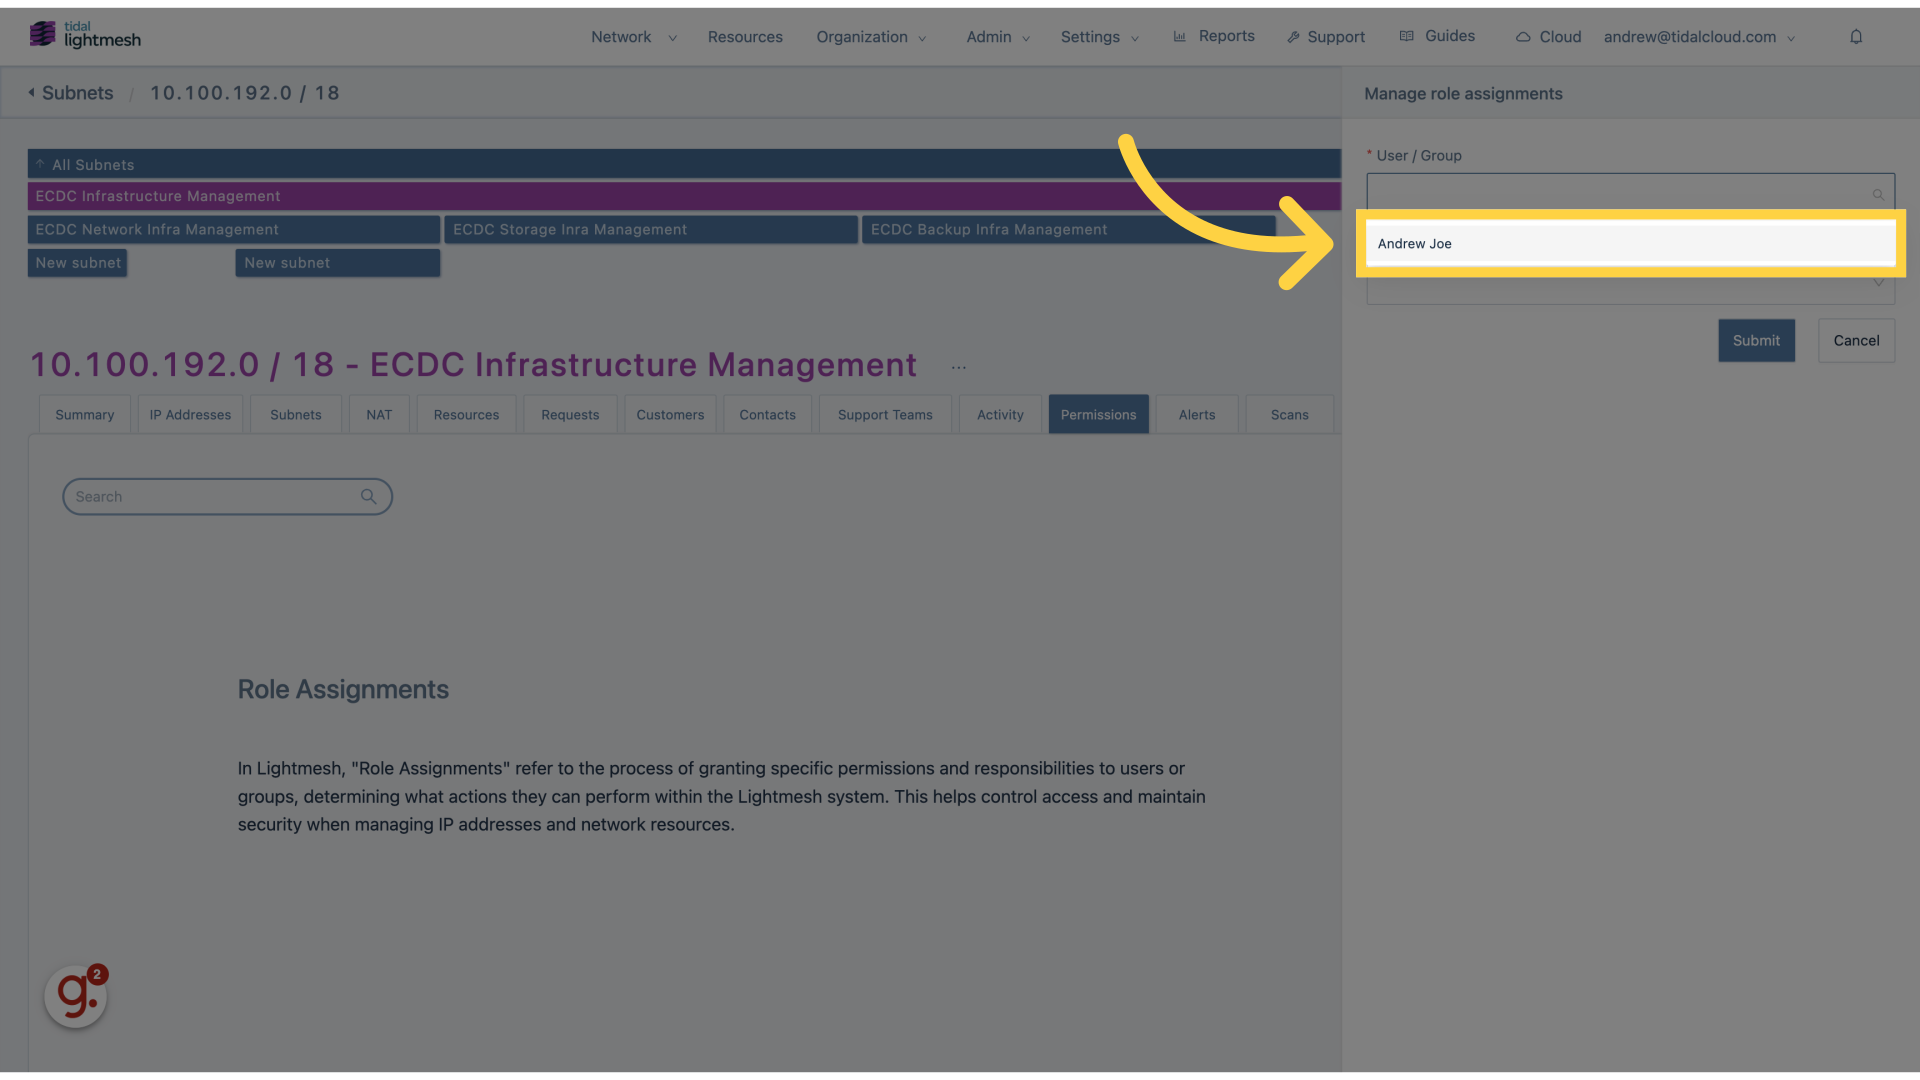
4. Click “User / Group”
Select the User or Group you want to assign roles to.
5. Click “Andrew Joe”
Choose the specific user “Andrew Joe.
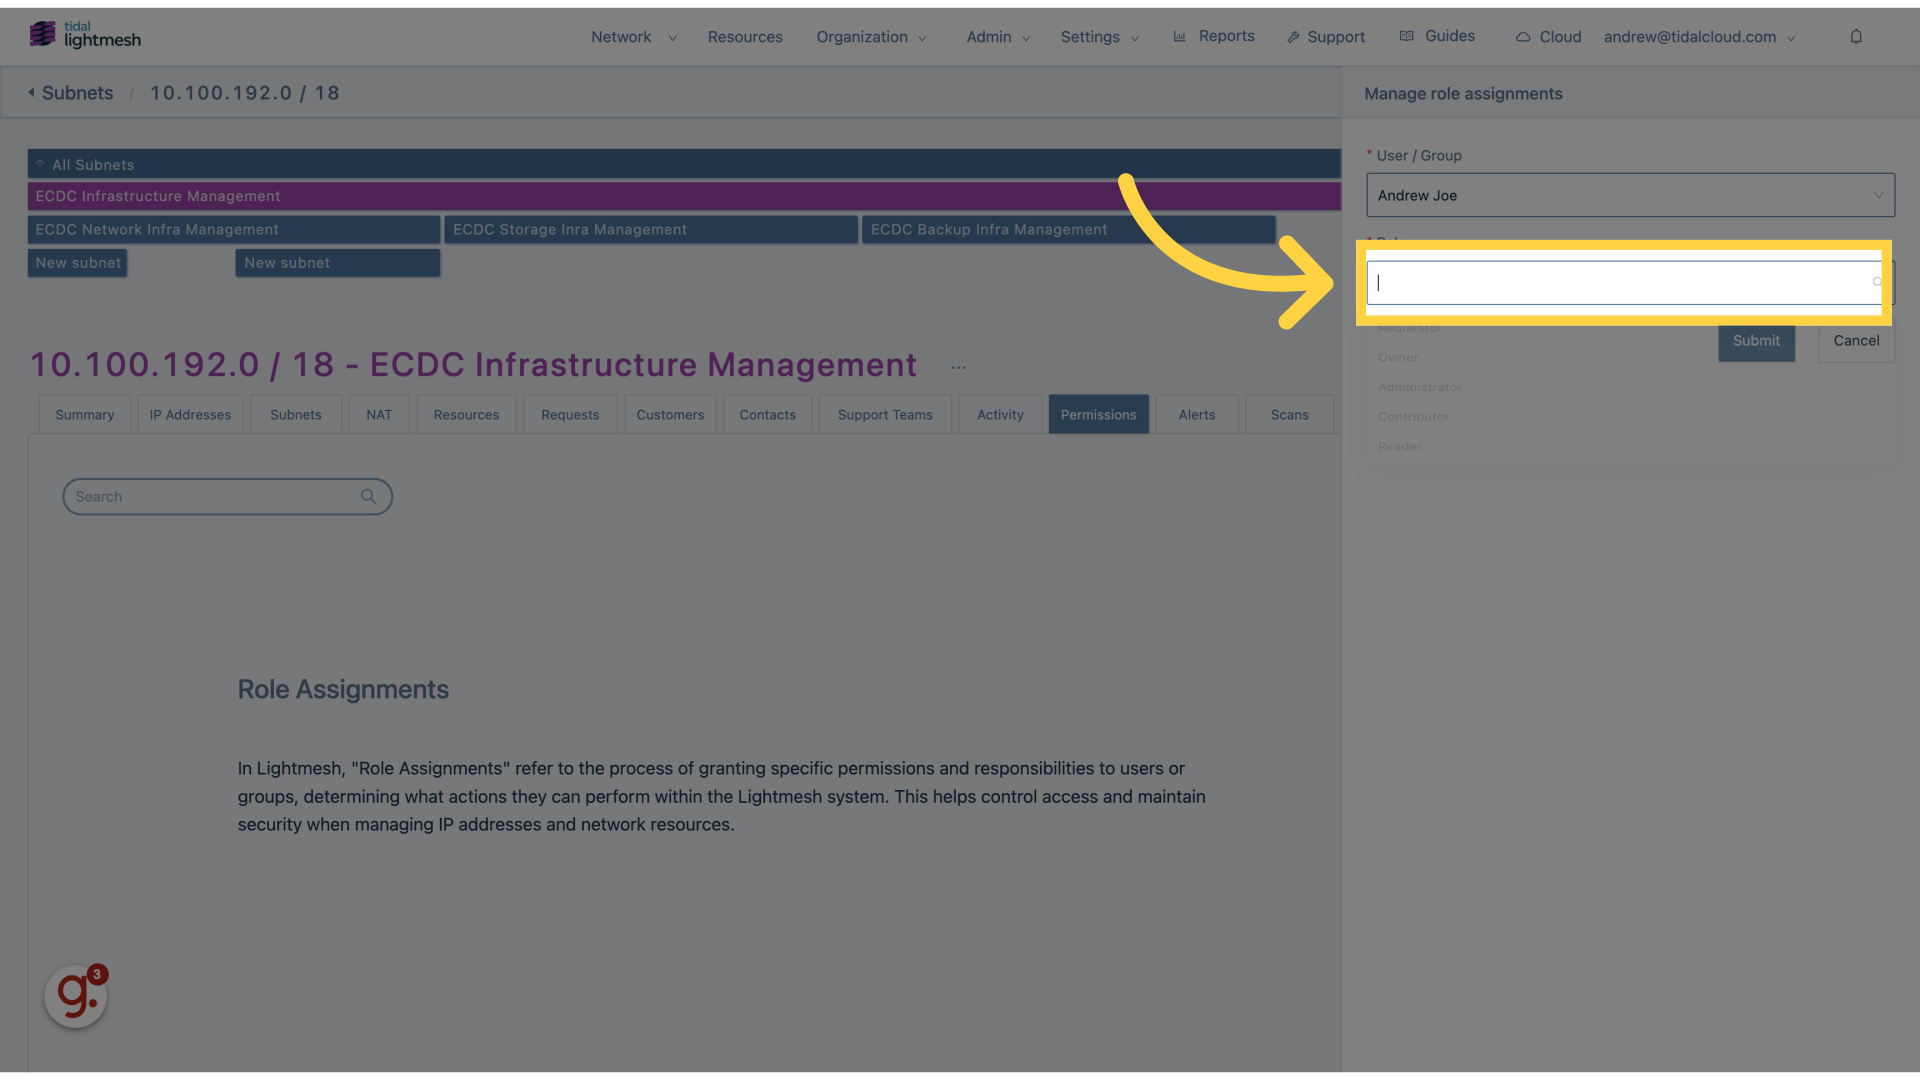
6. Click “Role”
Specify the role you wish to assign.
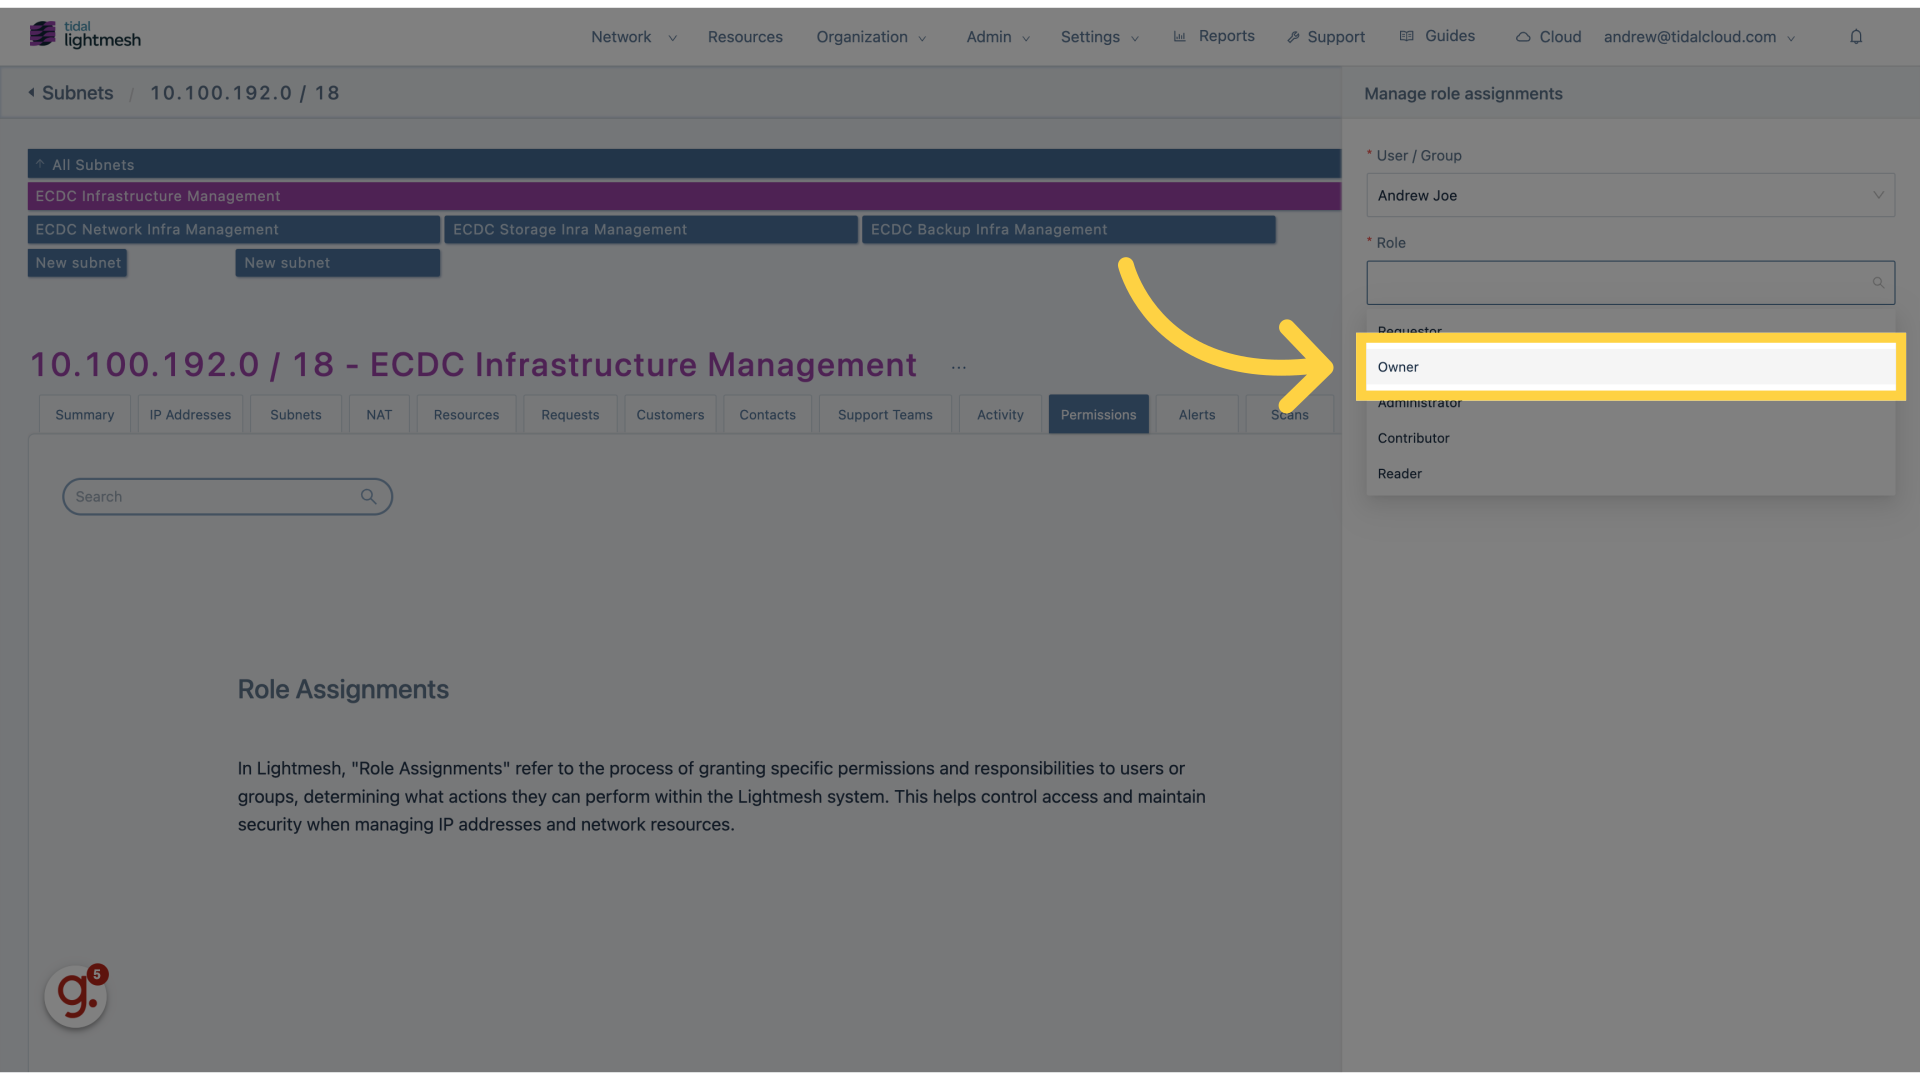
7. Click “Owner”
Select the “Owner” role.
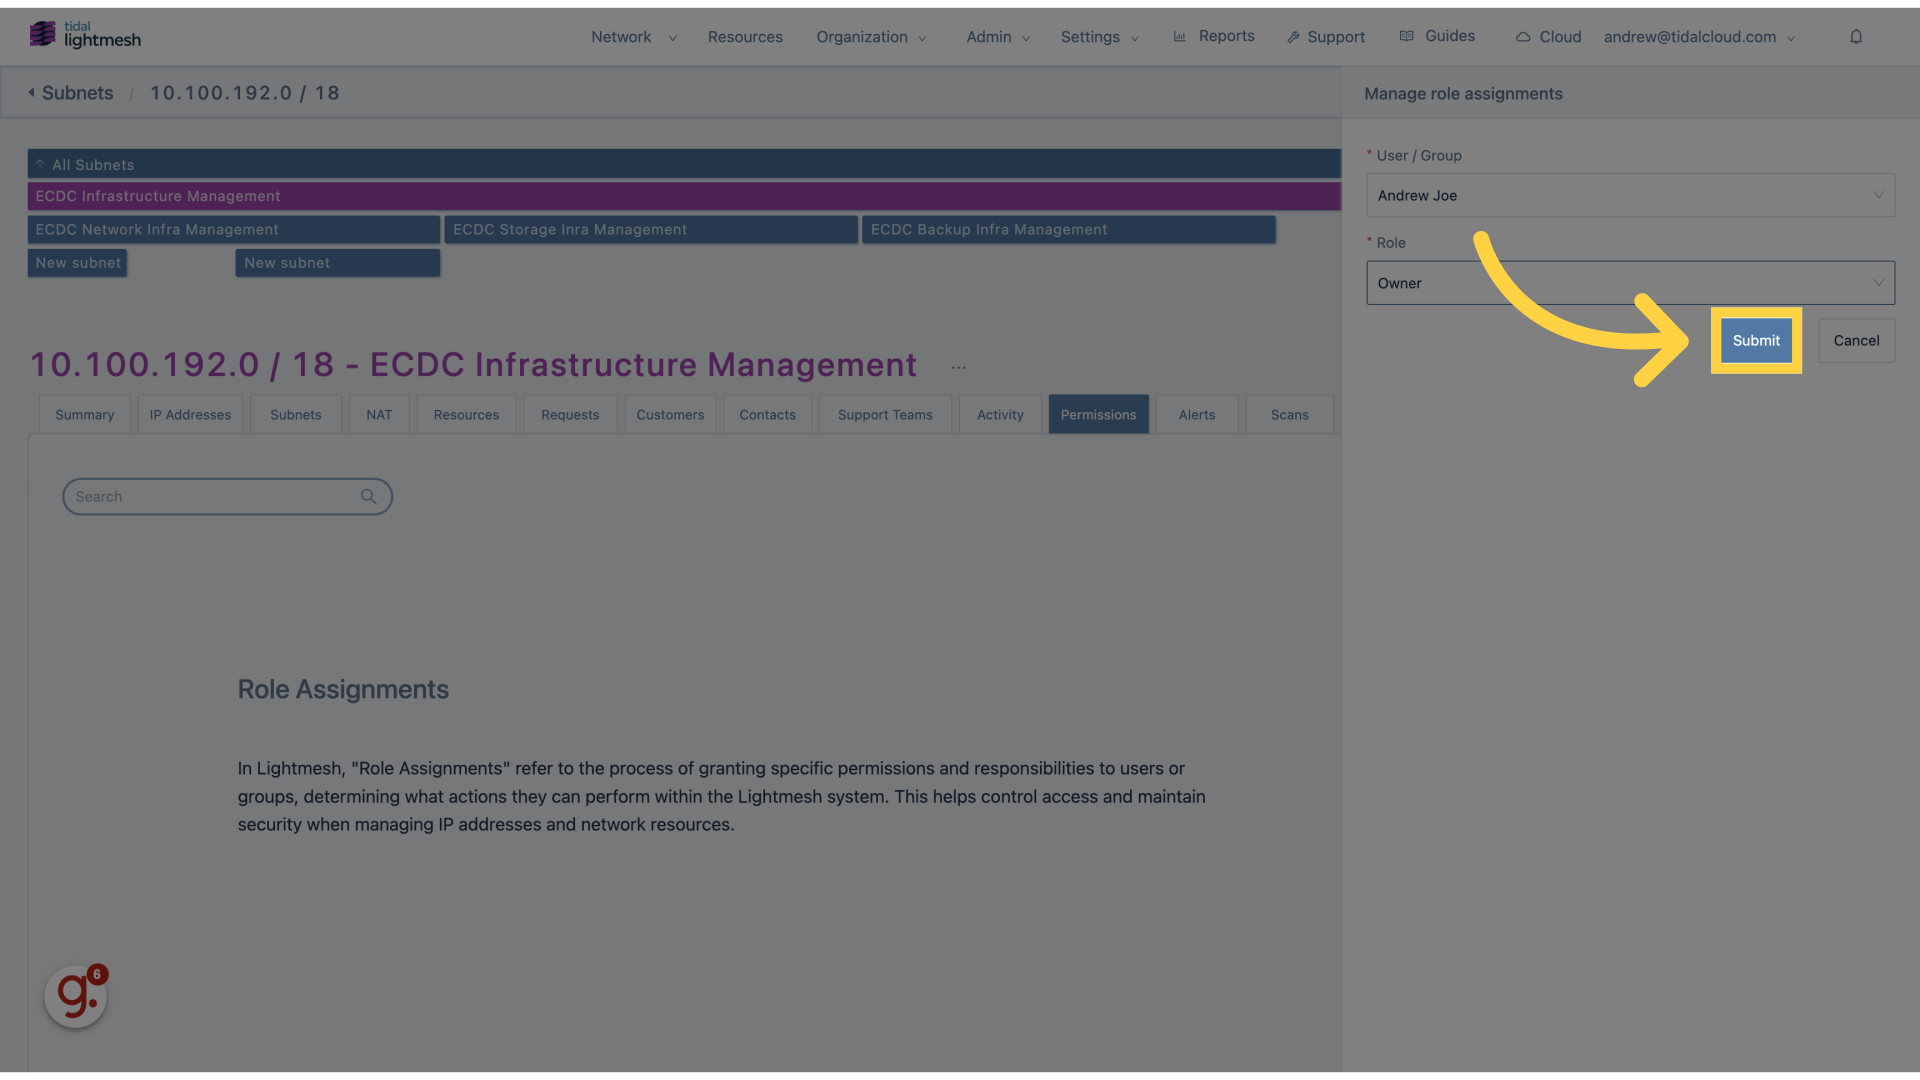
8. Click “Submit”
Finalize and submit the role assignment.
Learn how to manage user permissions in Lightmesh by navigating the Role Assignments section, adding role assignments, selecting users or groups, assigning roles, and submitting the changes to grant access to subnets.