Assign Scanned IP Addresses
This guide walks you through the process of assigning IP addresses that have already been scanned using NMAP. NMAP is a powerful network scanning tool that detects devices and services within a network. By leveraging its scanning capabilities, you can efficiently identify and allocate IP addresses within a subnet. Once the scanned data is processed, the IP addresses are assigned or reserved in LightMesh, ensuring your network remains organized and up-to-date.
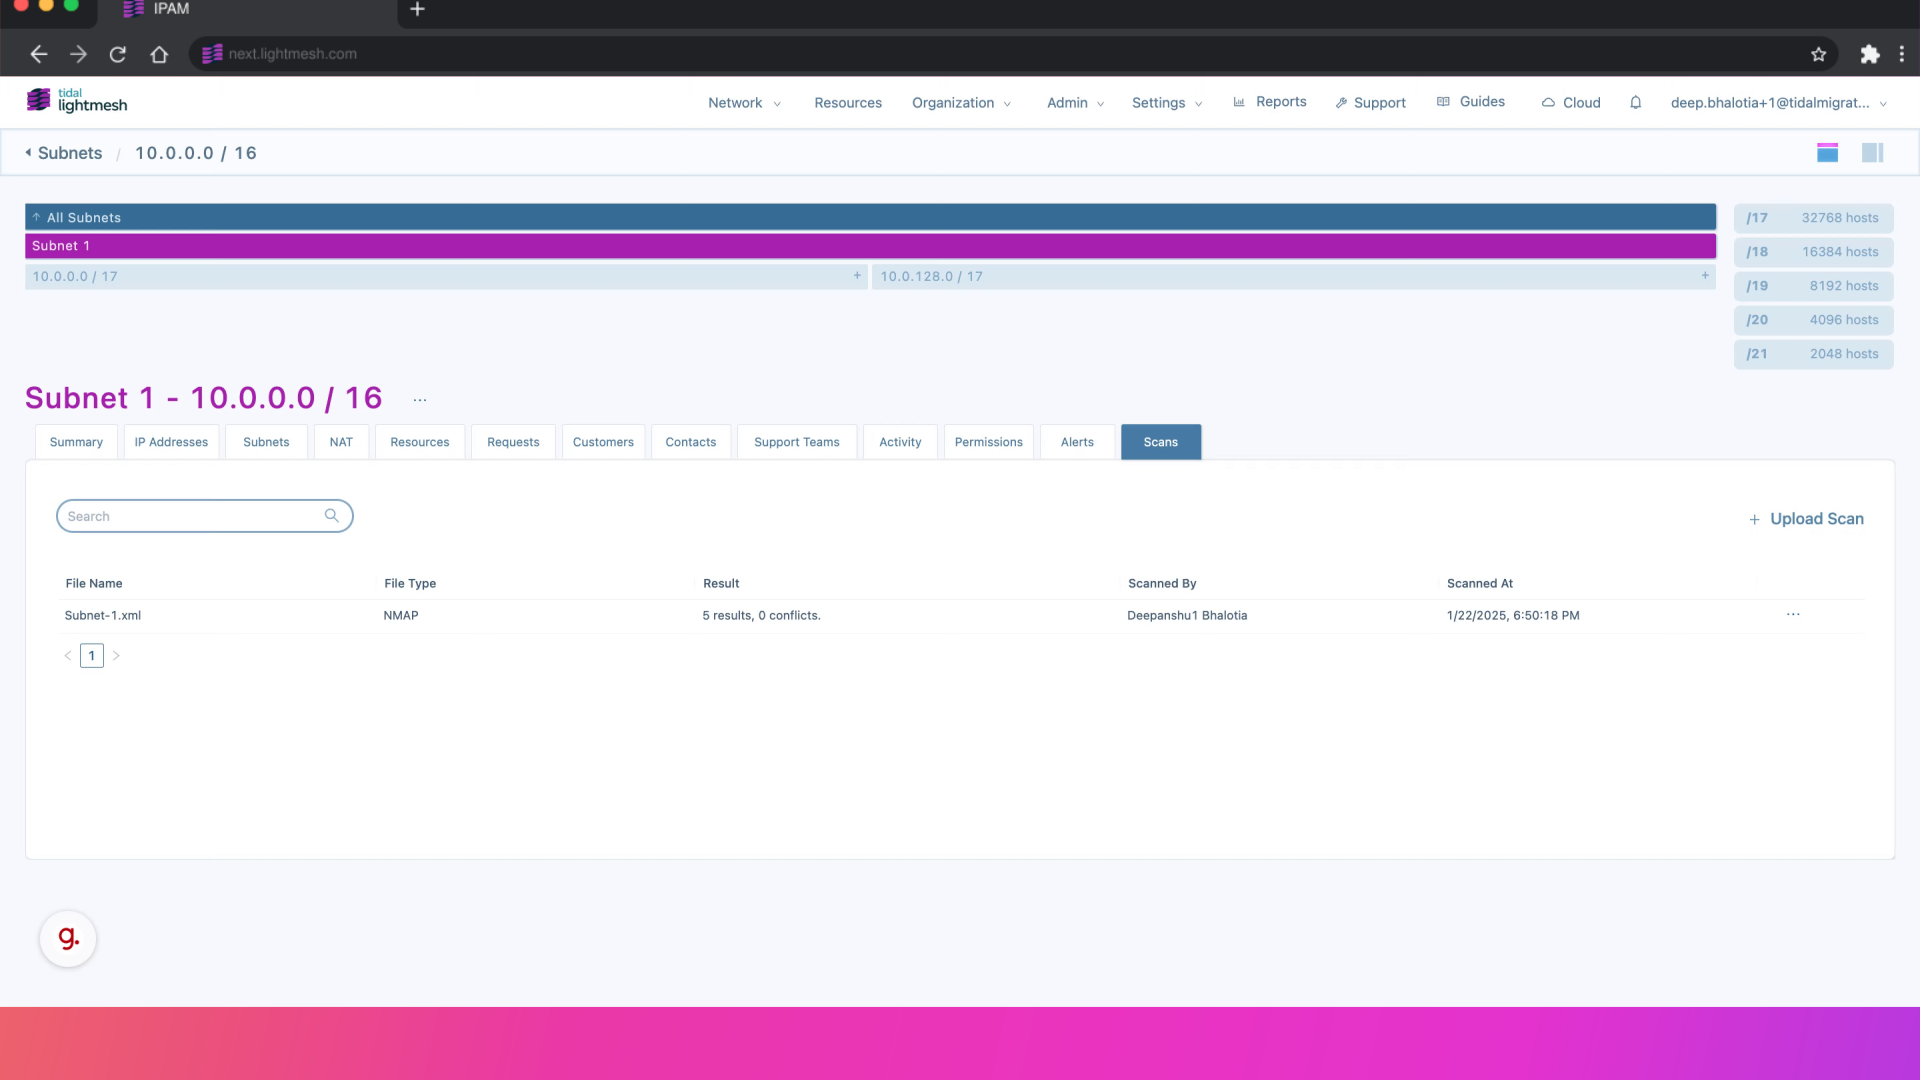
1. Introduction
This feature addresses the challenge of efficiently allocating resources, enhancing network performance, and ultimately saving valuable time in network management tasks.
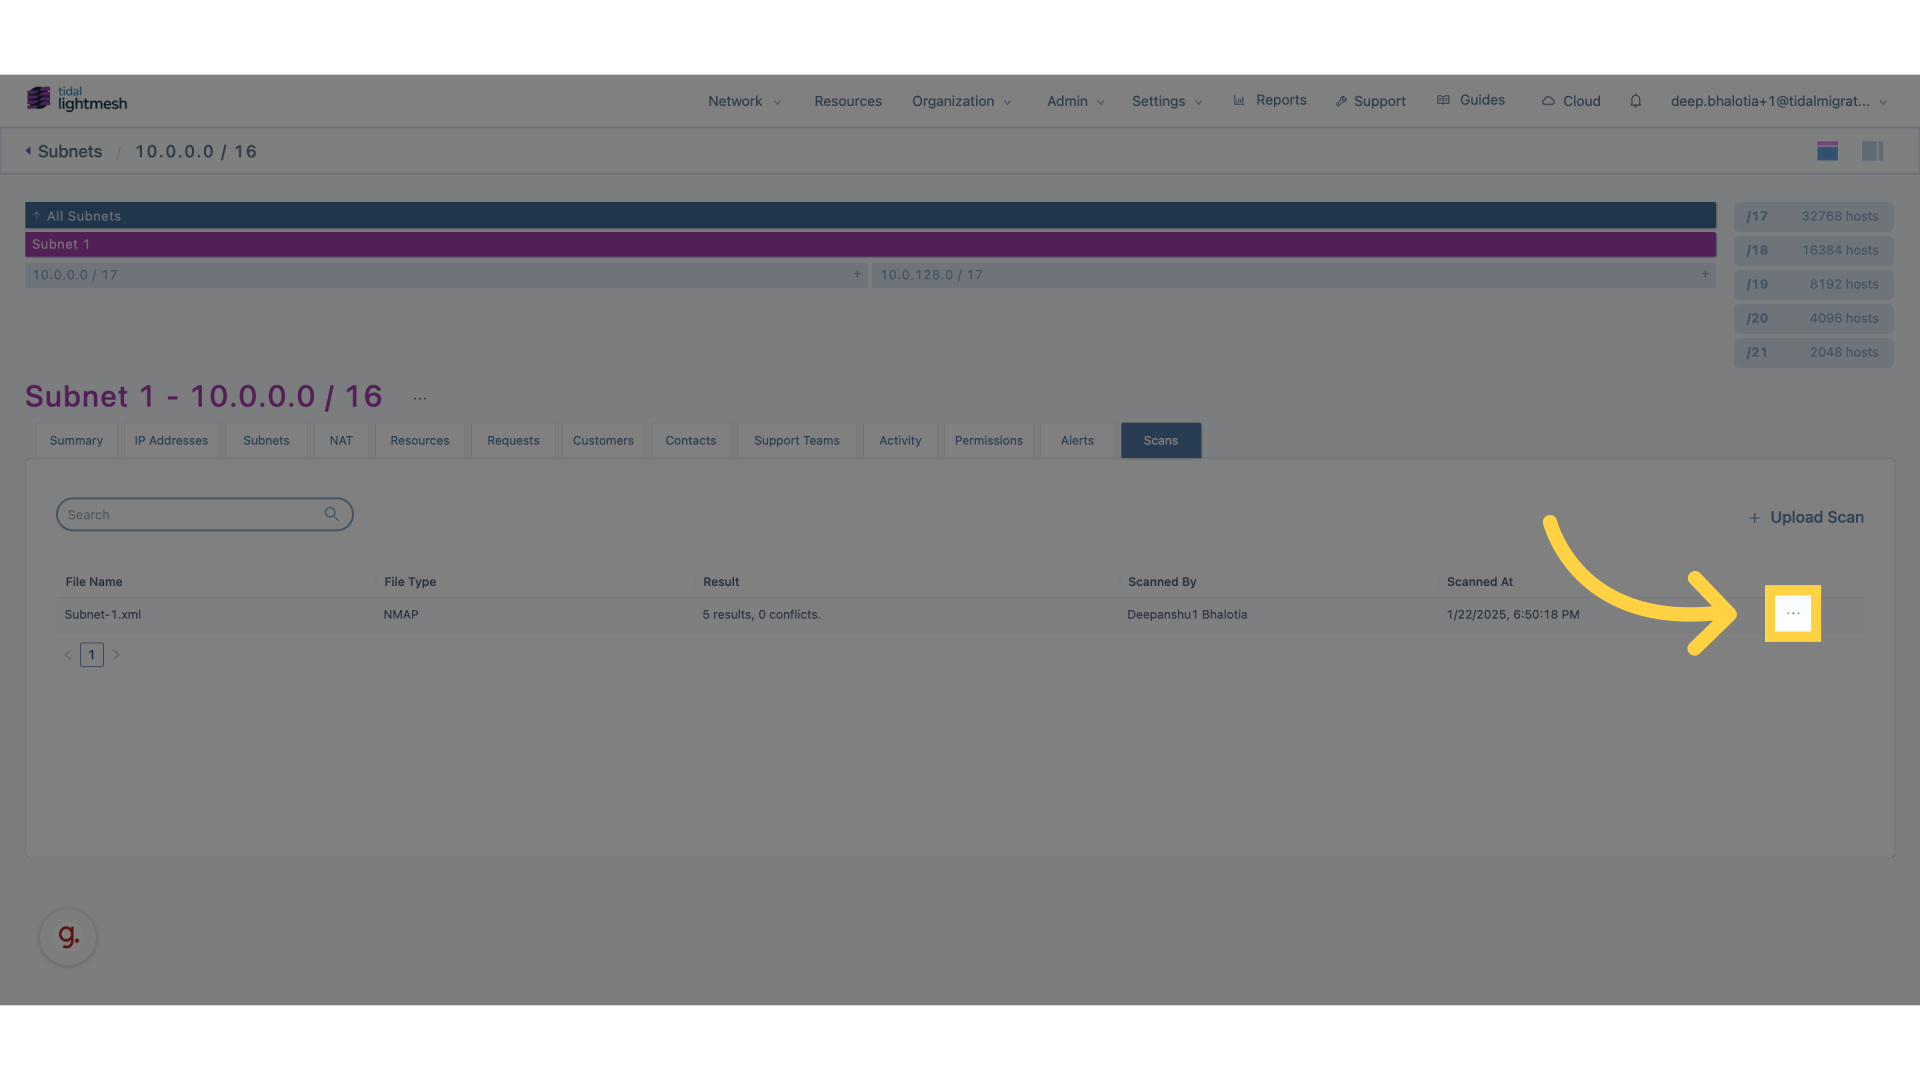
2. Click here on 3 dot menu
Initiate the process of assigning IP addresses by starting from the main dashboard, ensuring you are ready to streamline your network management.
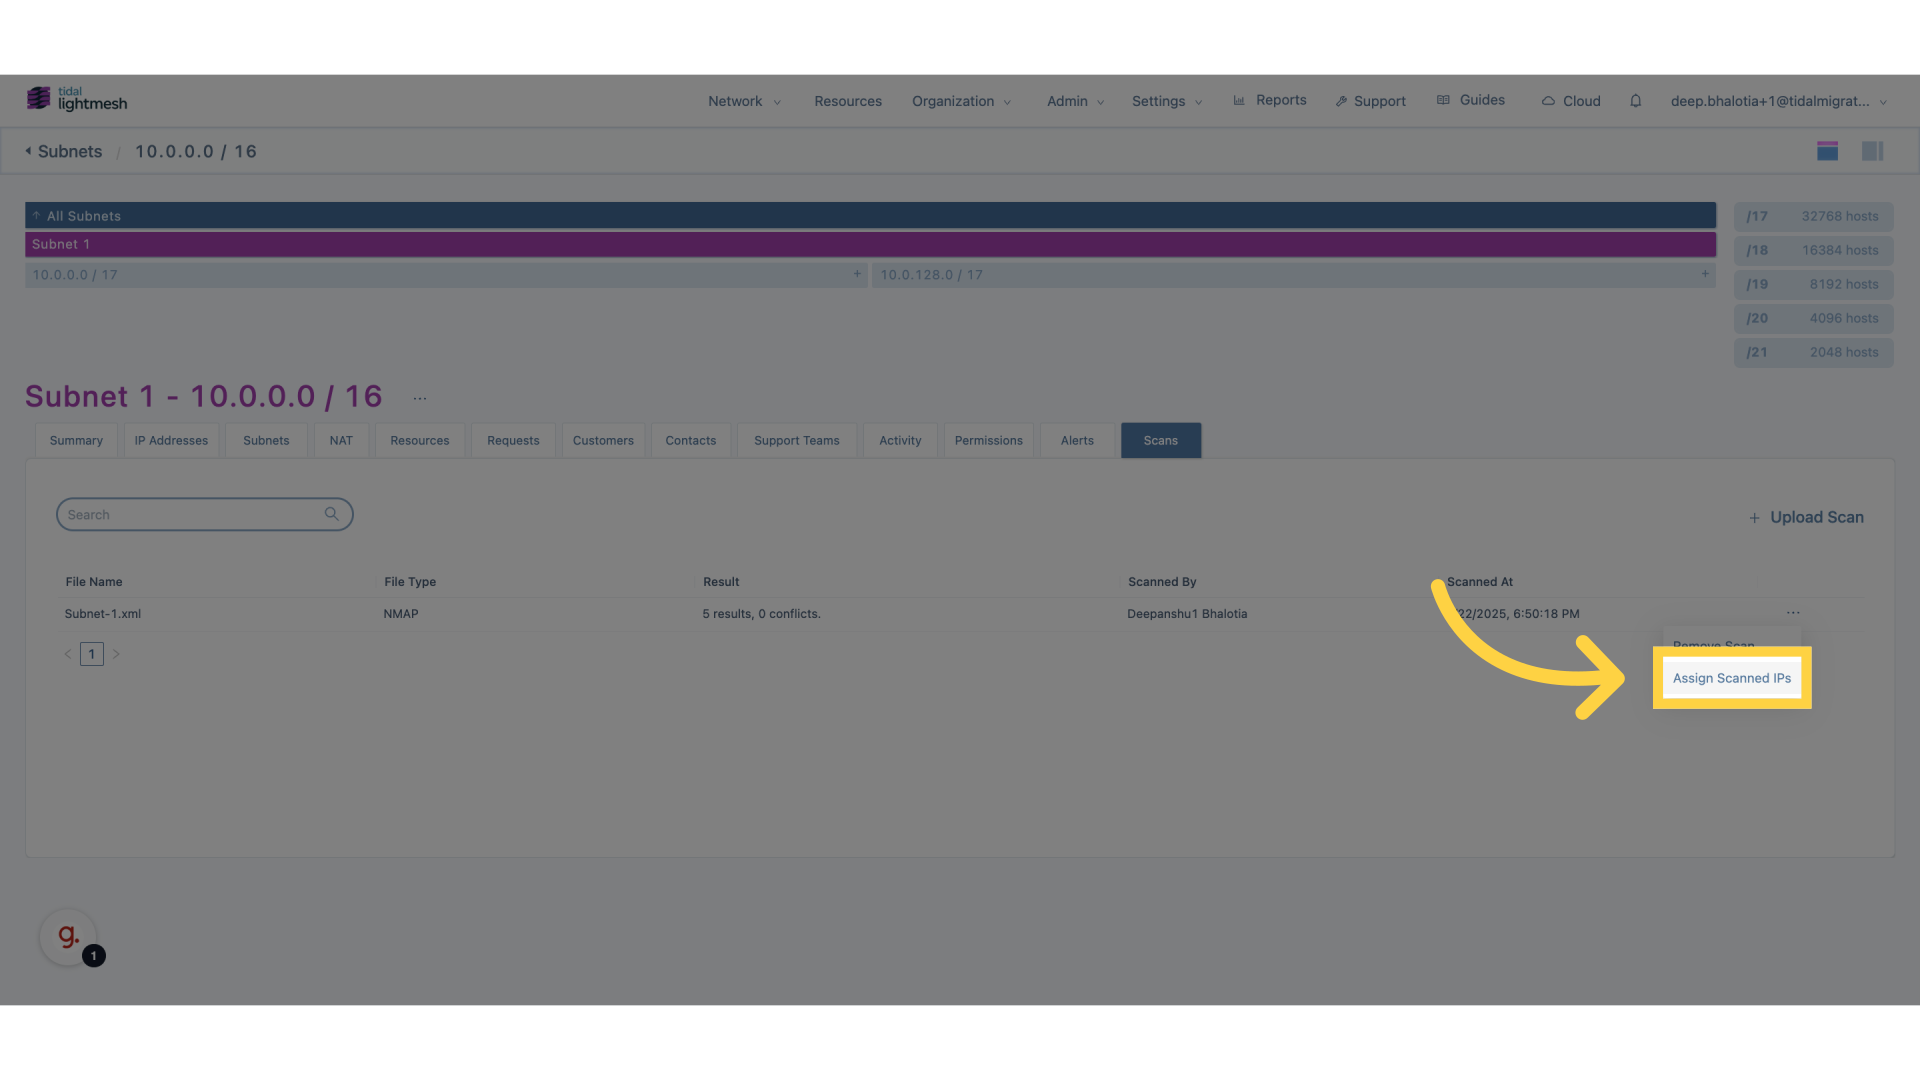
3. Click “Assign Scanned IPs”
Select this option to confirm your action and proceed with assigning the scanned IP addresses to your network
4. Click “Yes, I’m ready”
Confirm your readiness to proceed with the assignment, reinforcing your commitment to optimizing your network configuration.
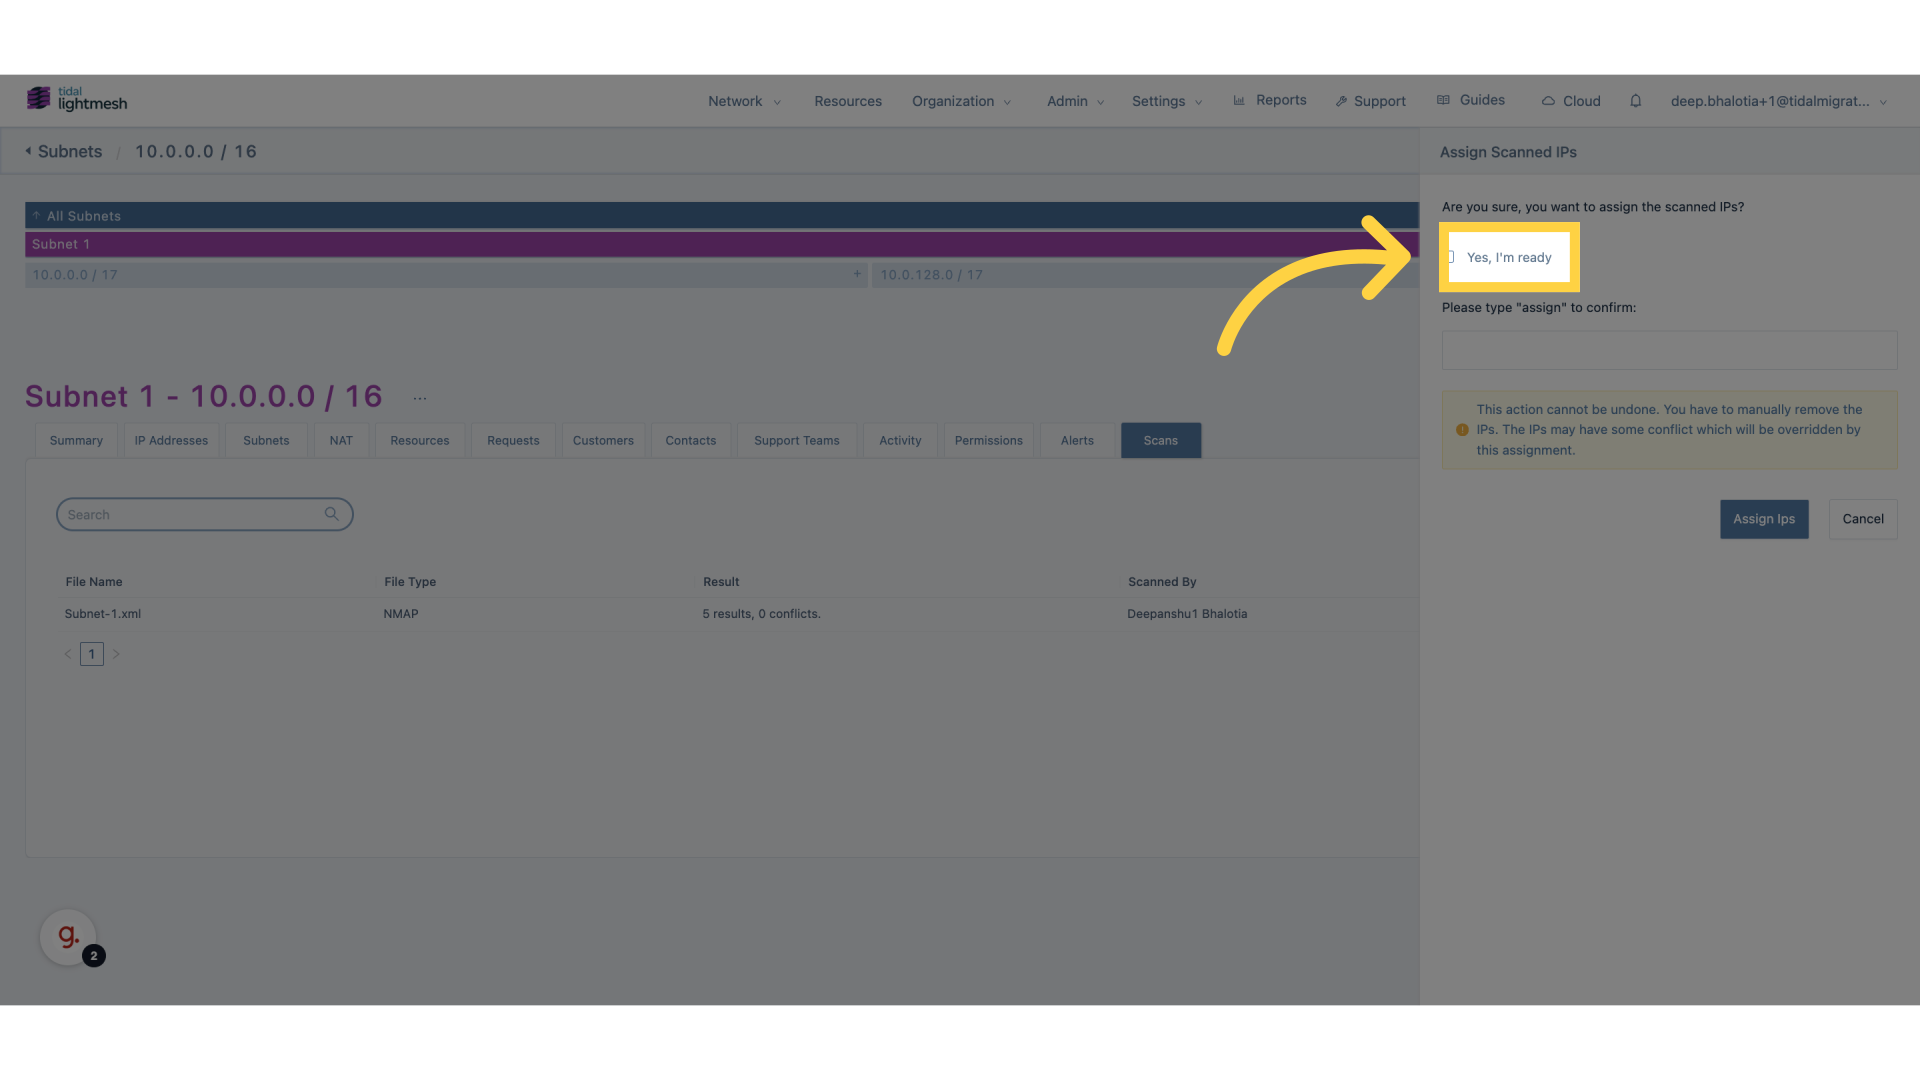
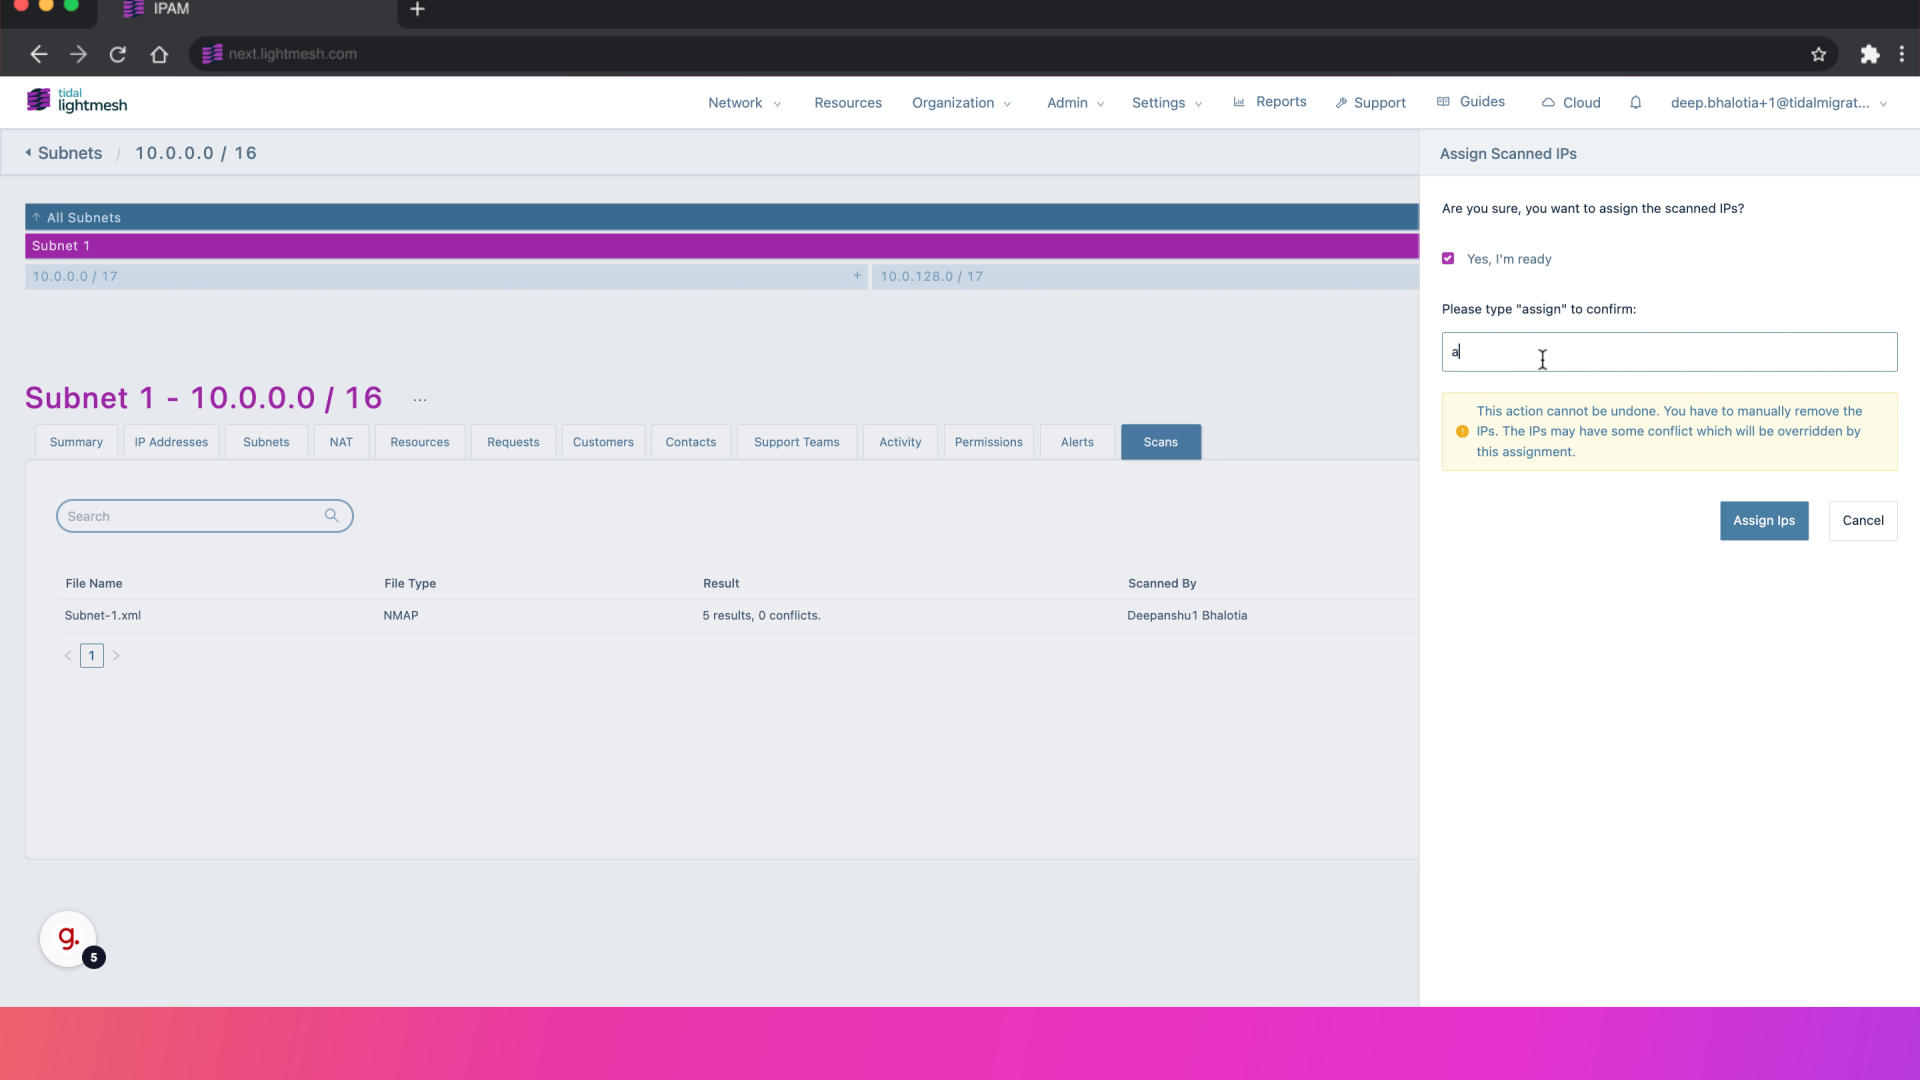
5. Confirm by typing “assign”
Type ‘assign’ to confirm your action and proceed with finalizing the assignment of scanned IP addresses.
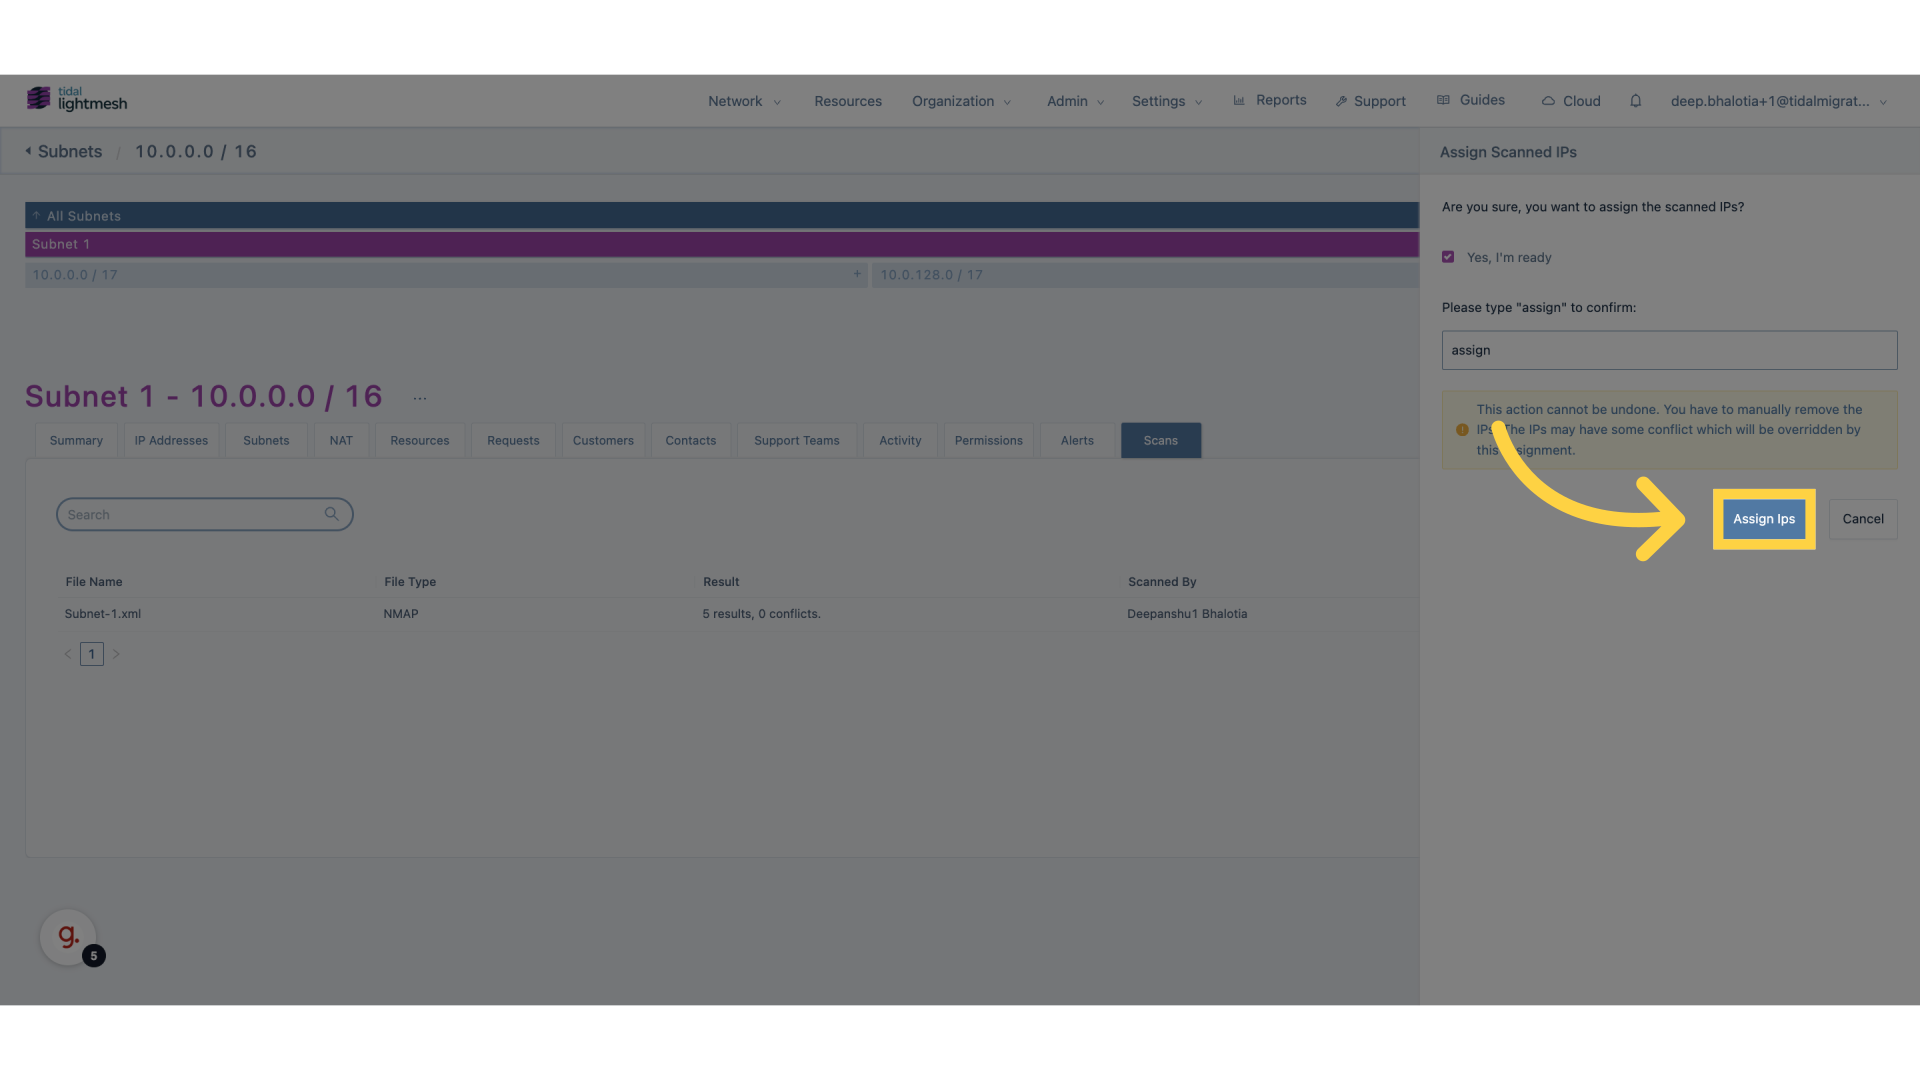
6. Click “Assign Ips”
Finalize the assignment process, ensuring that your network is promptly updated with the newly assigned IP addresses, enhancing connectivity and resource allocation.
This guide covered the process of assigning the ip addresses that were identified during the process of NMAP scanning on the subnet.