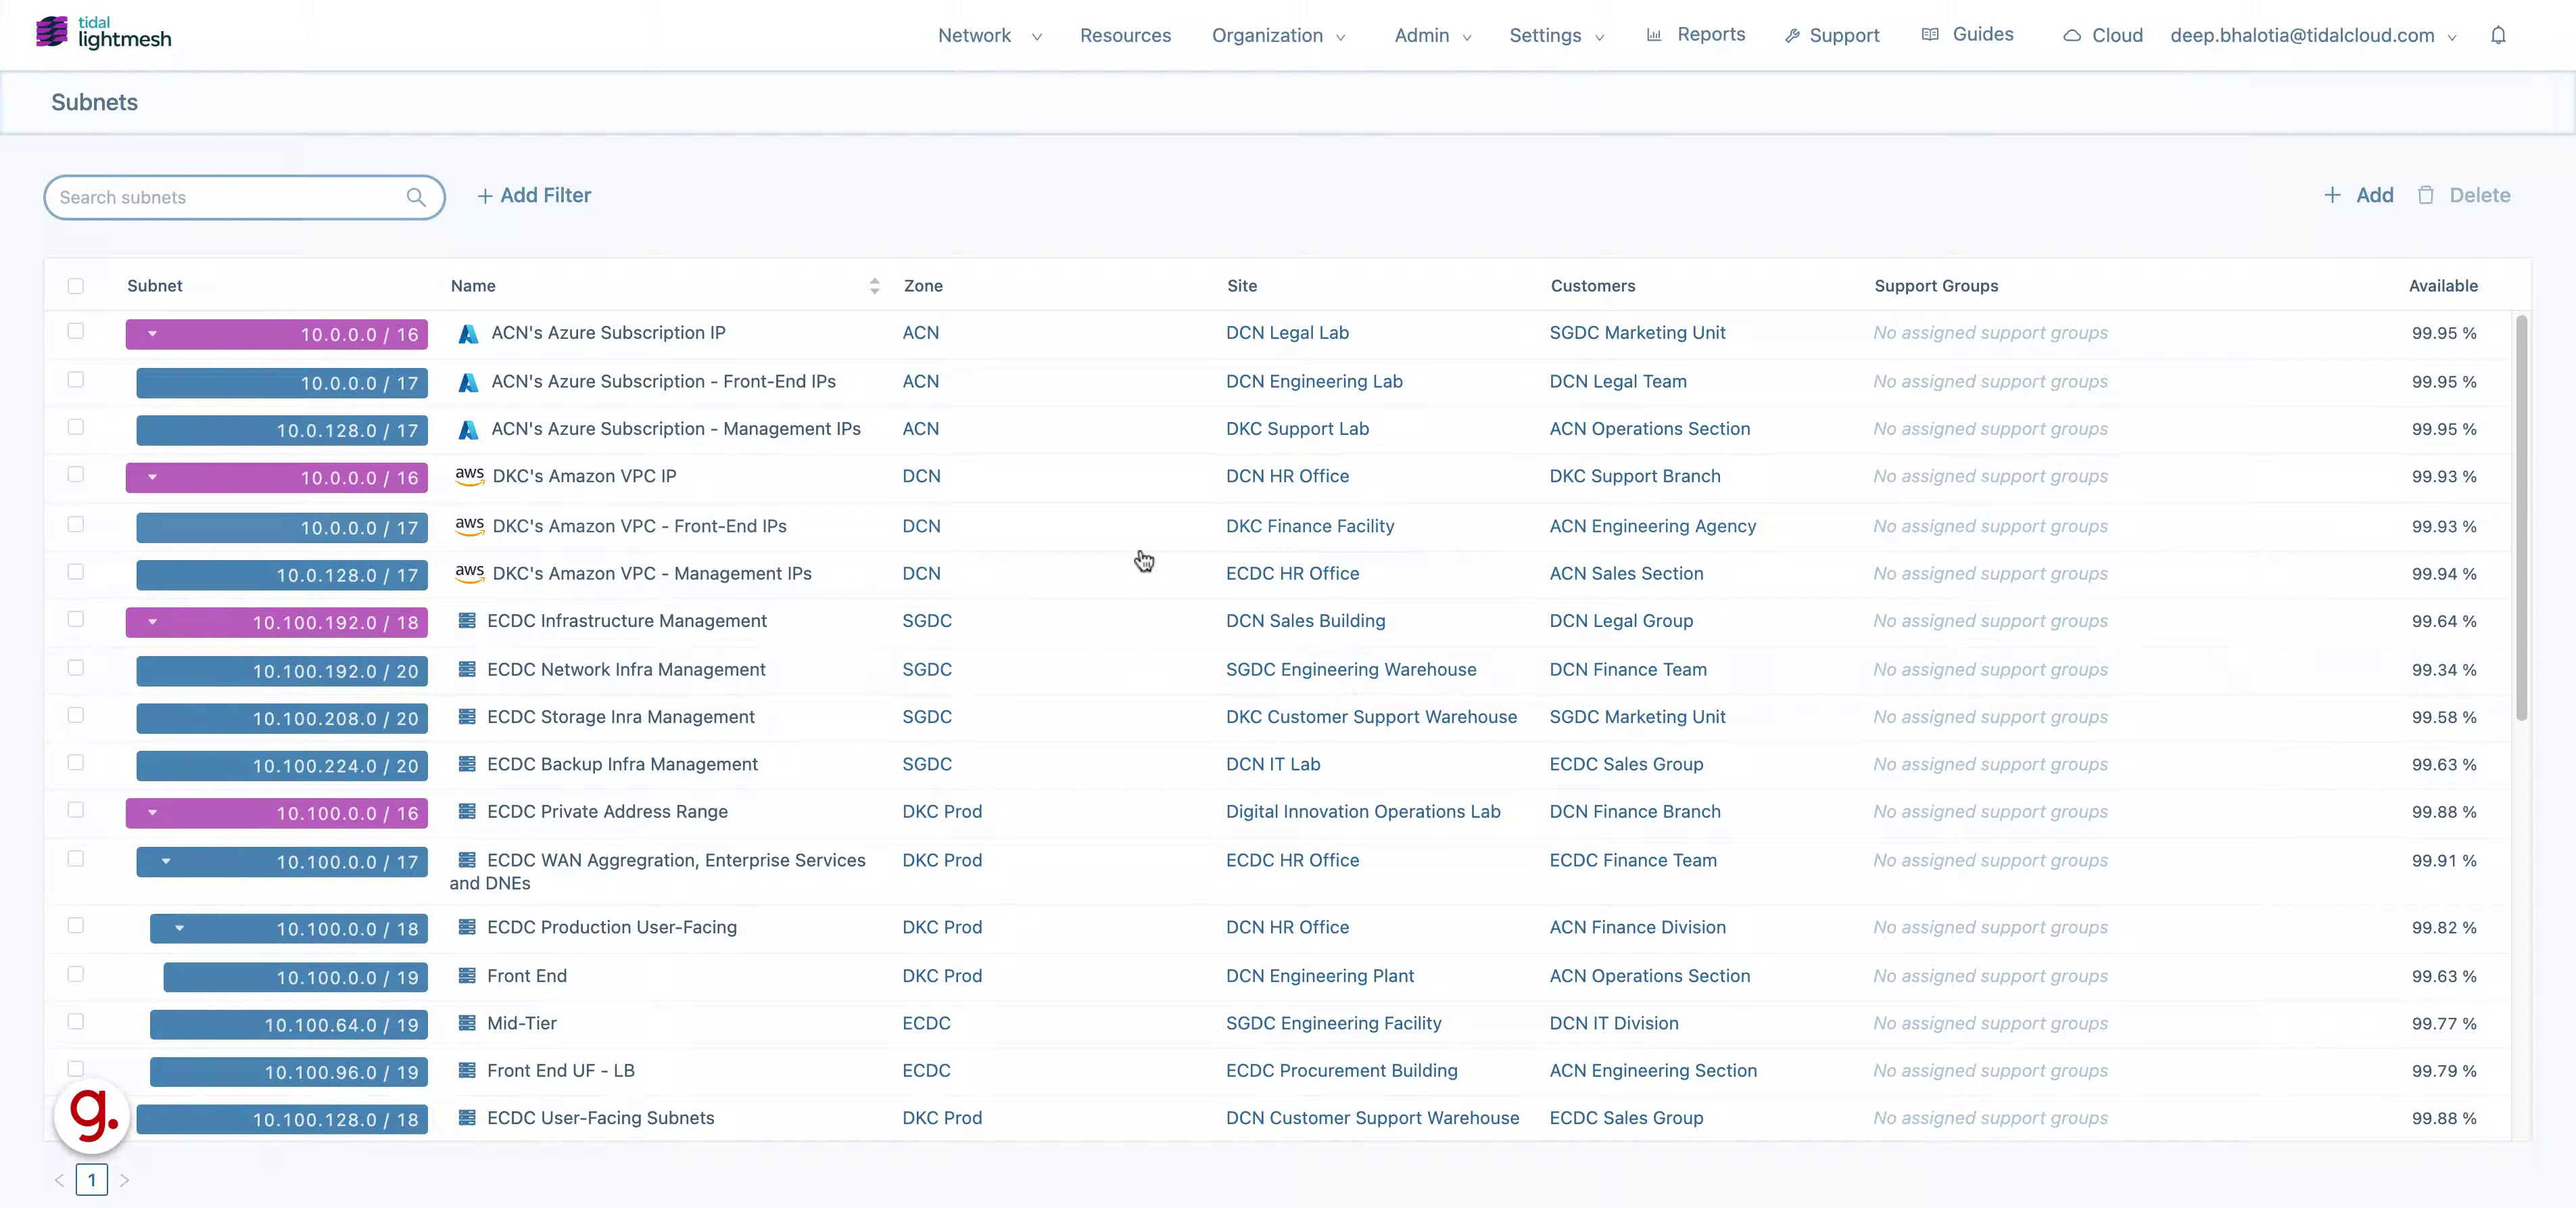
New Zone
This guide walks you through the process of adding a new zone in LightMesh. Network Zones are a flexible way to organize overlapping address ranges. They can be tied to Locations, Organizations, or other organizational schemes. Zones can also be broken down in to smaller zones to accomodate complex environments.
1. Introduction
By following these steps, employees can efficiently manage zones within the application.
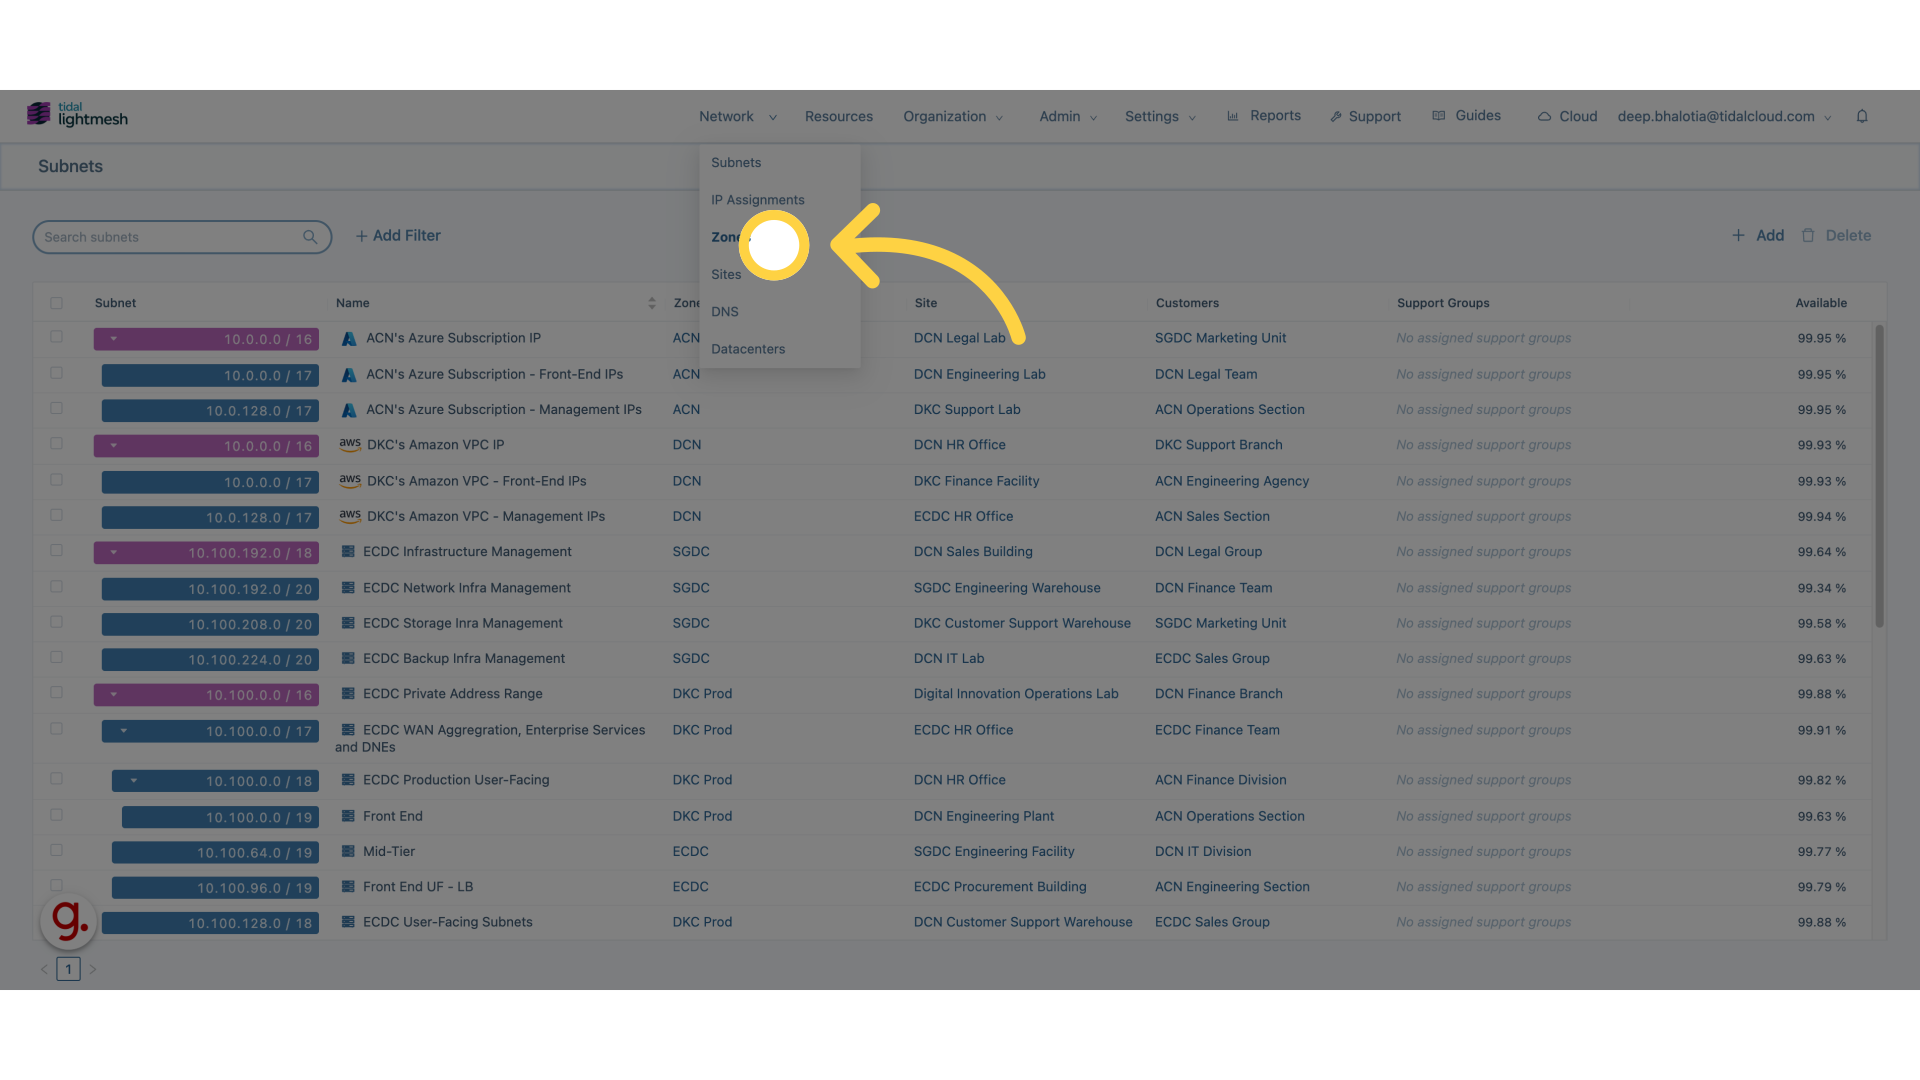
2. Click Zones
Navigate to the desired section by clicking on the specified location.
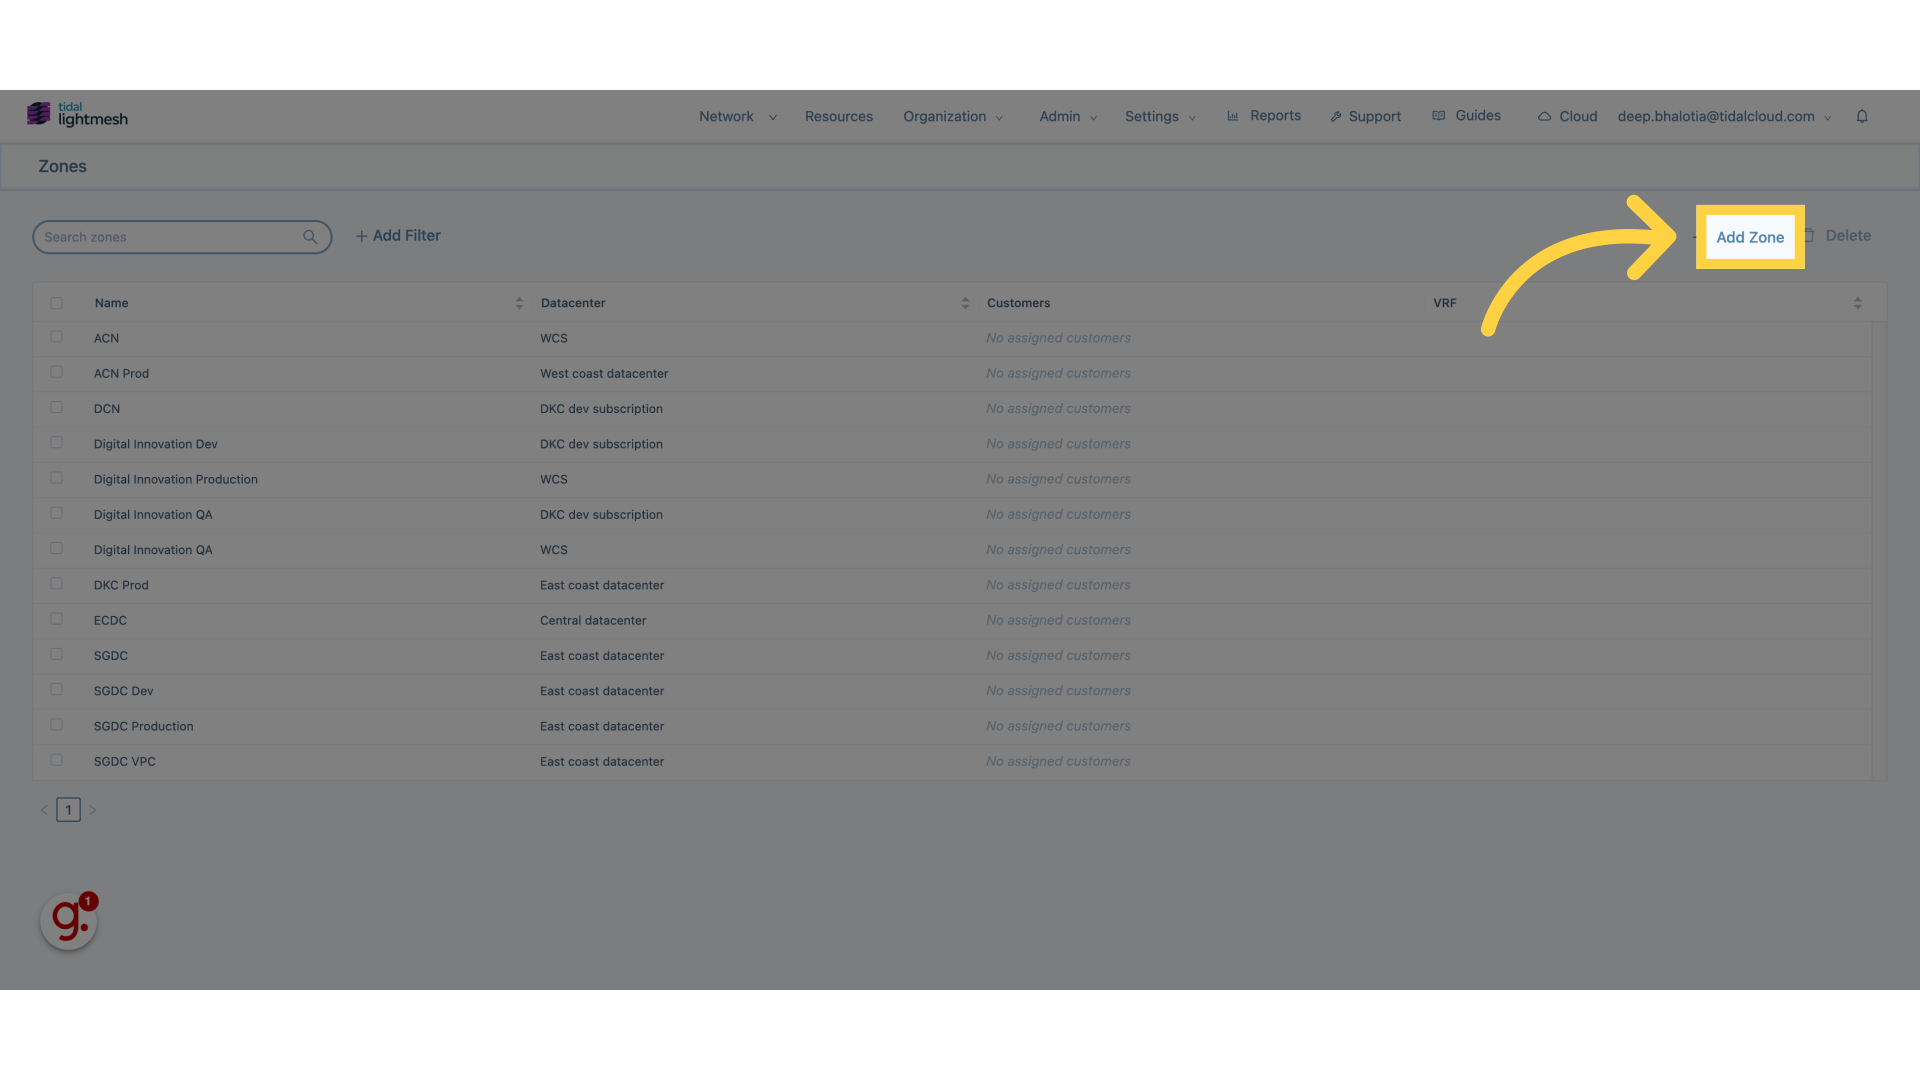
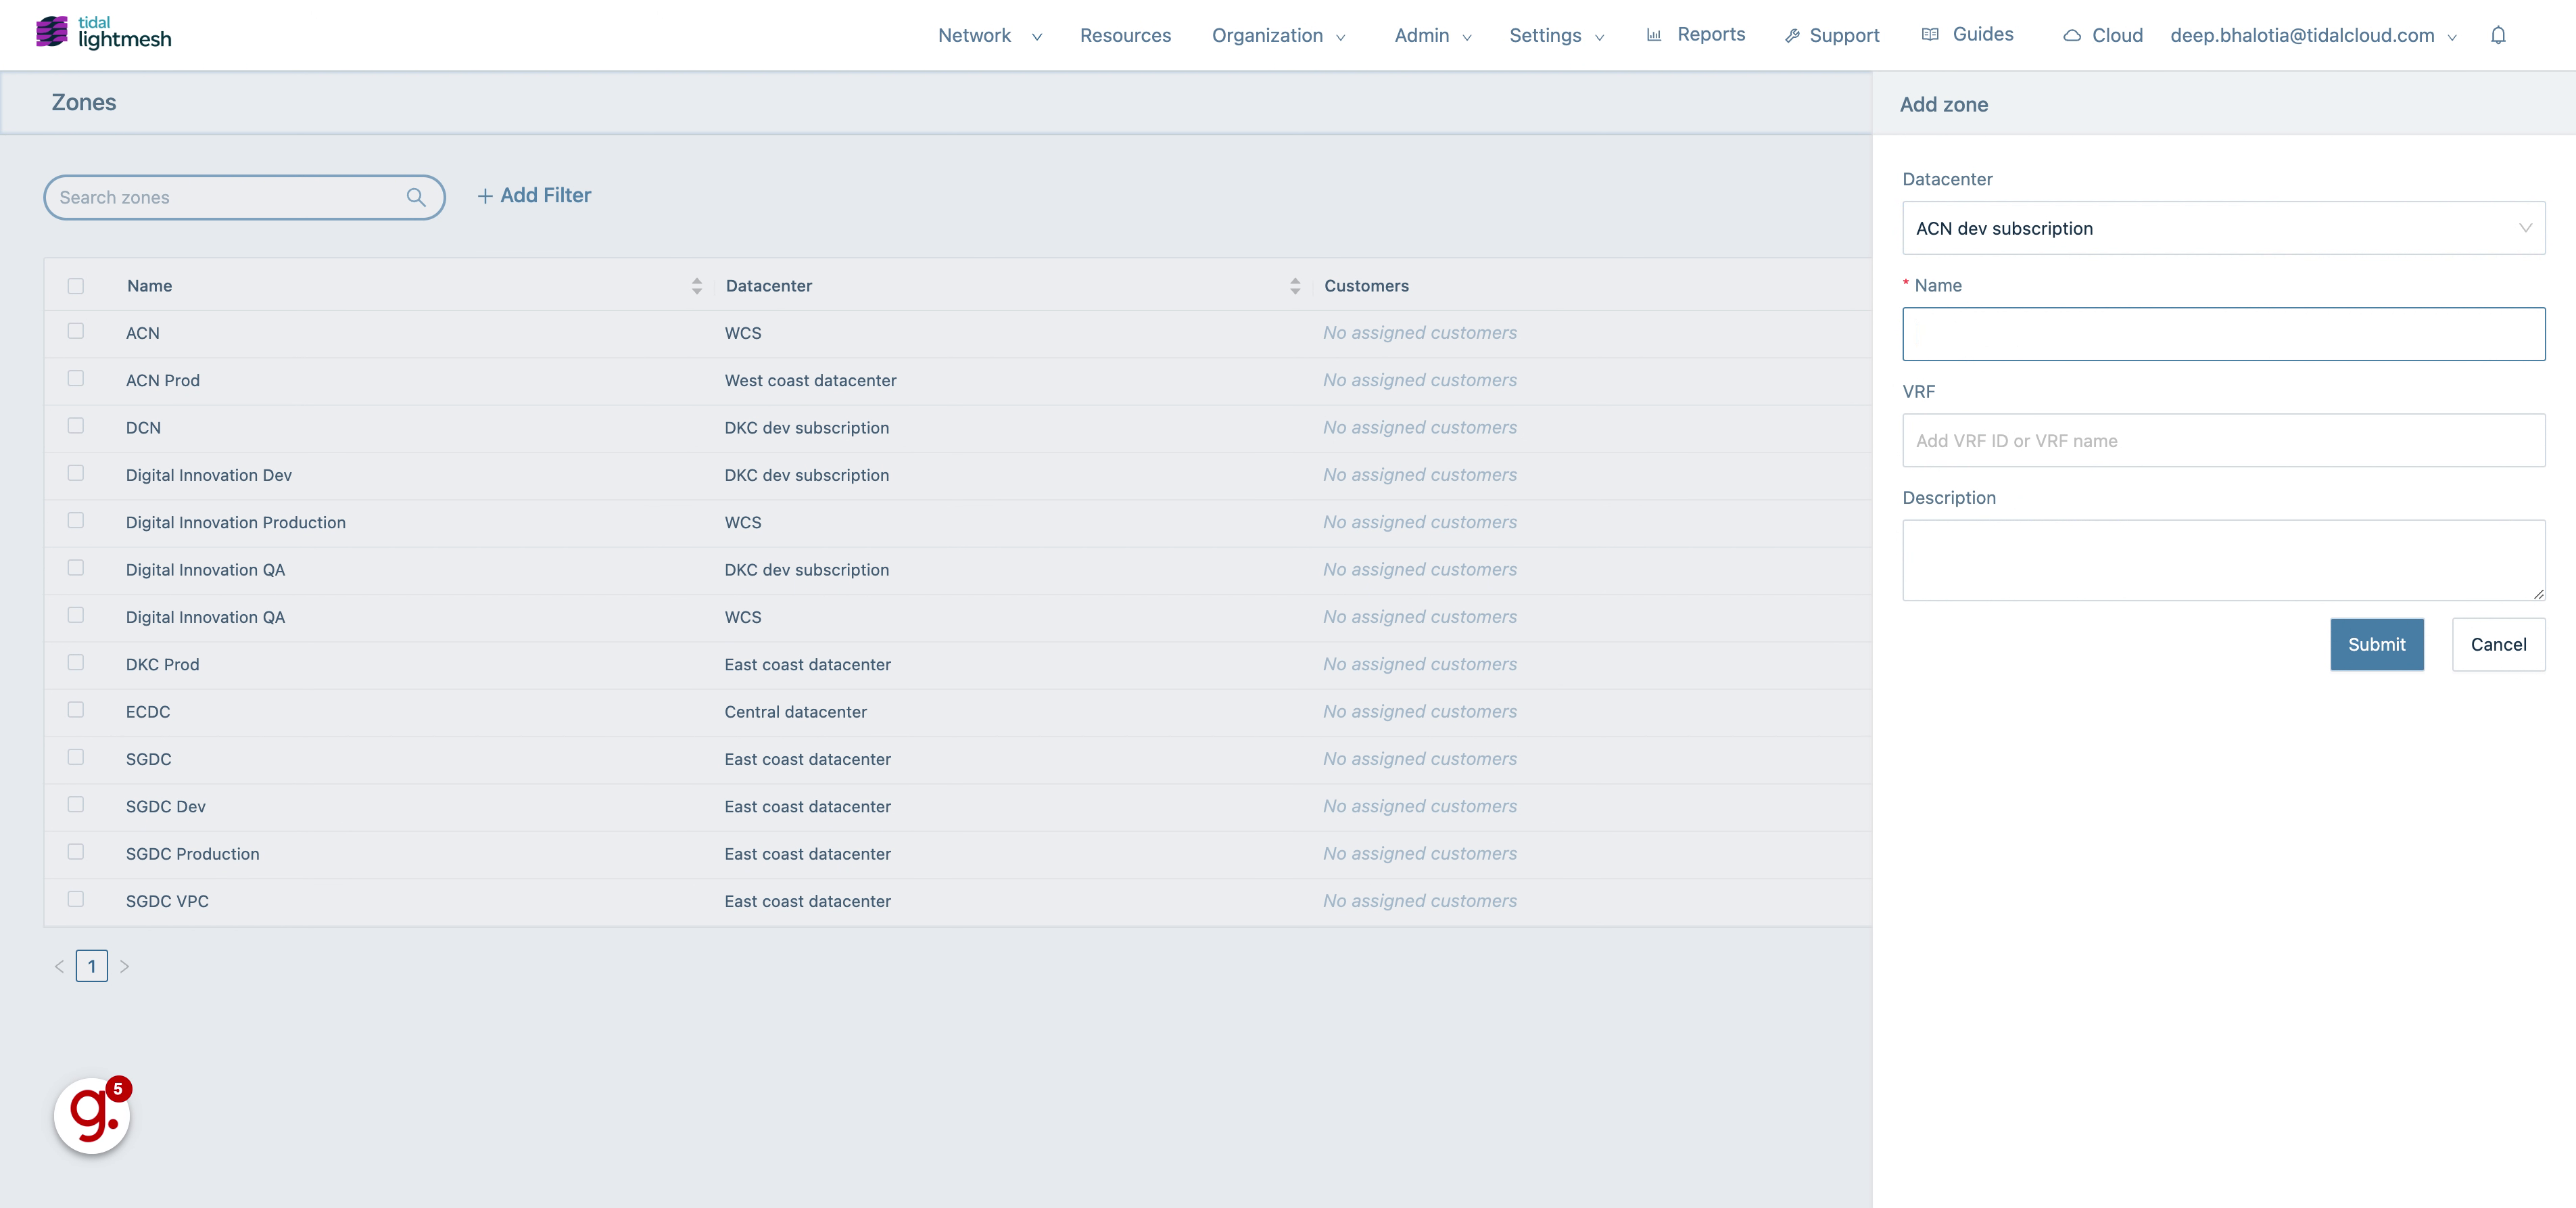
3. Click “Add Zone”
Add a new zone by selecting the “Add Zone” option.
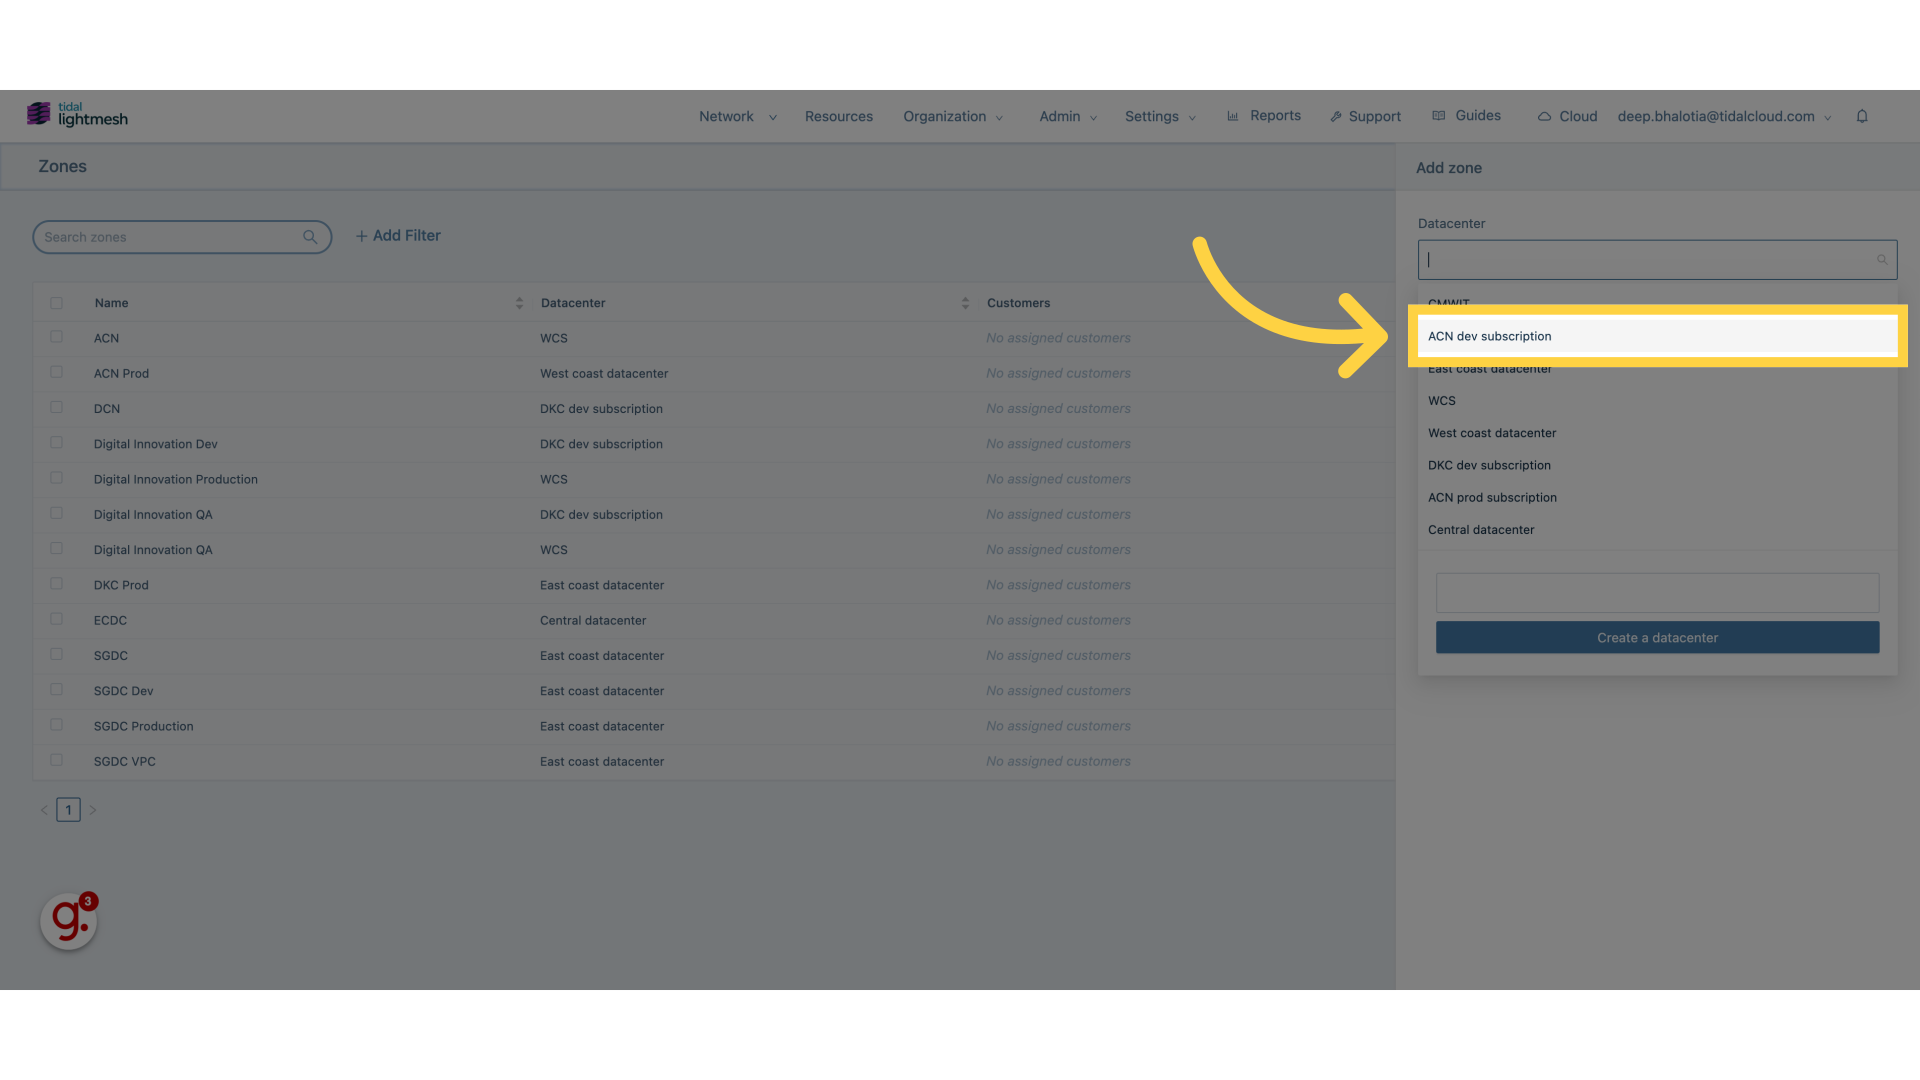
4. Click “Datacenter”
Choose the “Datacenter” option from the menu.

5. Click “ACN dev subscription”
Select the “ACN dev subscription” from the available list.
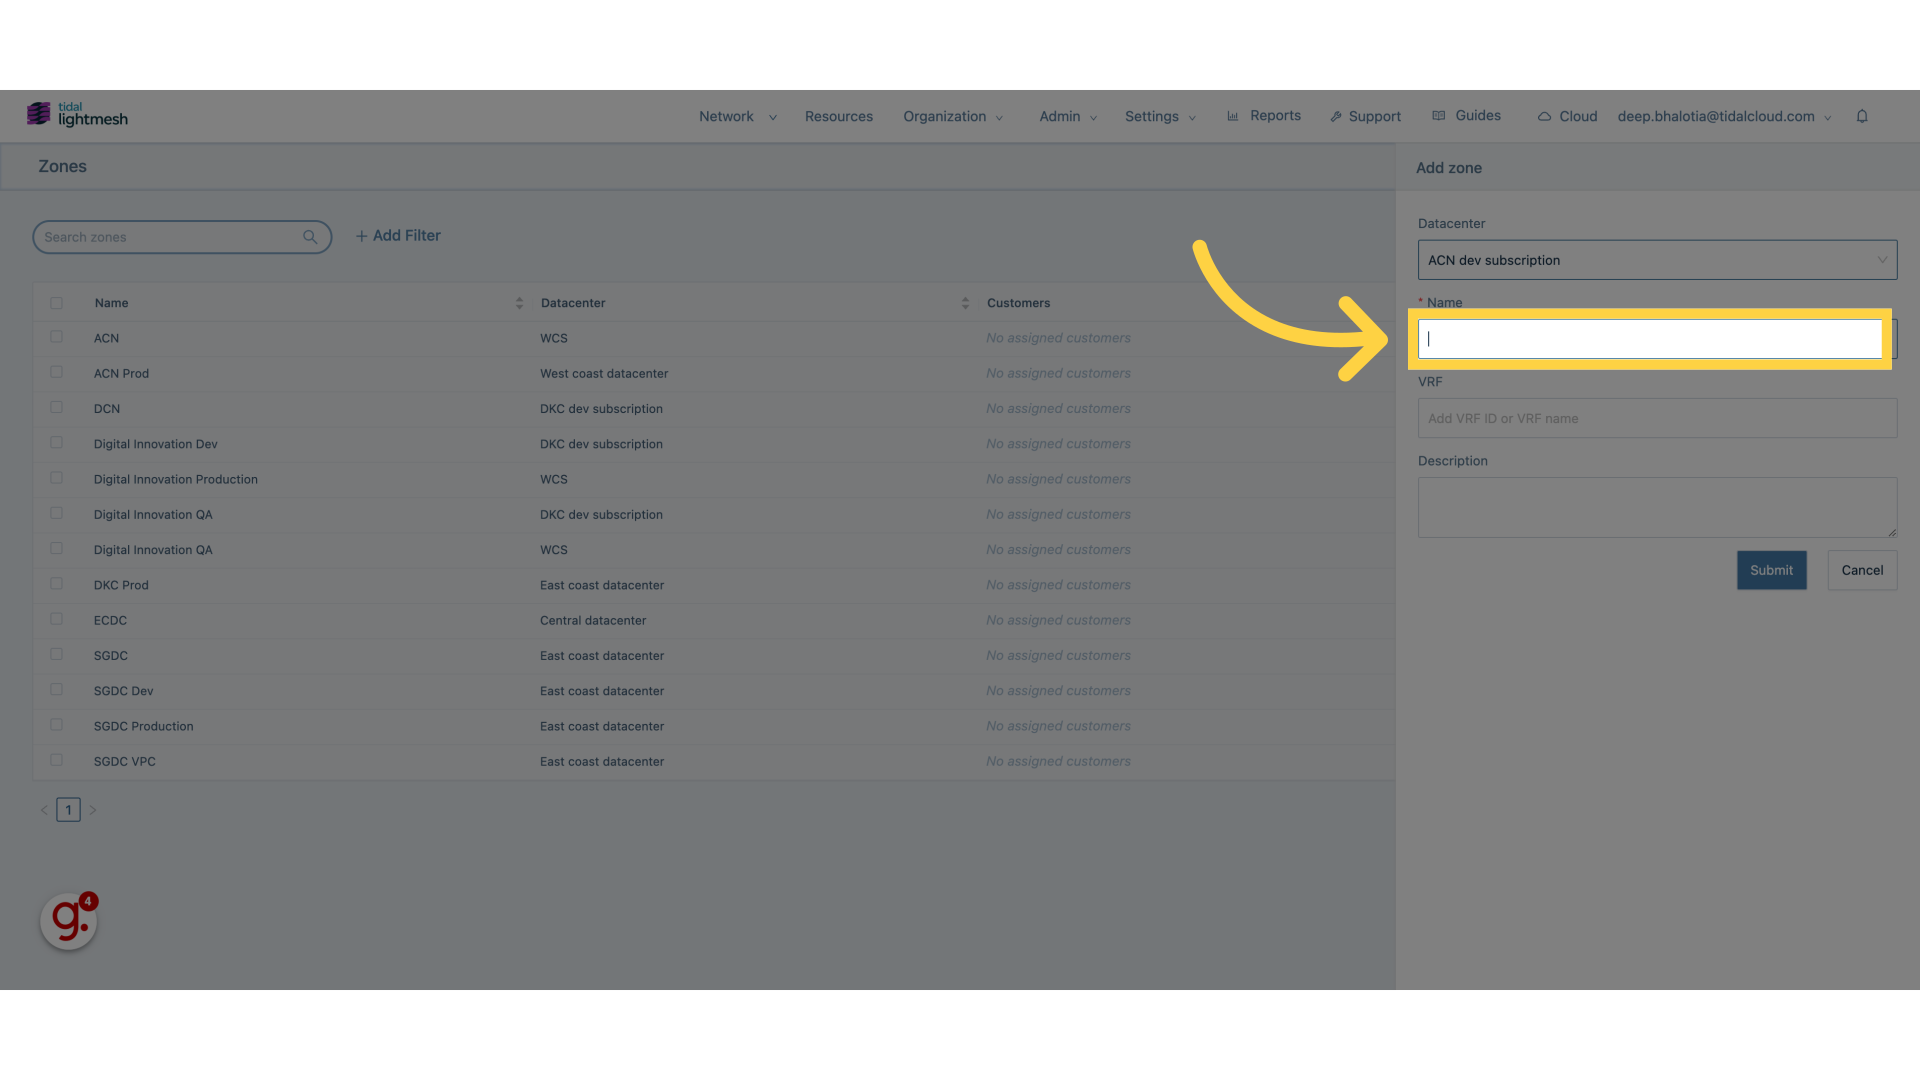
6. Click “Name”
Enter the desired name in the “Name” field.
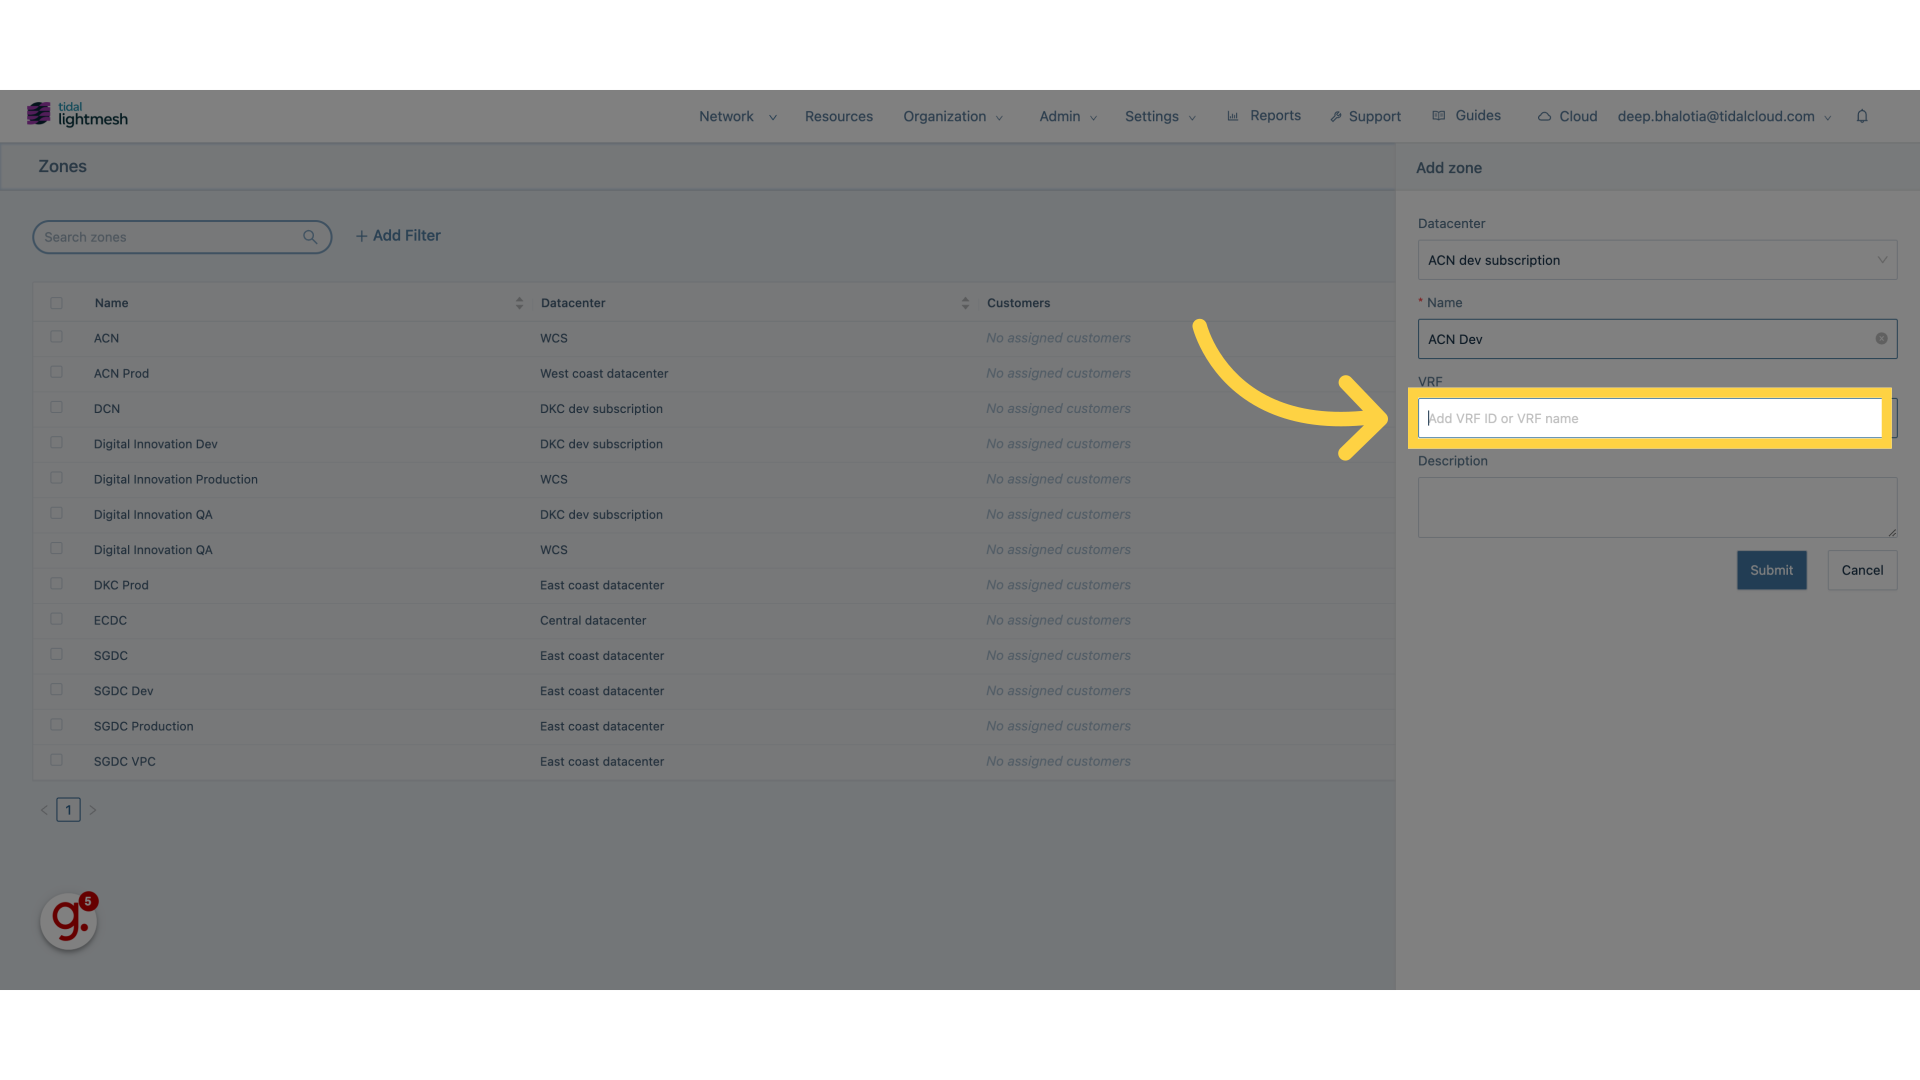
7. Fill “ACN Dev”
Fill in “ACN Dev”
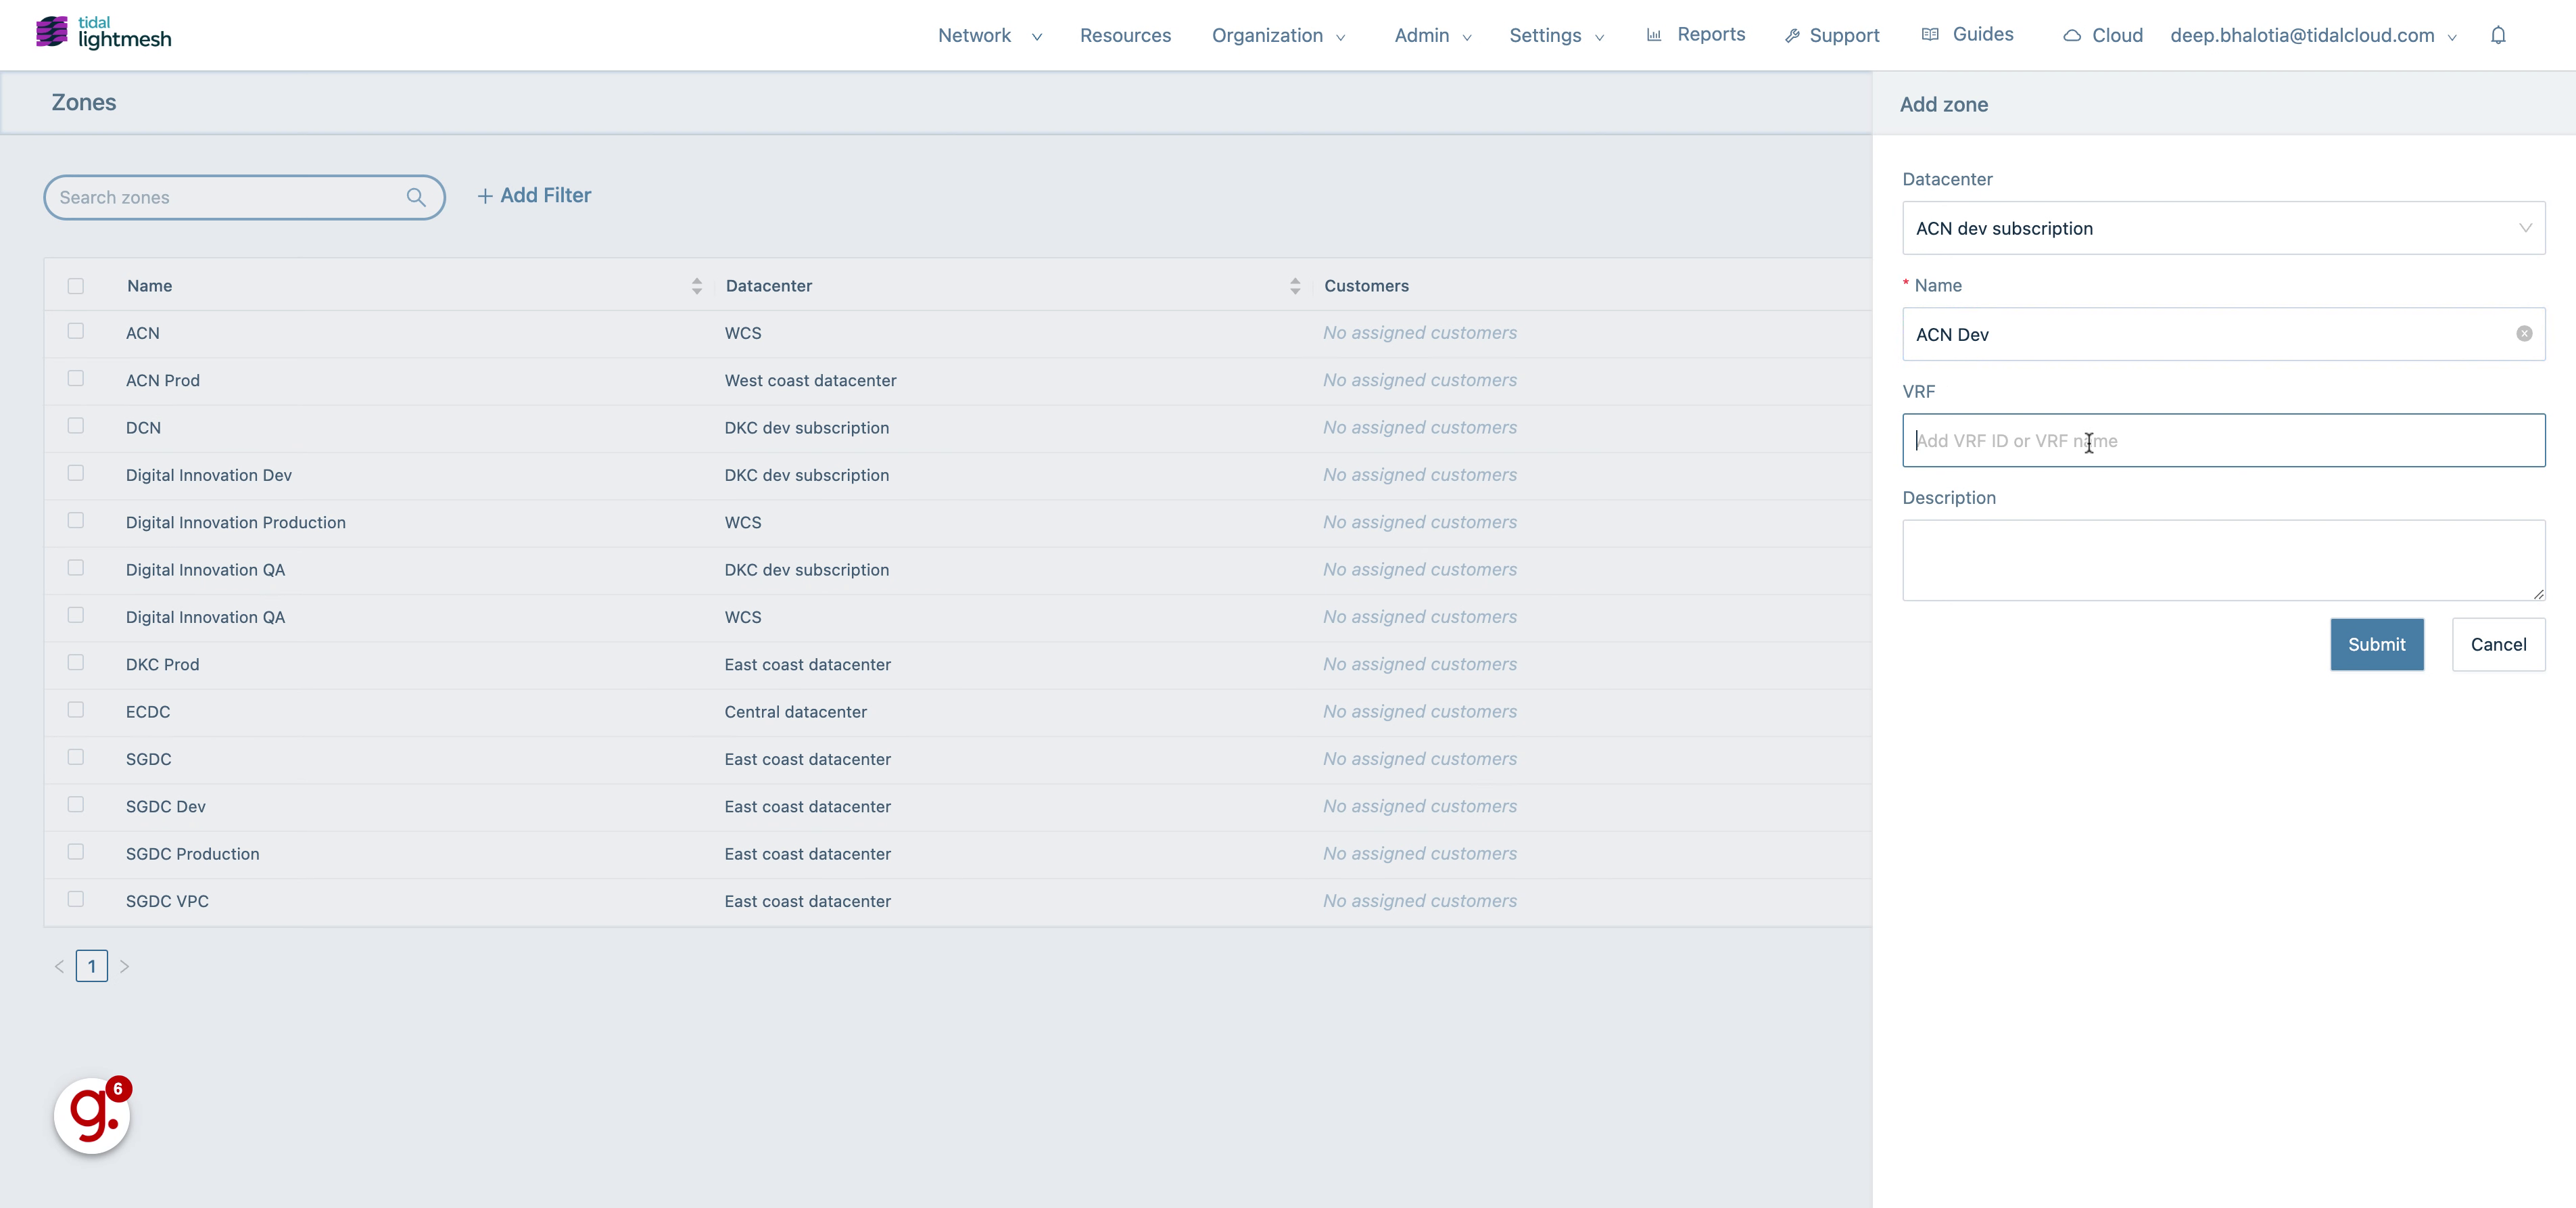
8. Click “Add VRF ID or VRF name”
Provide the VRF ID or name in the designated field.
9. Fill “11”
Enter “11” in the provided field
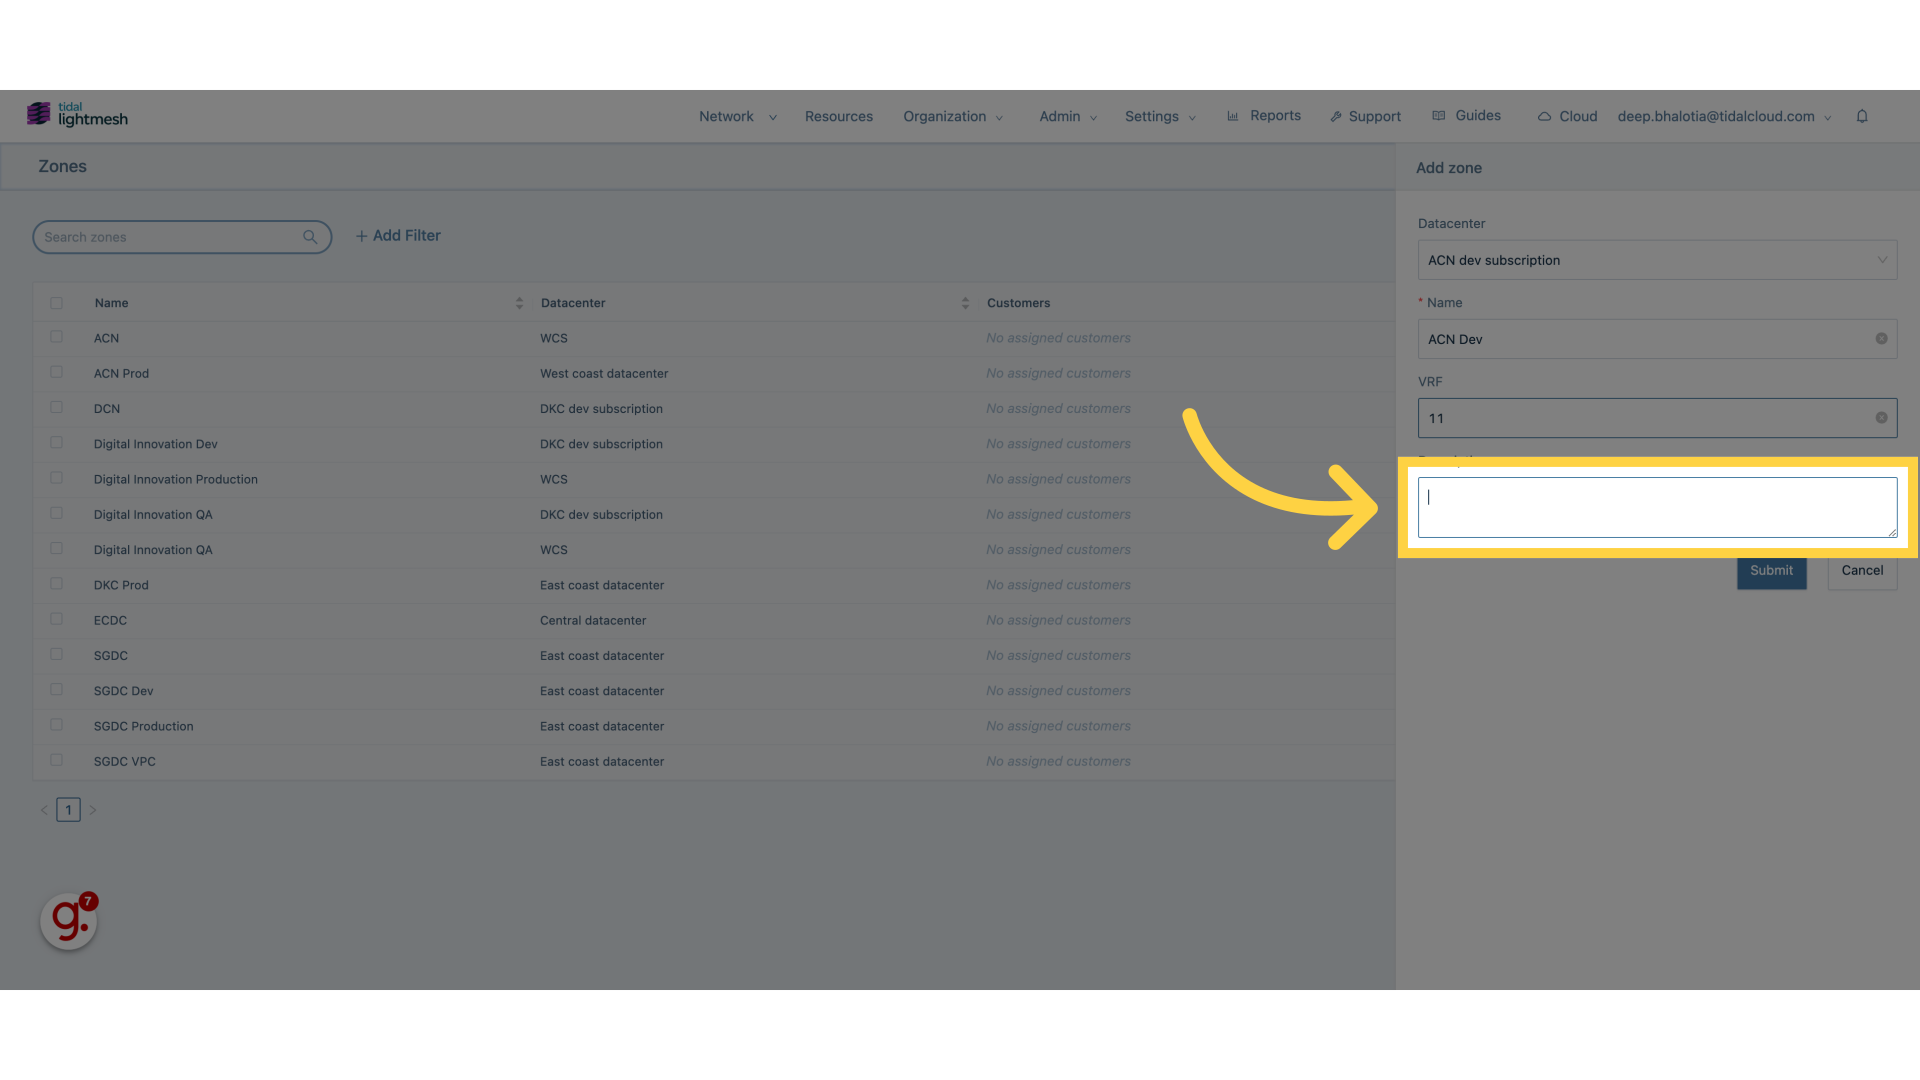
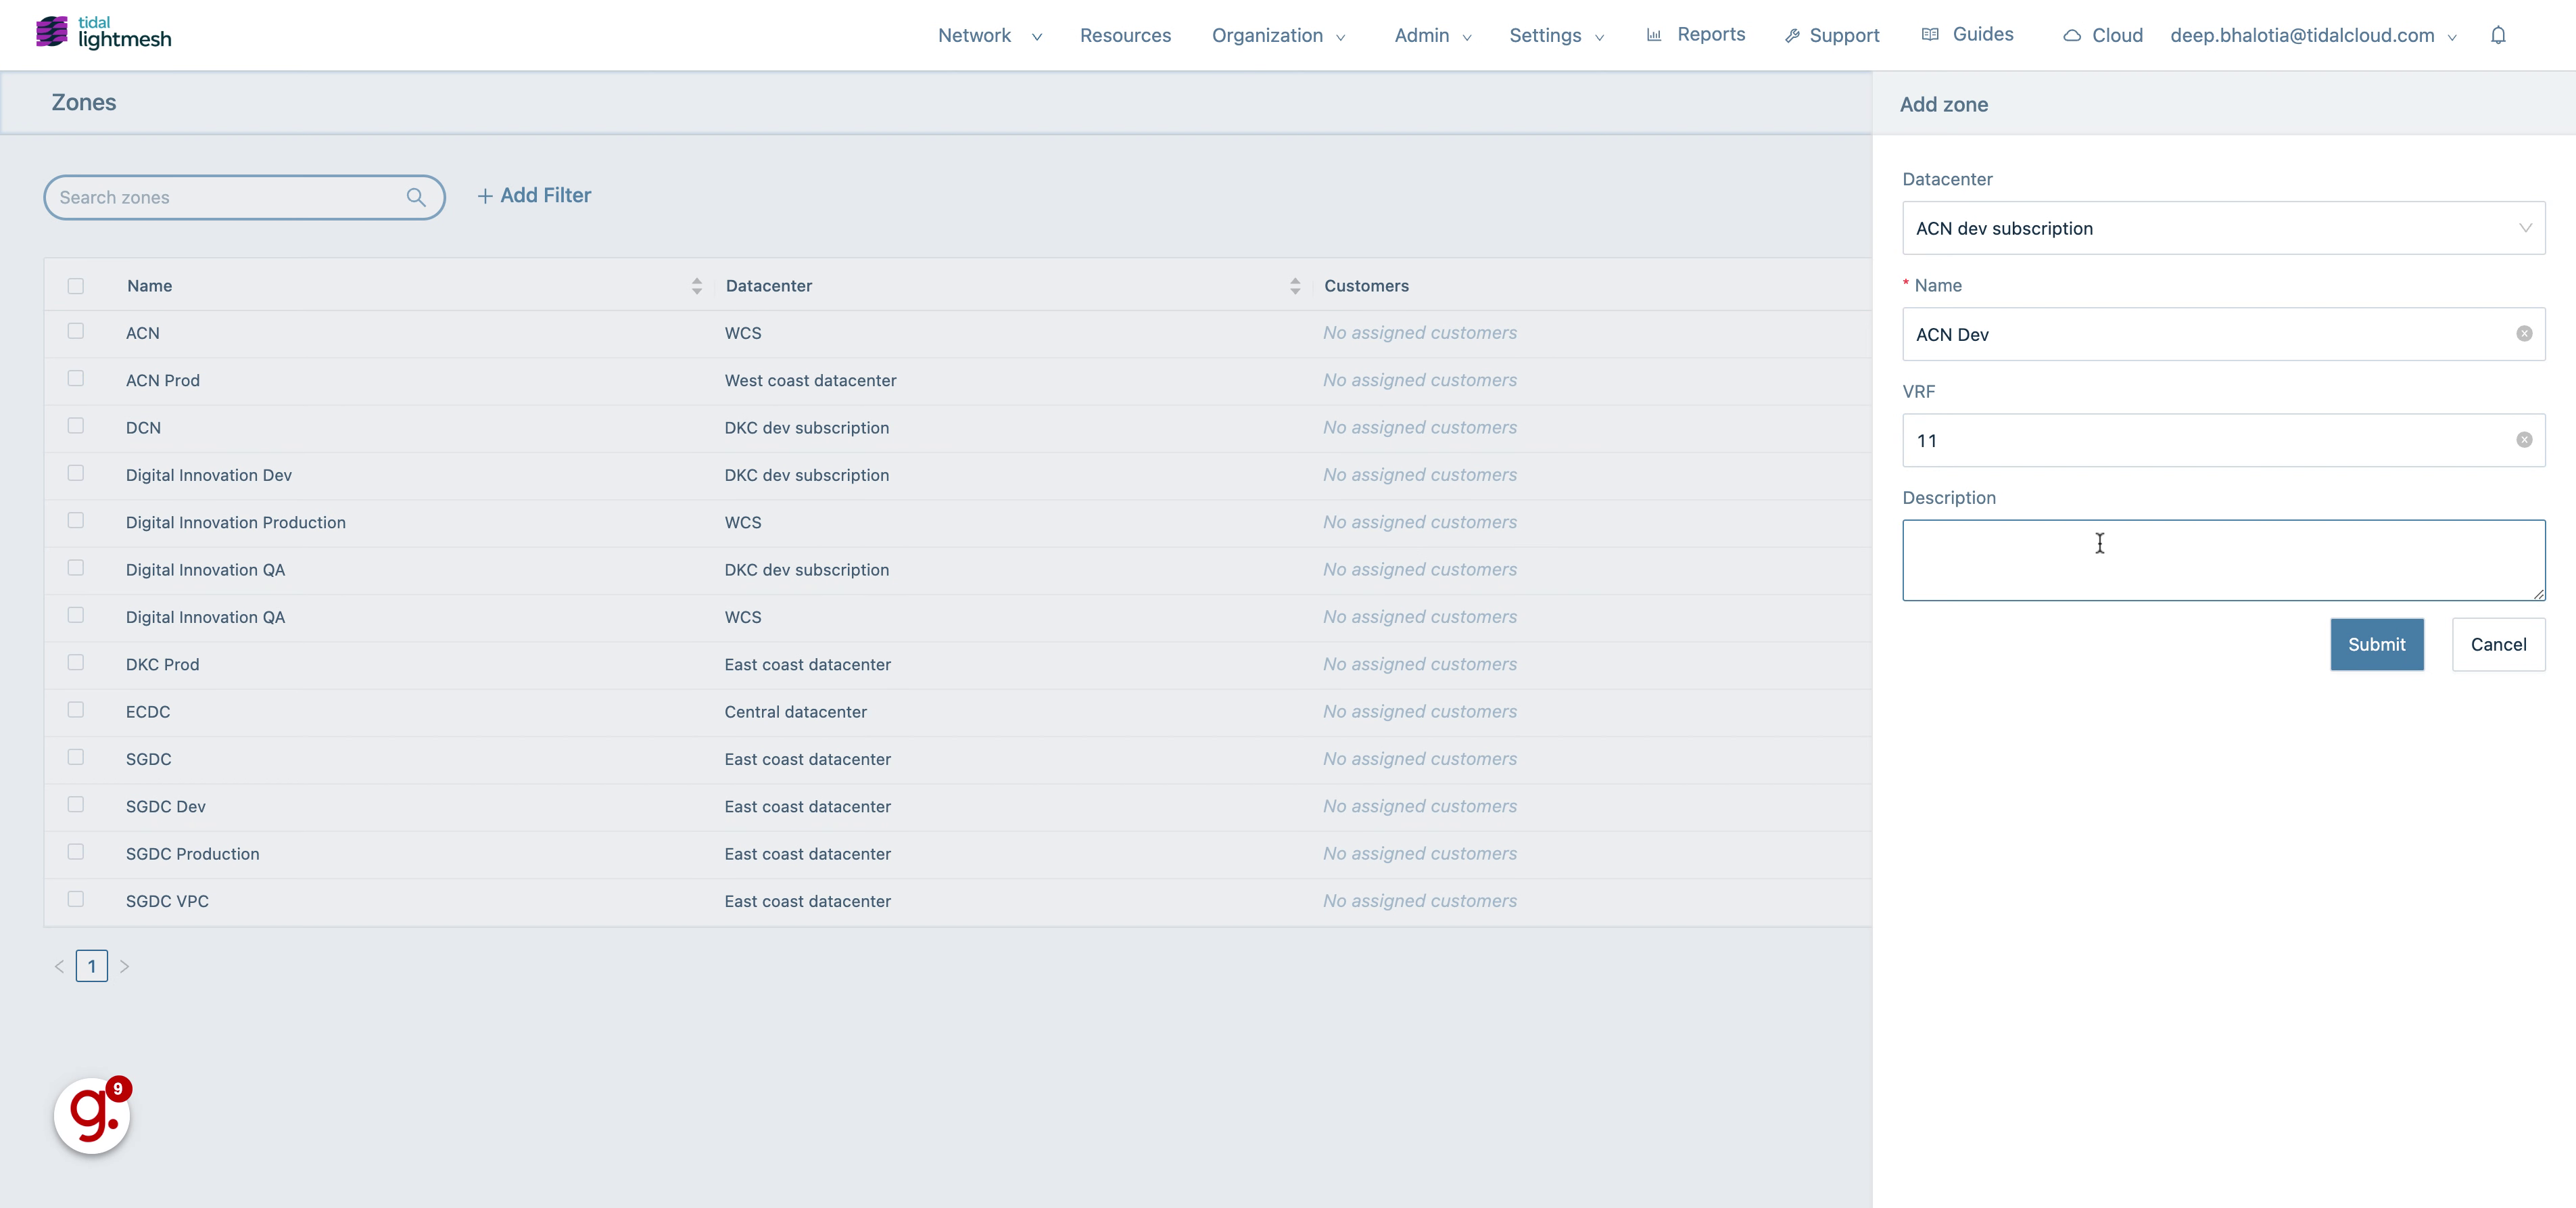
10. Click “Description”
Add a description by clicking on the “Description” field.
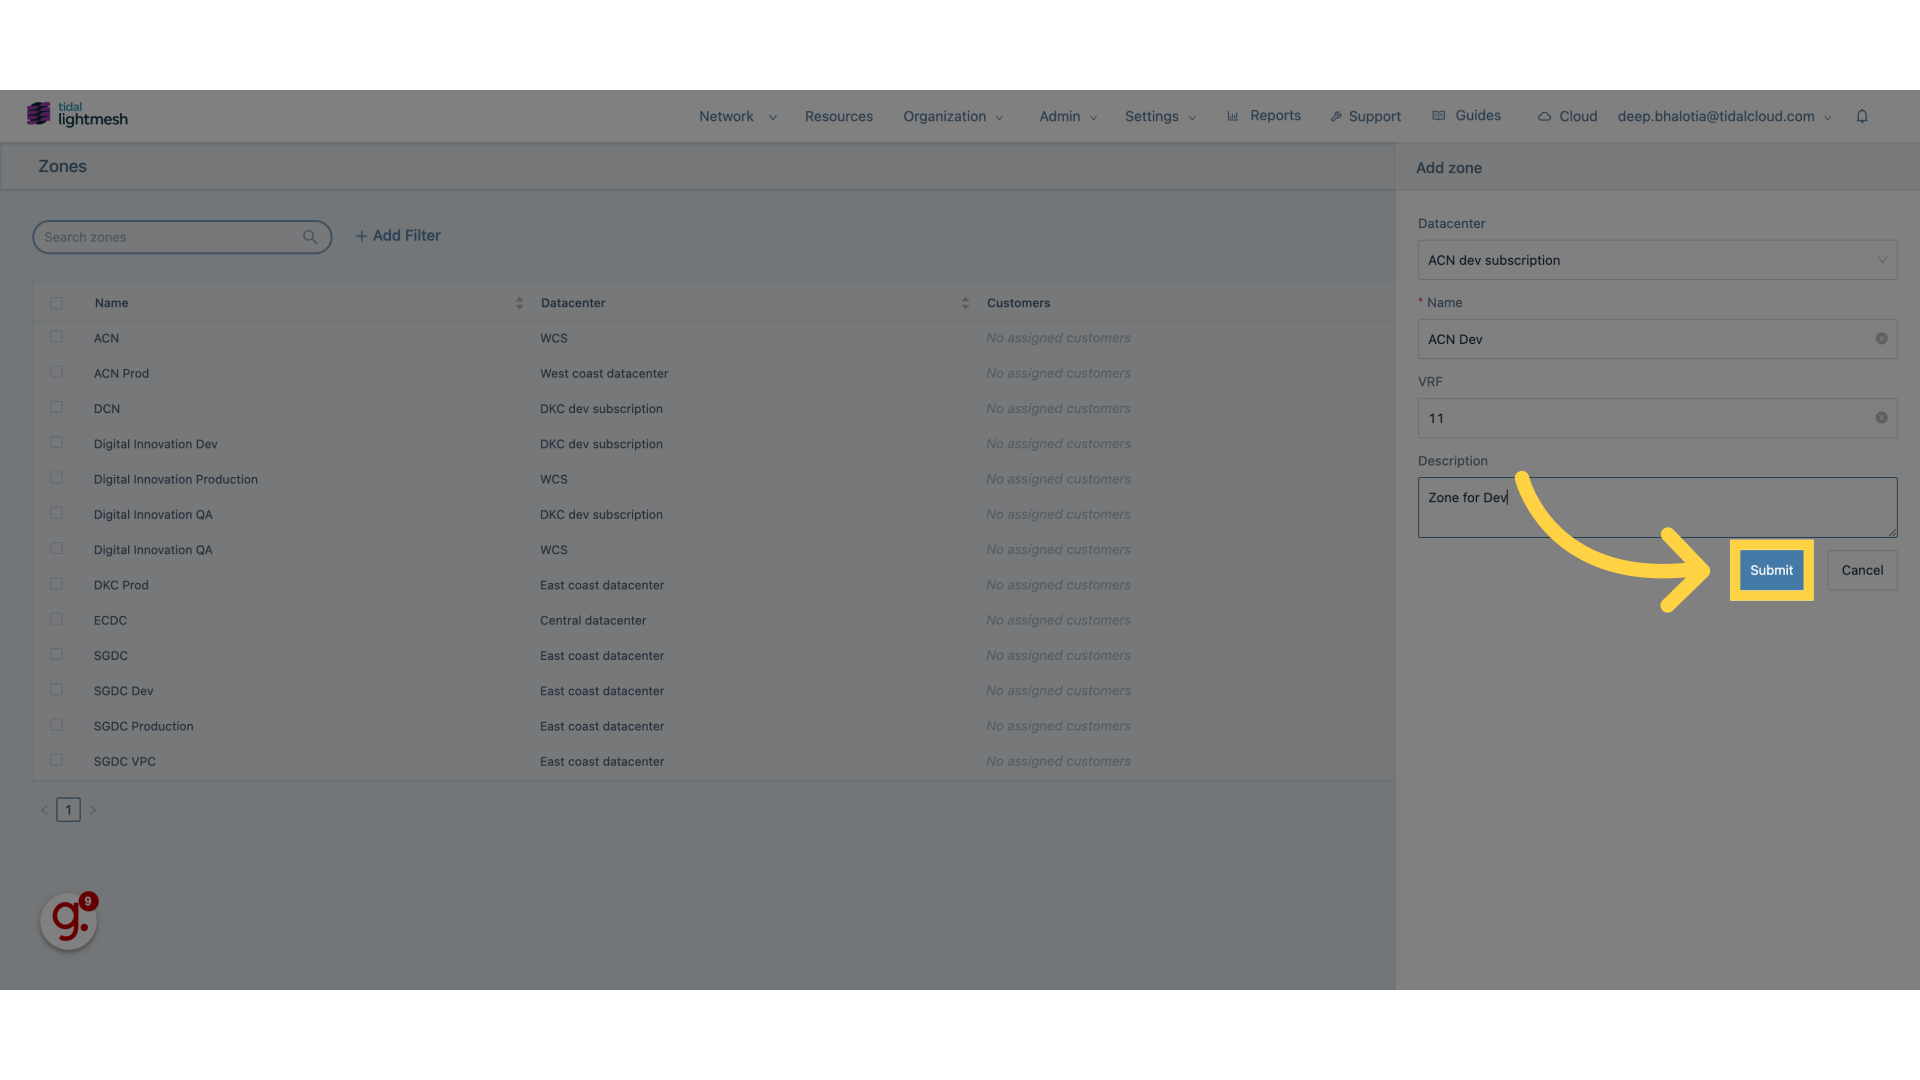
11. Fill “Zone for Dev”
Fill in the text box with “Zone for Dev”
12. Click “Submit”
Finalize the process by selecting the “Submit” button.
The guide covers the process of adding zones in Lightmesh, from selecting options like “Add Zone” and “Submit” to entering details like name and description.