New User Group
This guide walks you through the process of adding new user groups in LightMesh. User groups allow you to organize and manage collections of users effectively, assigning specific permissions and access levels as needed. By grouping users, you can simplify role management and ensure that team members have appropriate access to network resources and LightMesh features
1. Introduction
By clicking through the steps, you can easily create and assign user groups, streamlining user management and access control in the application.
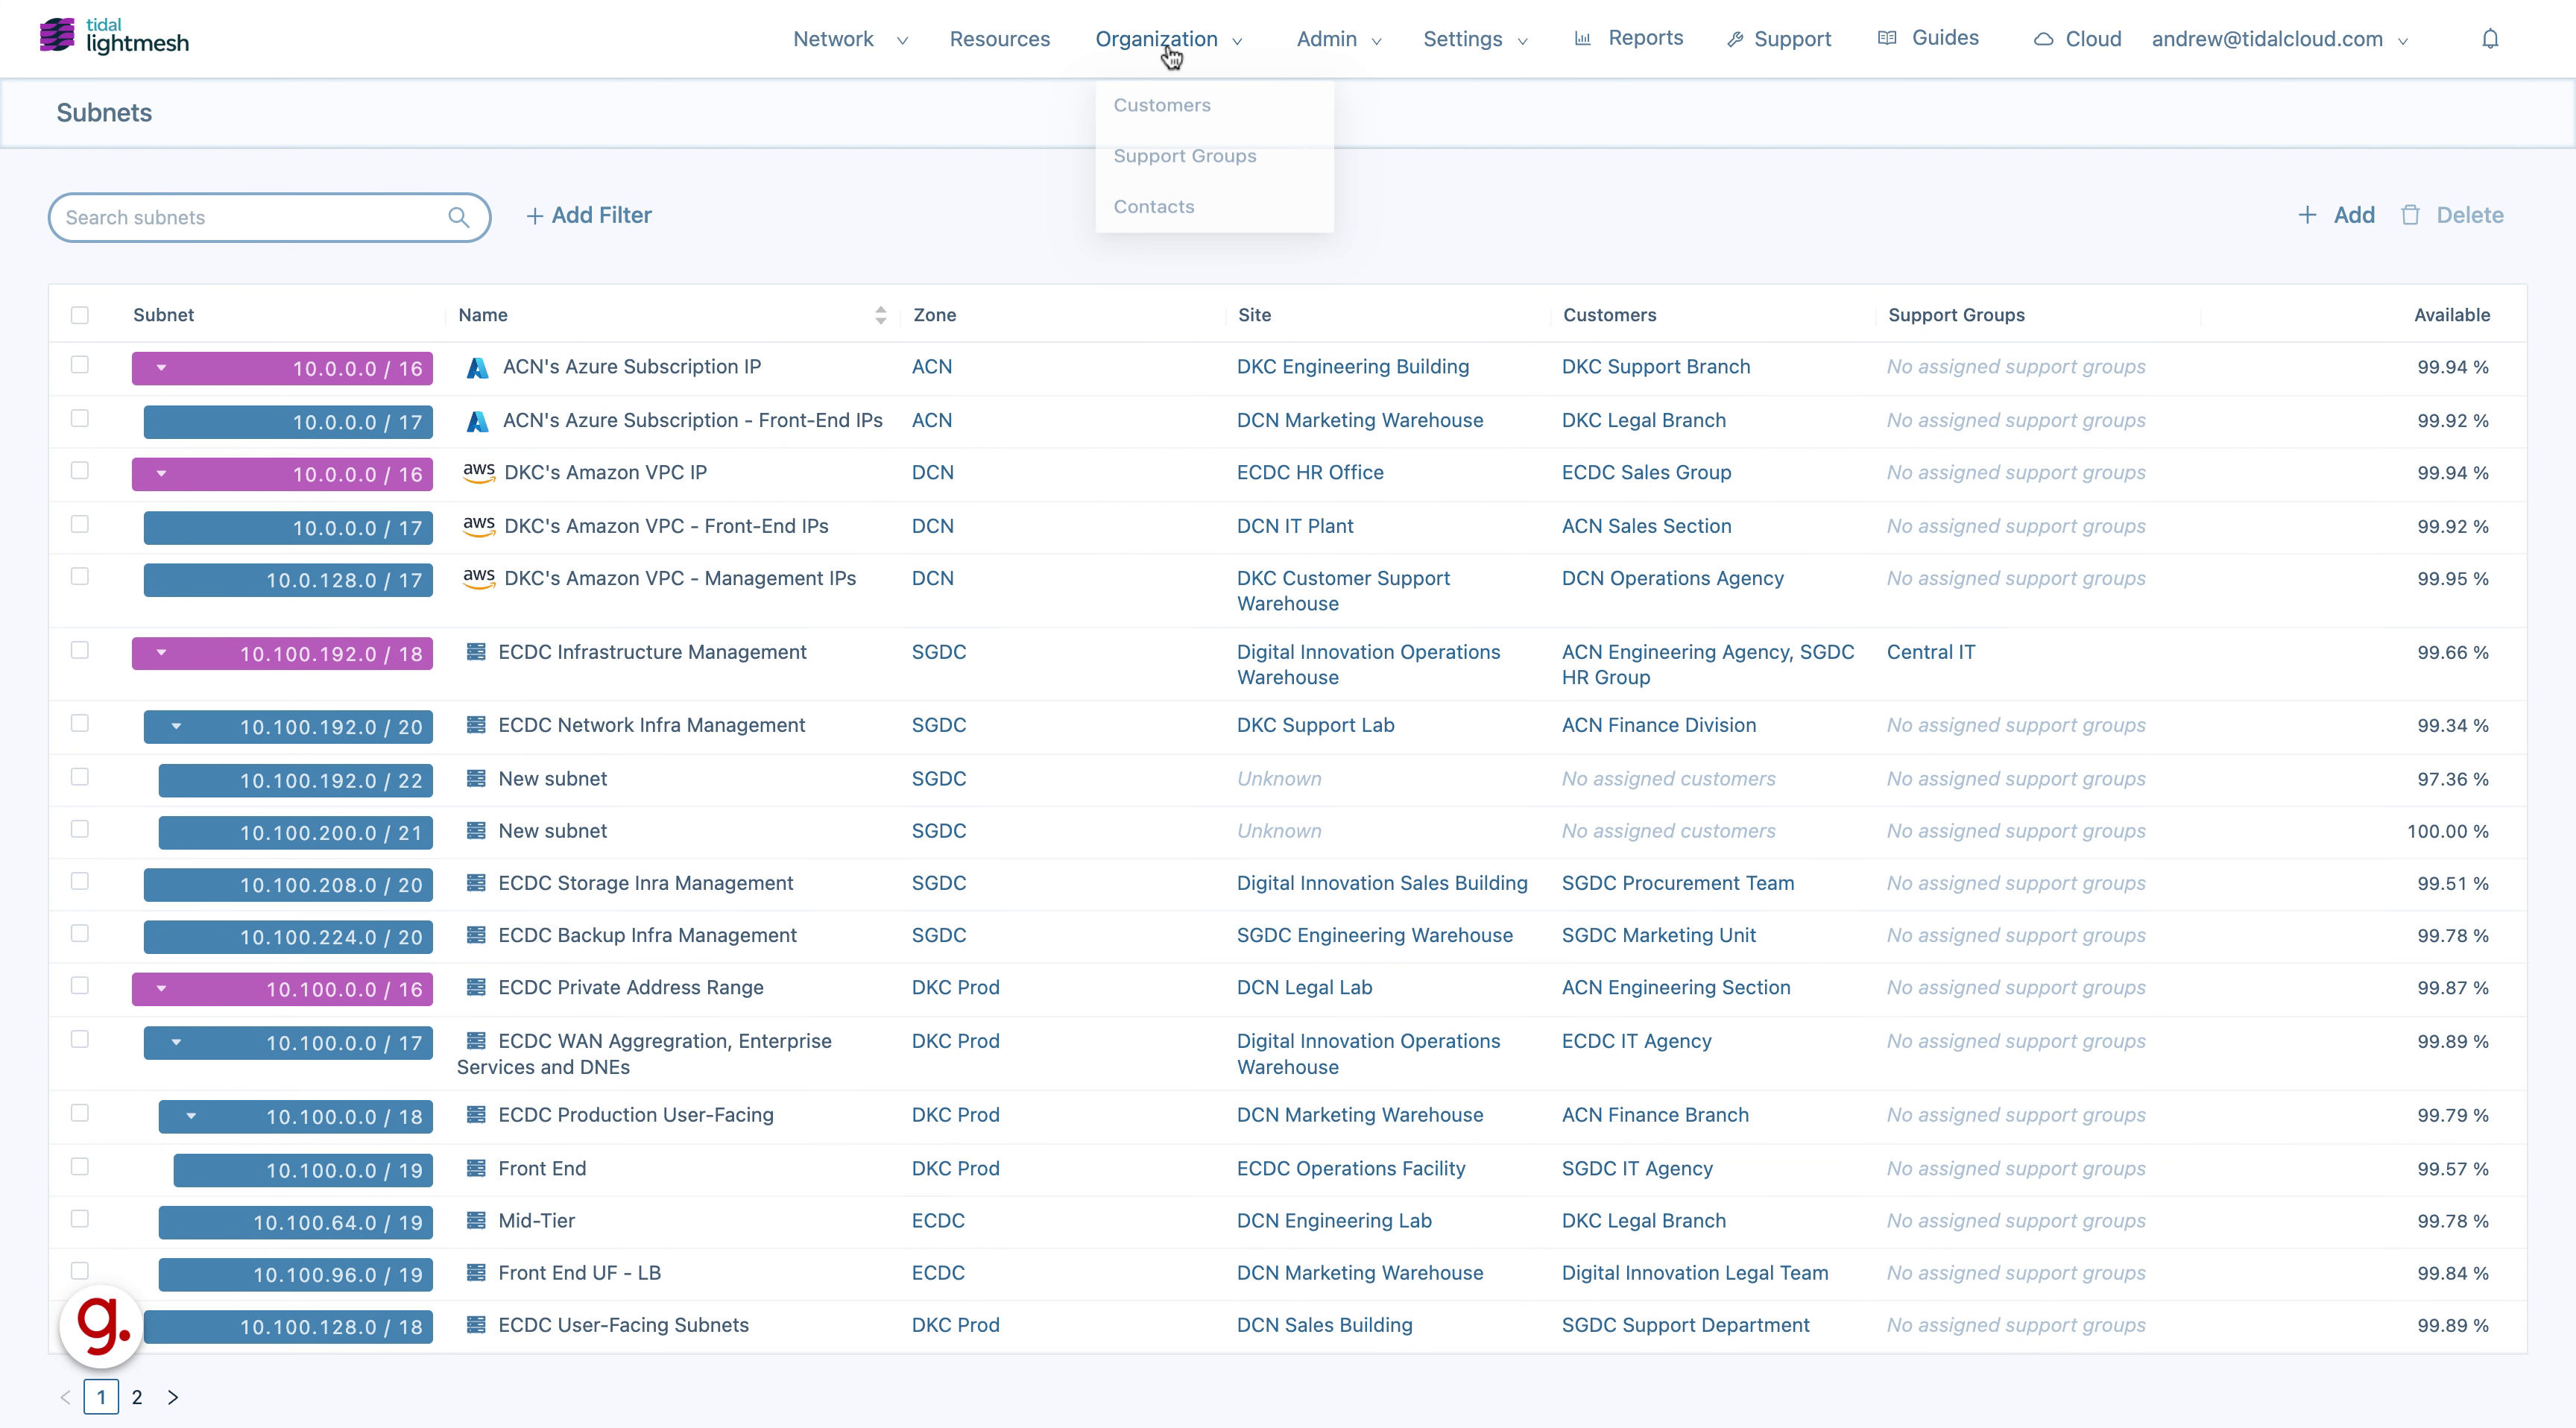
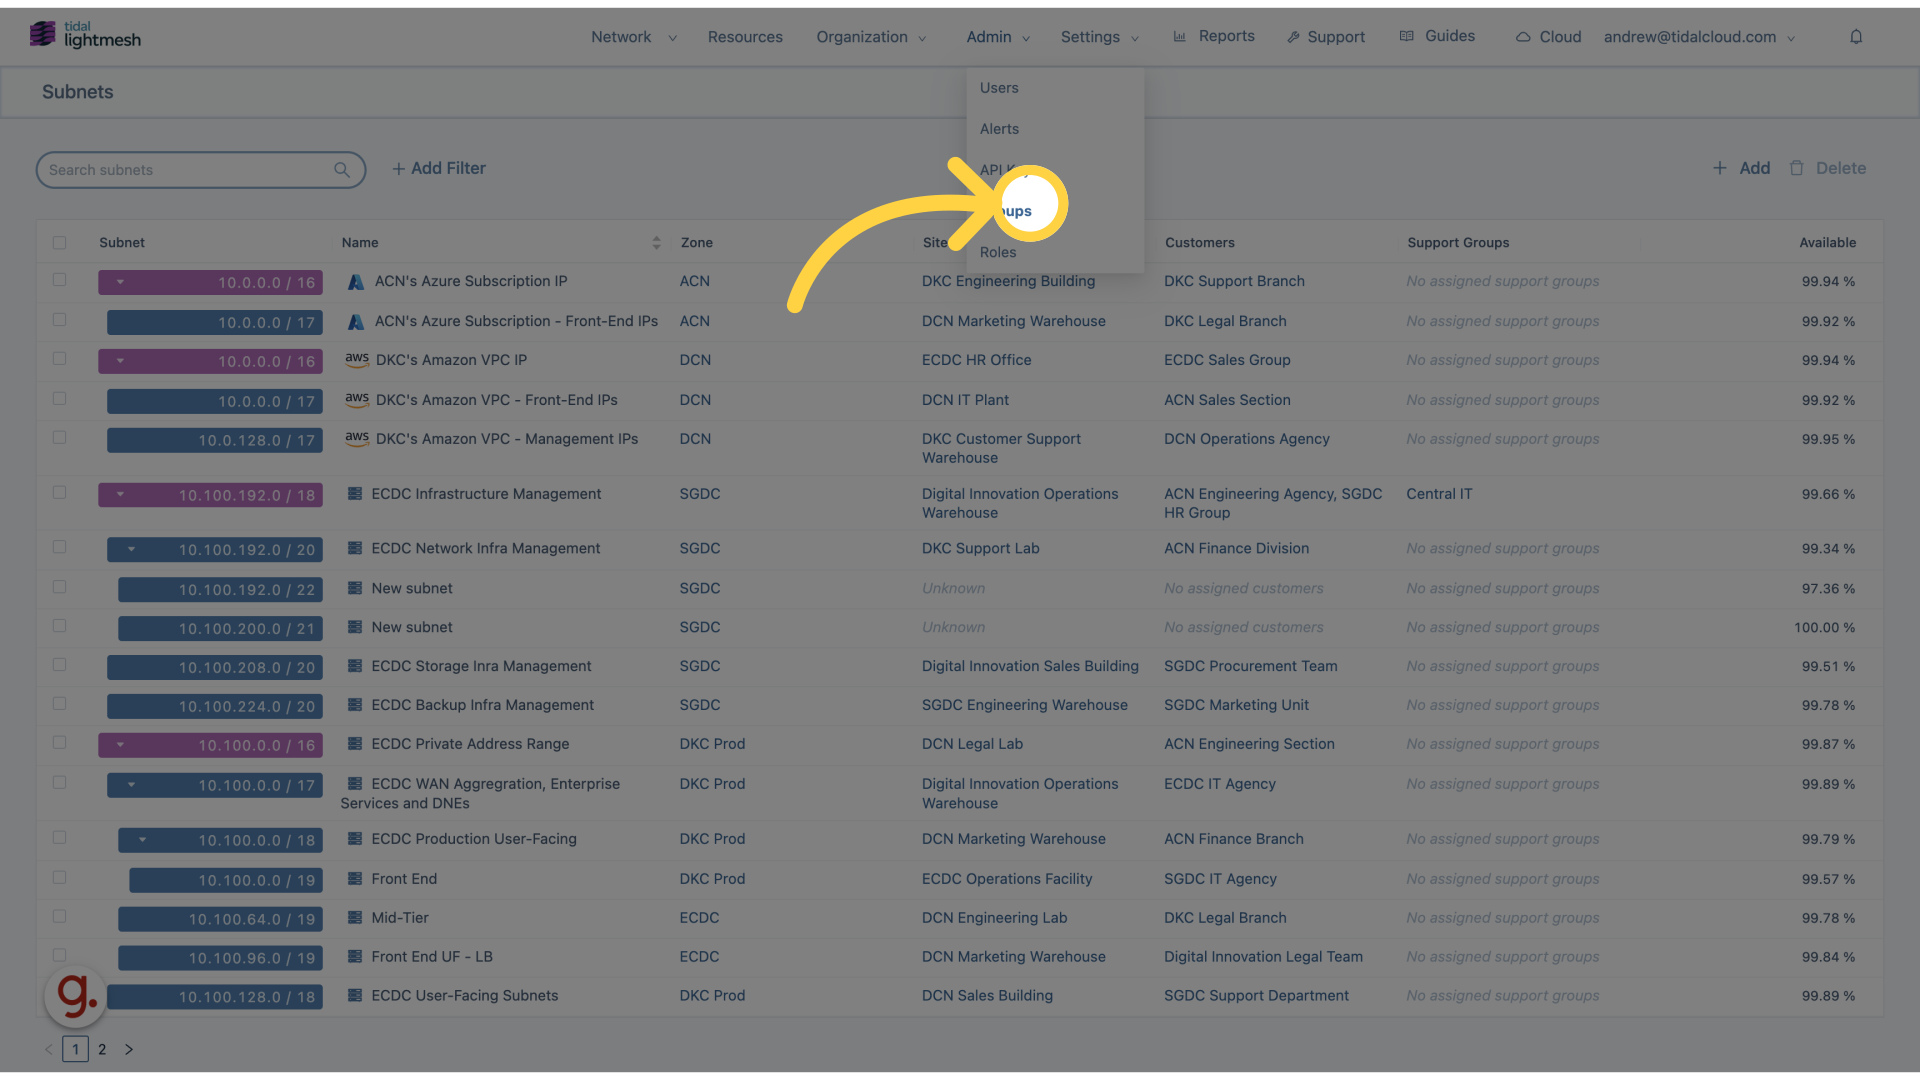
2. Click here
Click on the designated button.
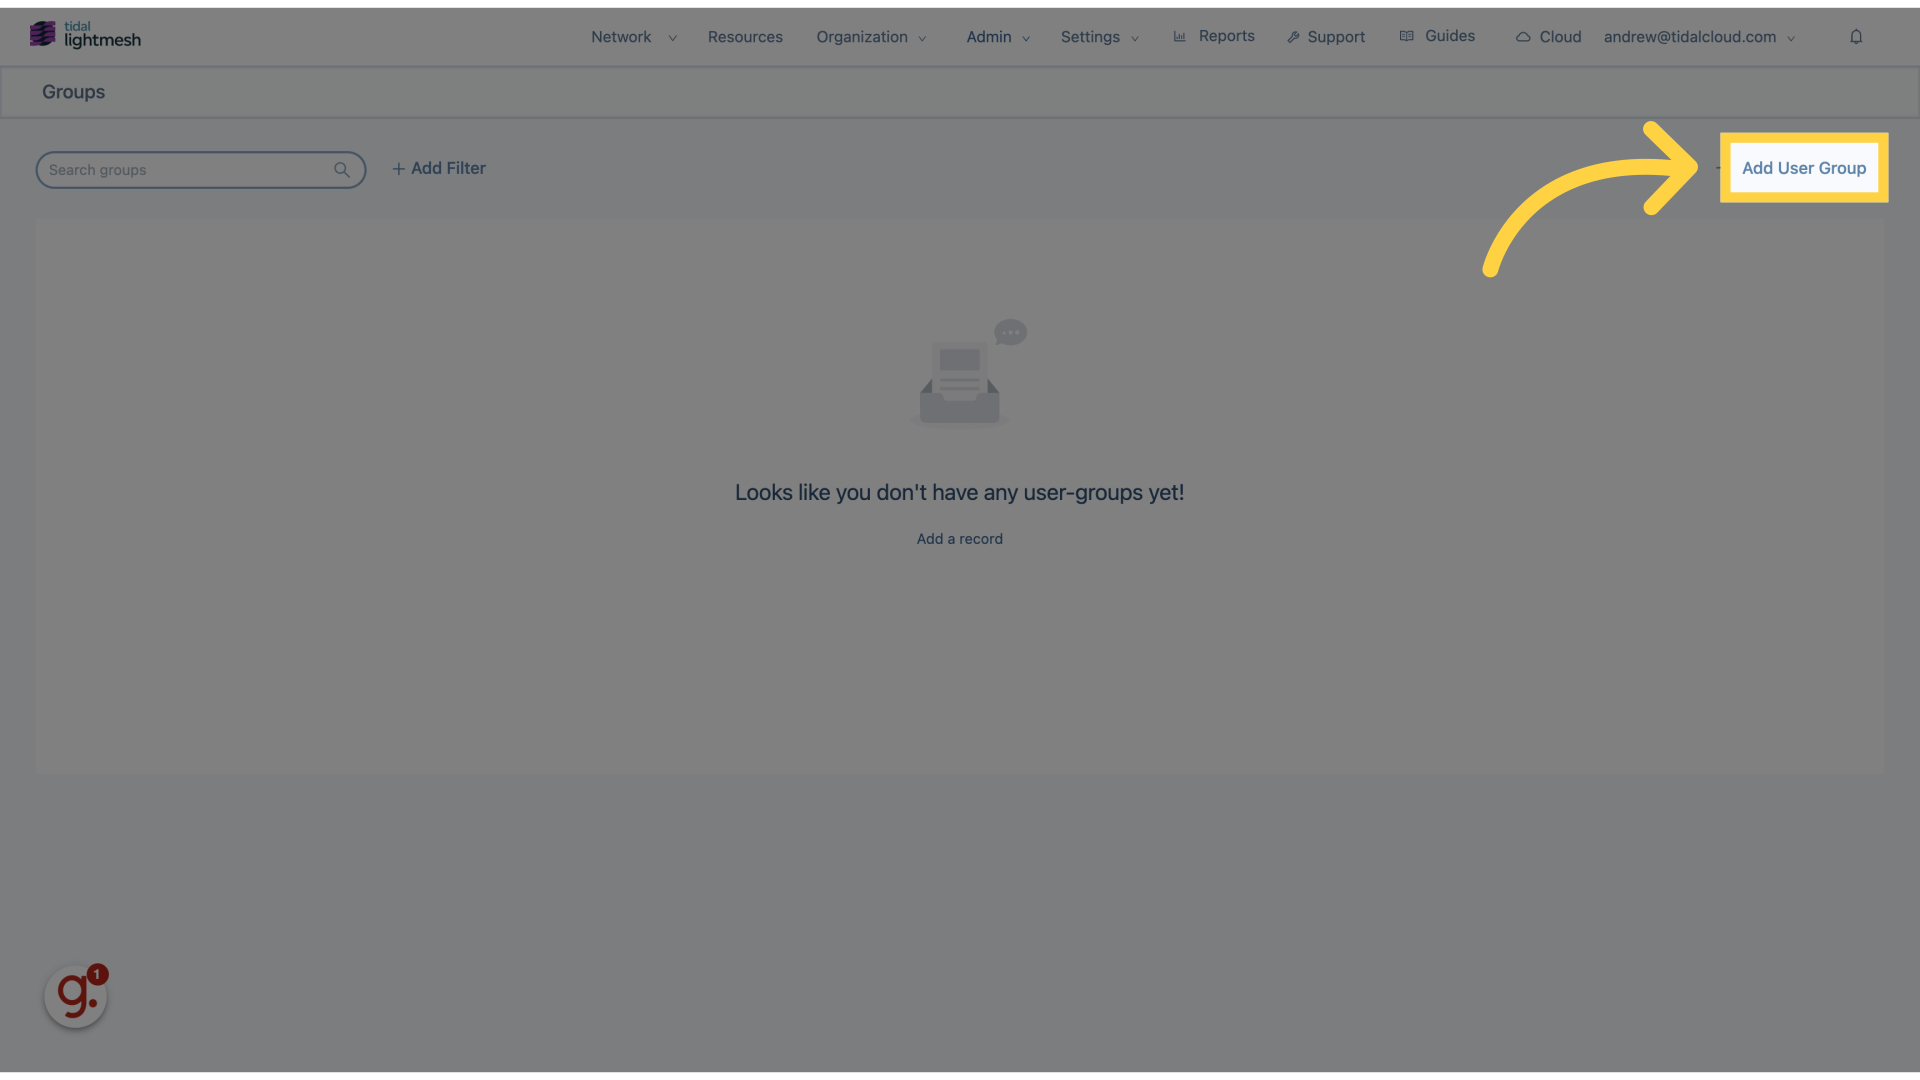
3. Click “Add User Group”
Navigate to the “Add User Group” option.
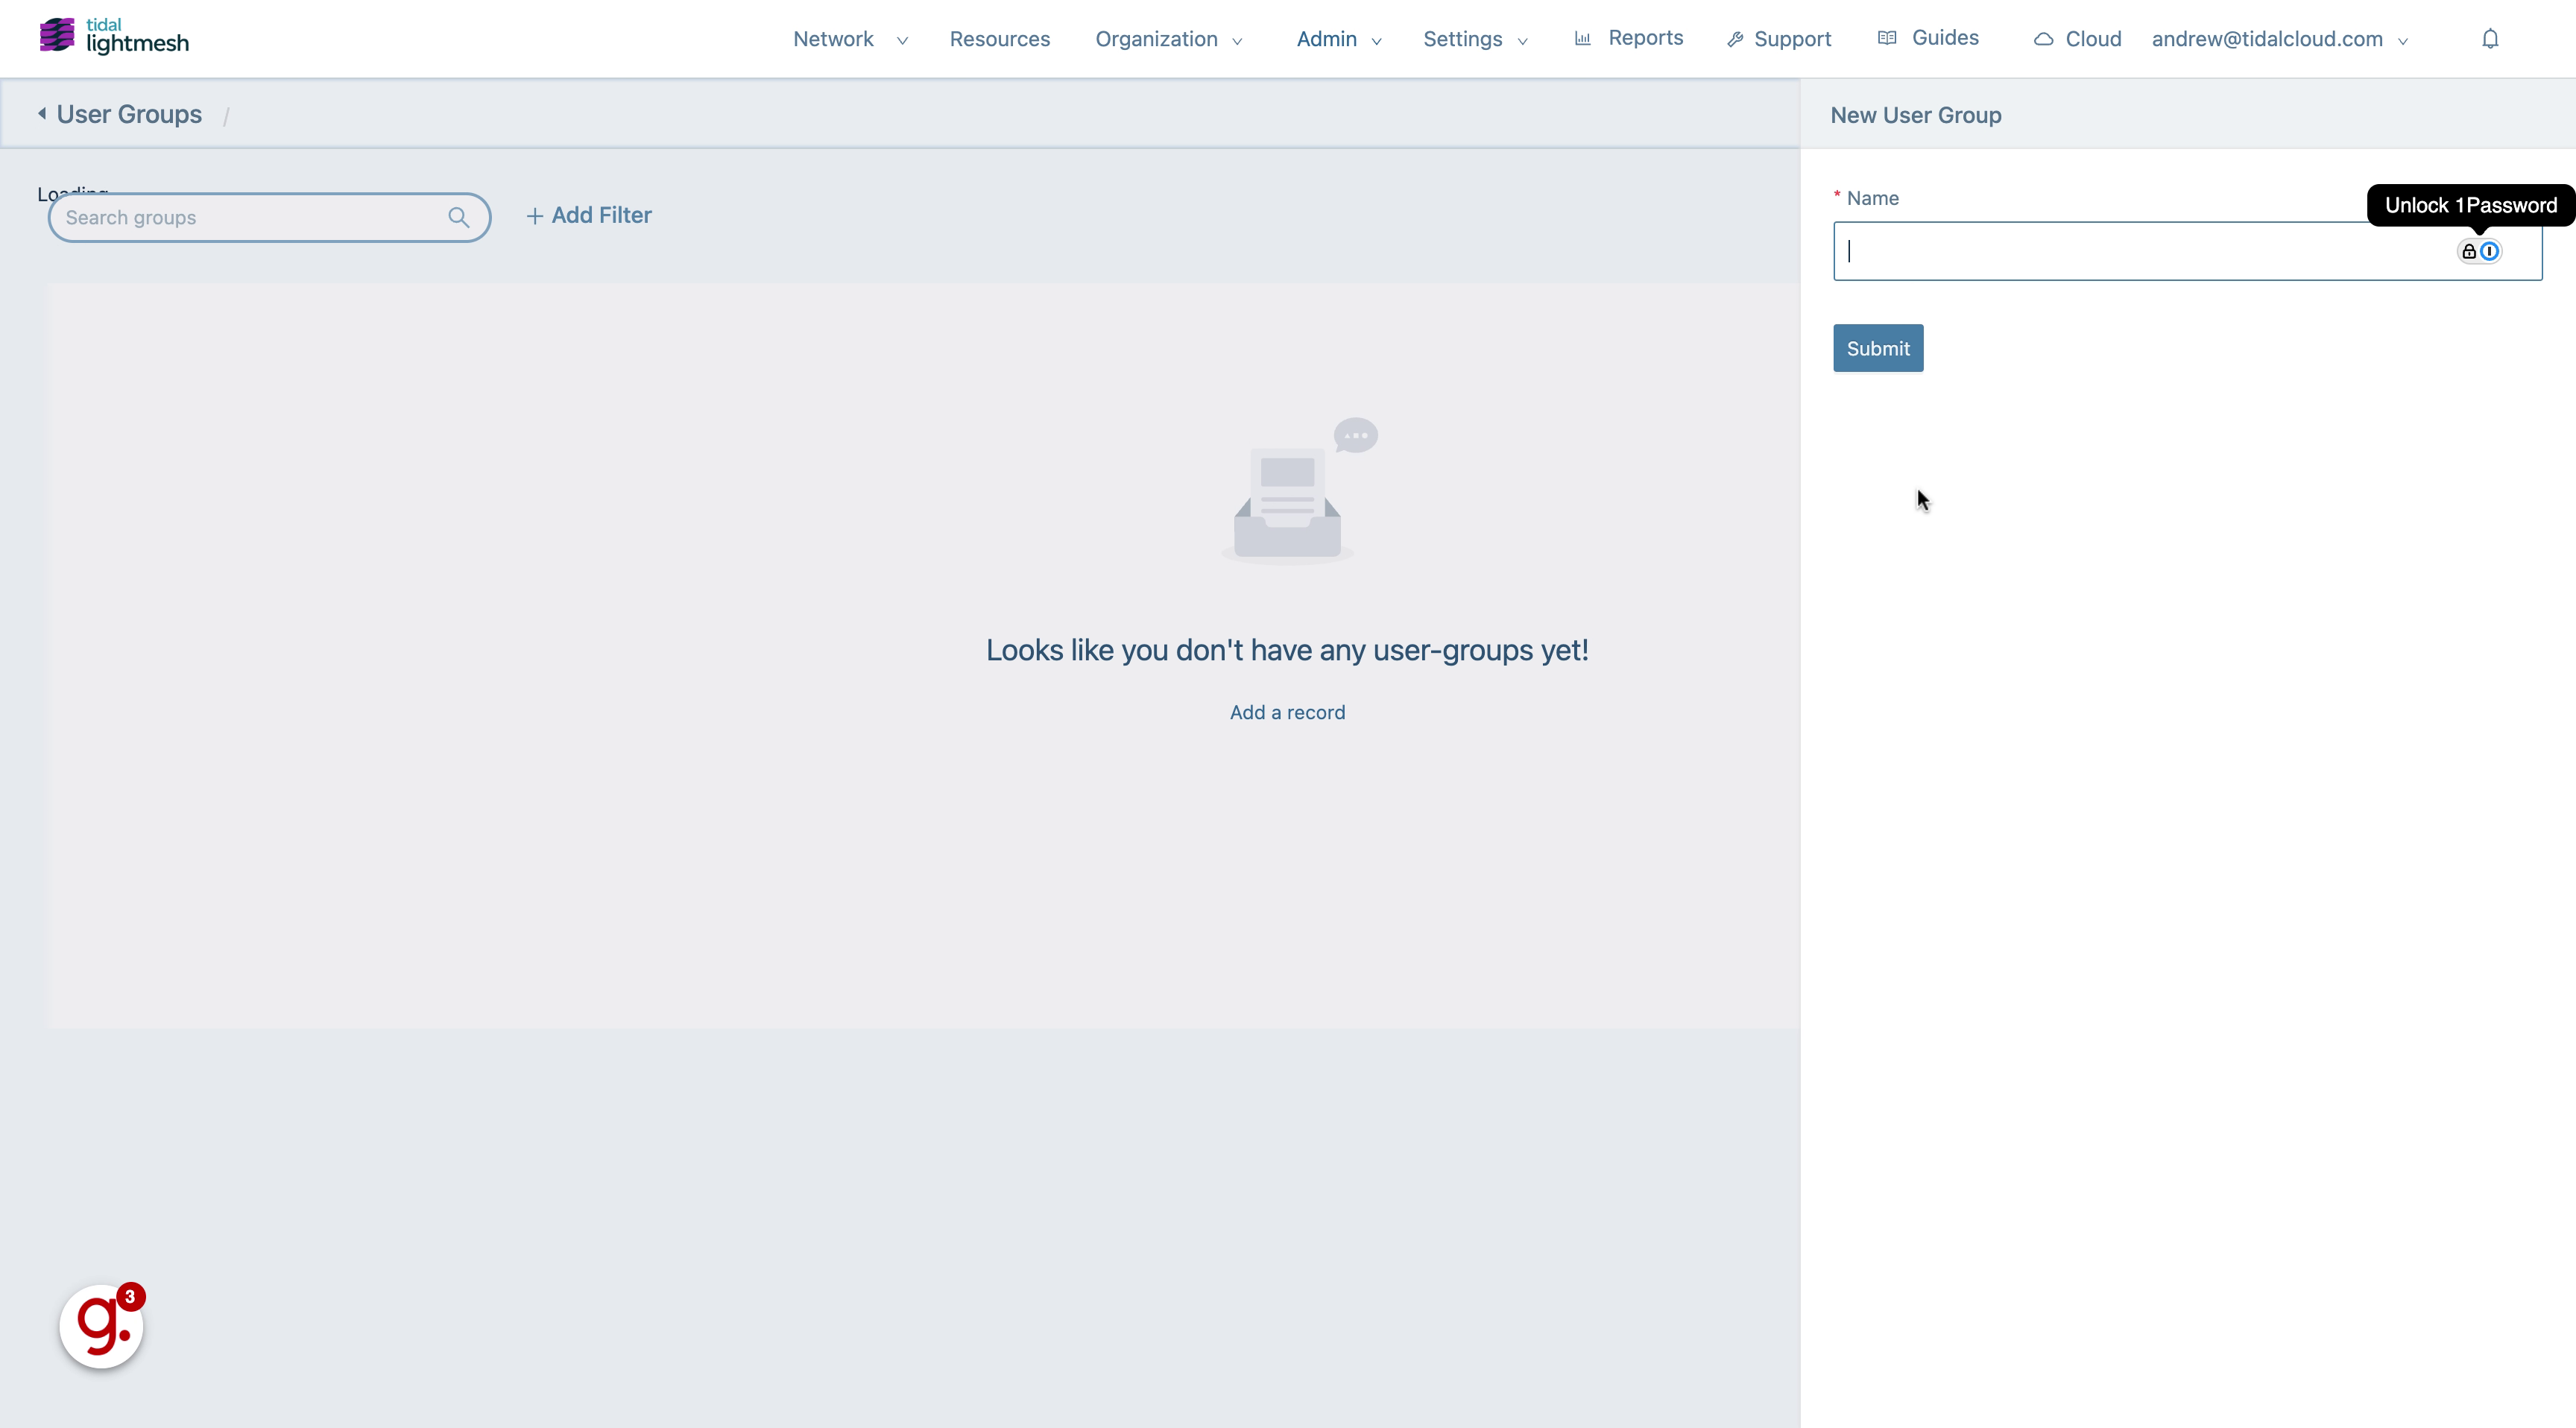
4. Click “Name”
Enter the desired name.
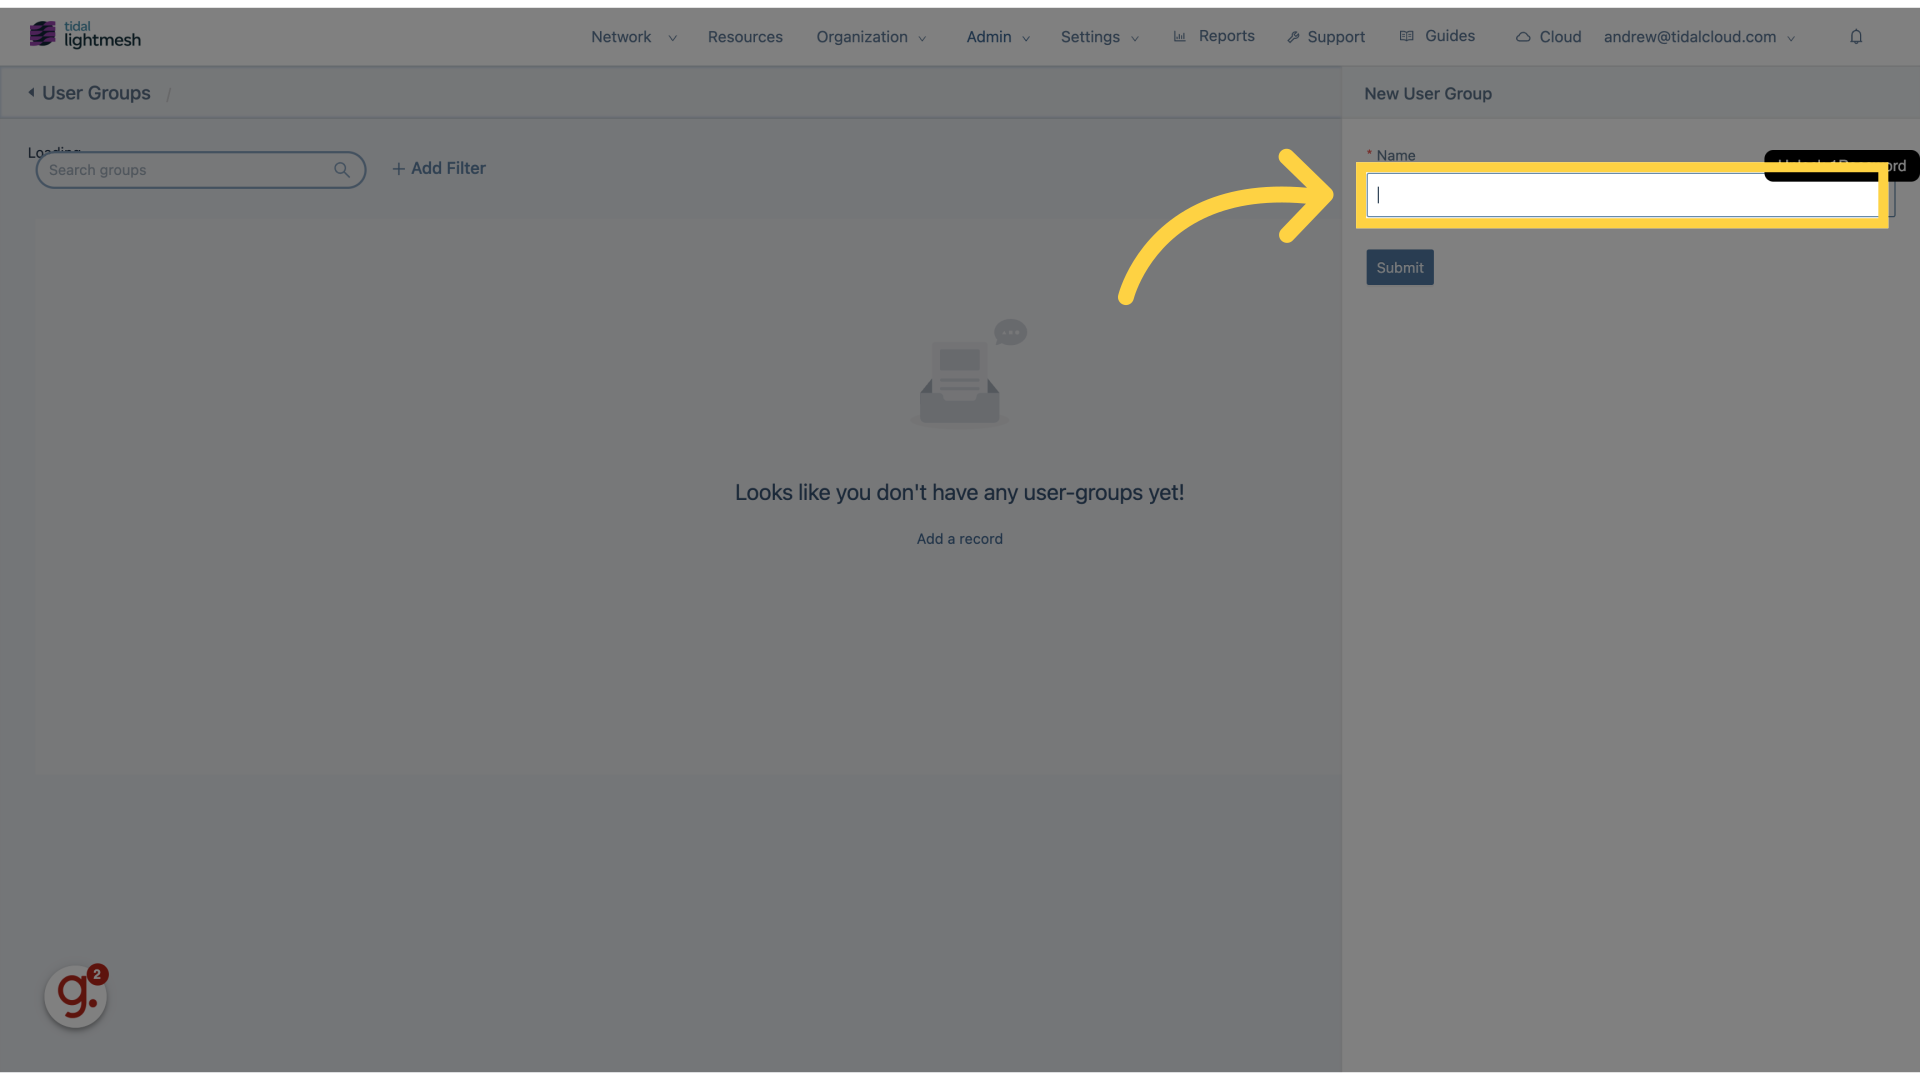
5. Fill “IT group”
Fill in “IT group”
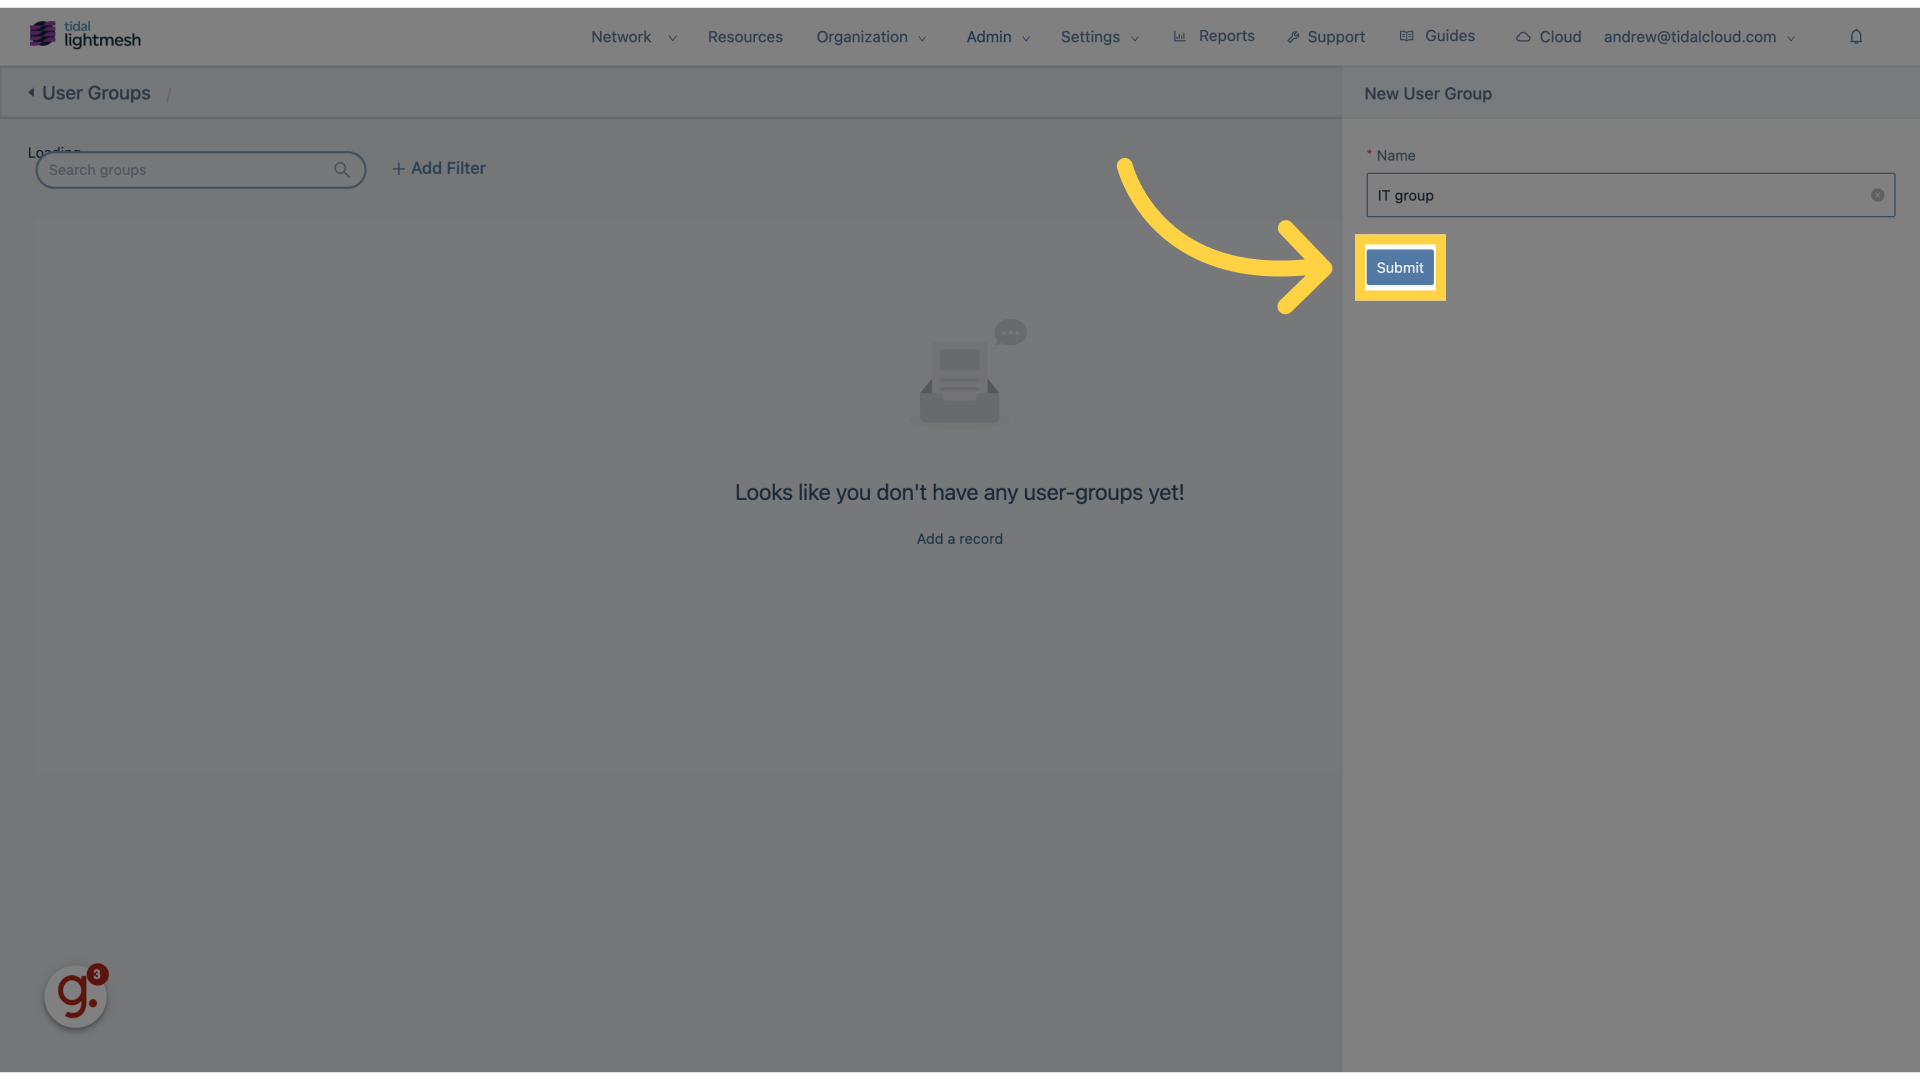
6. Click “Submit”
Submit the information.
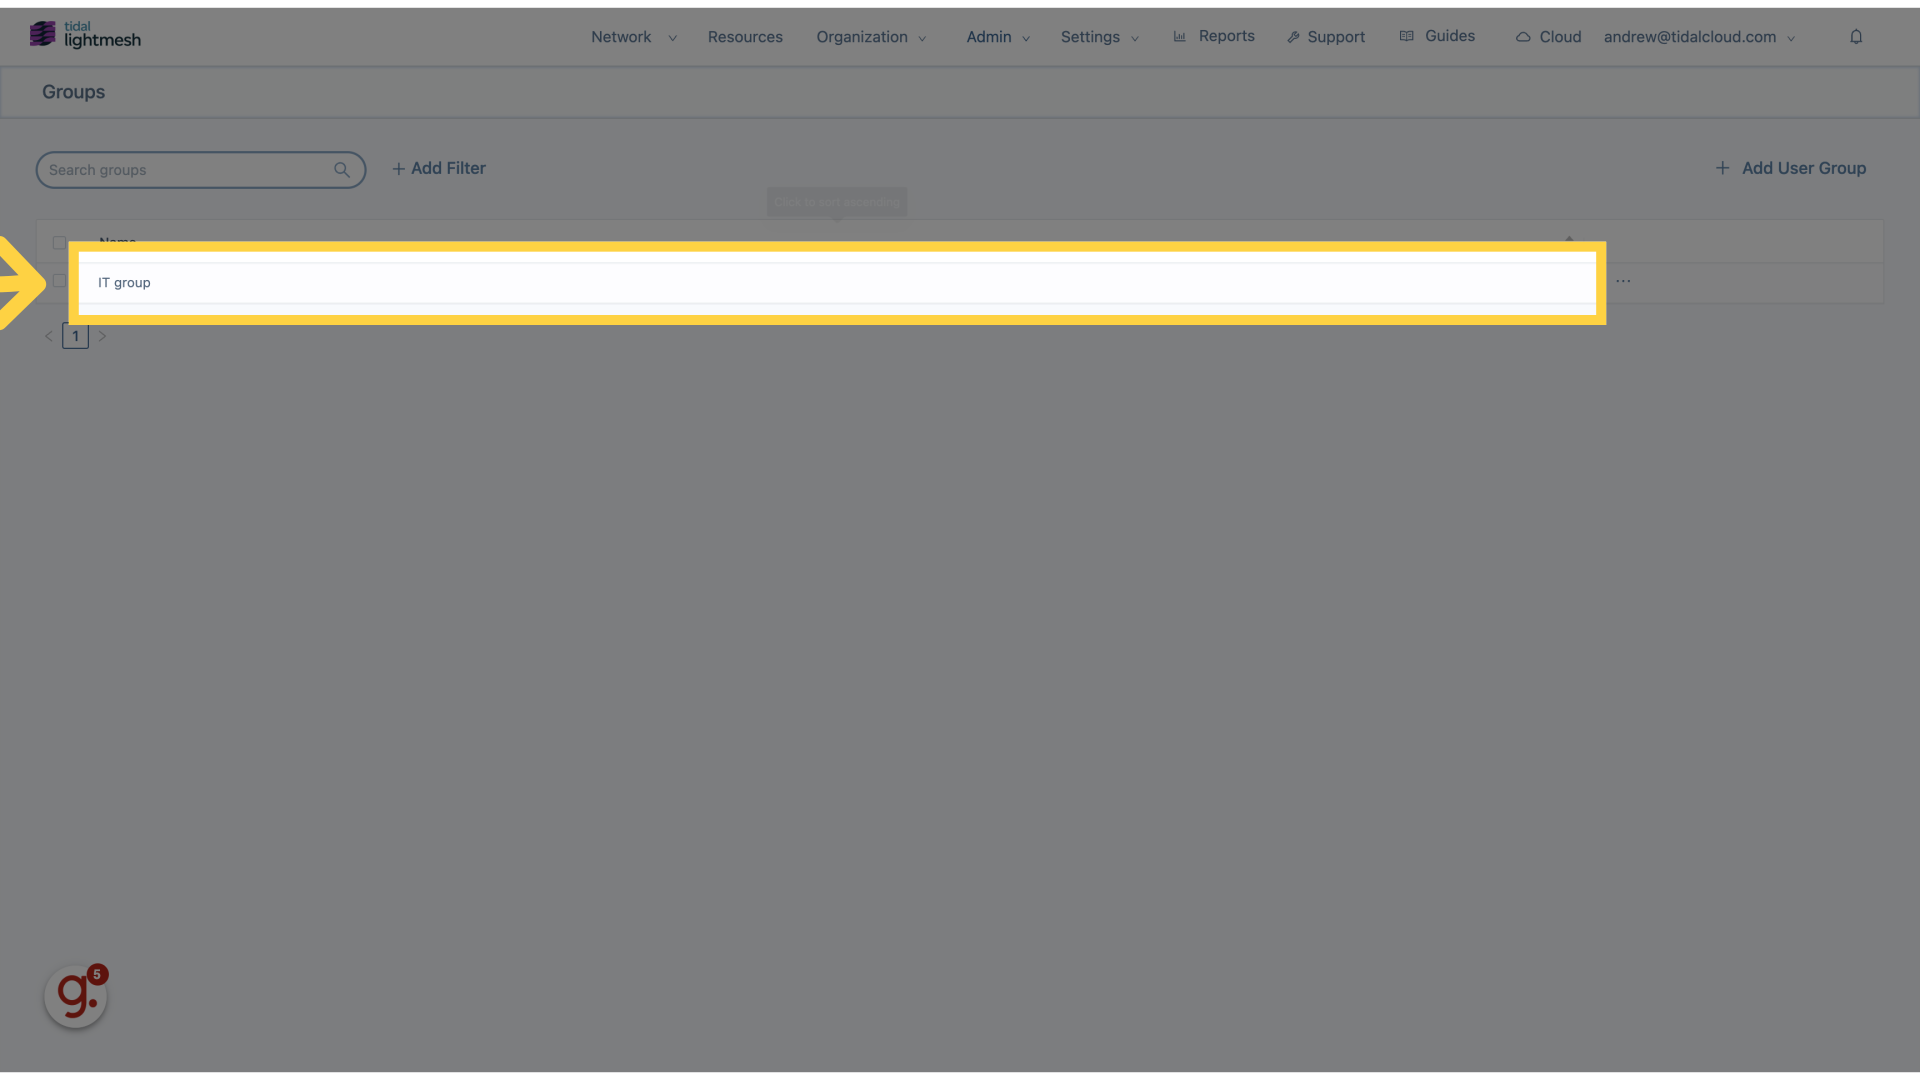
7. Click “IT group”
Select the “IT group” option.
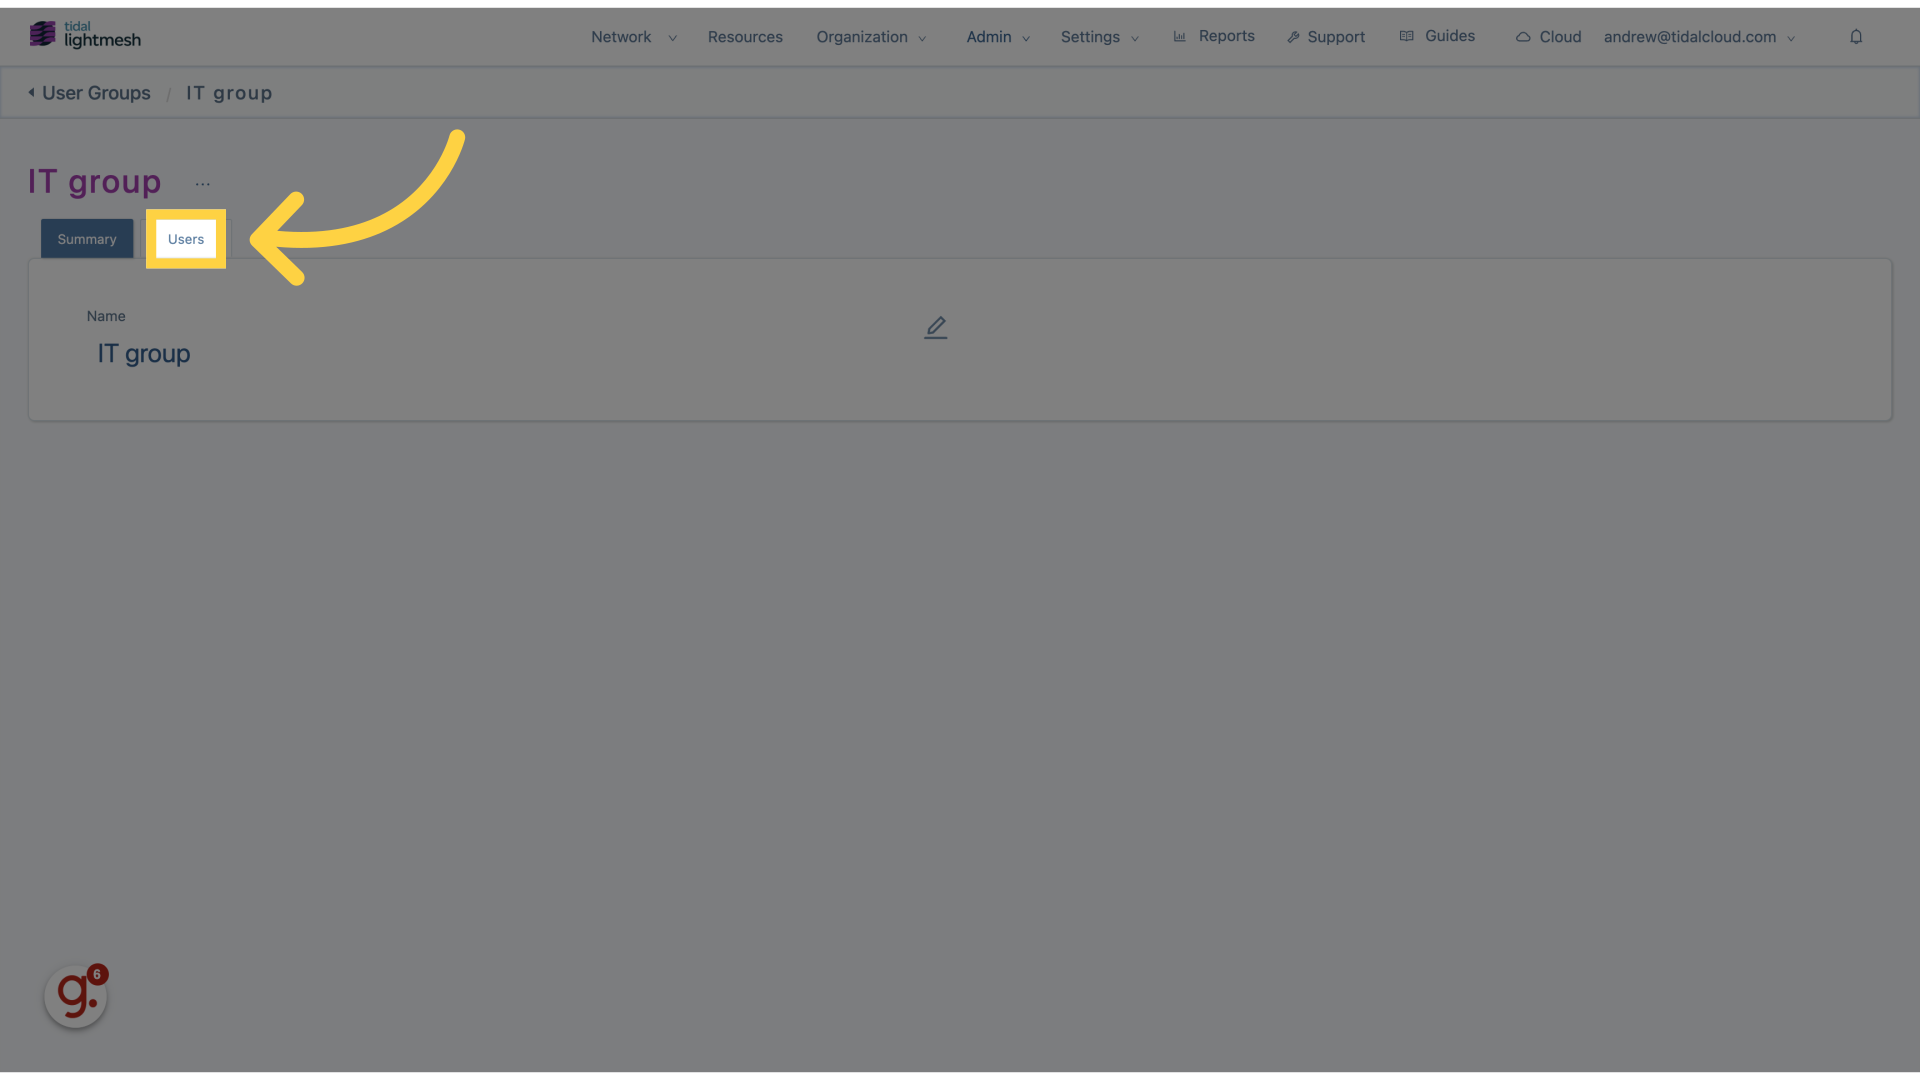
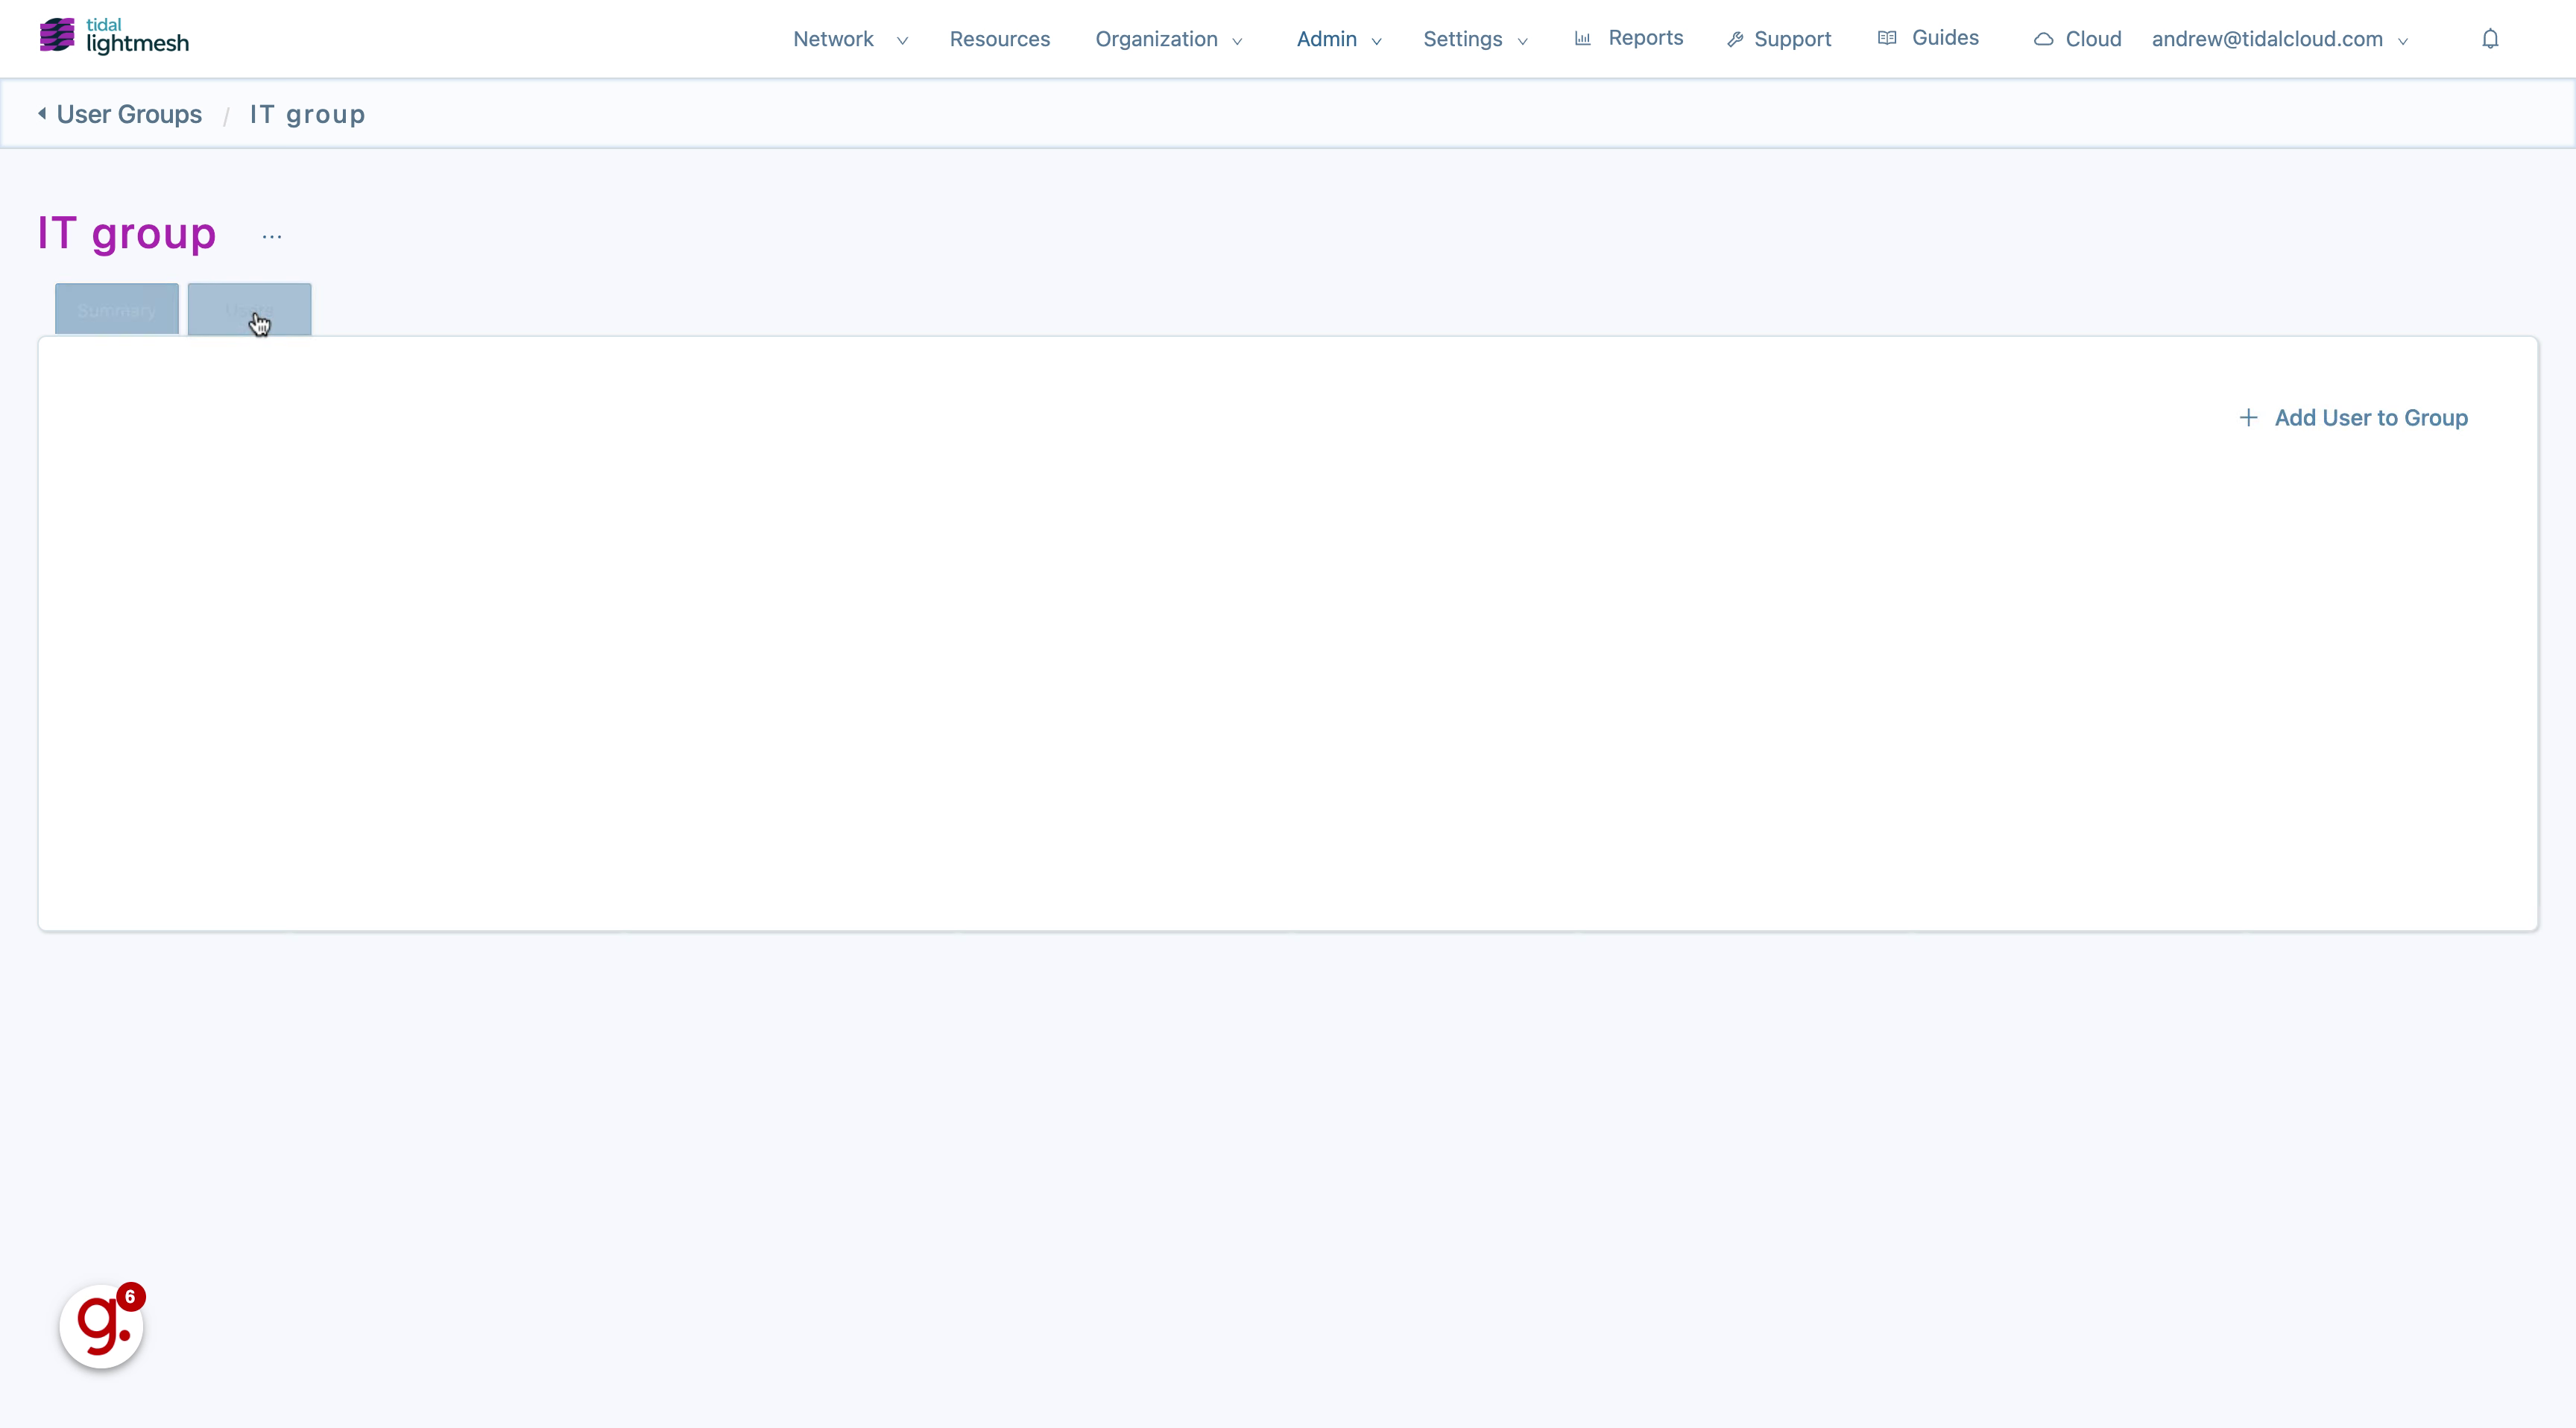
8. Click “Users”
Access the “Users” section.
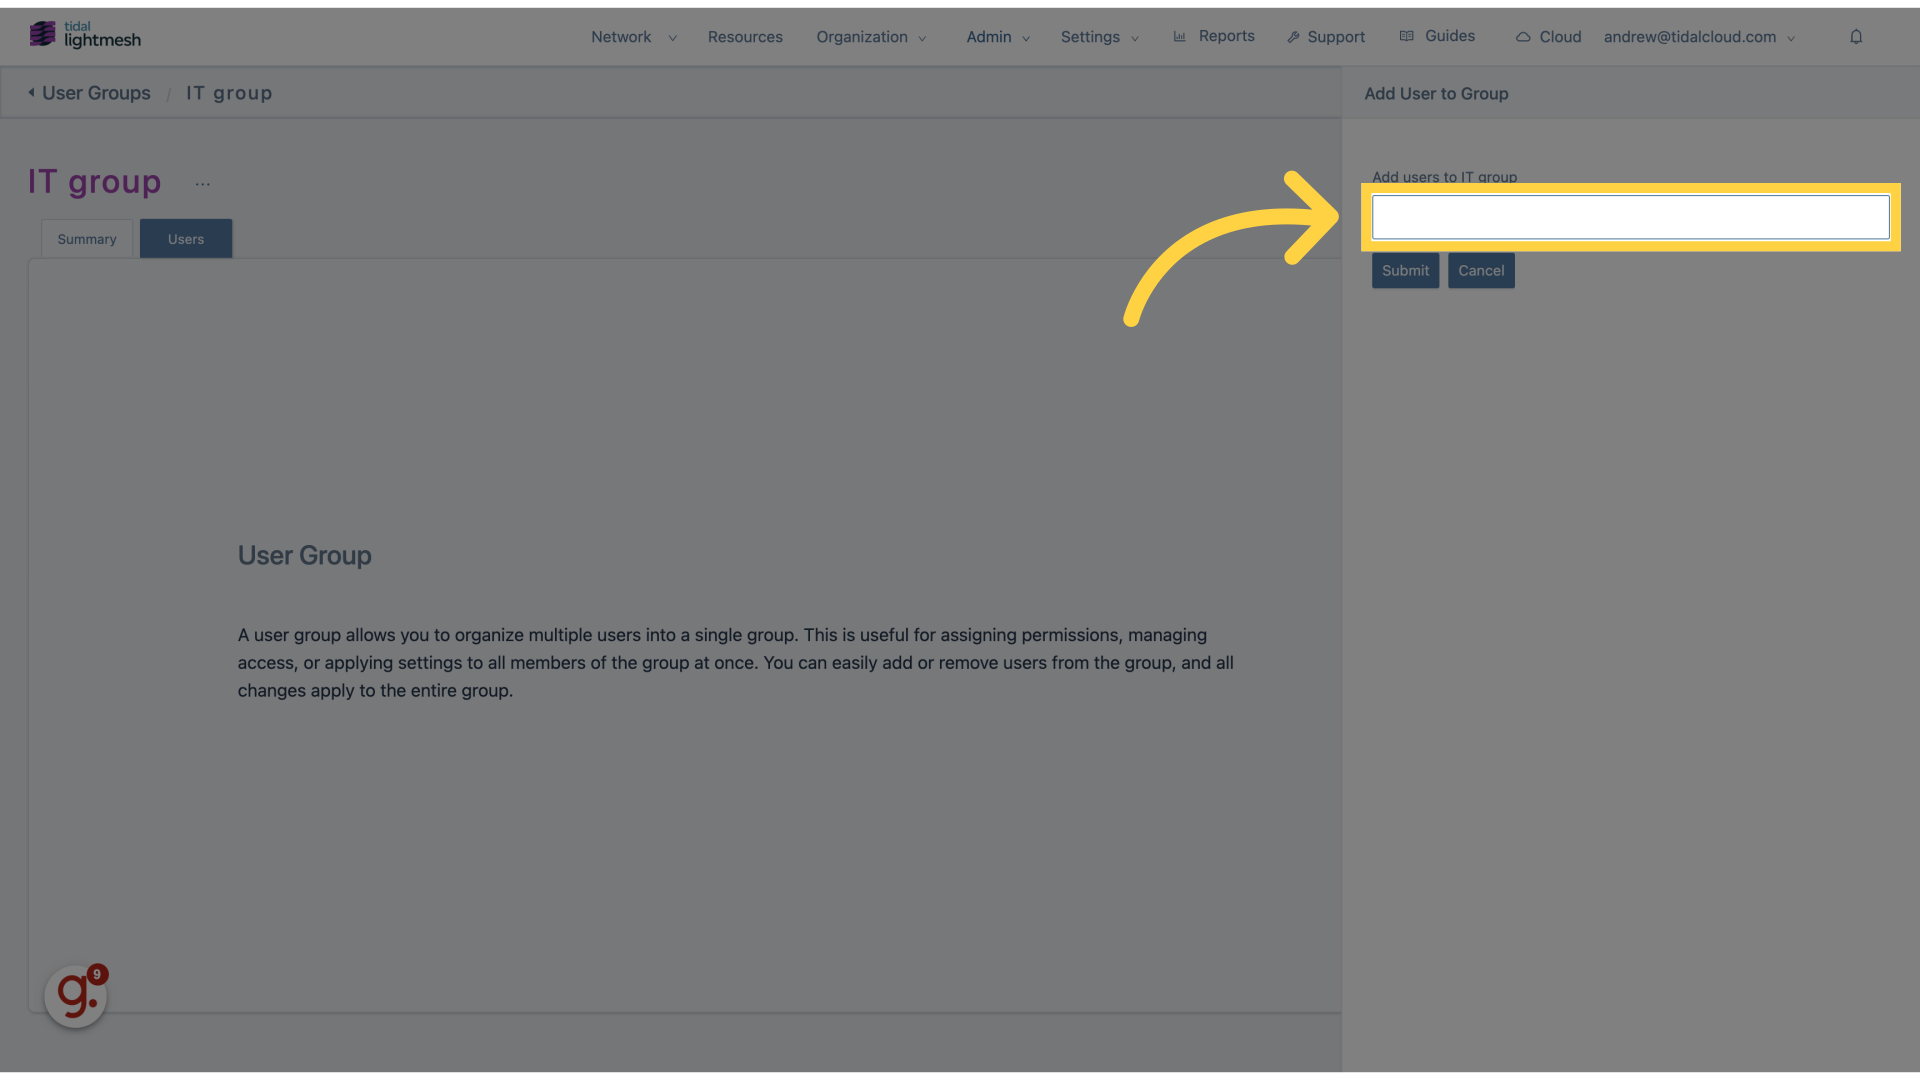
9. Fill “users”
Enter “users” in the provided field
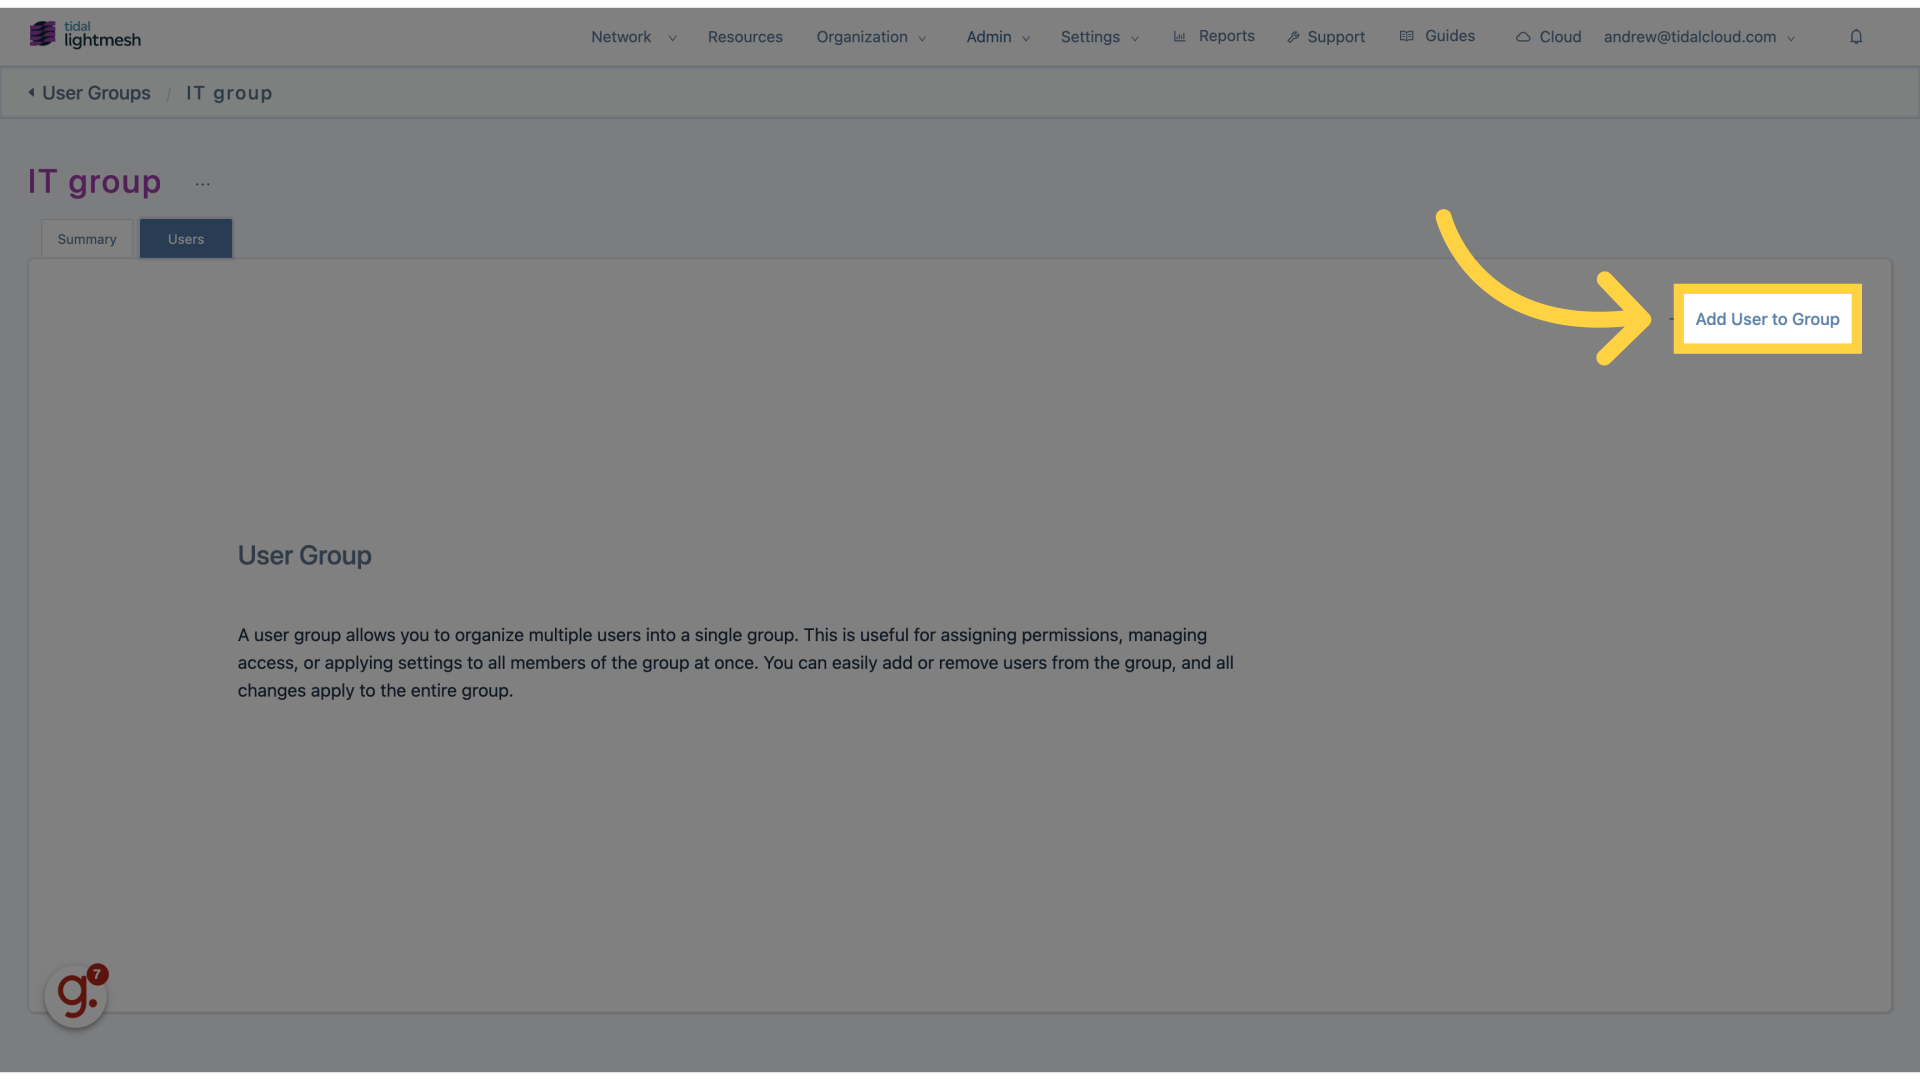
10. Click “Add User to Group”
Add a user to the group.
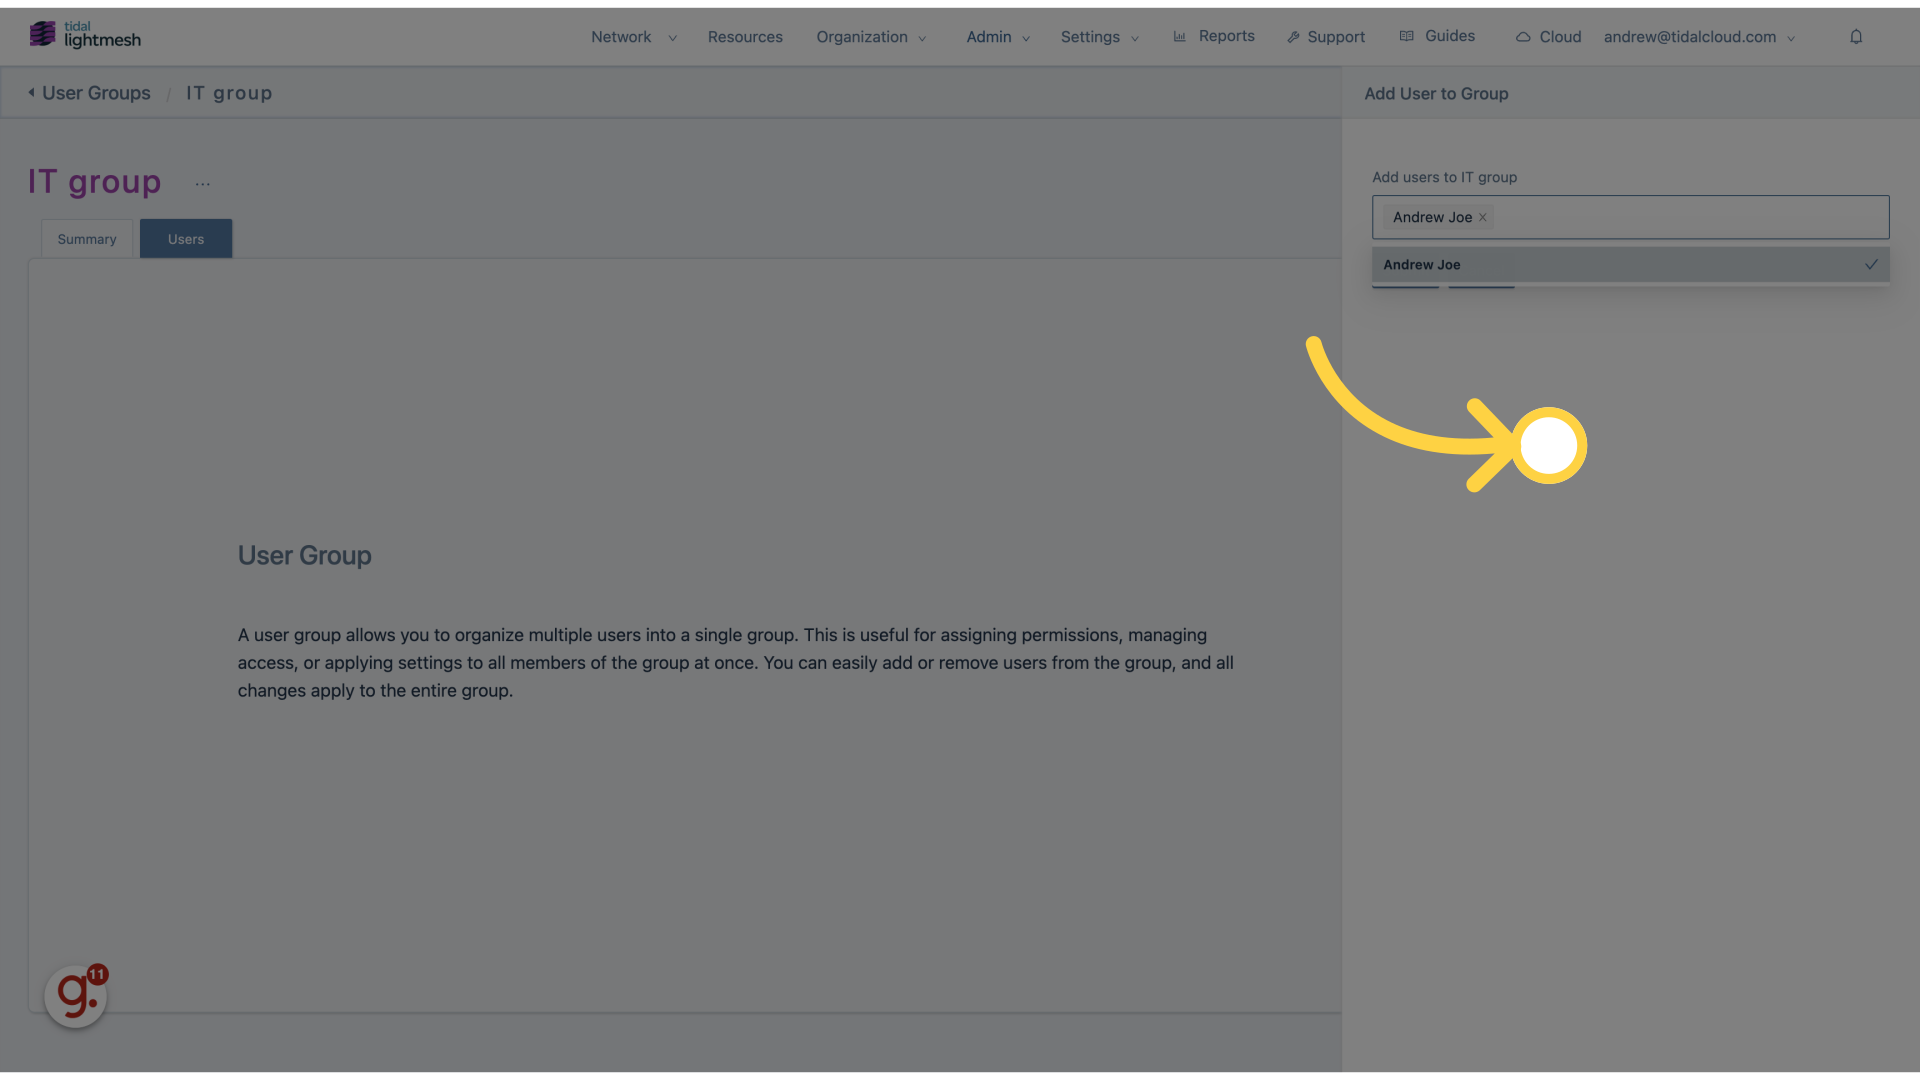
11. Click here
Select the designated option.
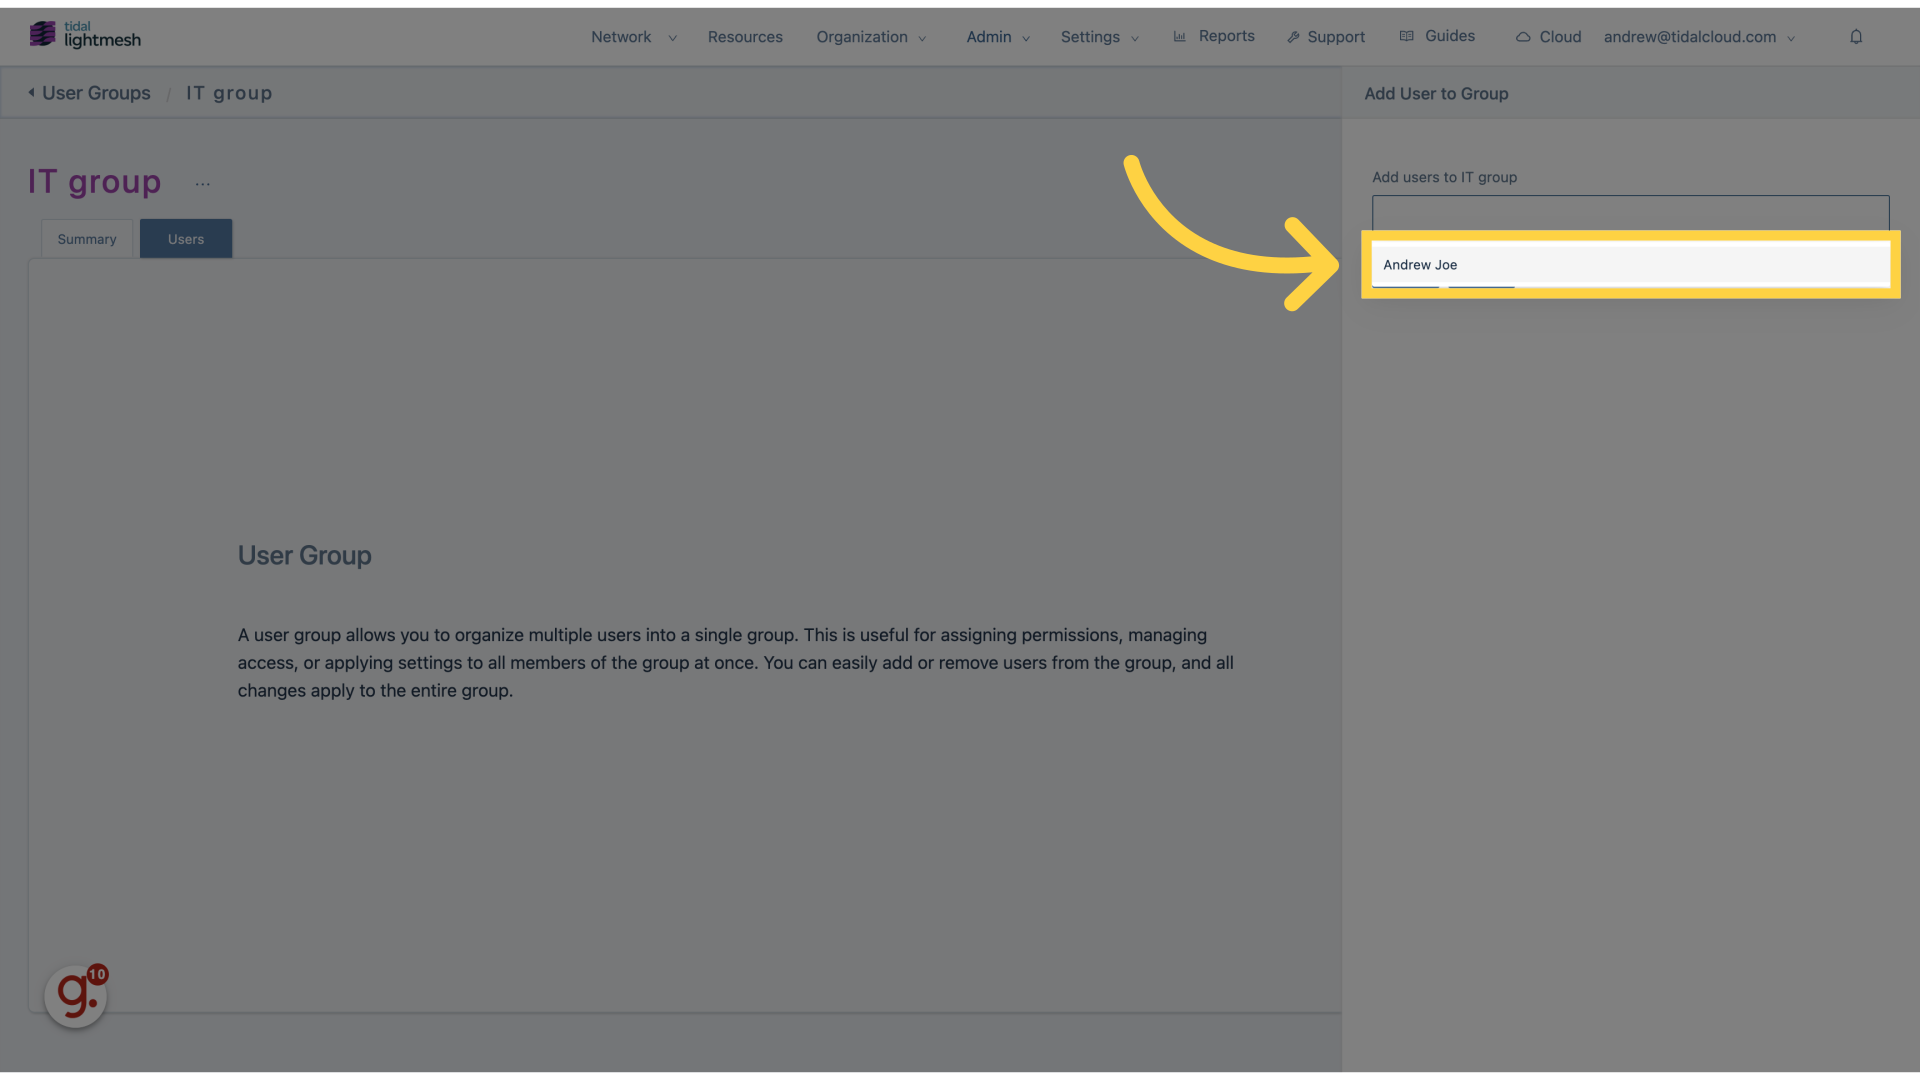
12. Click “Andrew Joe”
Choose the user “Andrew Joe”.
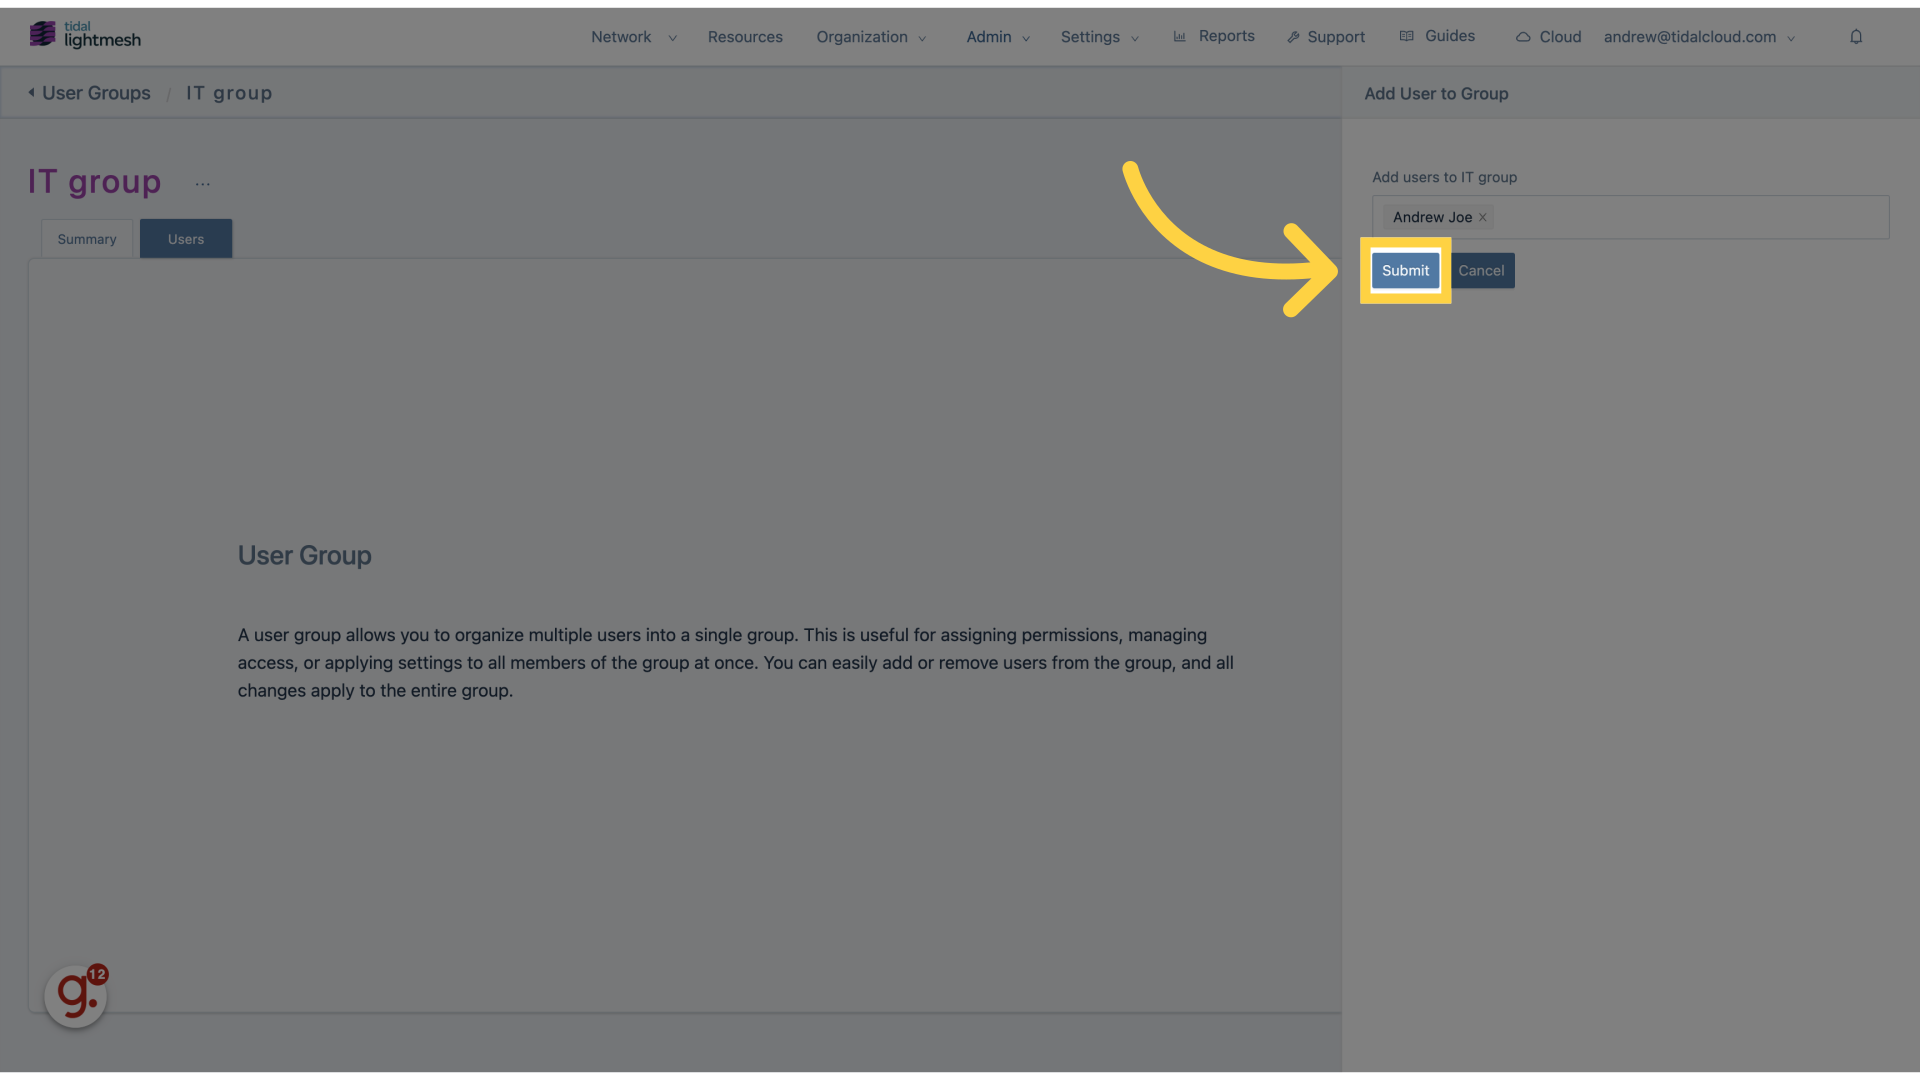
13. Click “Add users to IT groupAndrew Joe Submit Cancel”
Add users to the IT group.
14. Click “Submit”
Submit the changes.
In this guide, you learned how to add user groups in Lightmesh.