New User
This guide walks you through the process of adding a new user in LightMesh. Users are individual members who can access LightMesh based on assigned roles and permissions. Adding users allows you to control access levels and monitor activity across network resources effectively. Each user can be associated with specific user groups, enabling streamlined access and role management within the platform
1. Introduction
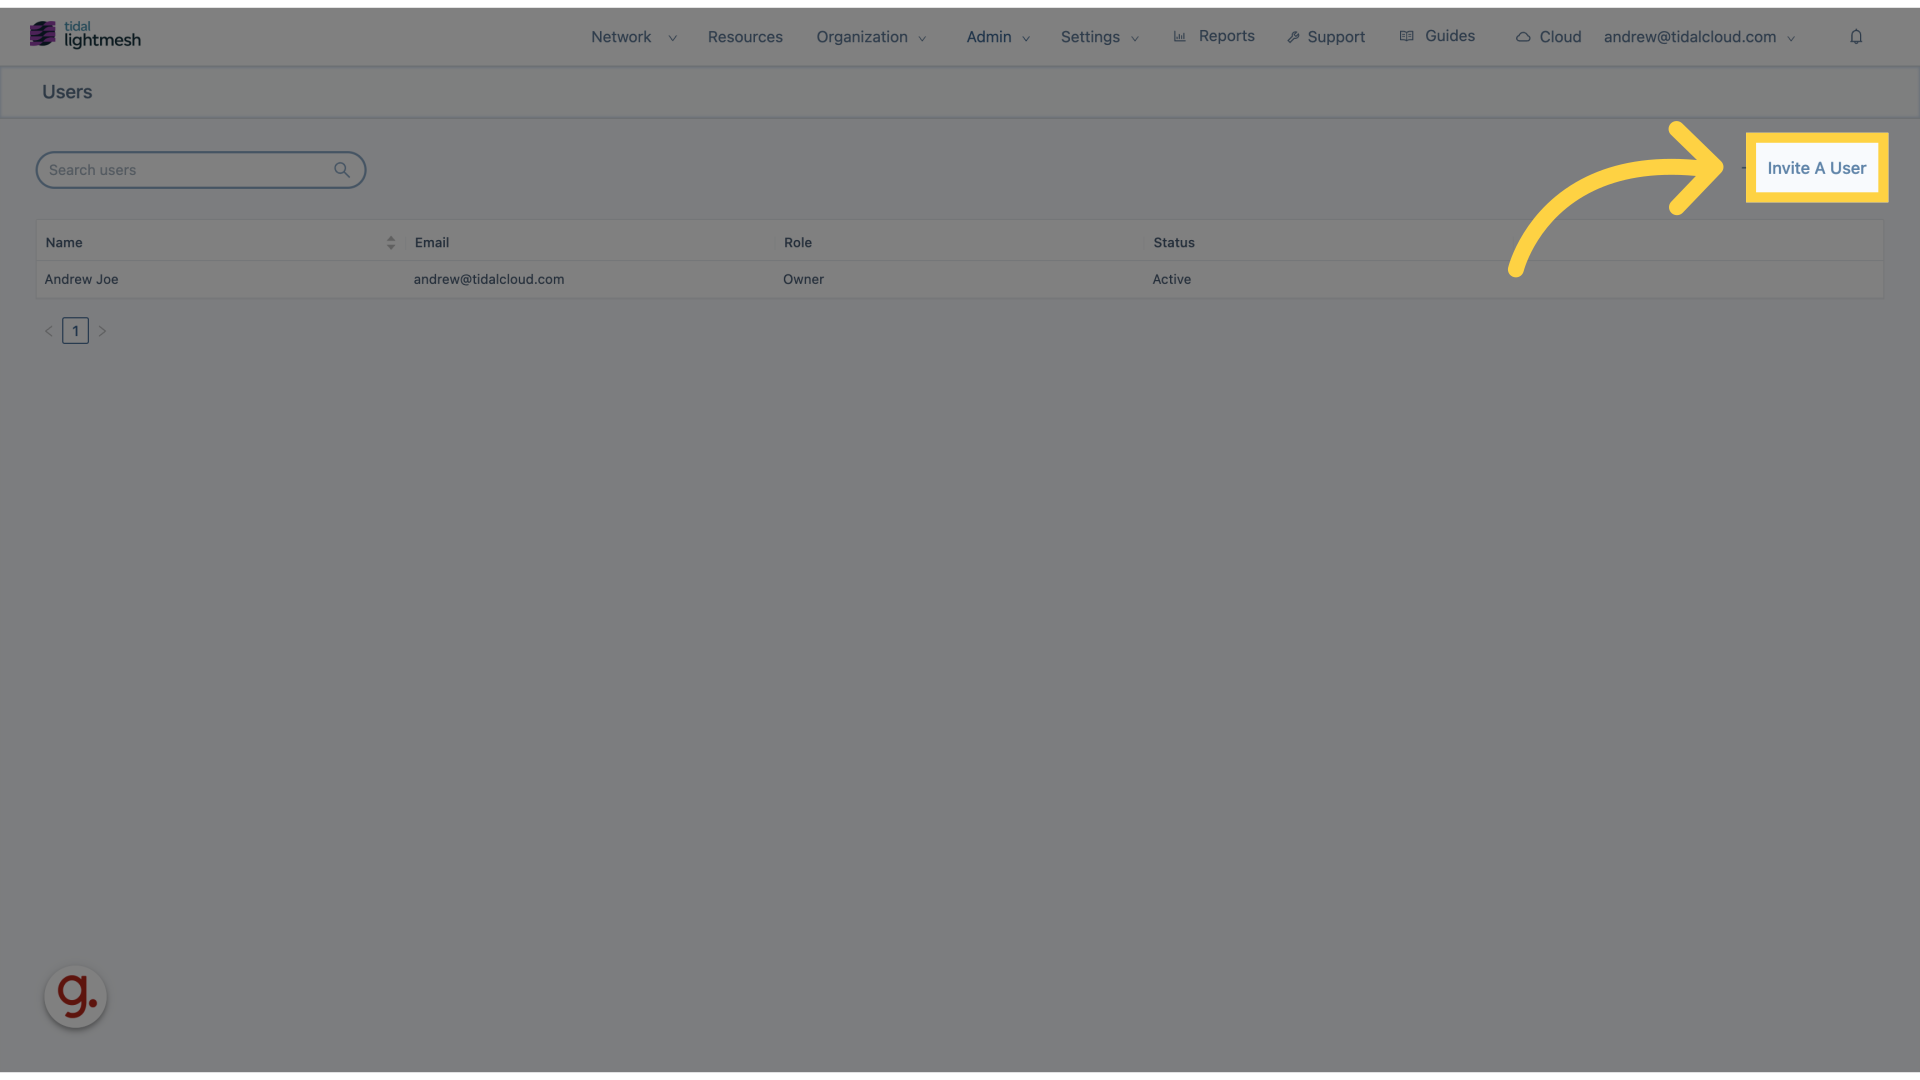
2. Click “Invite A User”
Click on “Invite A User” to begin the user invitation process.
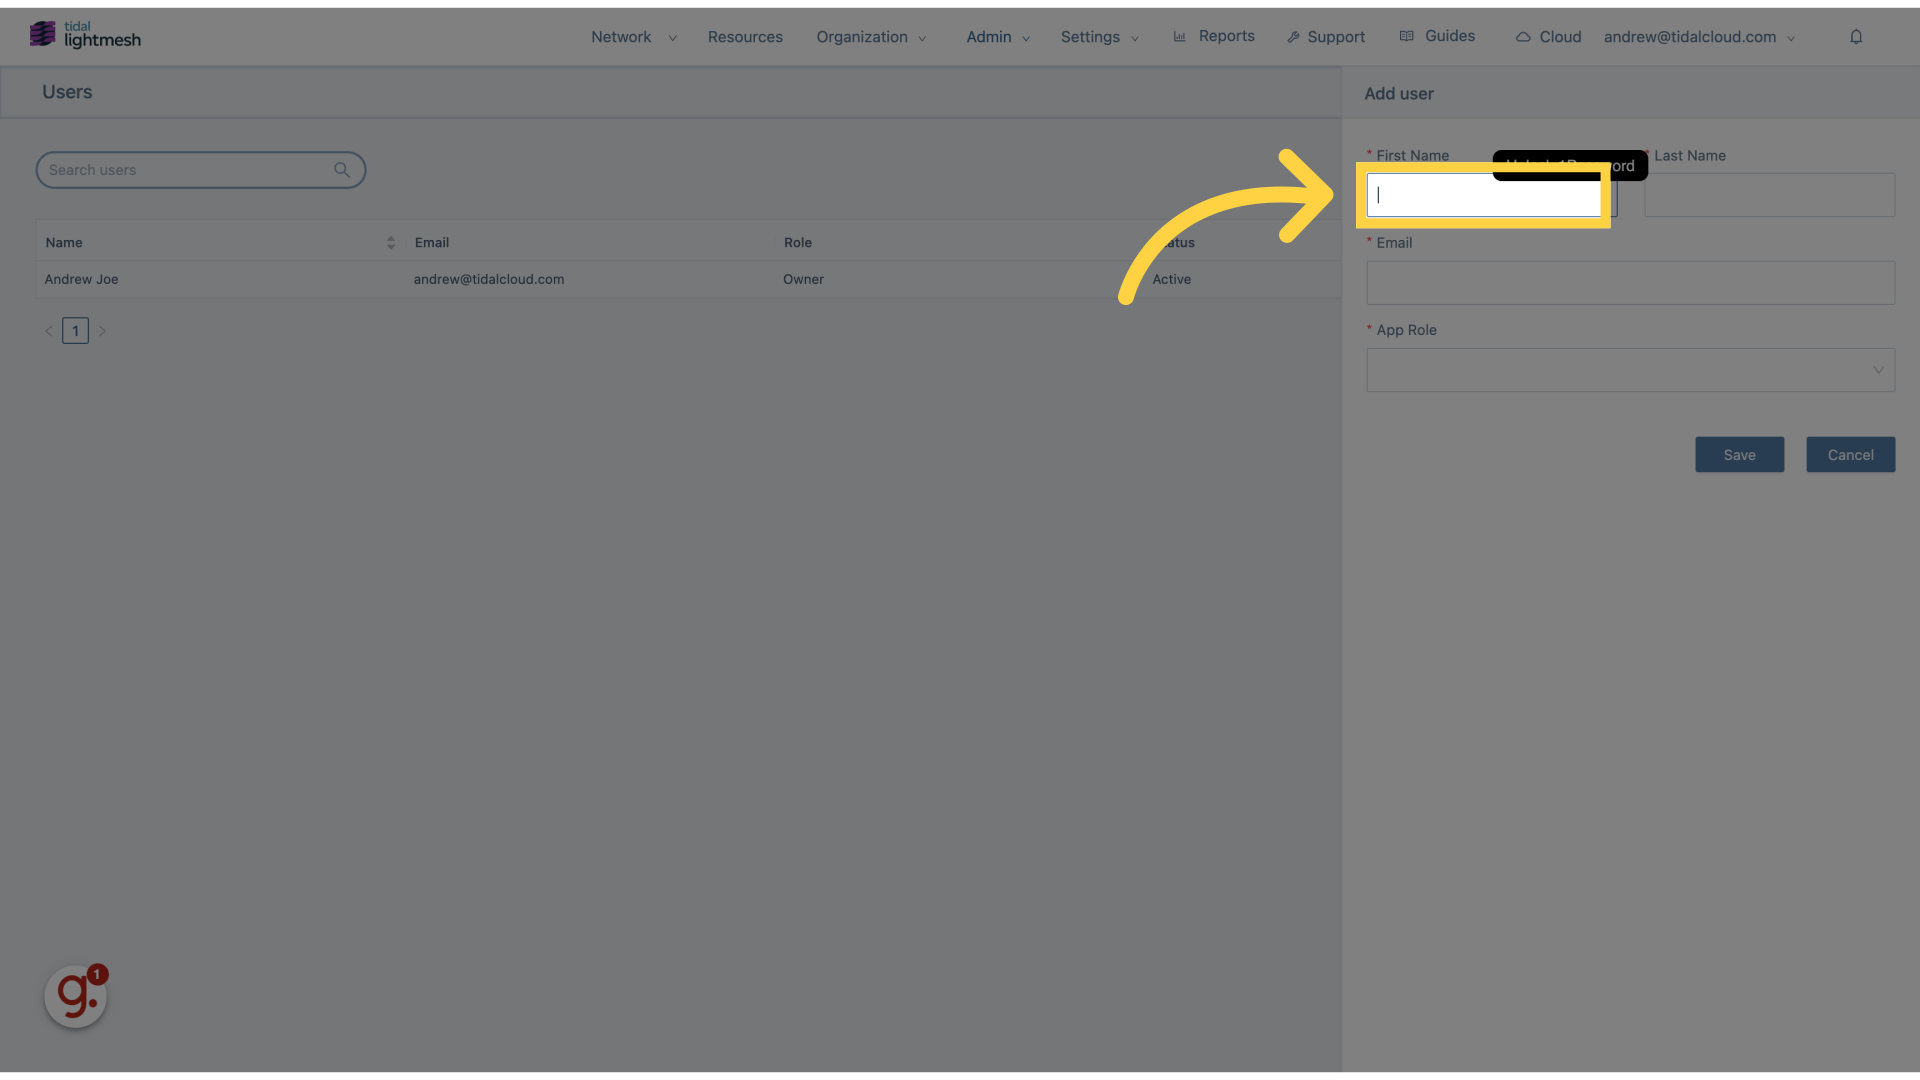
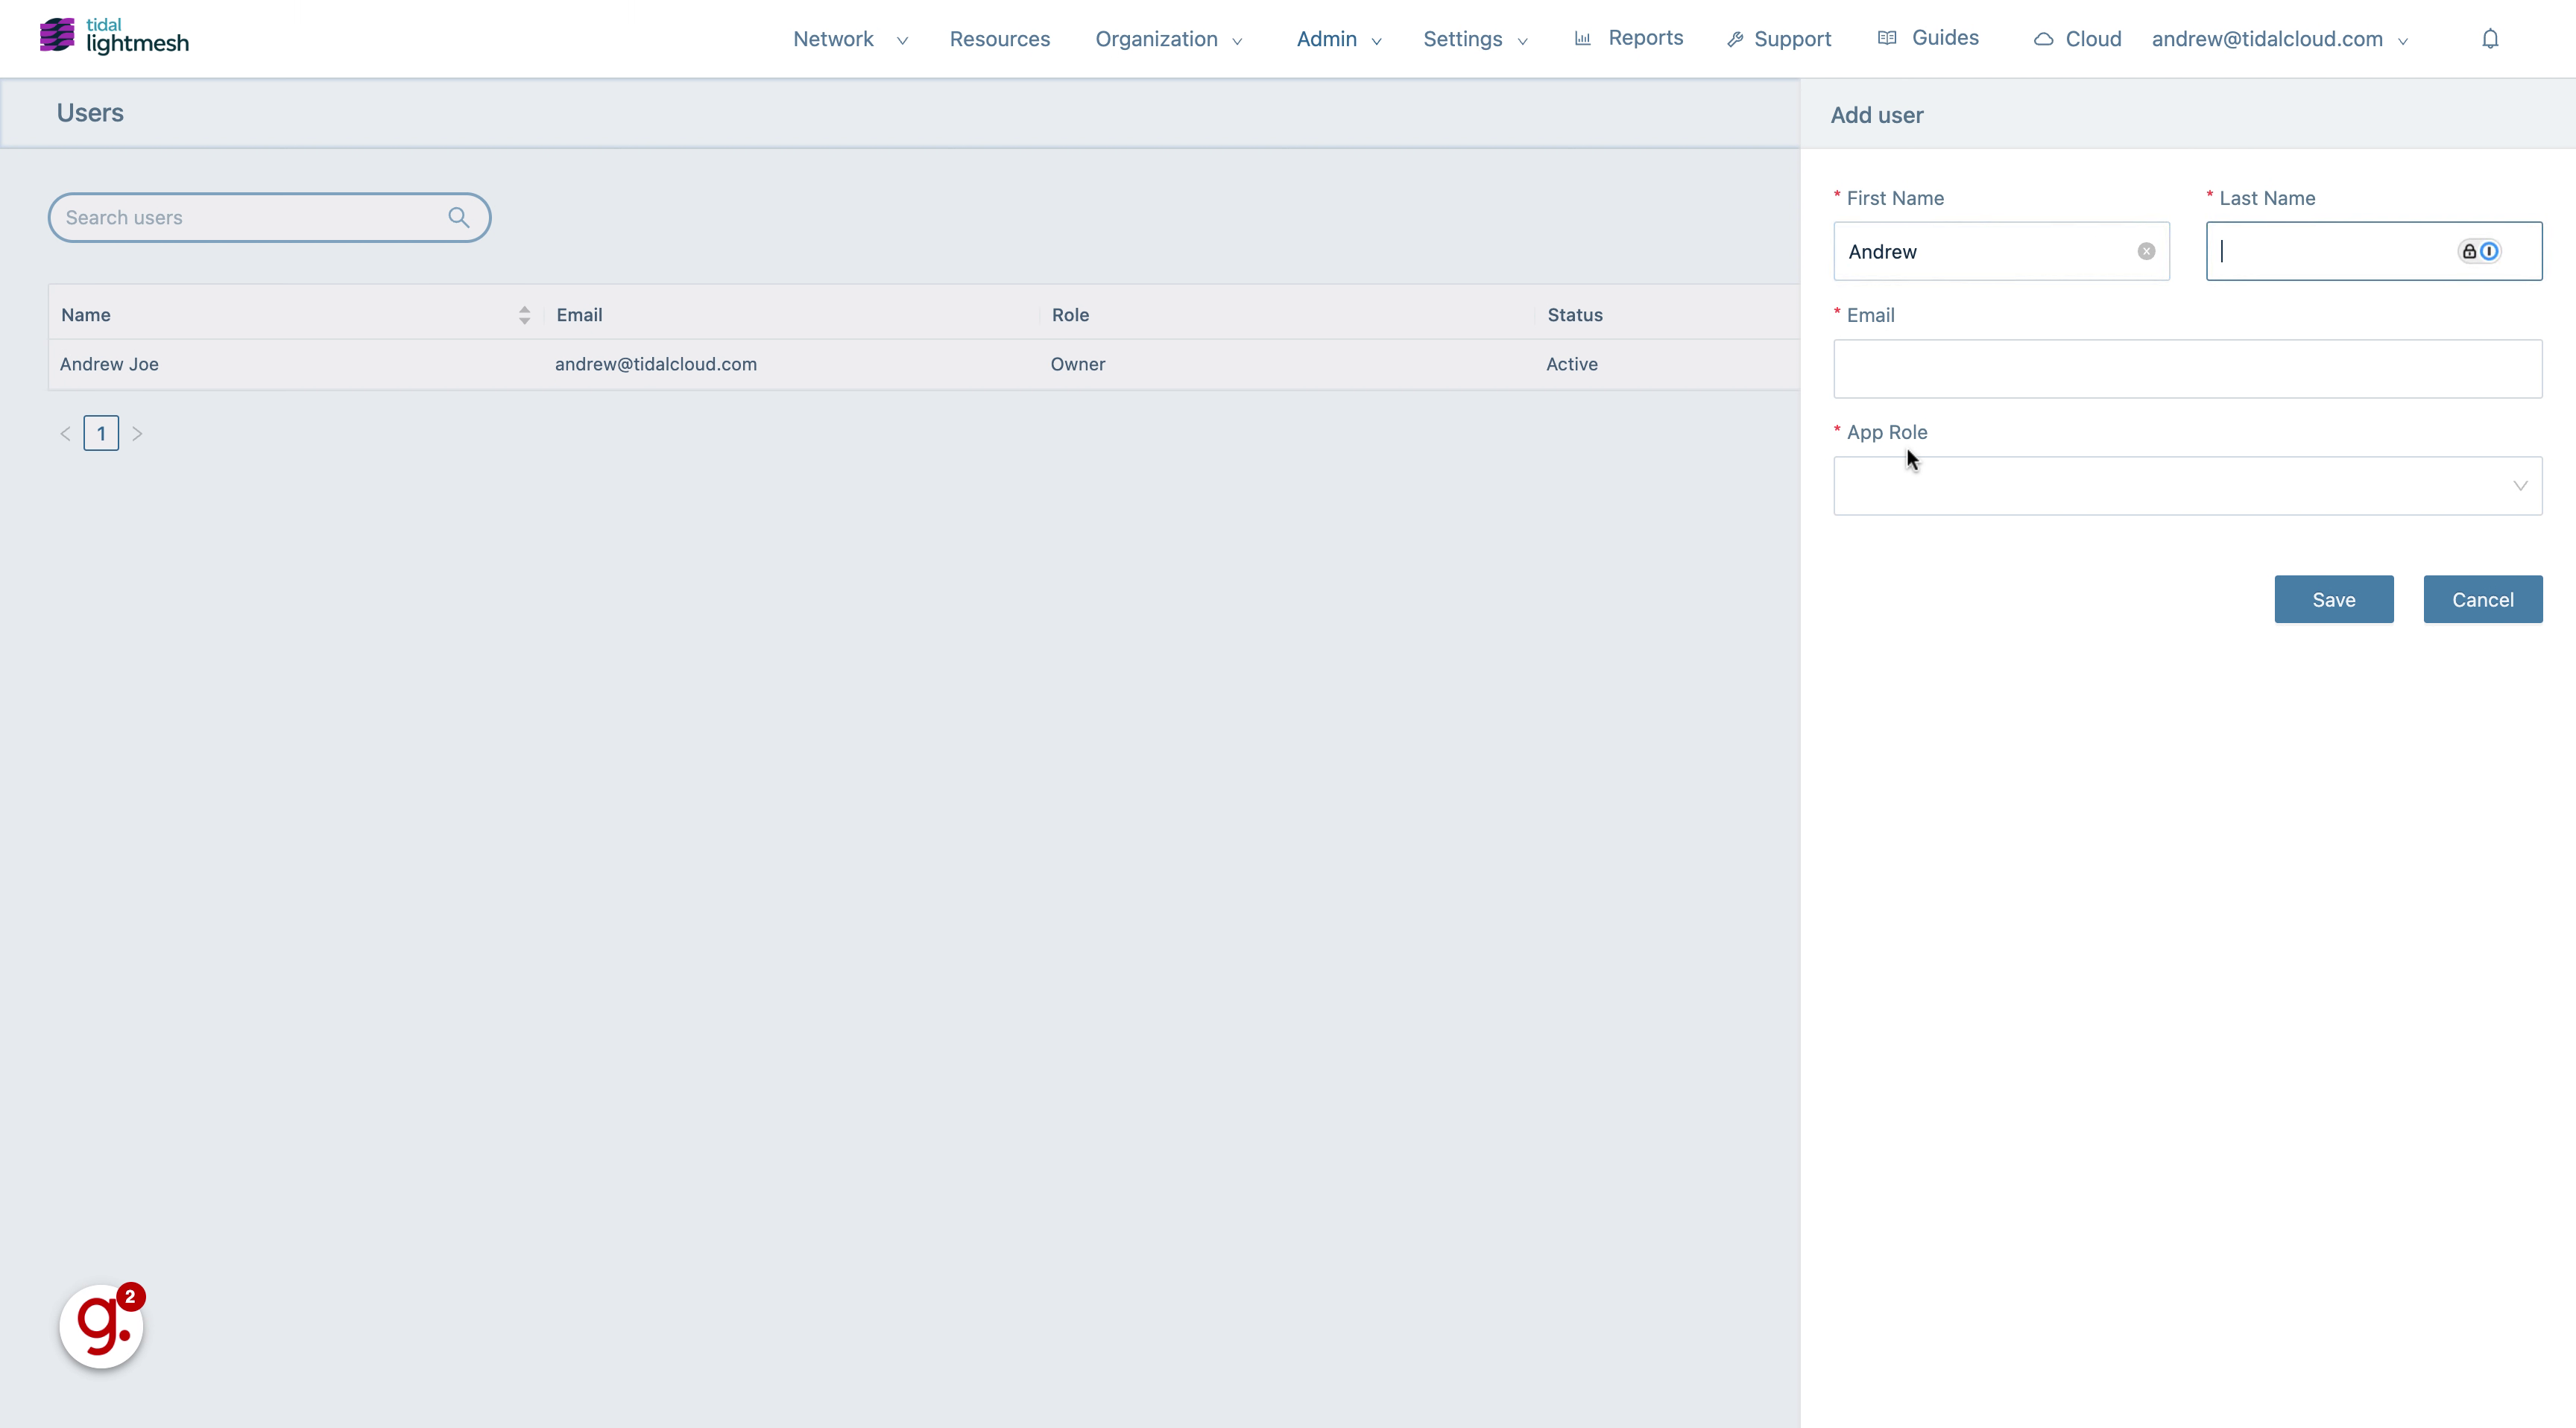
3. Click “First Name”
Enter the first name in the designated field.
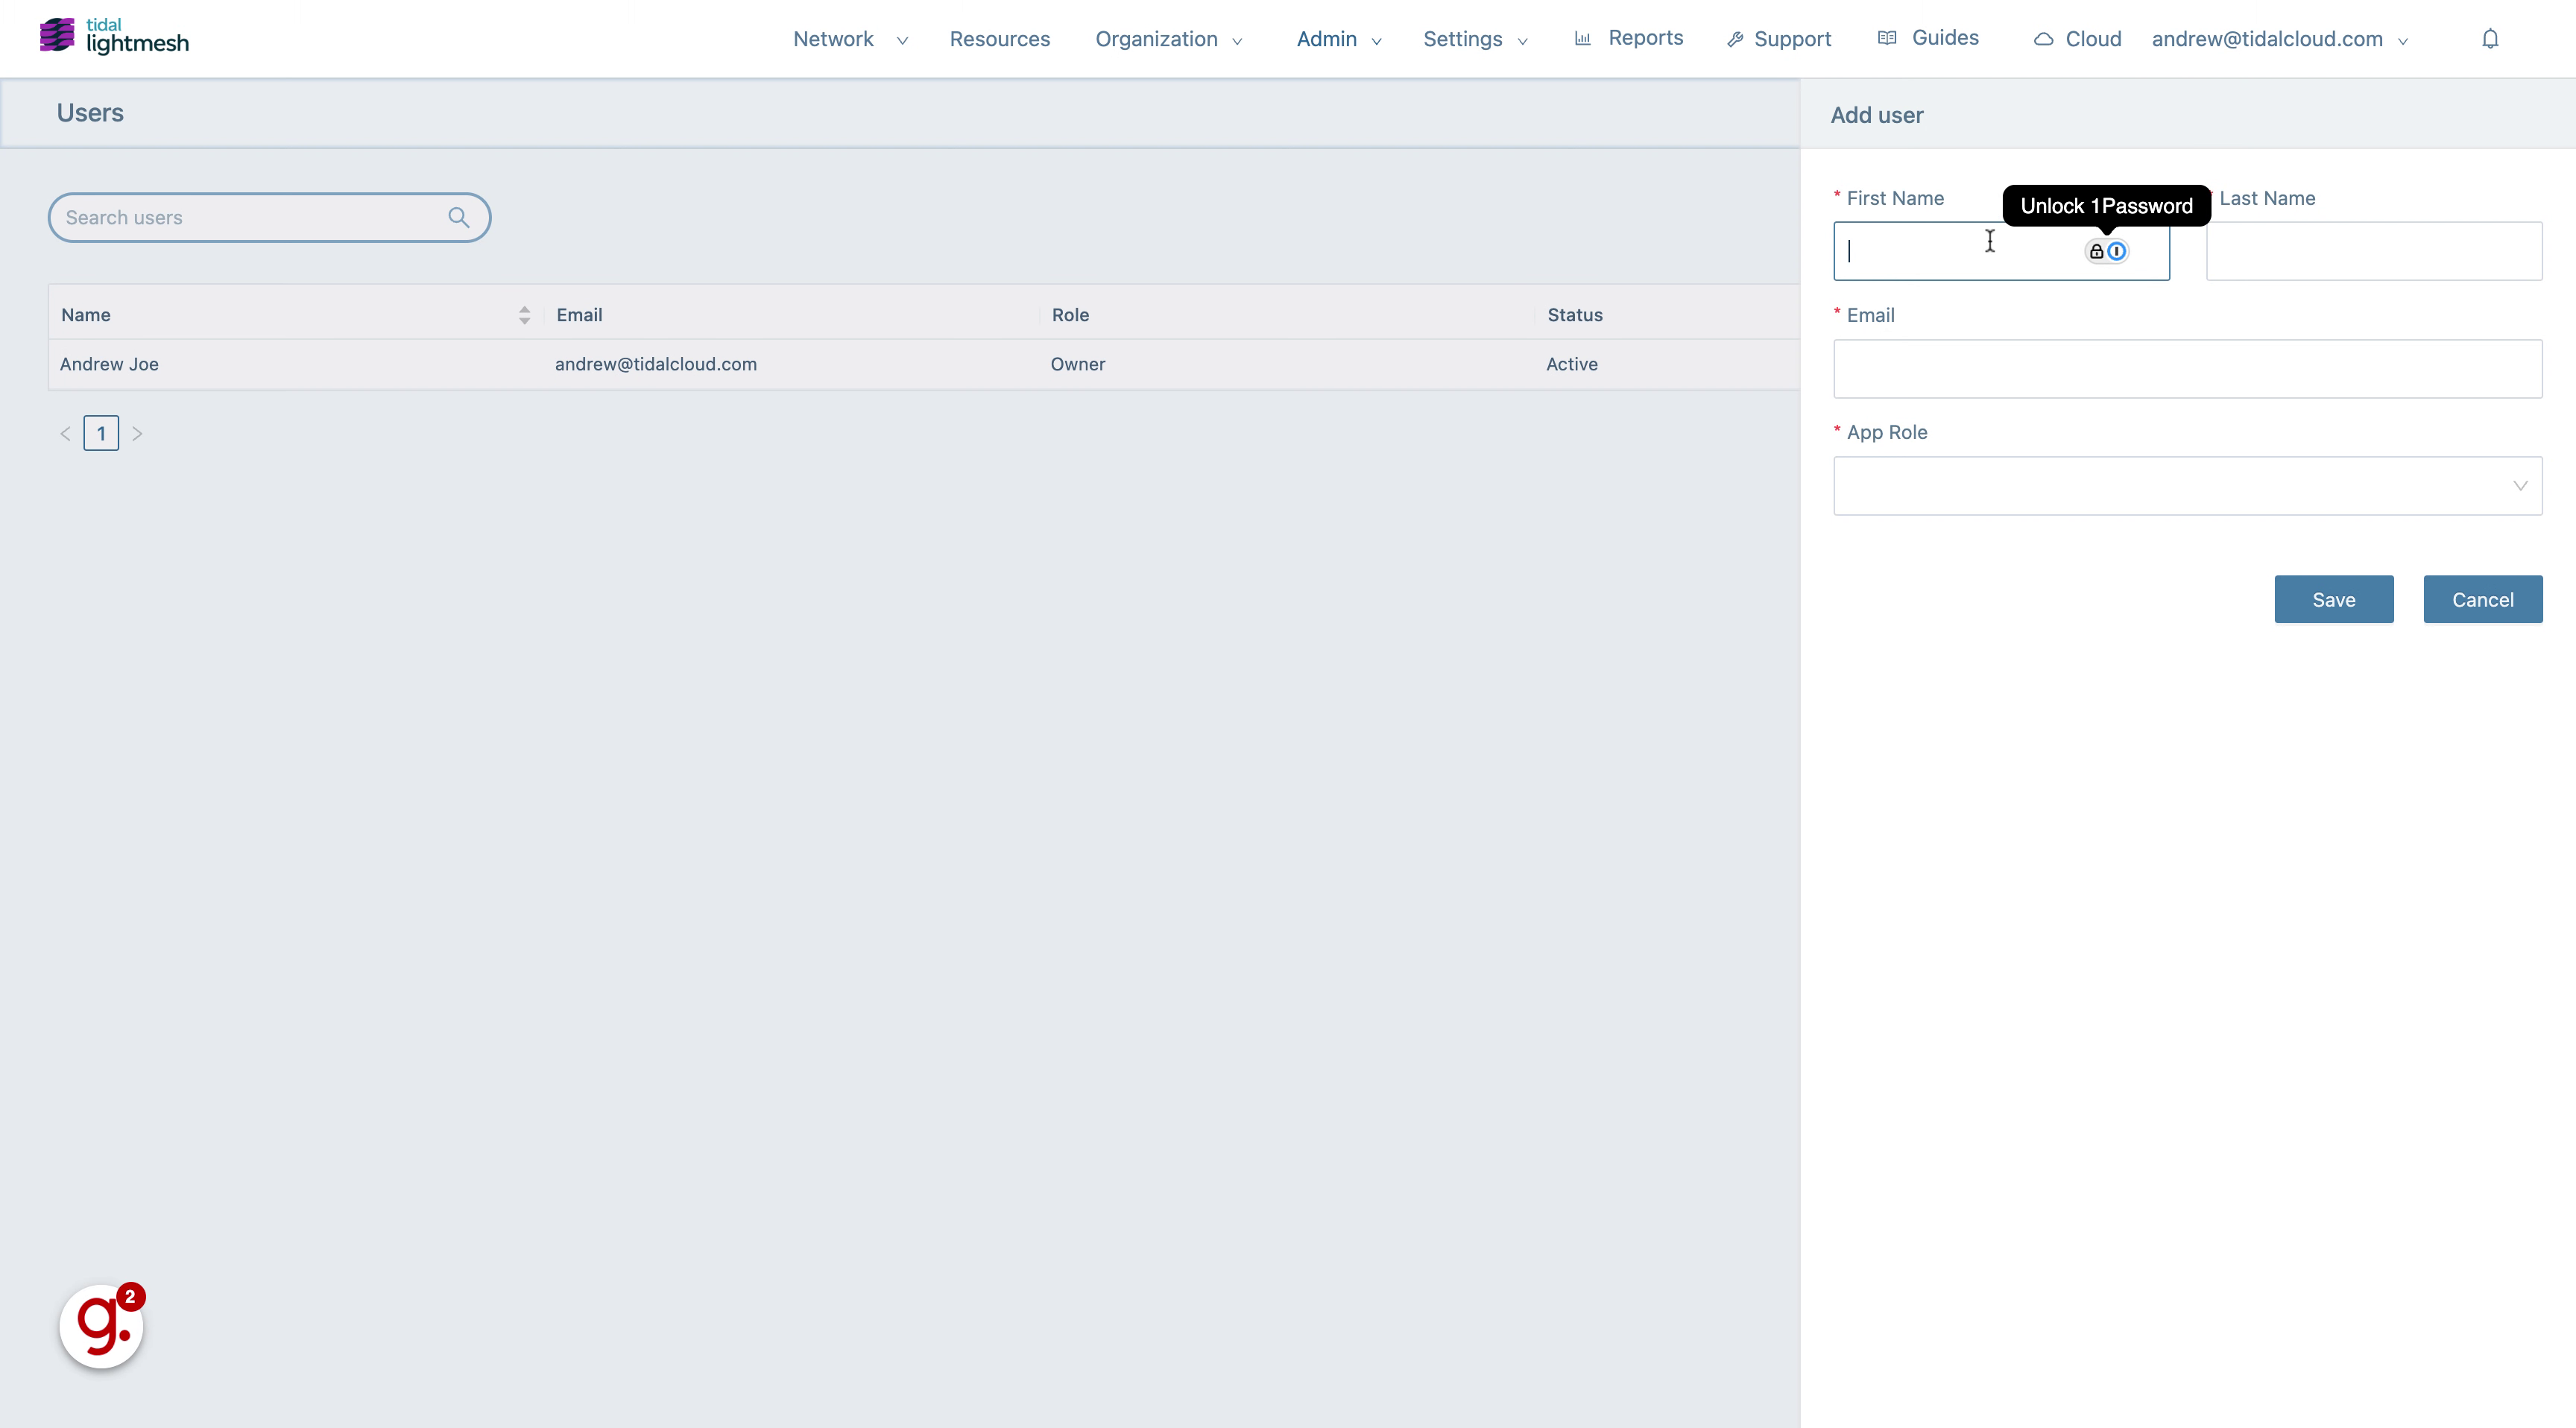
4. Fill “Andrew”
Fill in “Andrew”
5. Go here
Navigate to the specified location.

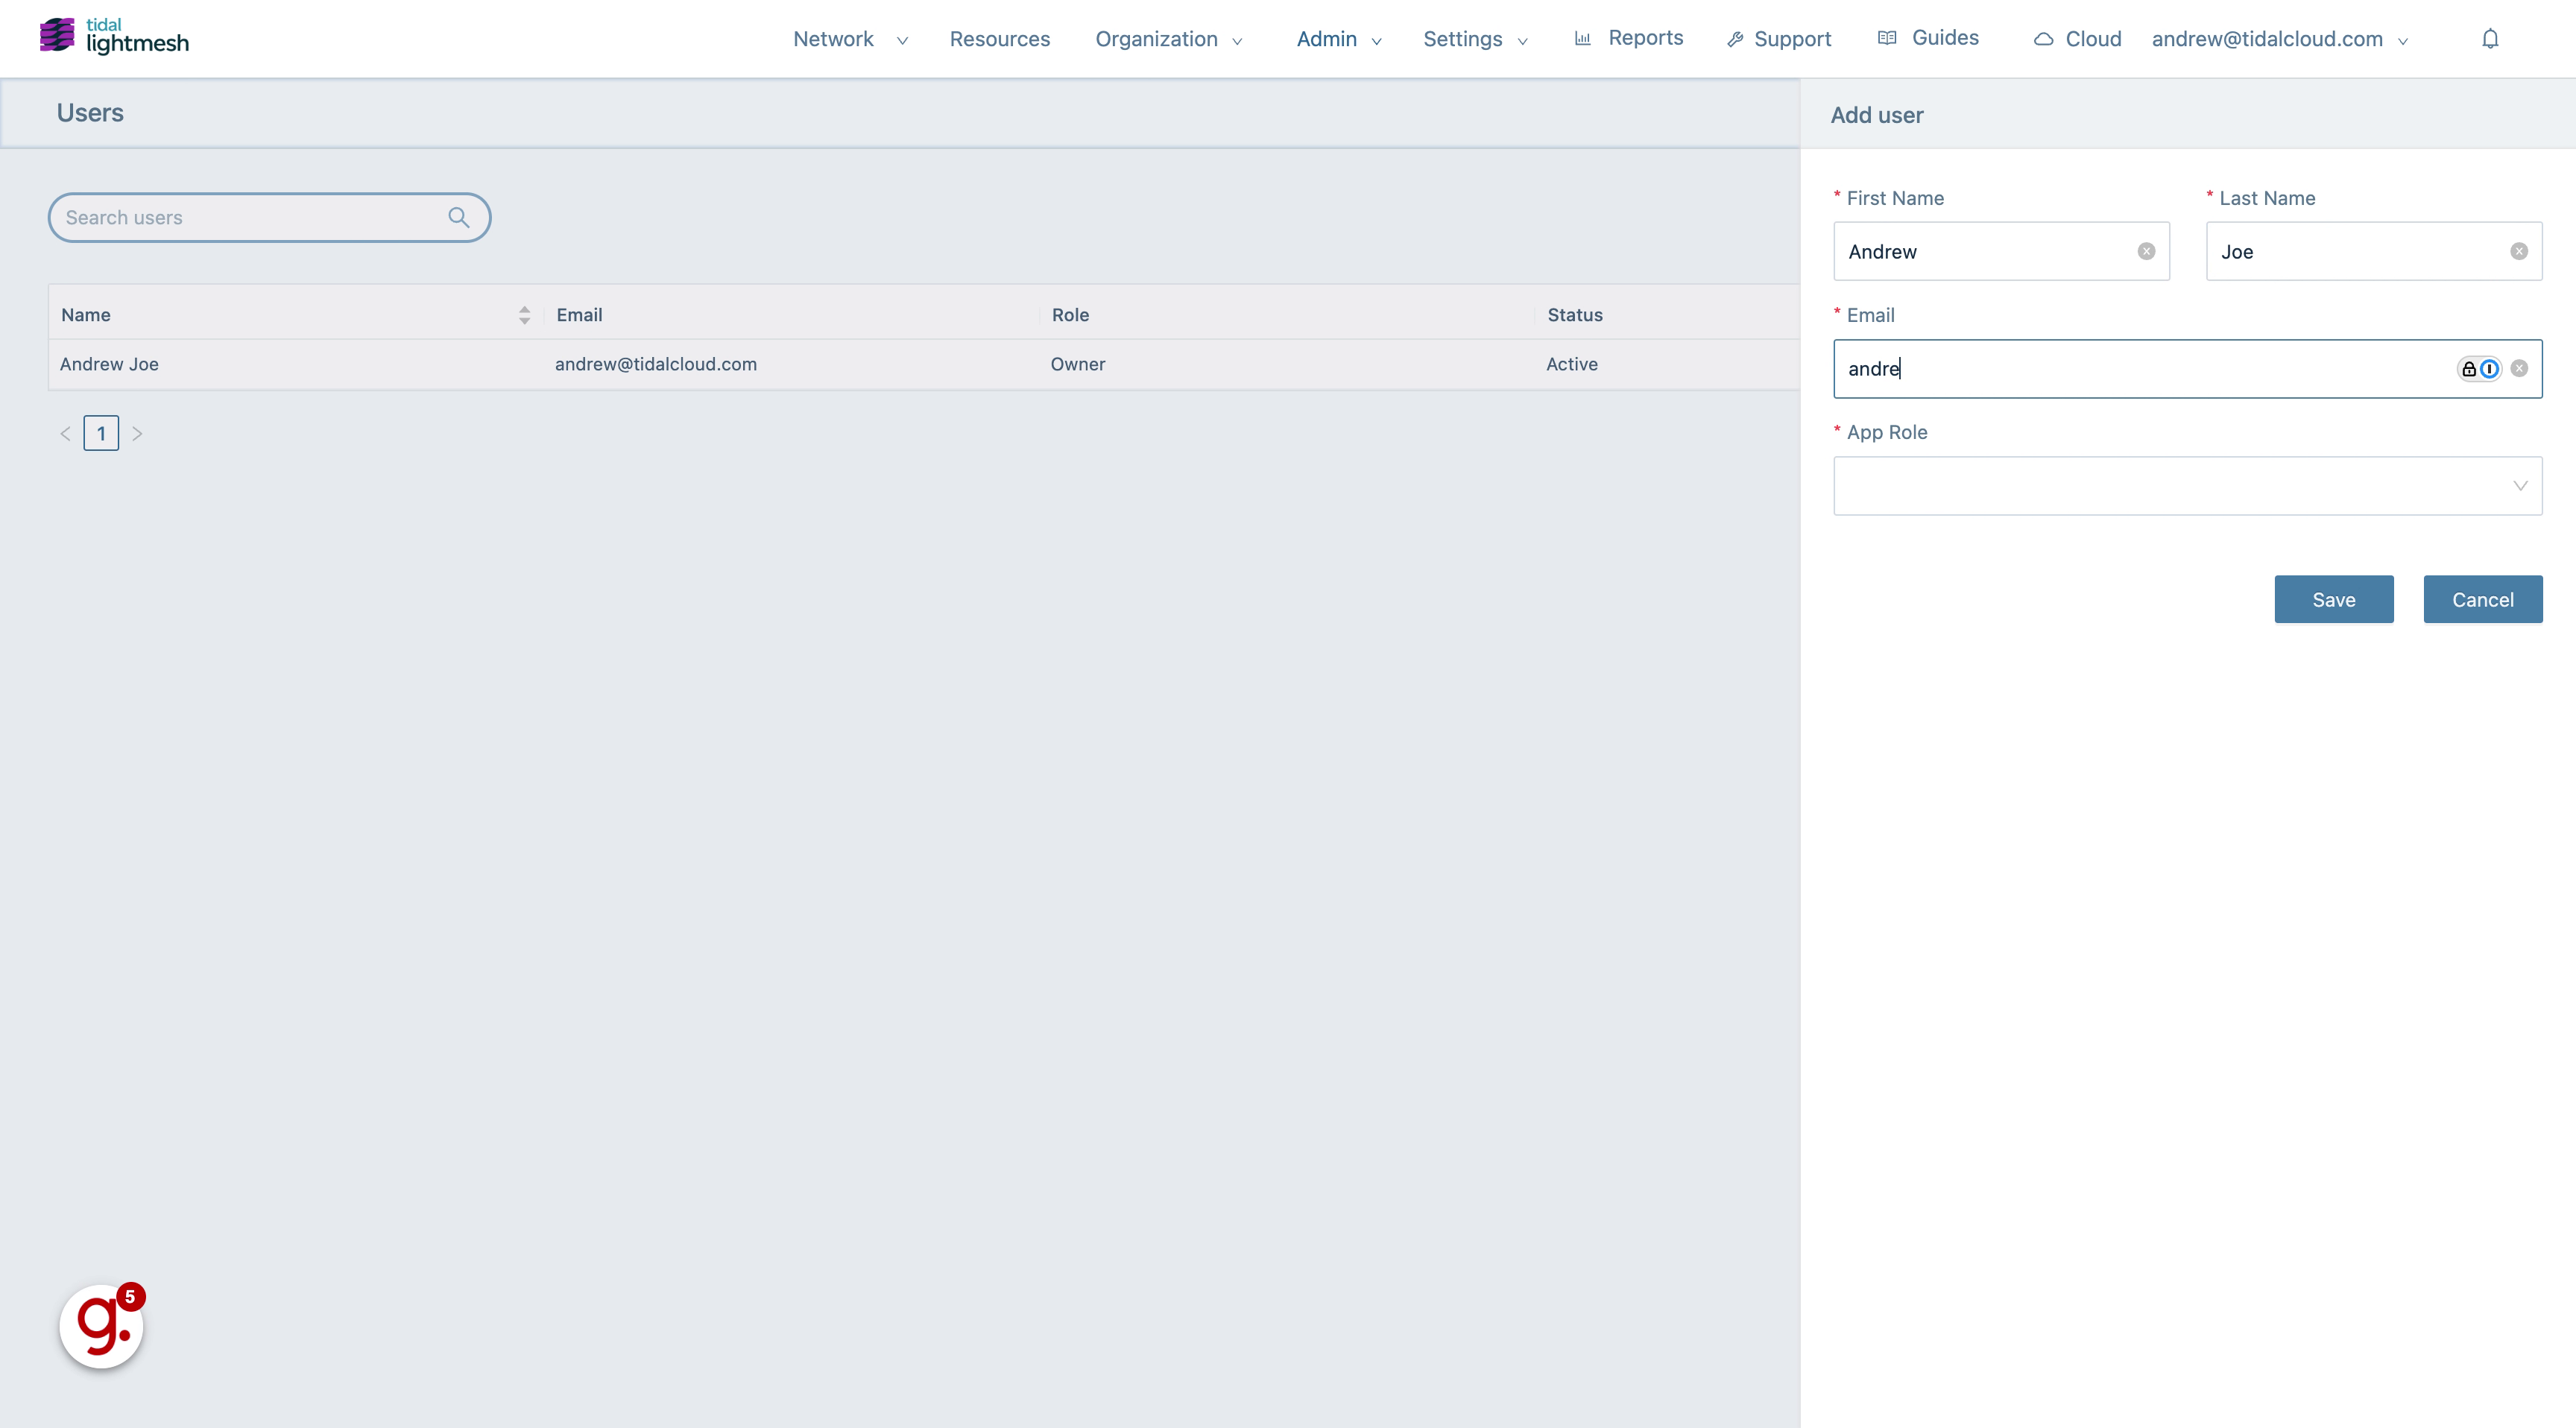
6. Fill “Joe”
Enter “Joe” in the provided field
7. Go here
Proceed to the indicated section.

8. Fill “andrew.joe@tidalcloud.com”
Fill in the text box with “andrew.joe@tidalcloud.com”
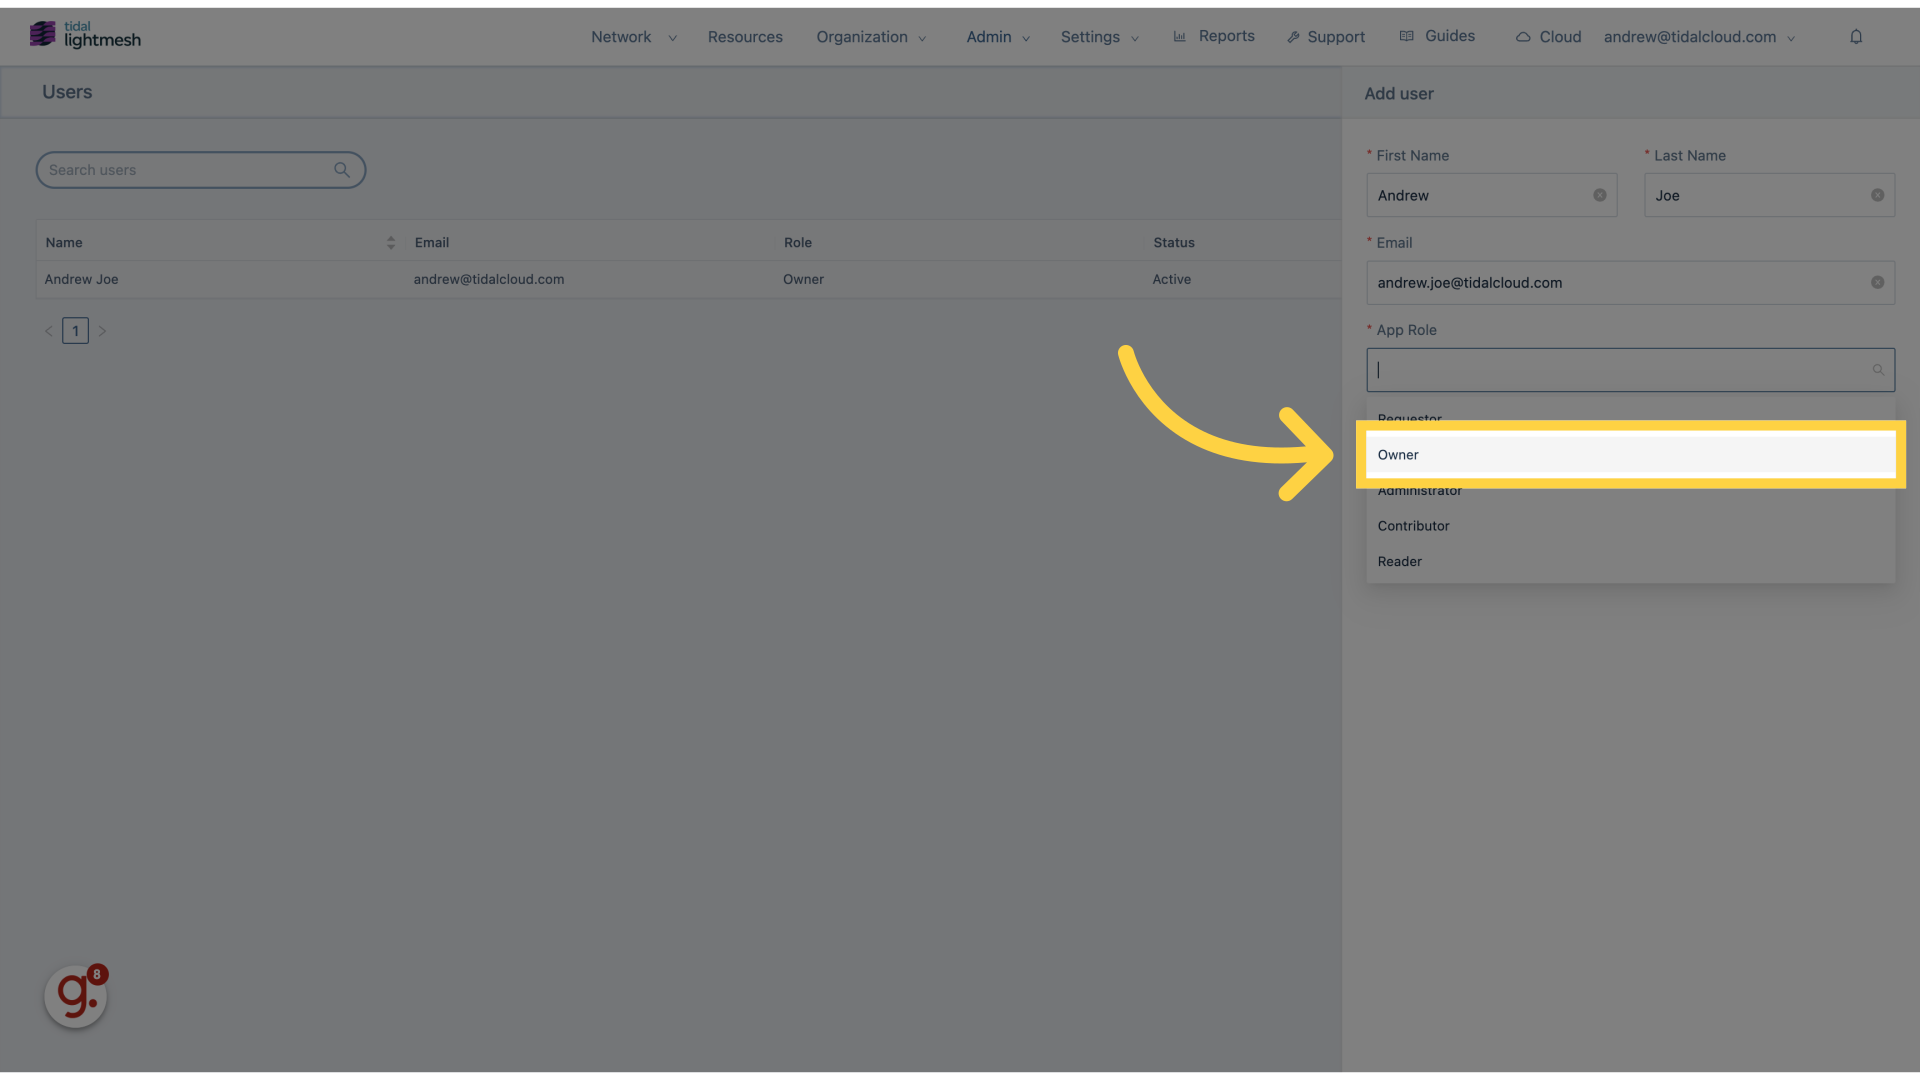
9. Click “App Role”
Select the appropriate application role.

10. Click “Owner”
Assign the user as an owner.
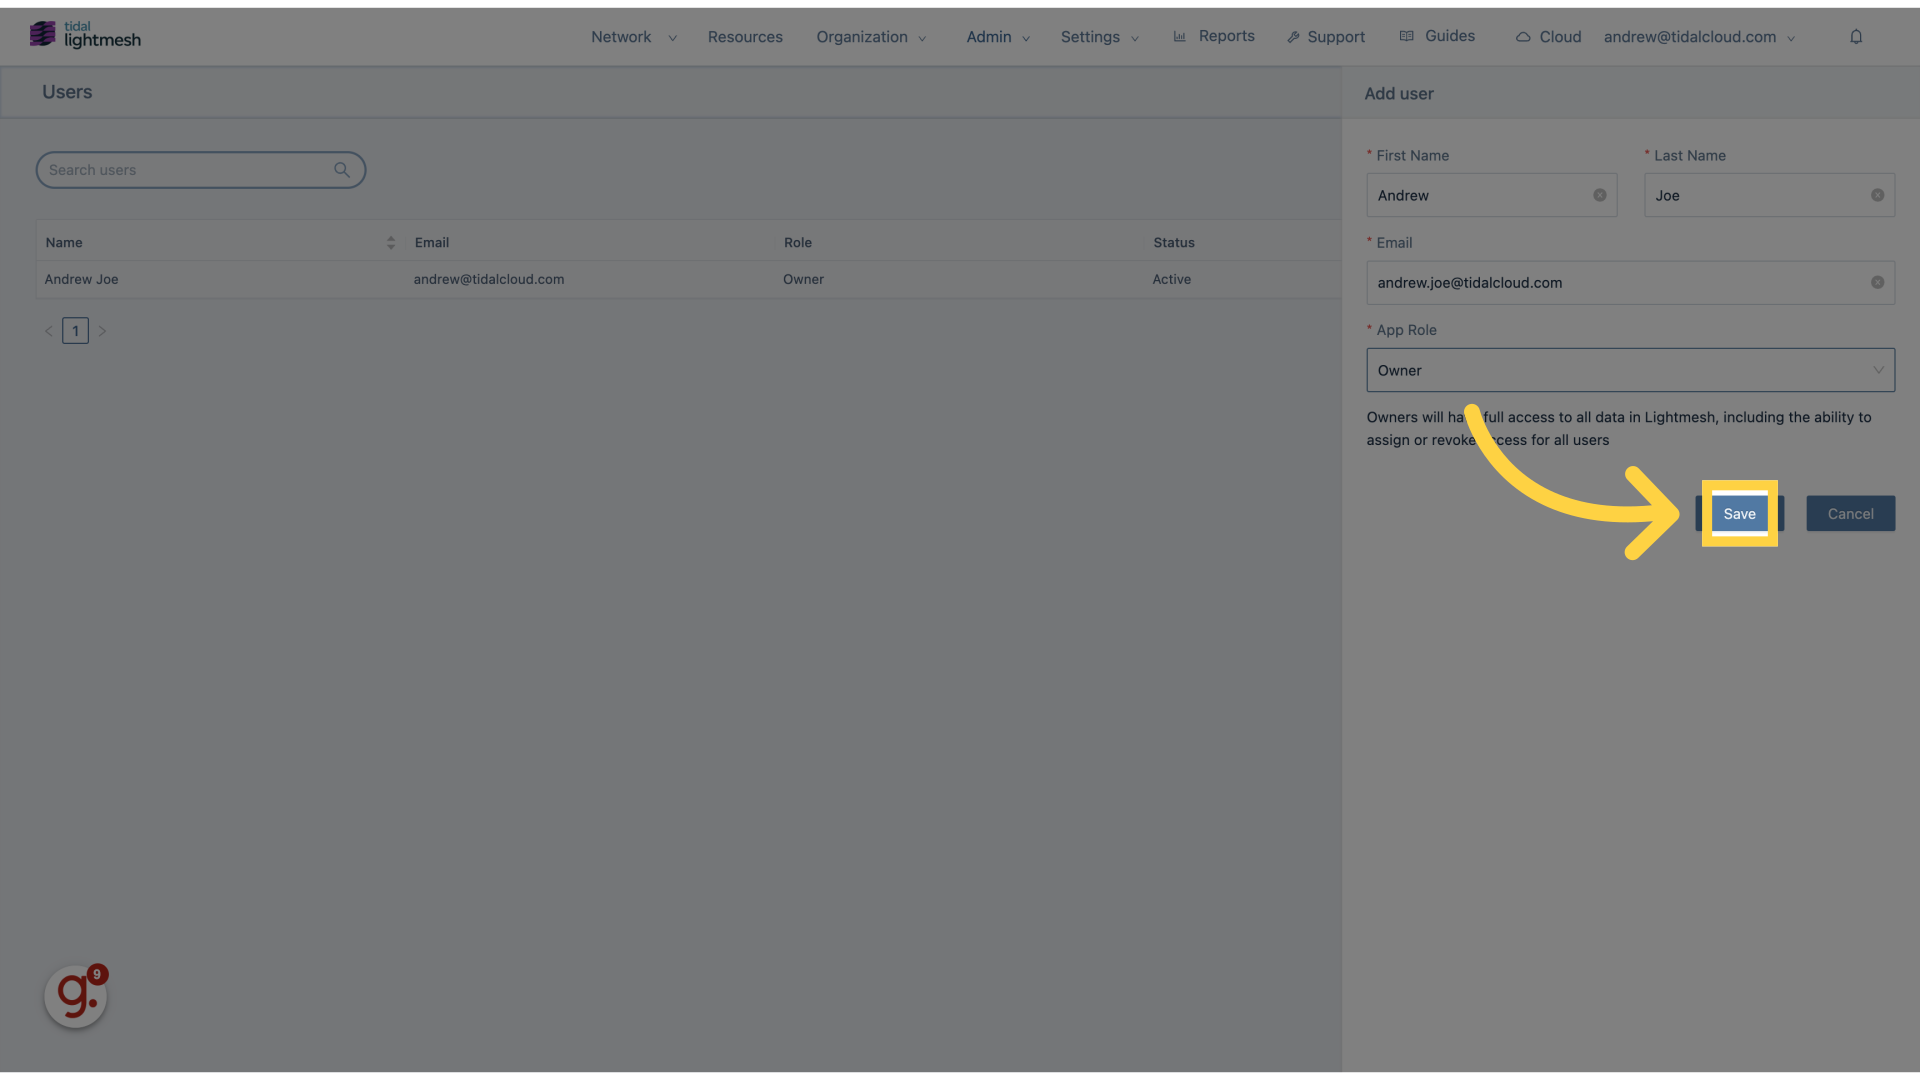
11. Click “Save”
Save the changes made to the user invitation.
This guide covered the steps to invite a user in Lightmesh, including entering user details, assigning roles, and saving the changes made during the invitation process.