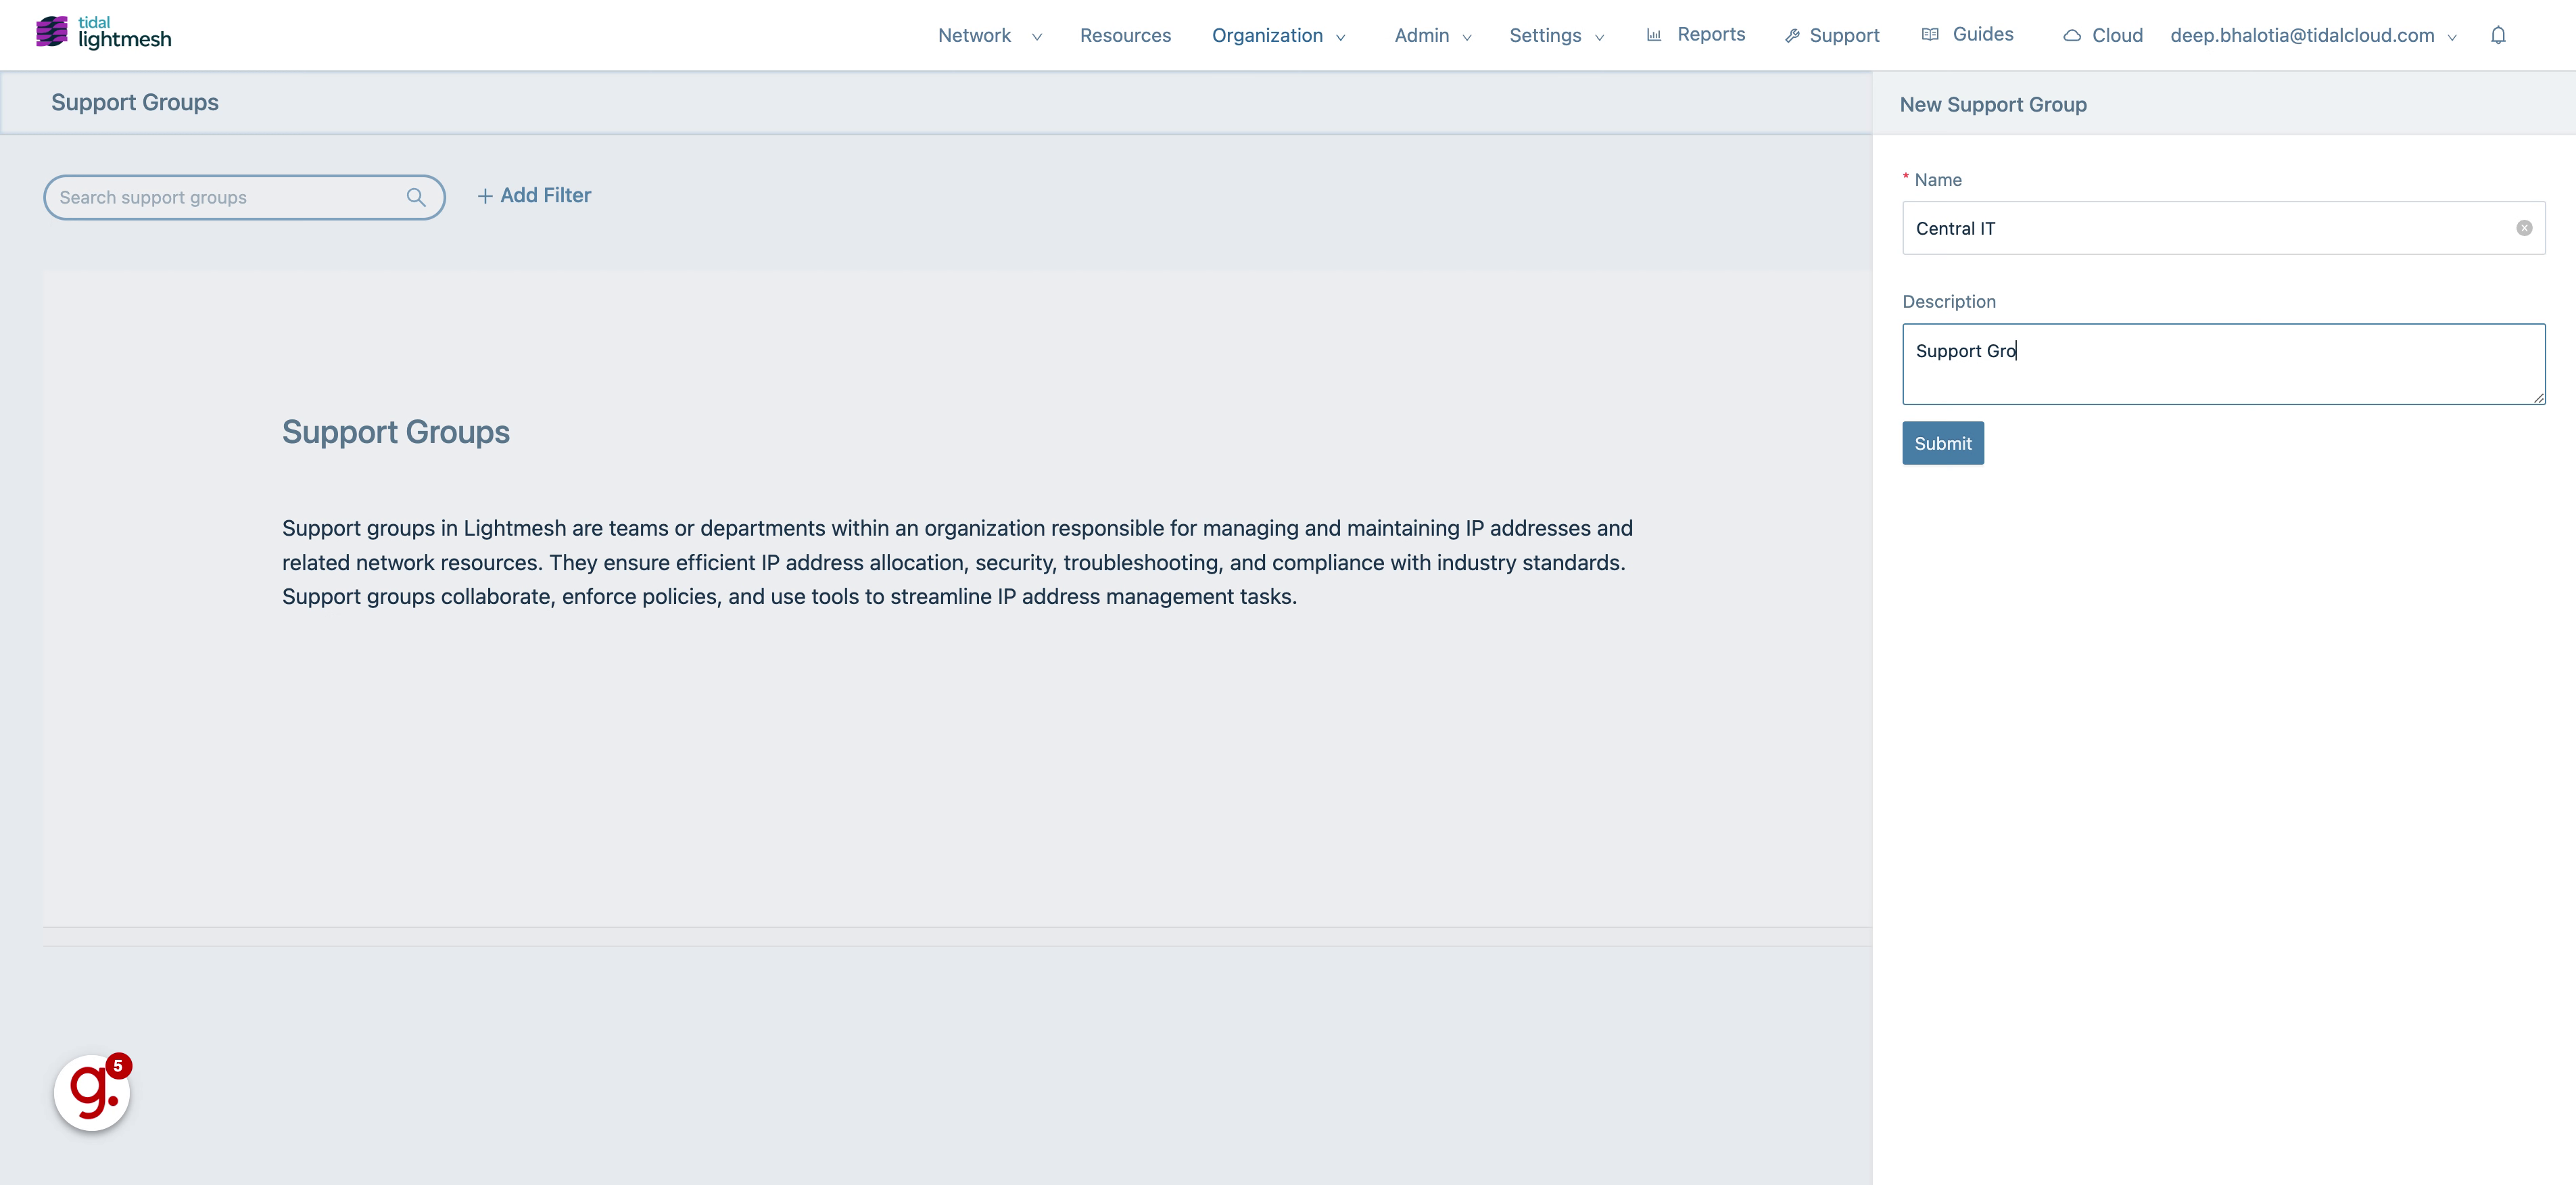
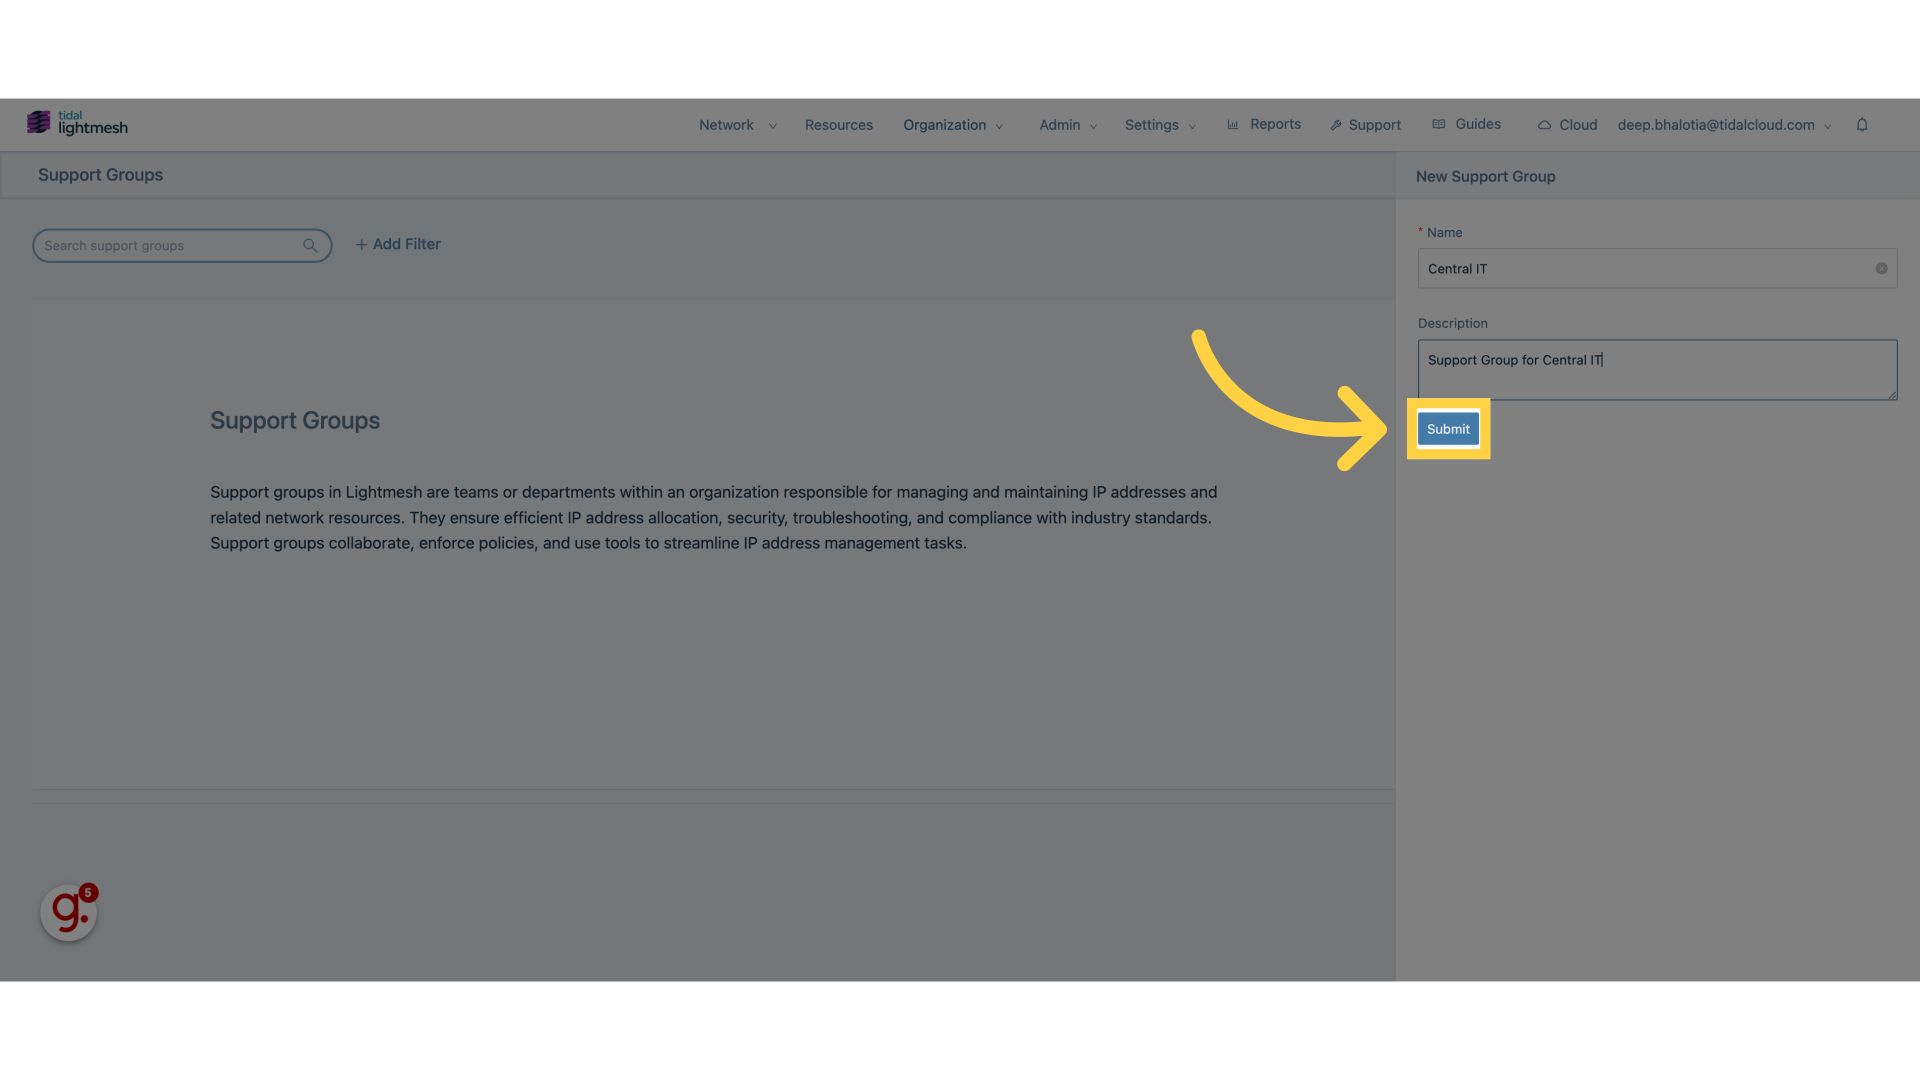
New Support Group
This guide walks you through the process of adding new support group in LightMesh. Support groups are teams or departments within an organization responsible for managing and maintaining IP addresses and related network resources. They ensure efficient IP address allocation, security, troubleshooting, and compliance with industry standards. Support groups collaborate, enforce policies, and use tools to streamline IP address management tasks.
1. Introduction
Master the art of managing support groups effortlessly.
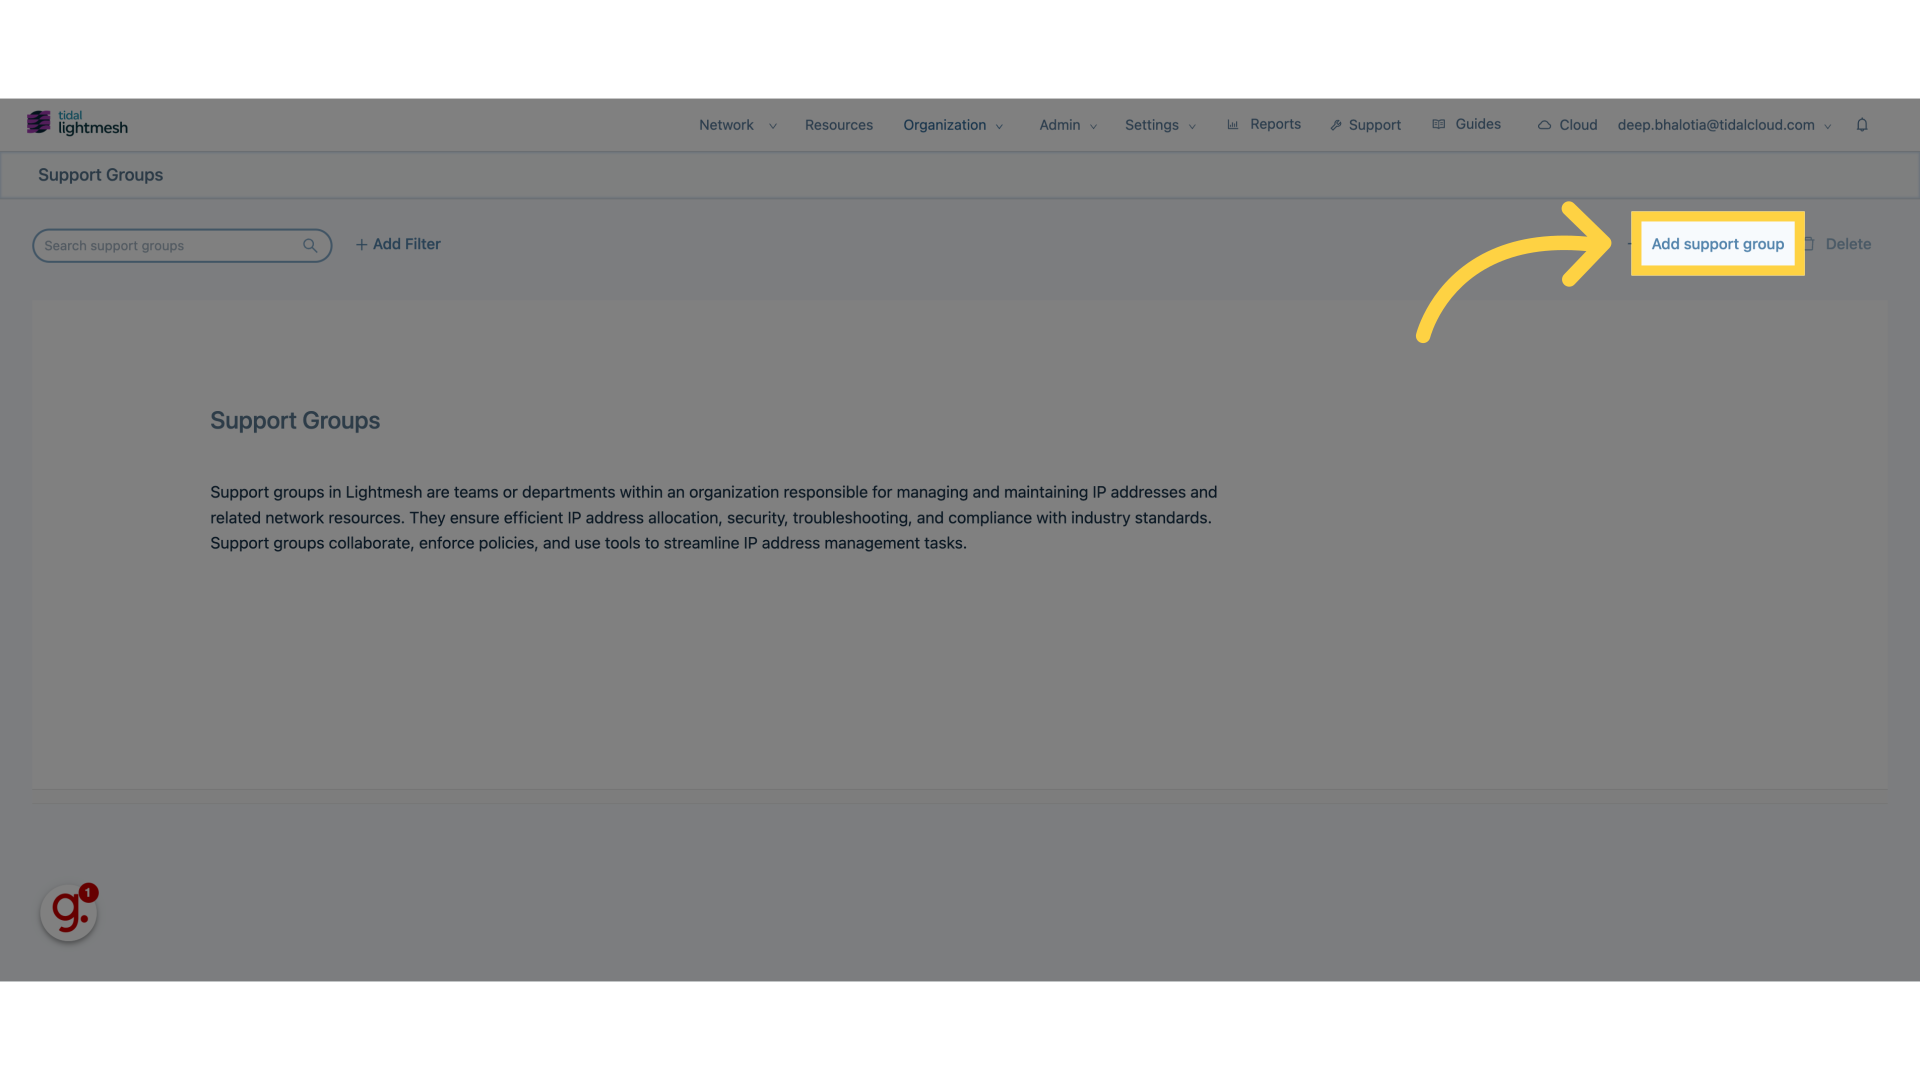
2. Click Support Groups
Access the Support Group section.

3. Click “Add support group”
Initiate the creation of a new support group.
4. Click “Name”
Enter the name of the support group.

5. Fill “Central IT”
Fill in “Central IT”
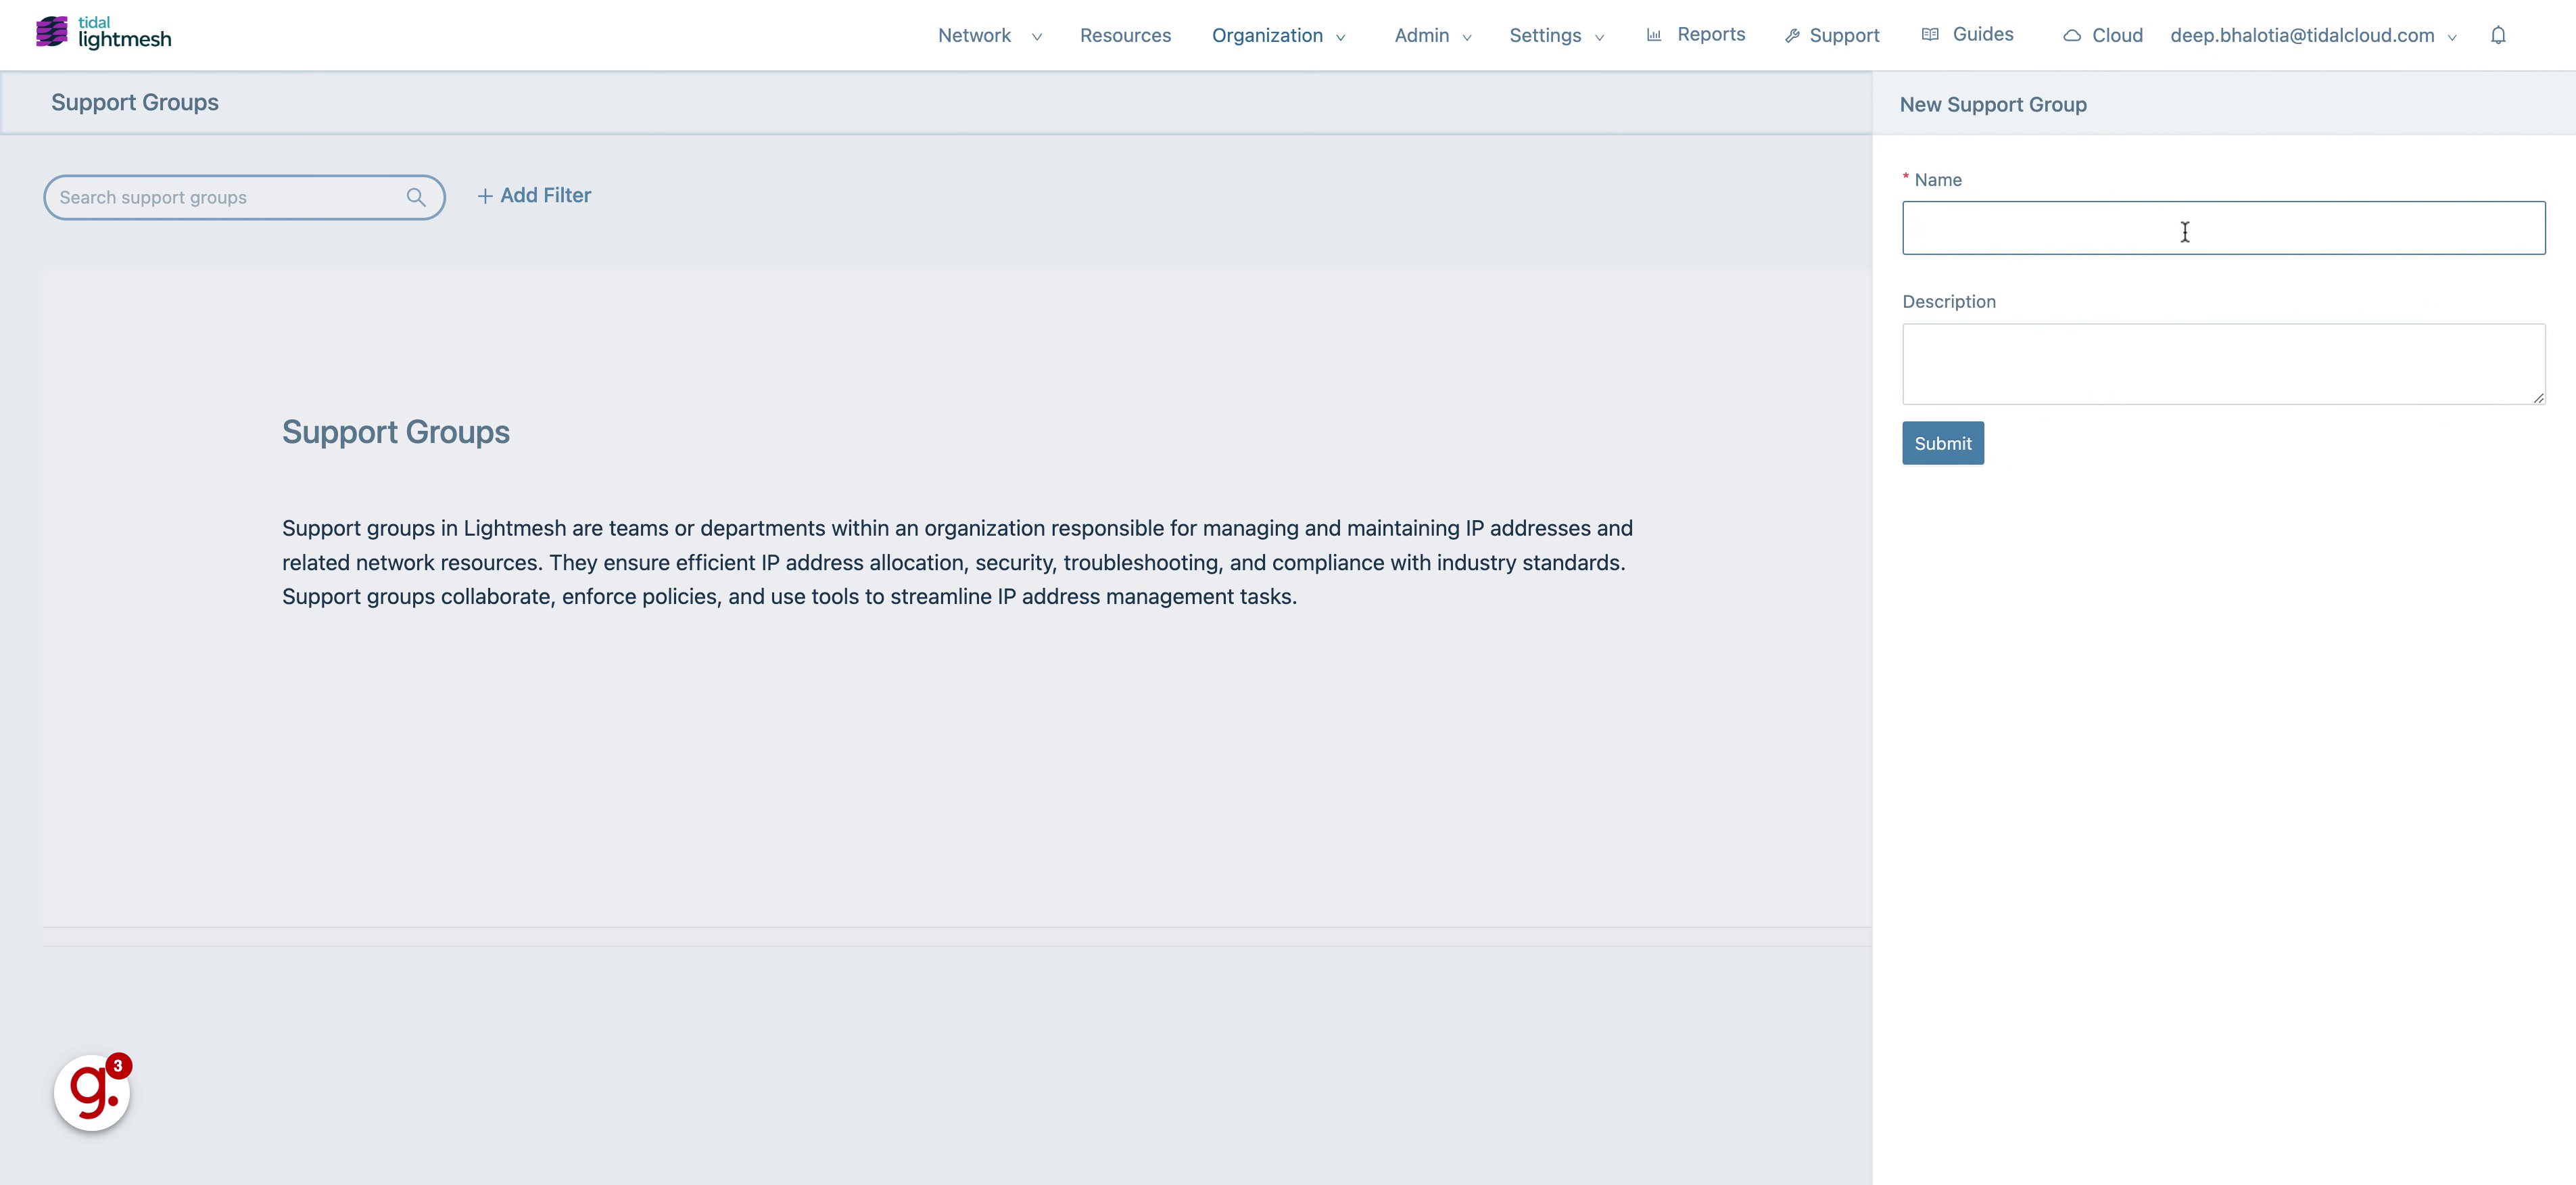
6. Click “Description”
Provide a brief description of the support group.
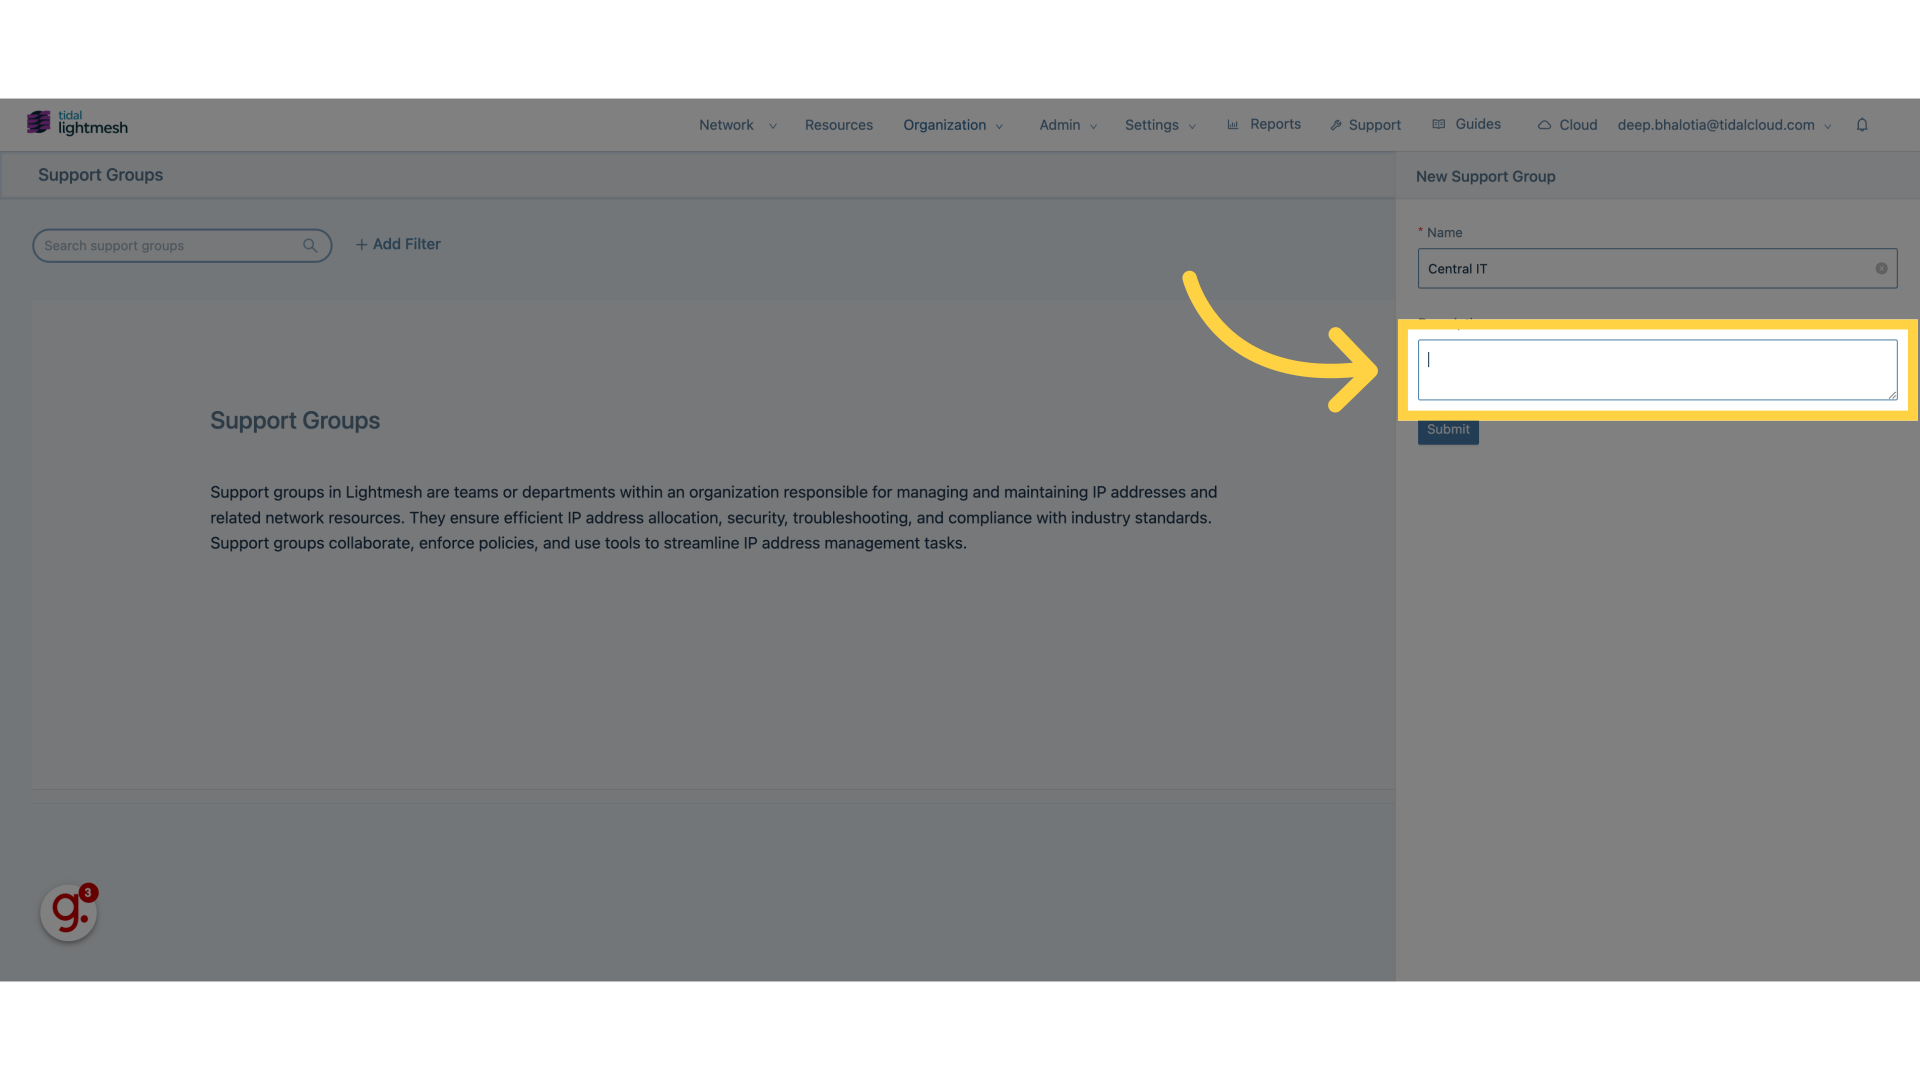
7. Fill “Support Group for Central IT”
Enter “Support Group for Central IT” in the provided field
8. Click “Submit”
Save and finalize the support group details.
This guide covered the process of adding Support Groups in Lightmesh, including creating a new group, naming it, adding a description, and finalizing by submitting the details.