New Subnet
This guide walks you through the process of adding new subnets in LightMesh. By creating a subnet, you can define specific IP ranges and assign related attributes like network zones, customers, and sites, helping to organize and manage your IP infrastructure efficiently. Subnet creation is essential for structuring your network and ensuring accurate IP address management within LightMesh.
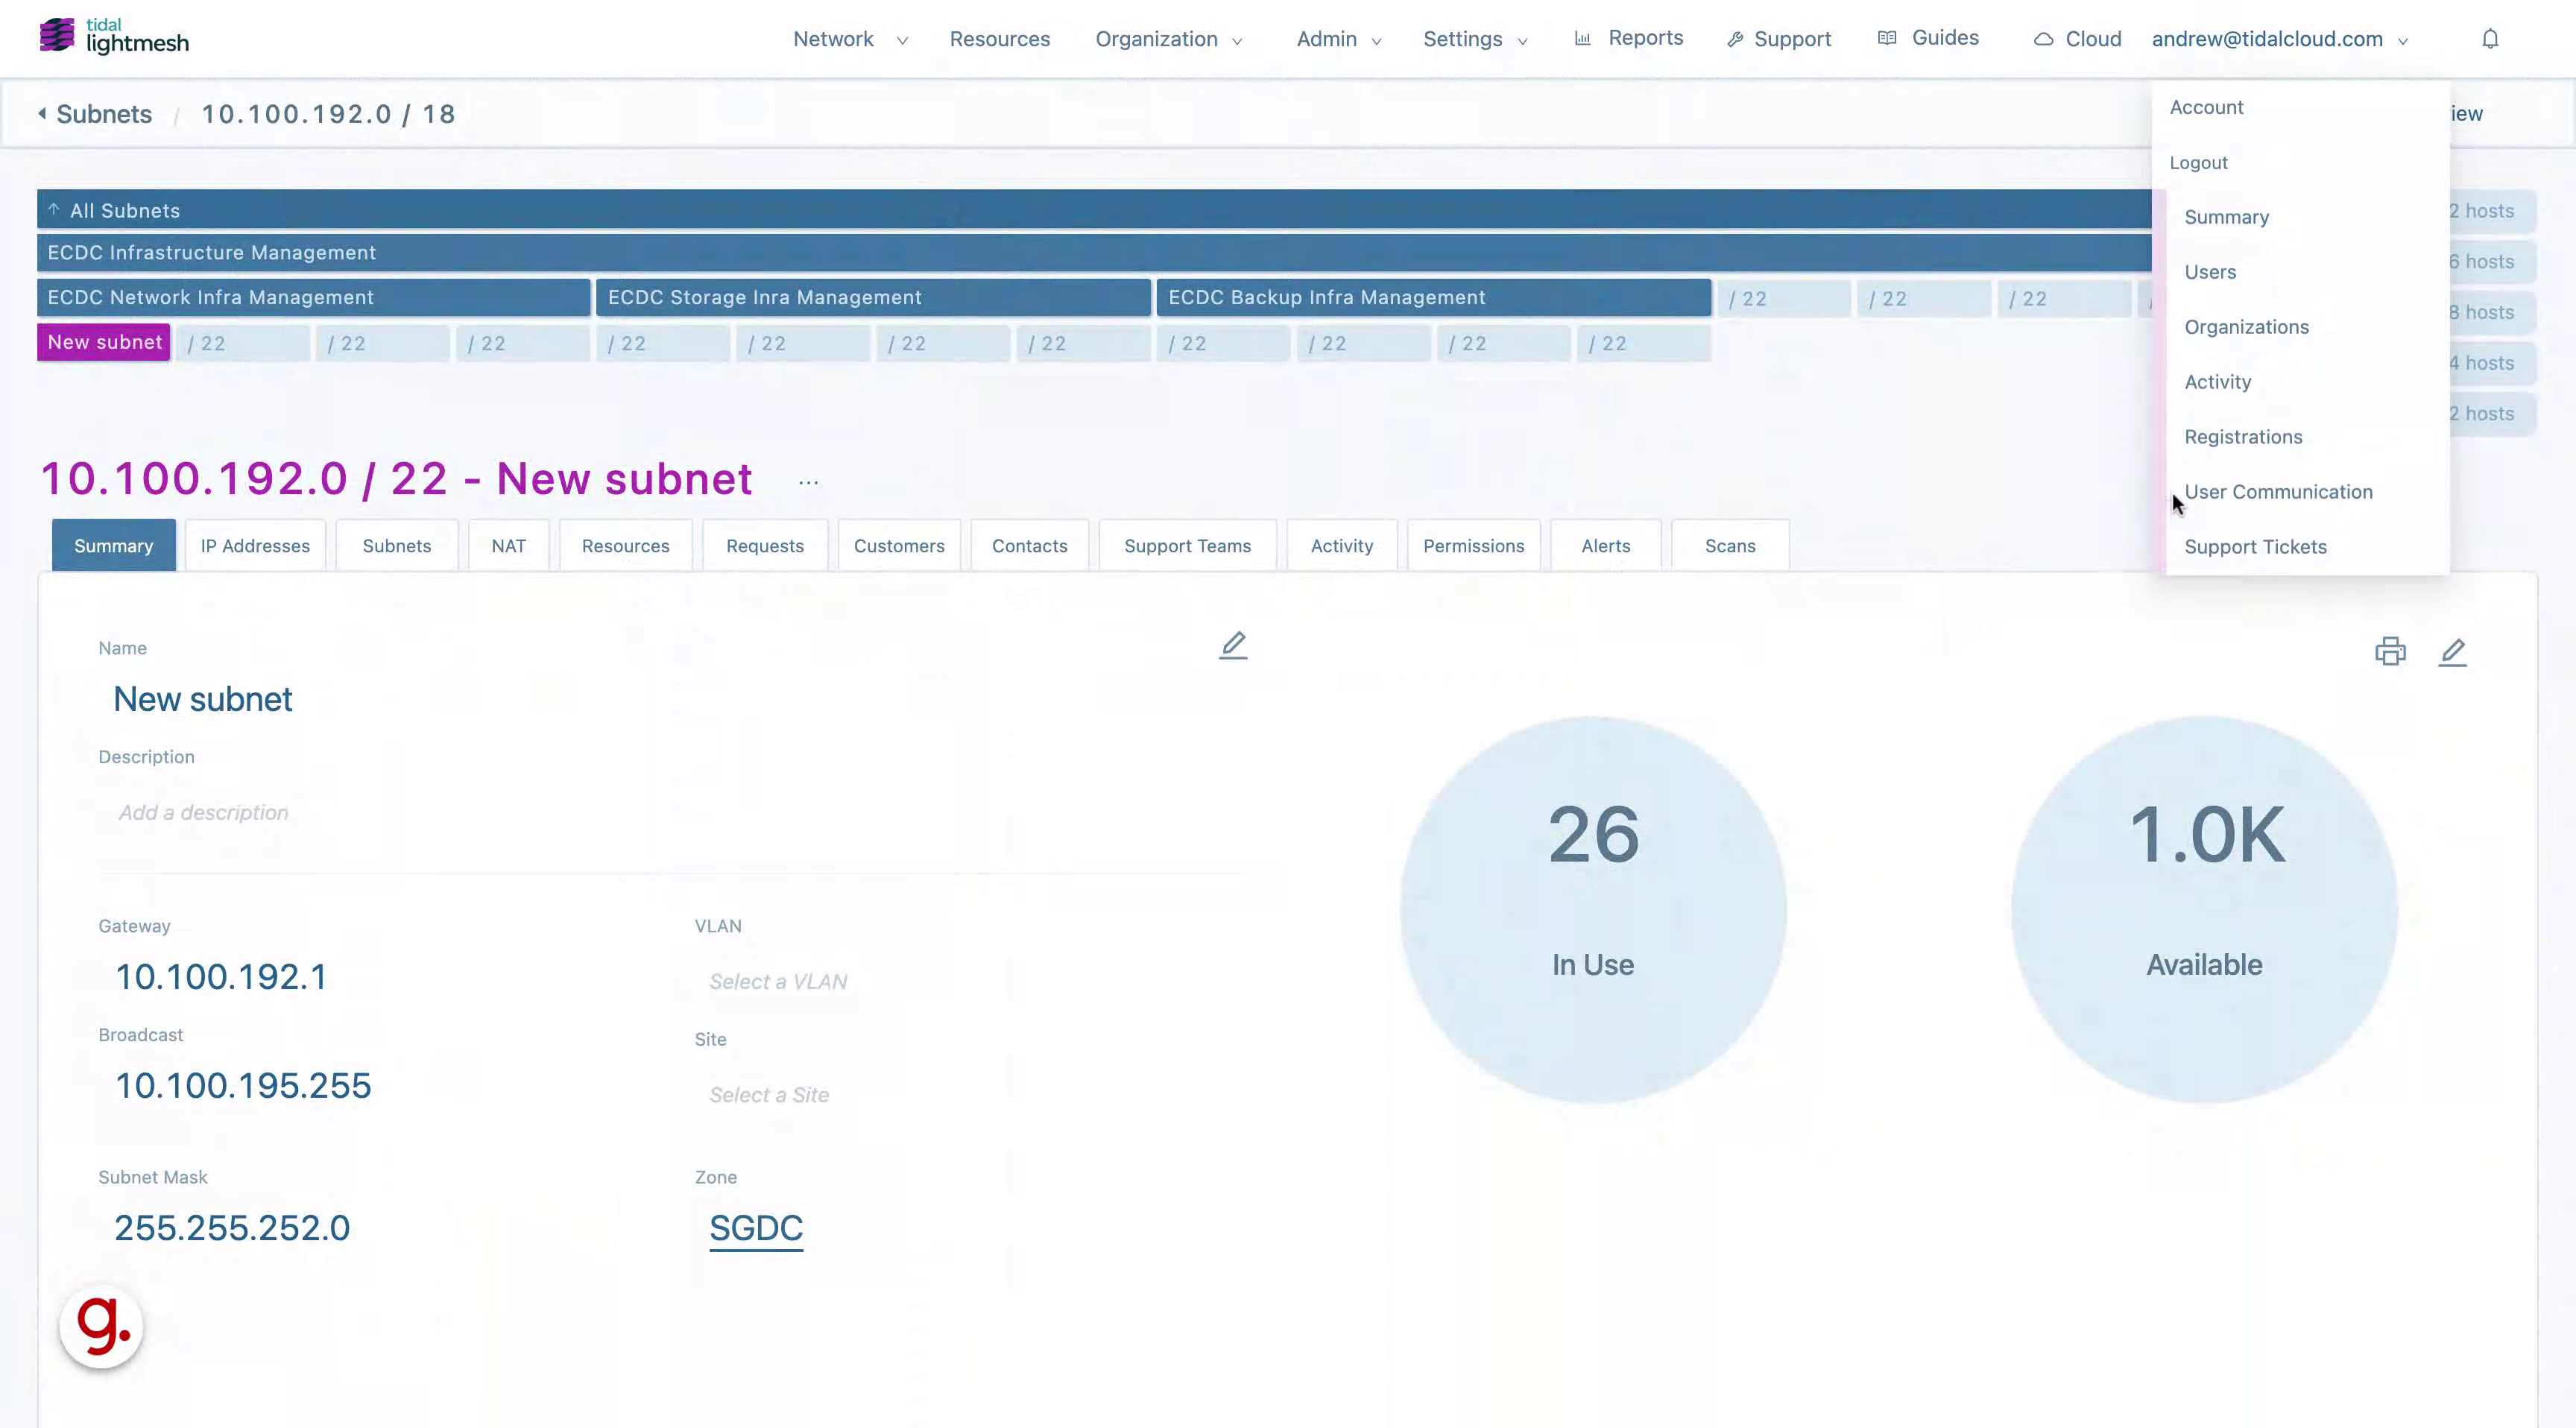
1. Introduction
Master the process with these precise and engaging instructions for effective employee training.
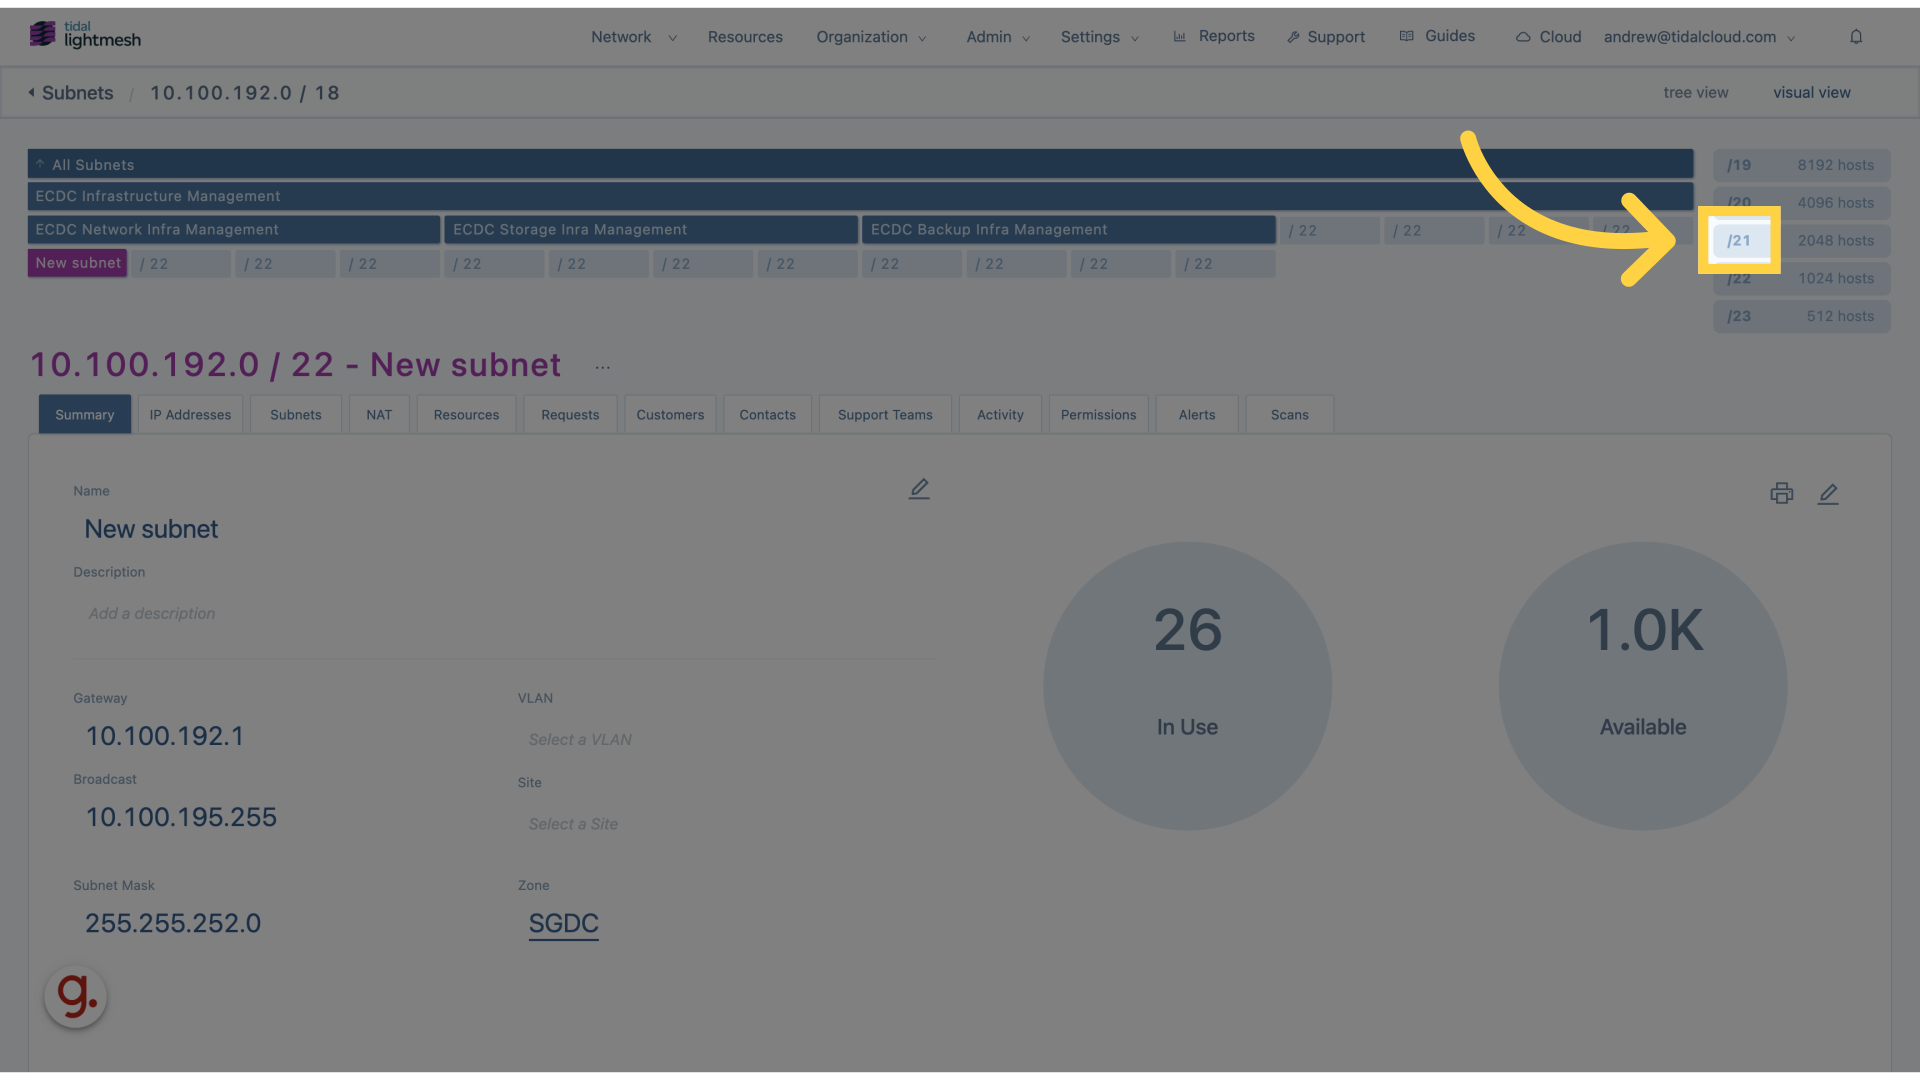
2. Click “/21”
Select the subnet size by clicking on “/21”.
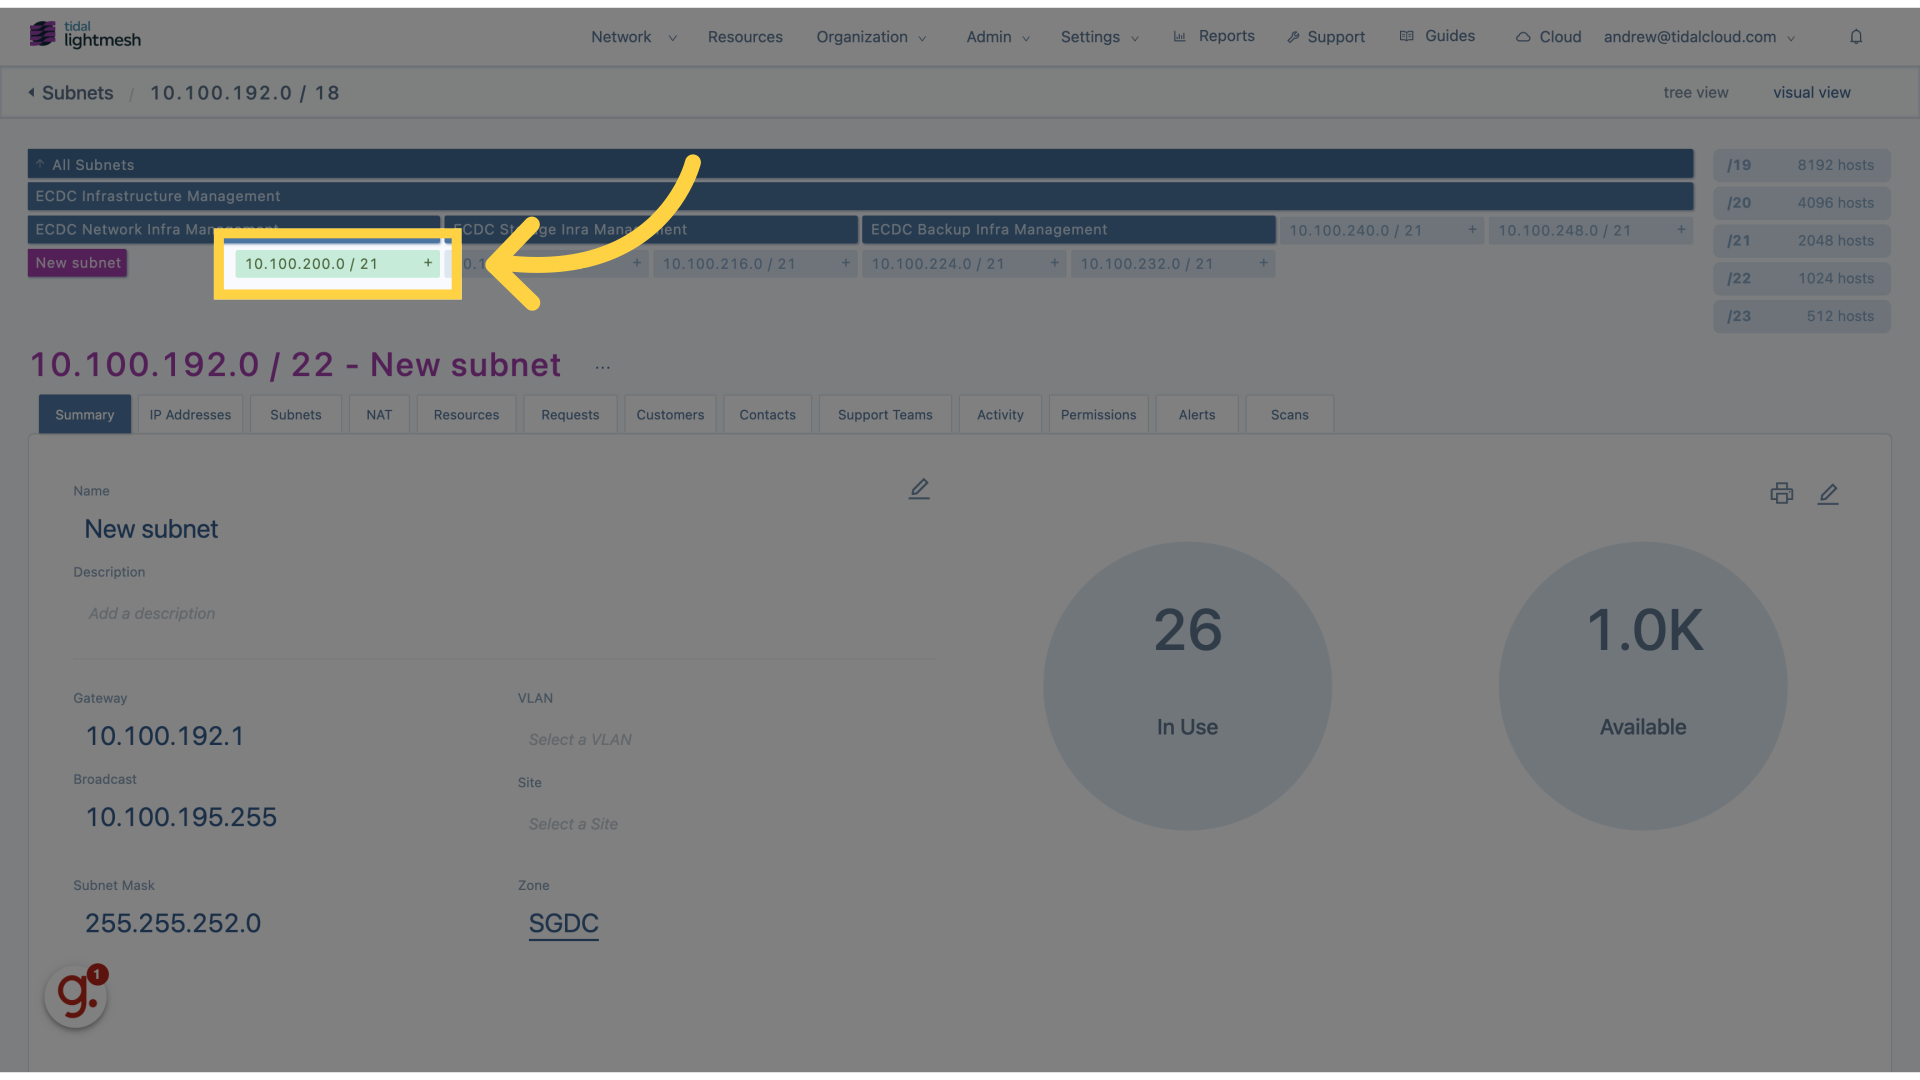
3. Click “10.100.200.0 / 21+”
Choose the specific subnet range by clicking on “10.
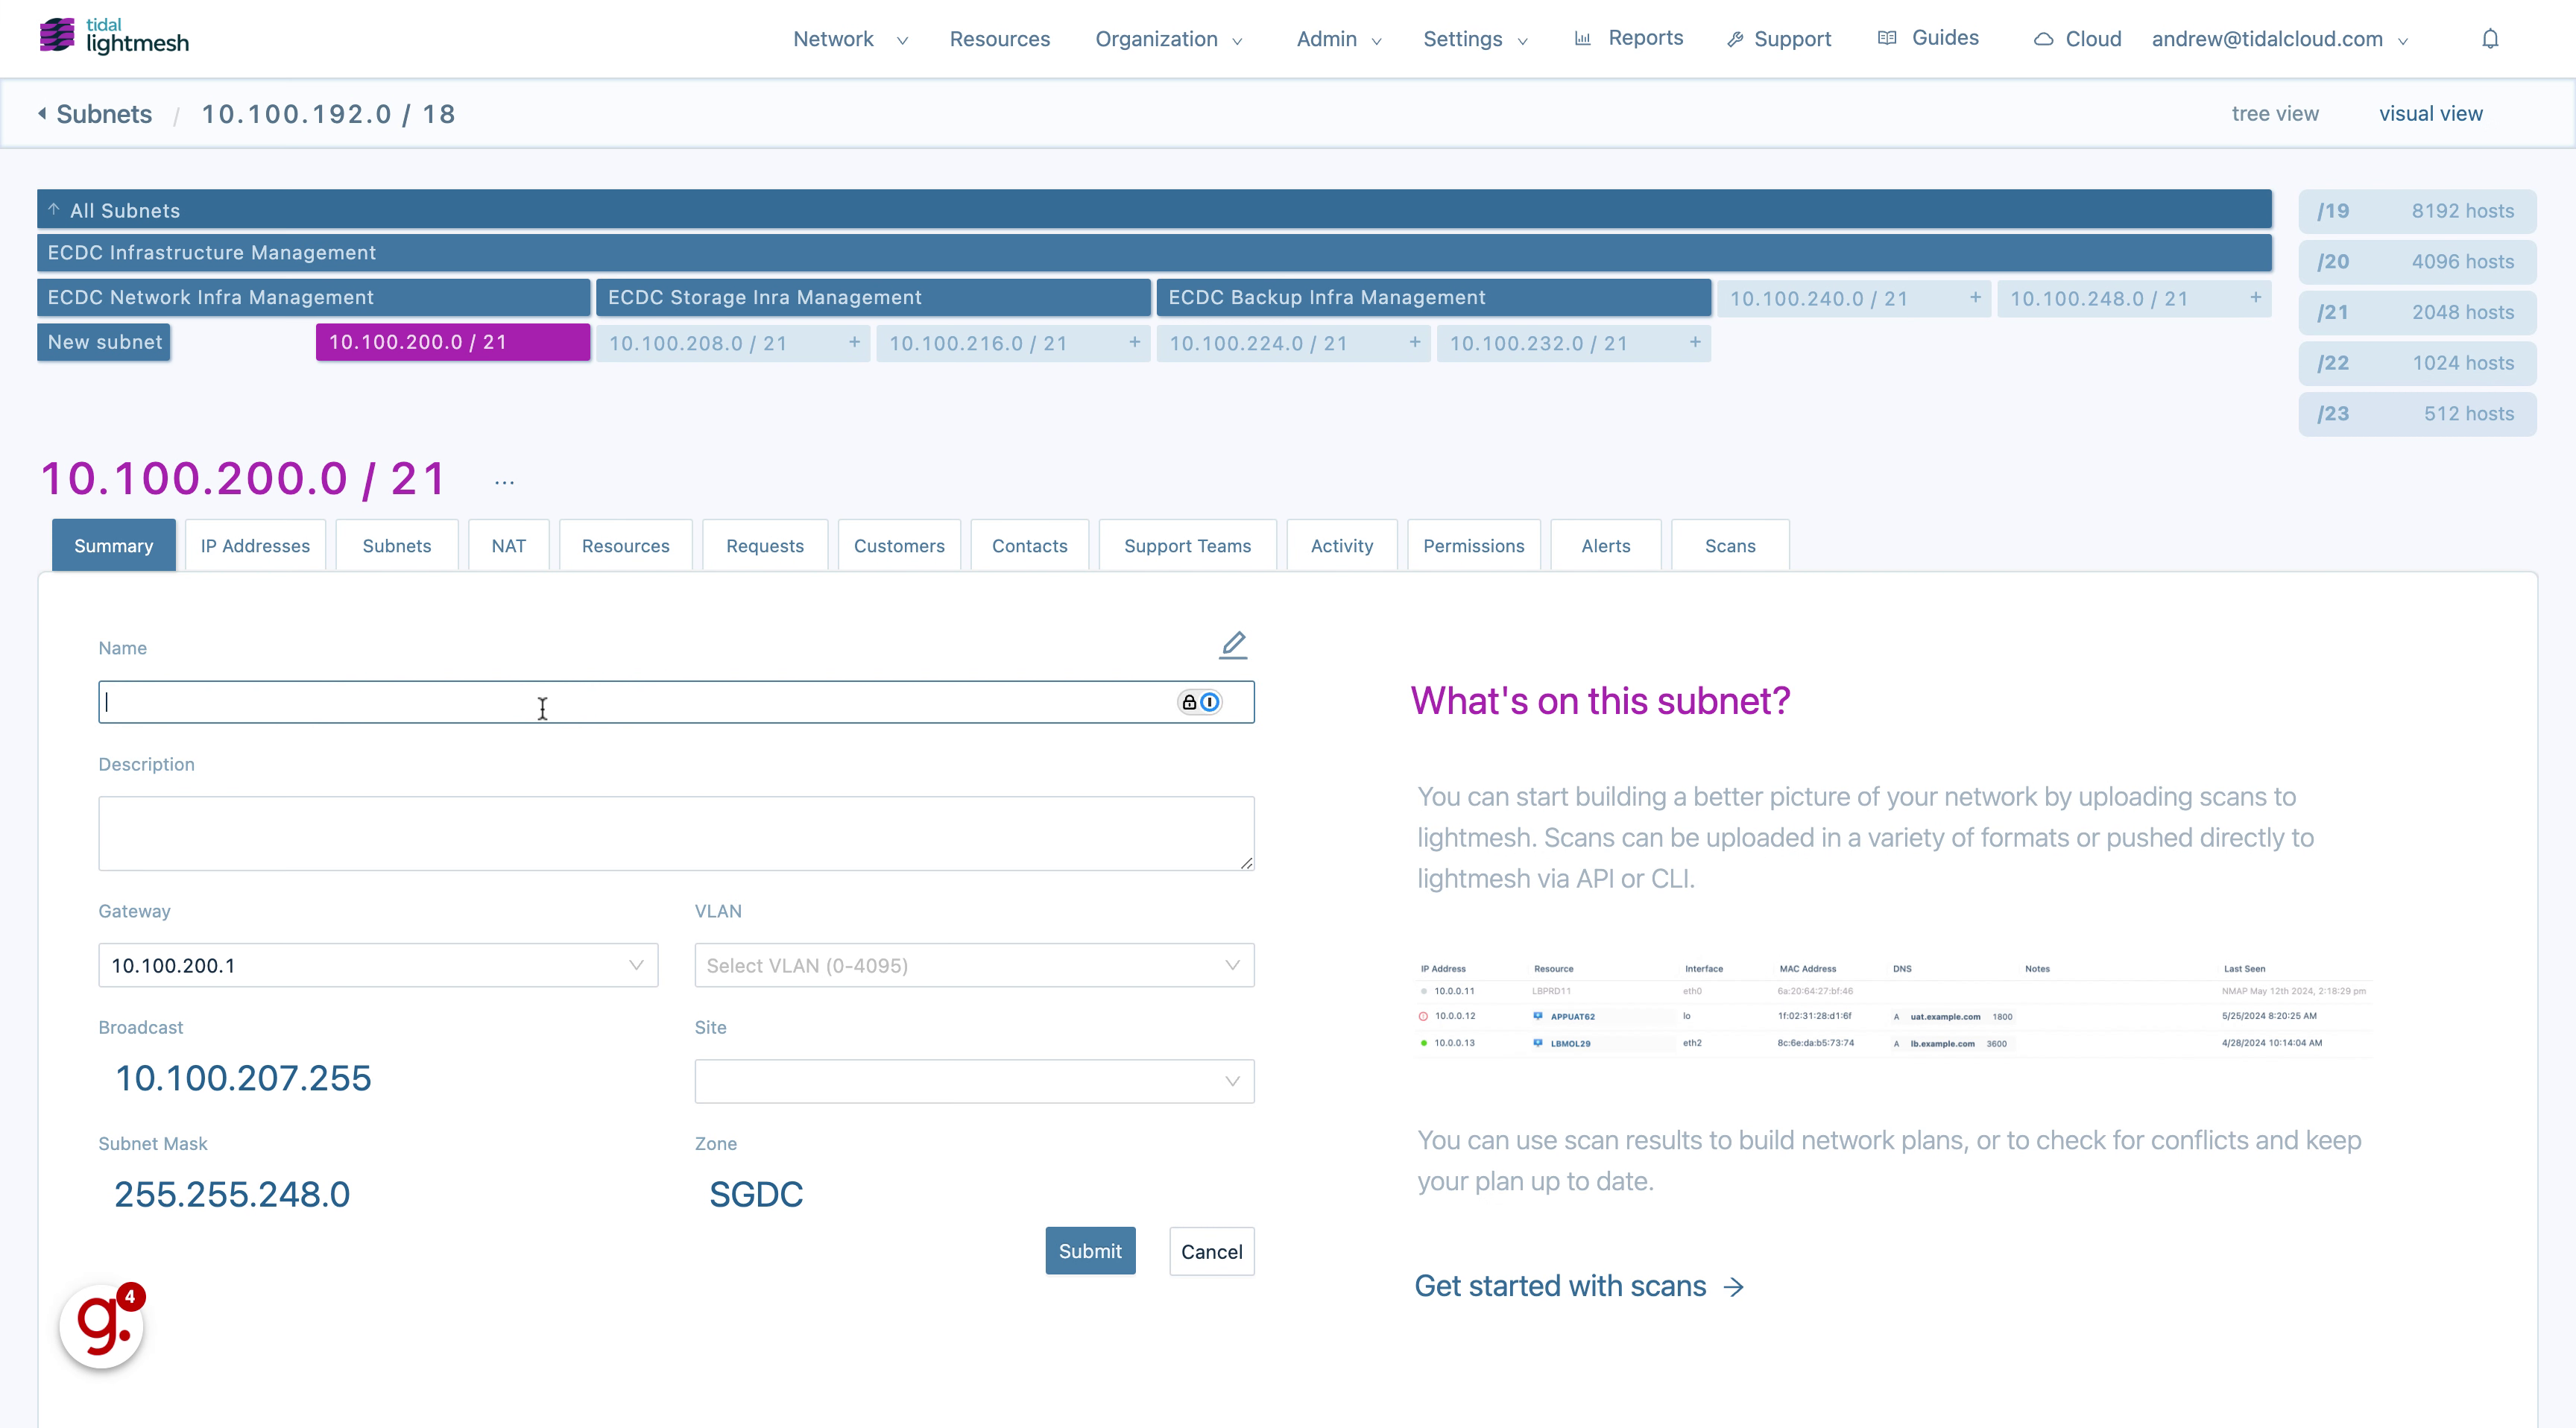
4. Click here
Navigate to the desired section by clicking on “here”.
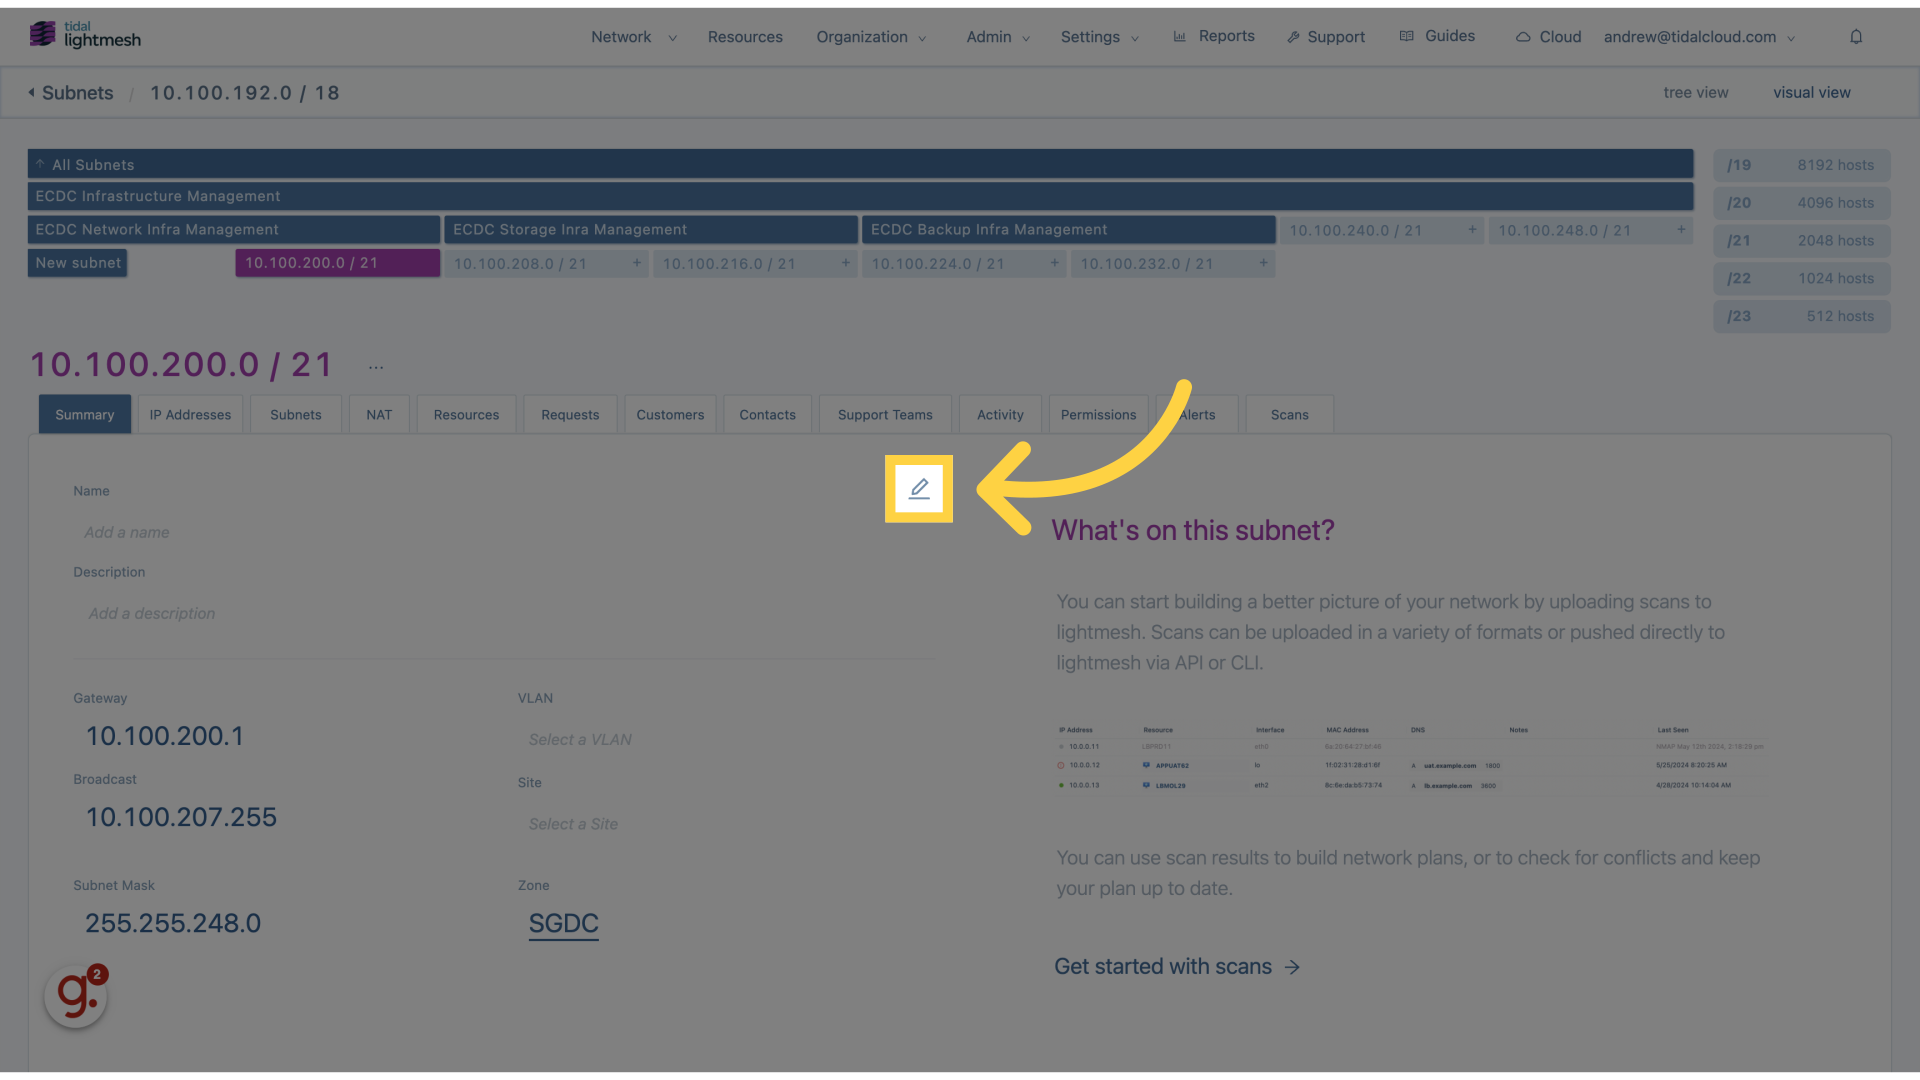
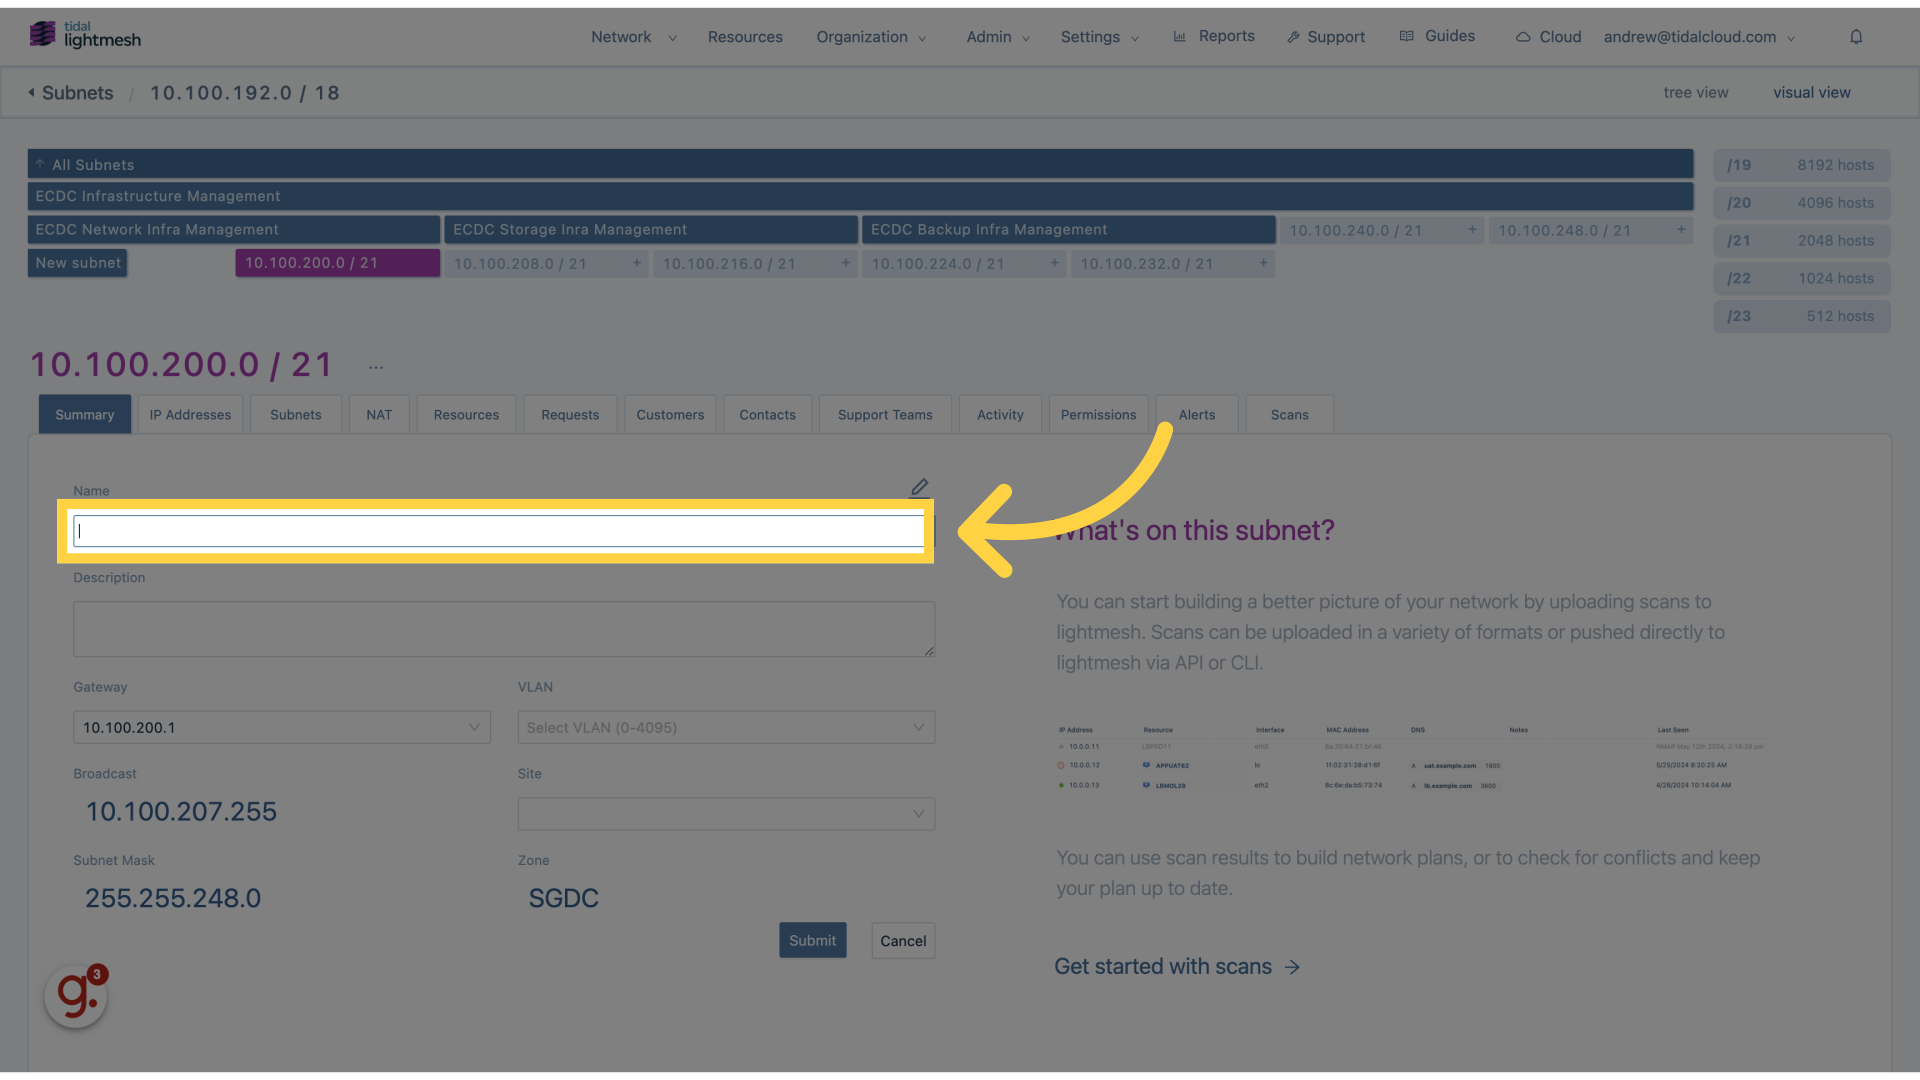
5. Click “Name”
Assign a name to the subnet by clicking on “Name”.
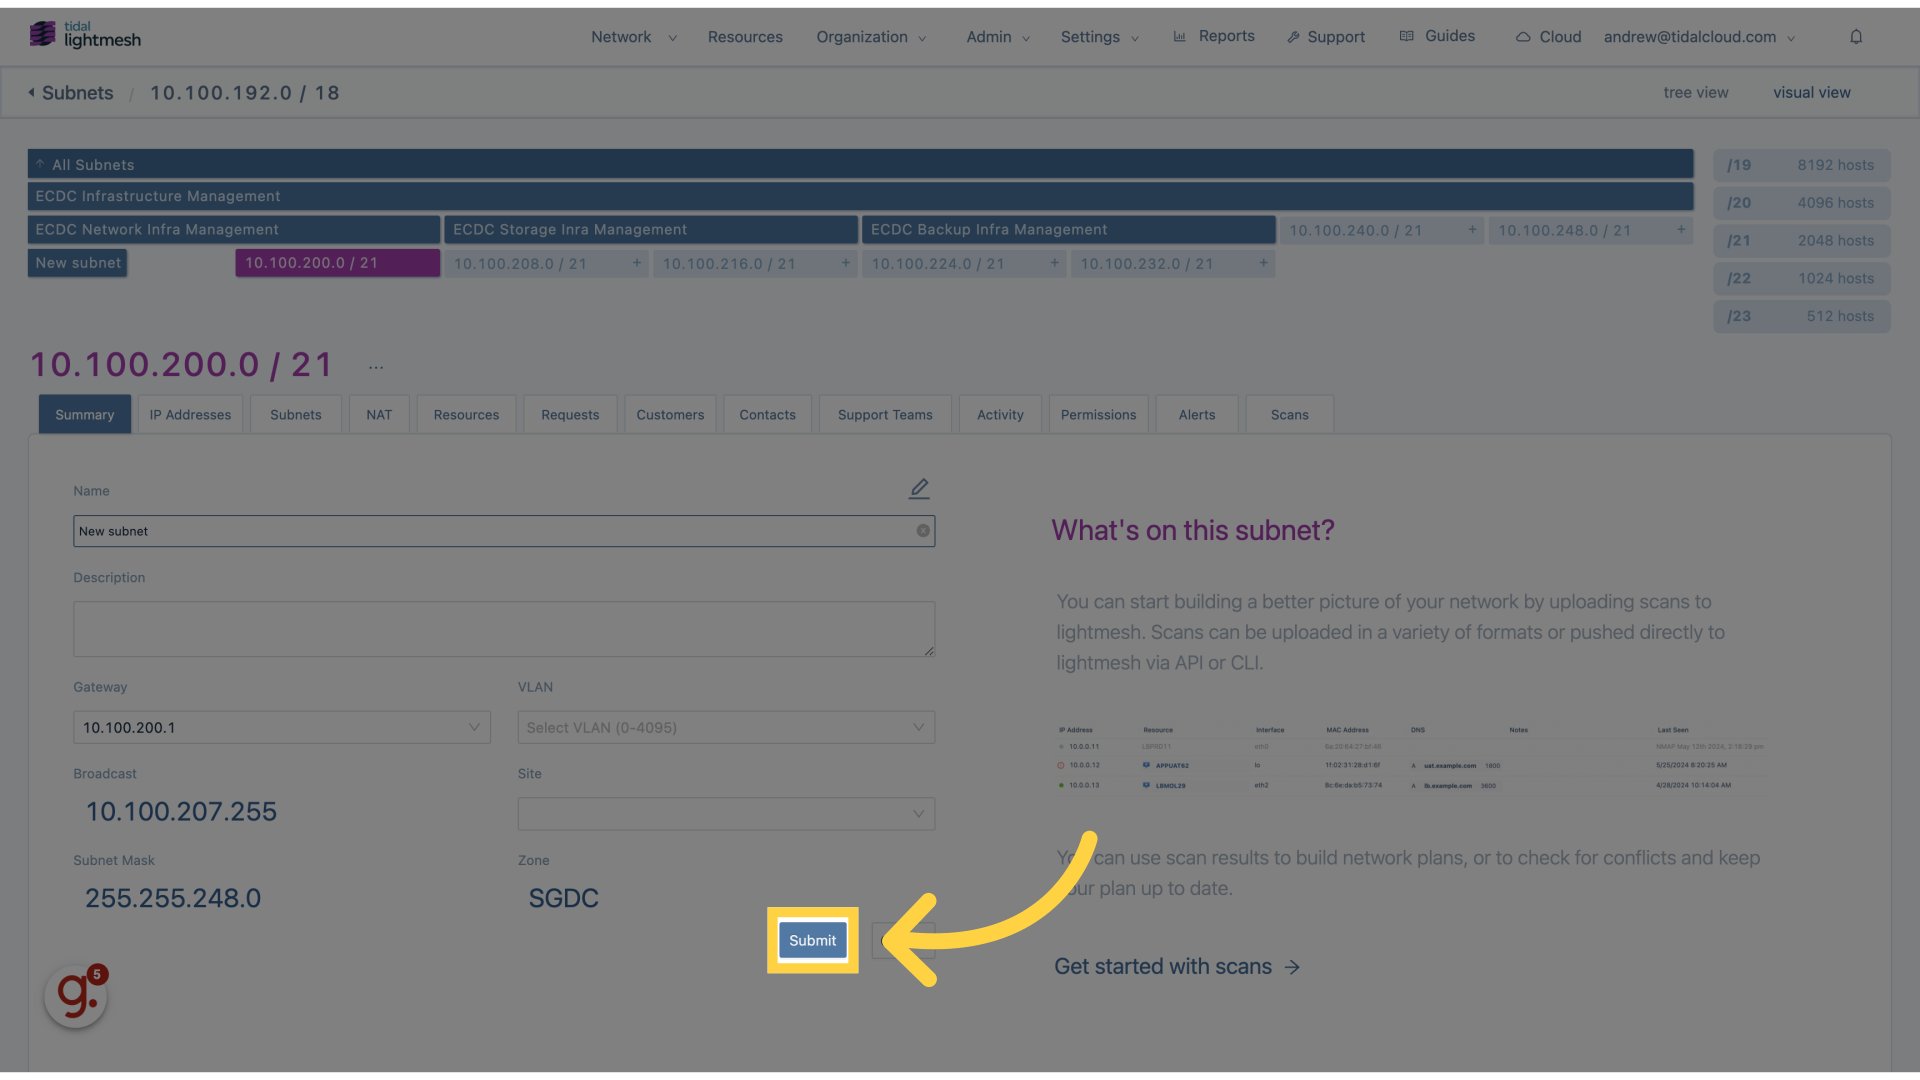
6. Fill “New subnet”
Fill in “New subnet”
7. Click “Submit”
Finalize the creation of the new subnet by clicking on “Submit”.
This guide covered the process of creating a new subnet in Lightmesh, including selecting the subnet size, defining the subnet range, assigning a name, and submitting the new subnet.