New Site
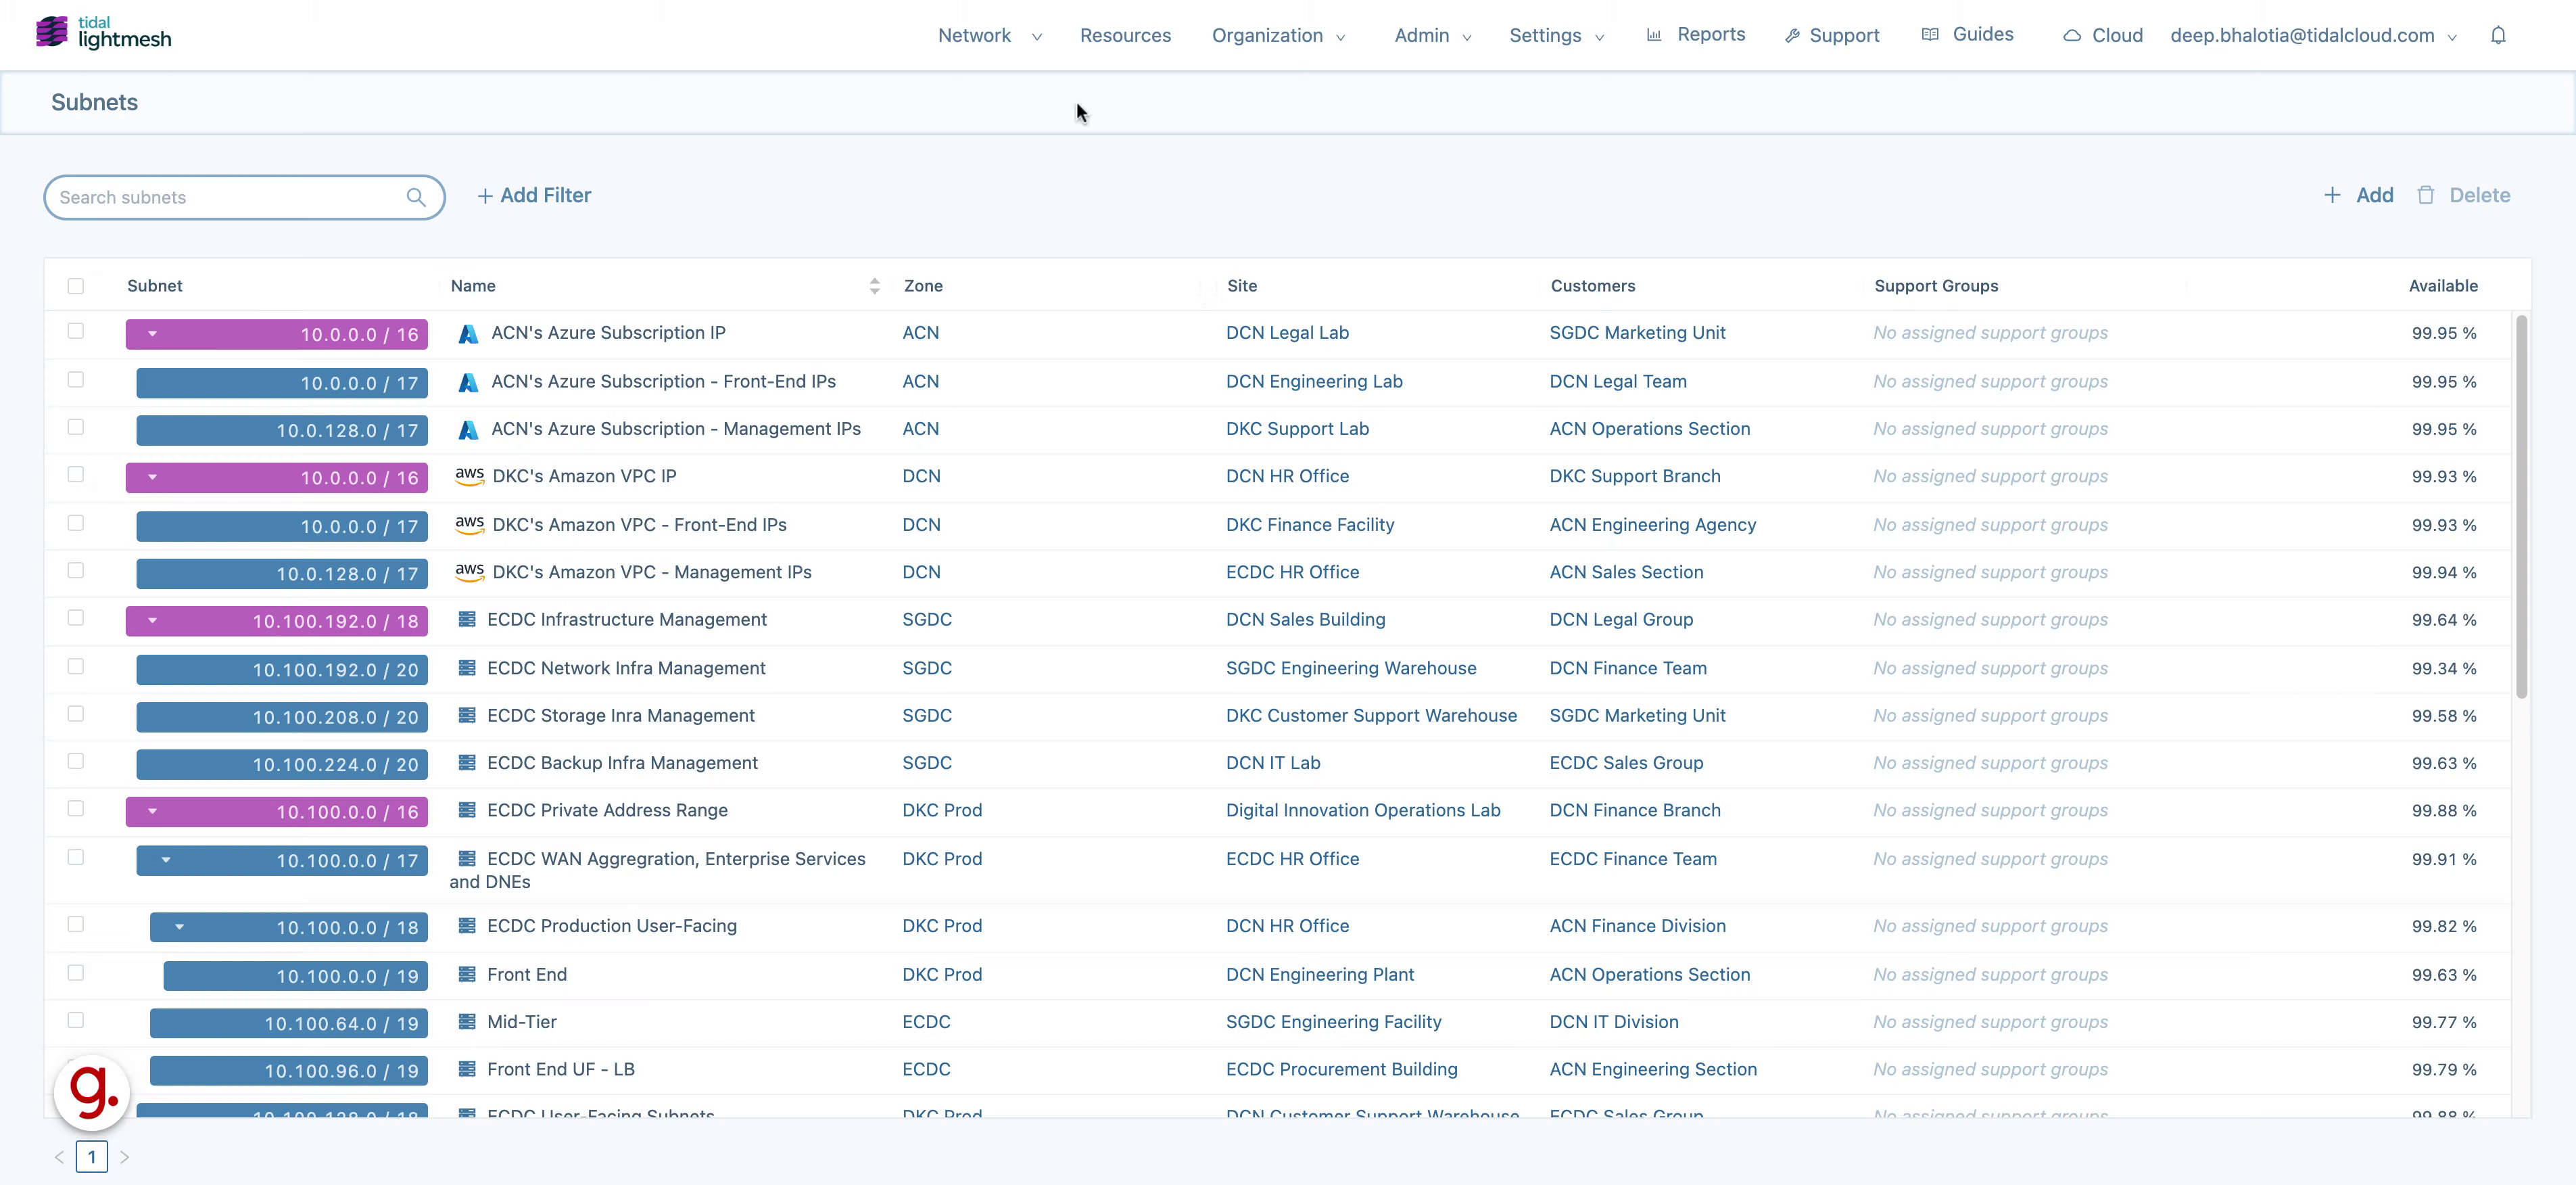
This guide walks you through adding new site in LightMesh. Sites are any logical grouping of physical devices. They can be tied to addresses, contacts, subnets, and zones. that is able to use your parts of your network. They can be a great place to start with network design, cost estimation, and support.
This guide will walk you through the process to using Lightmesh.
1. Introduction
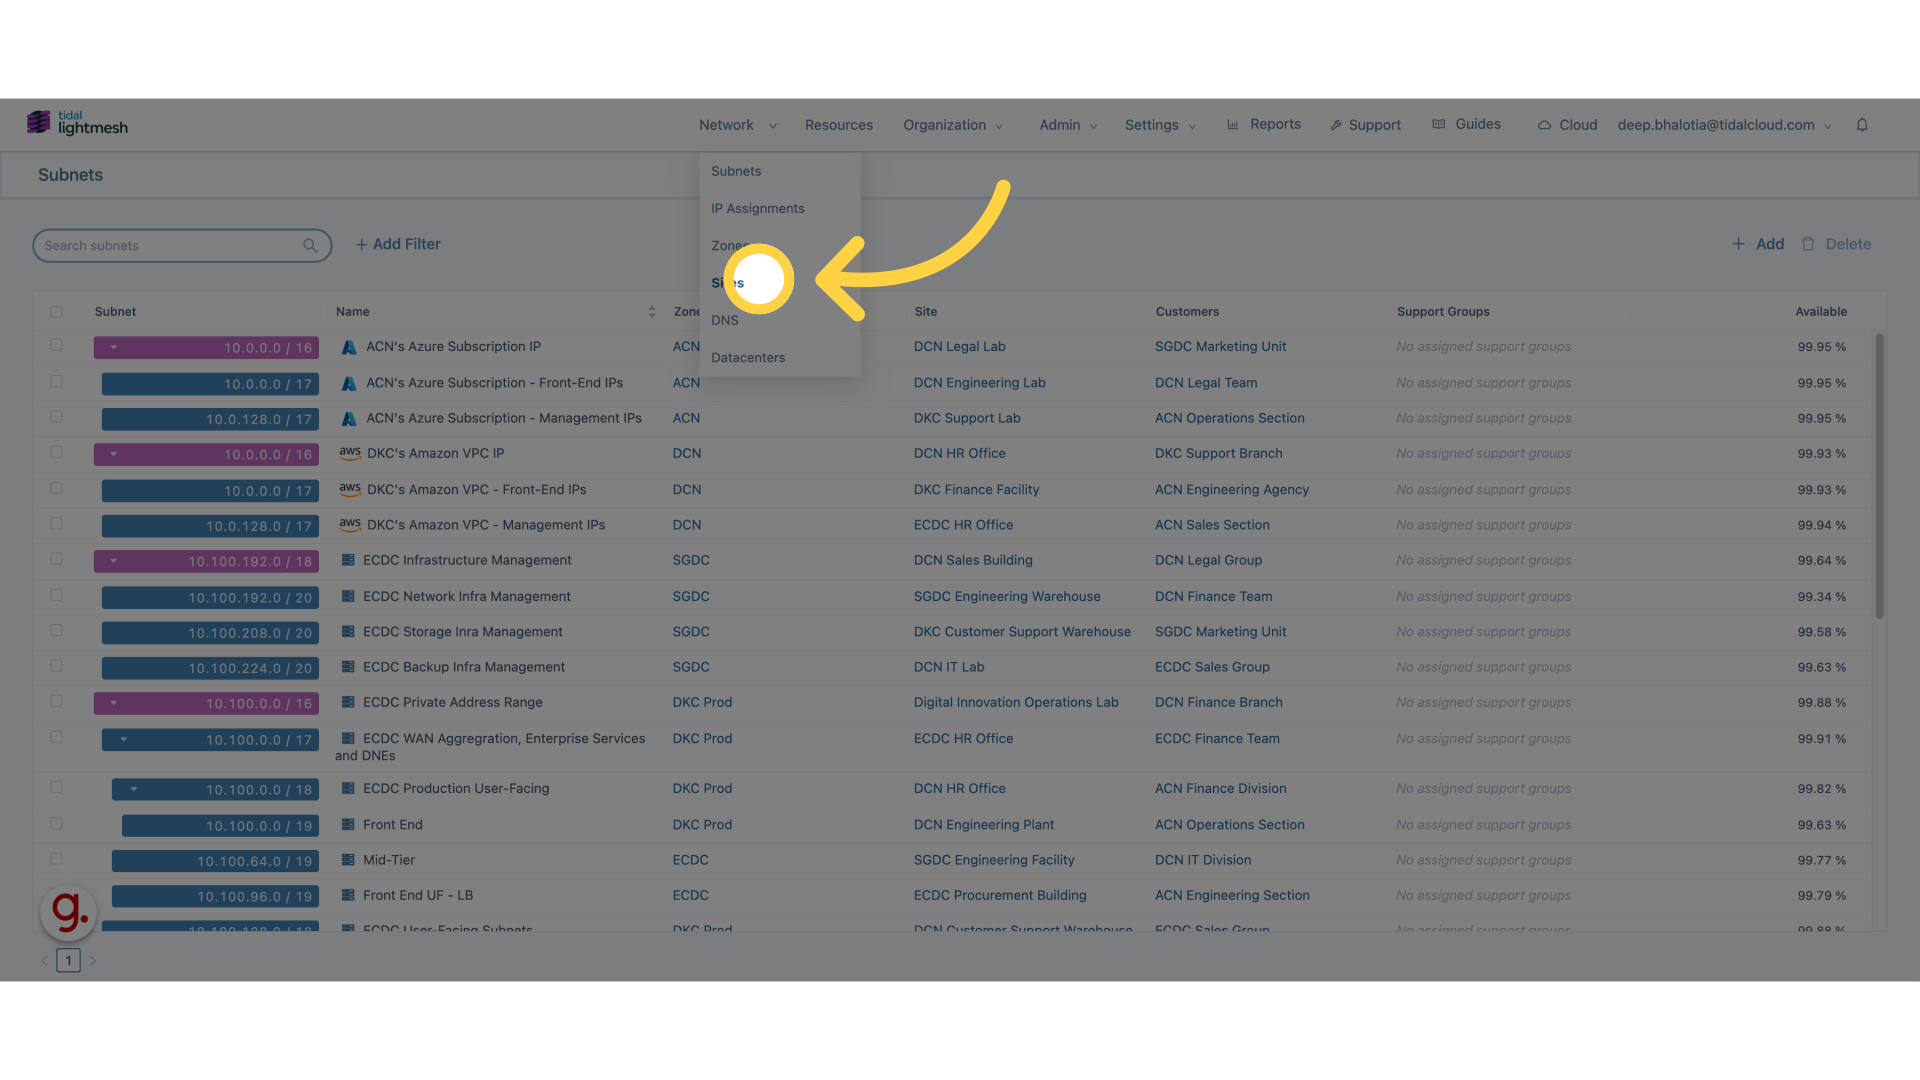
2. Click Site
Click here
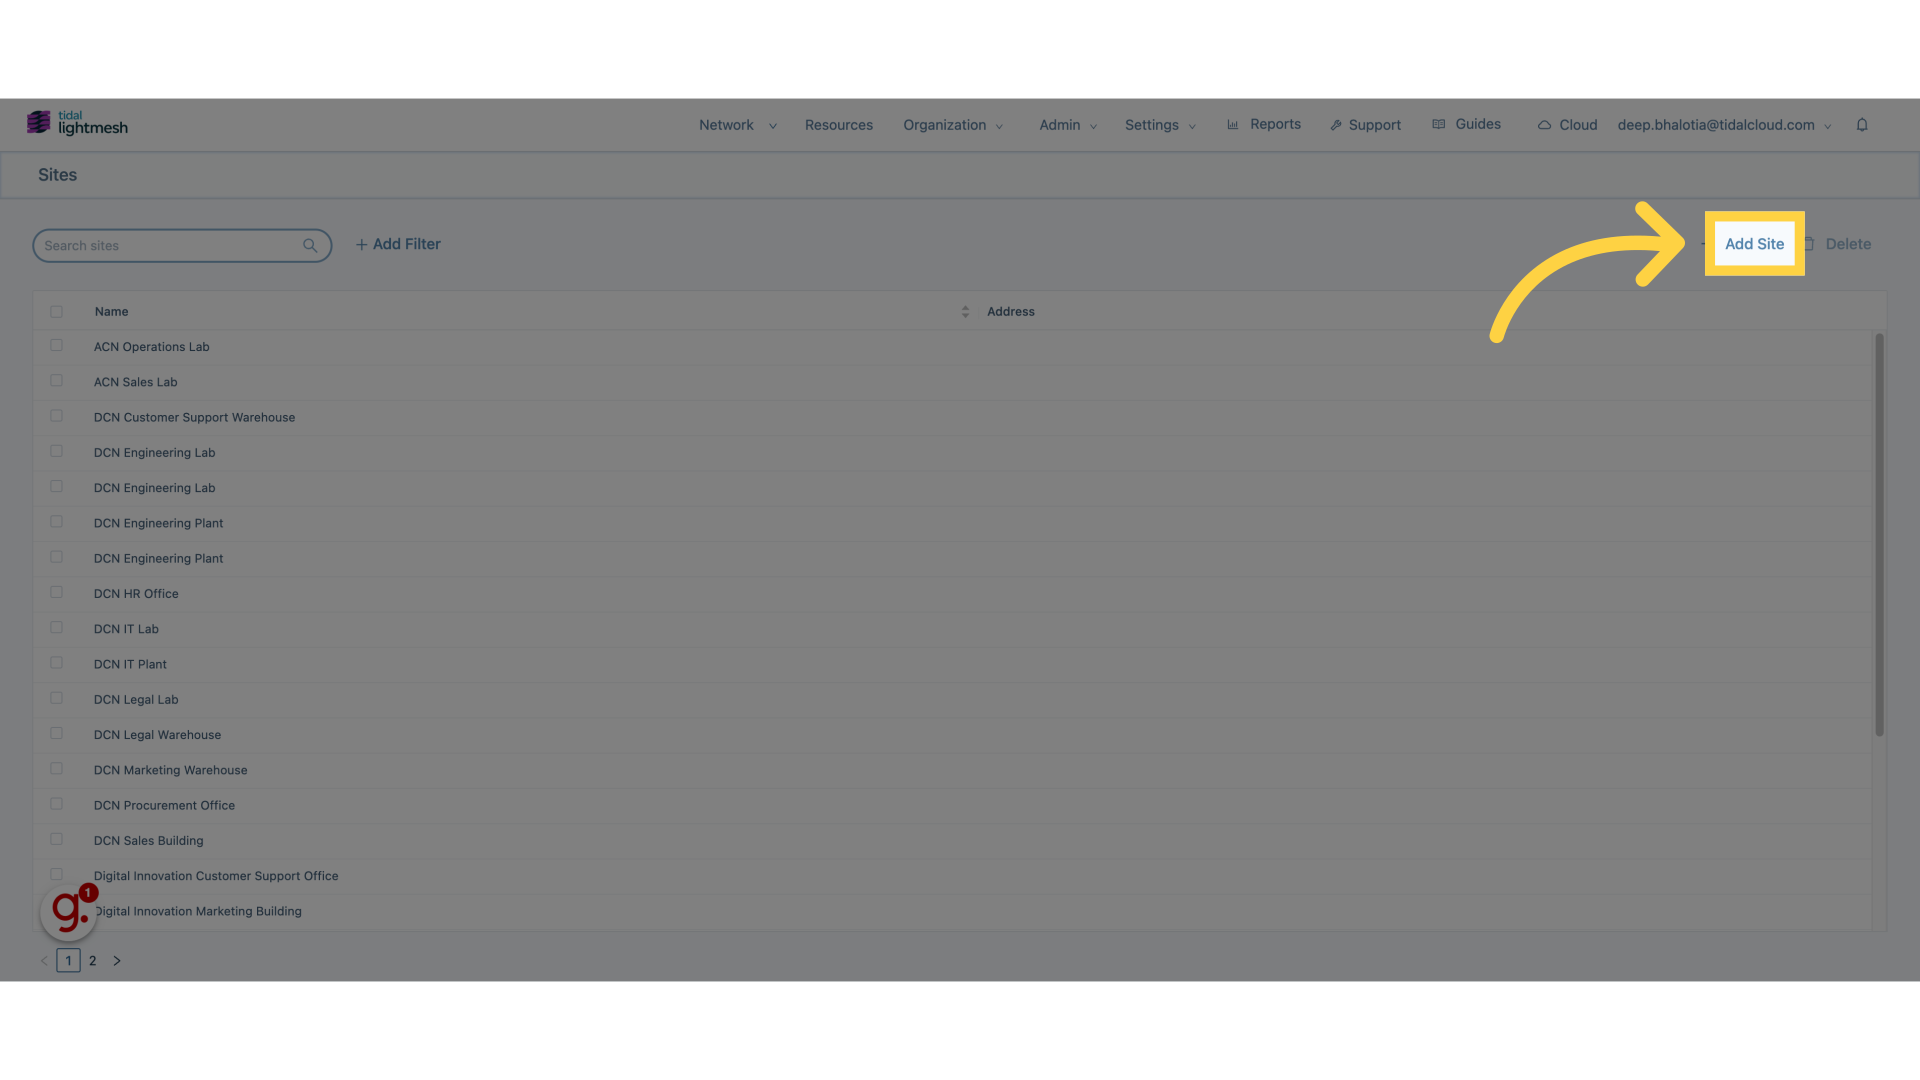
3. Click “Add Site”
Click on “Add Site”
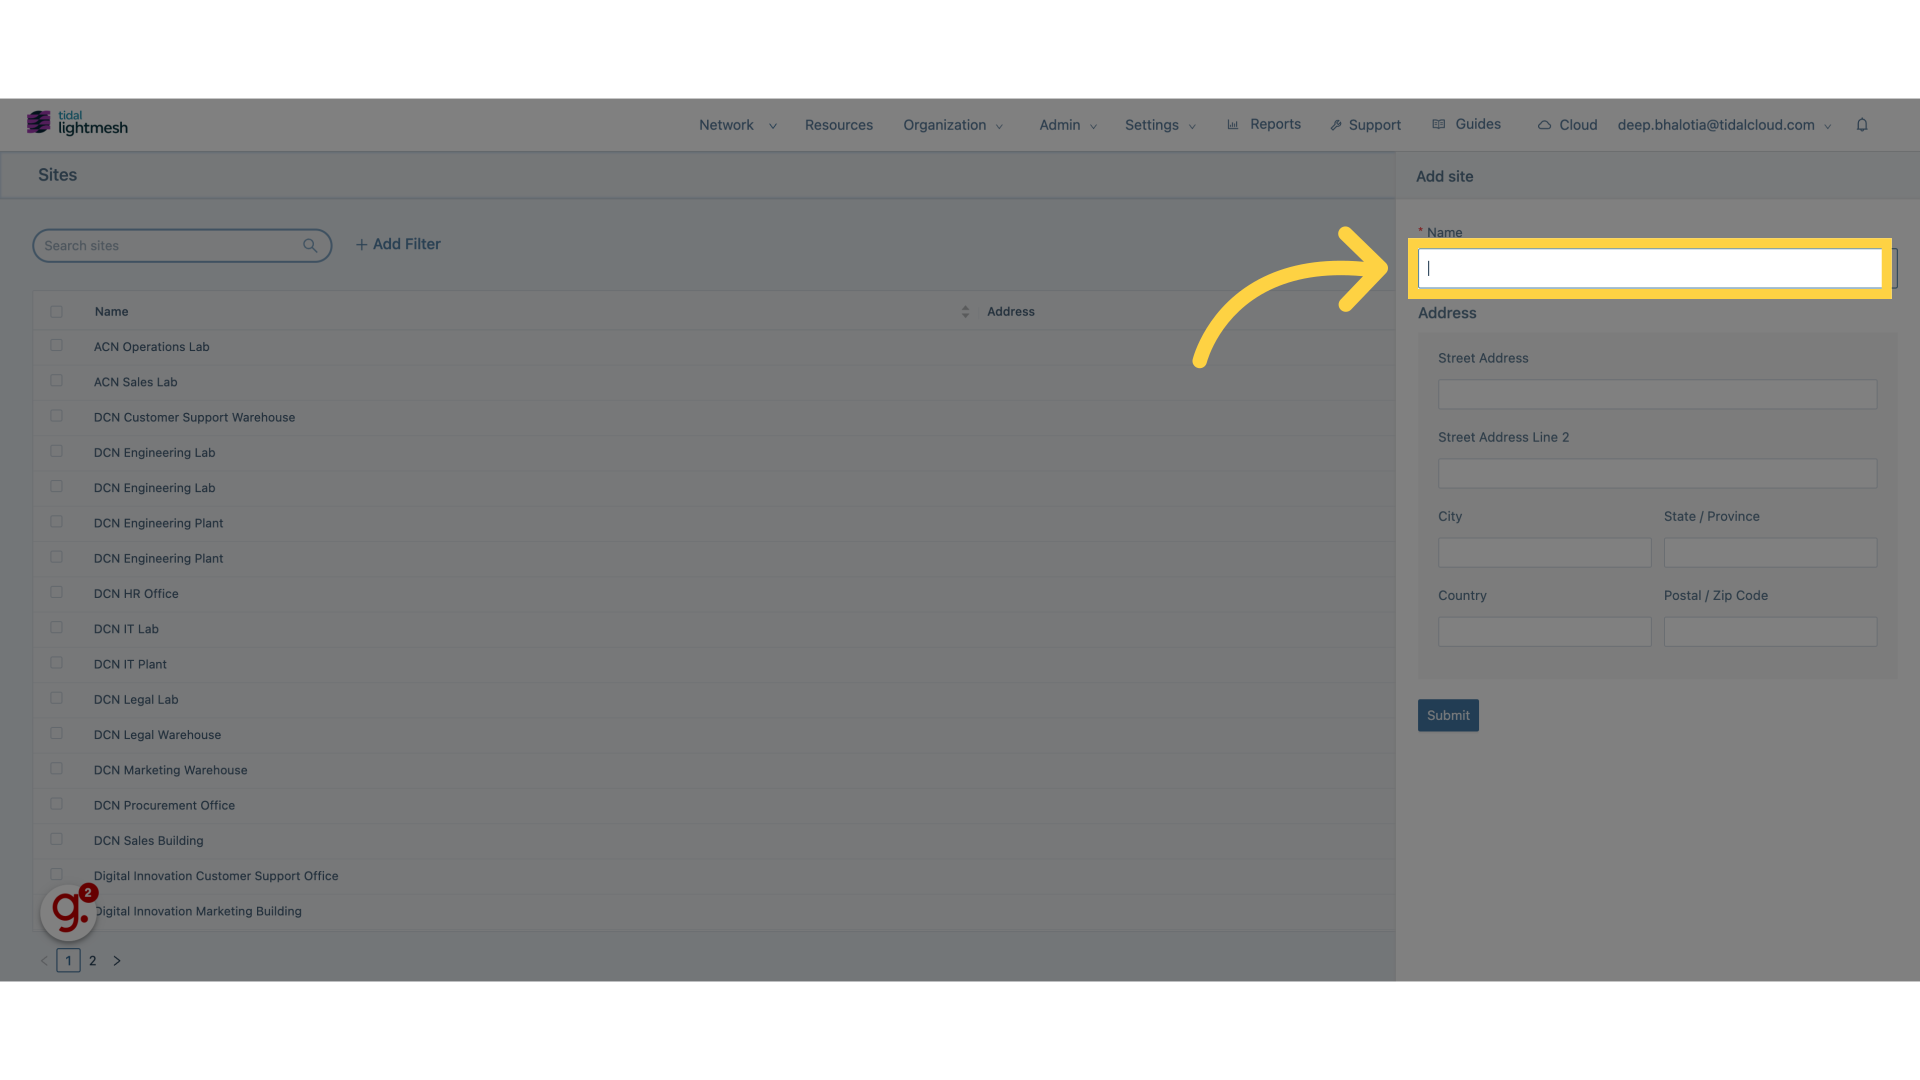
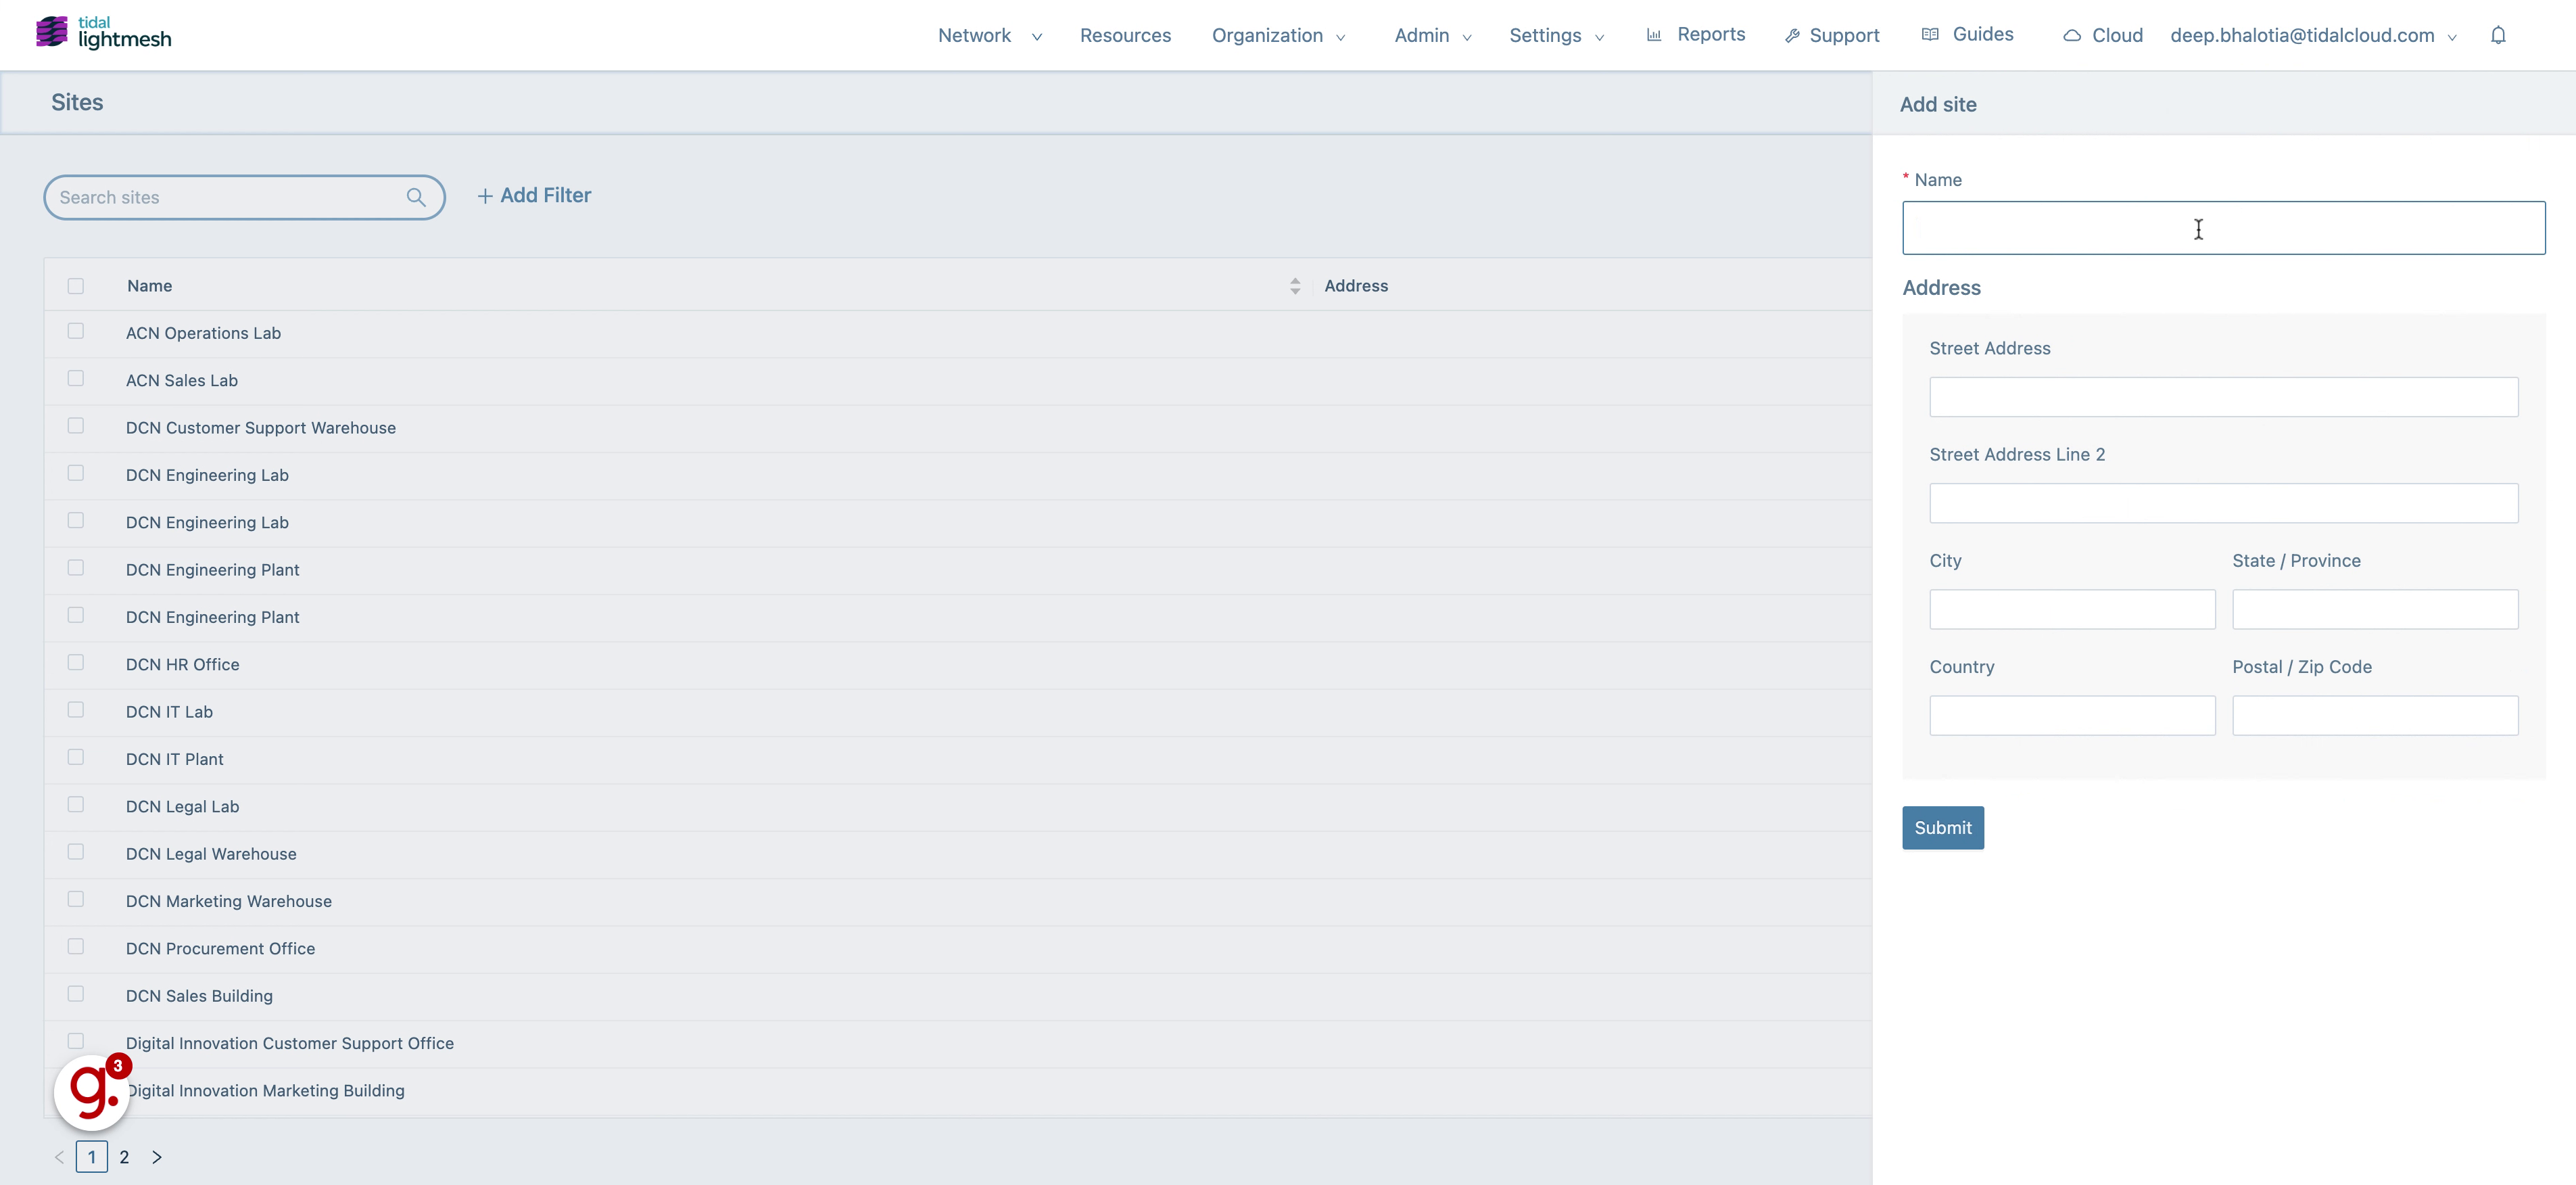
4. Click “Name”
Navigate to “Name”
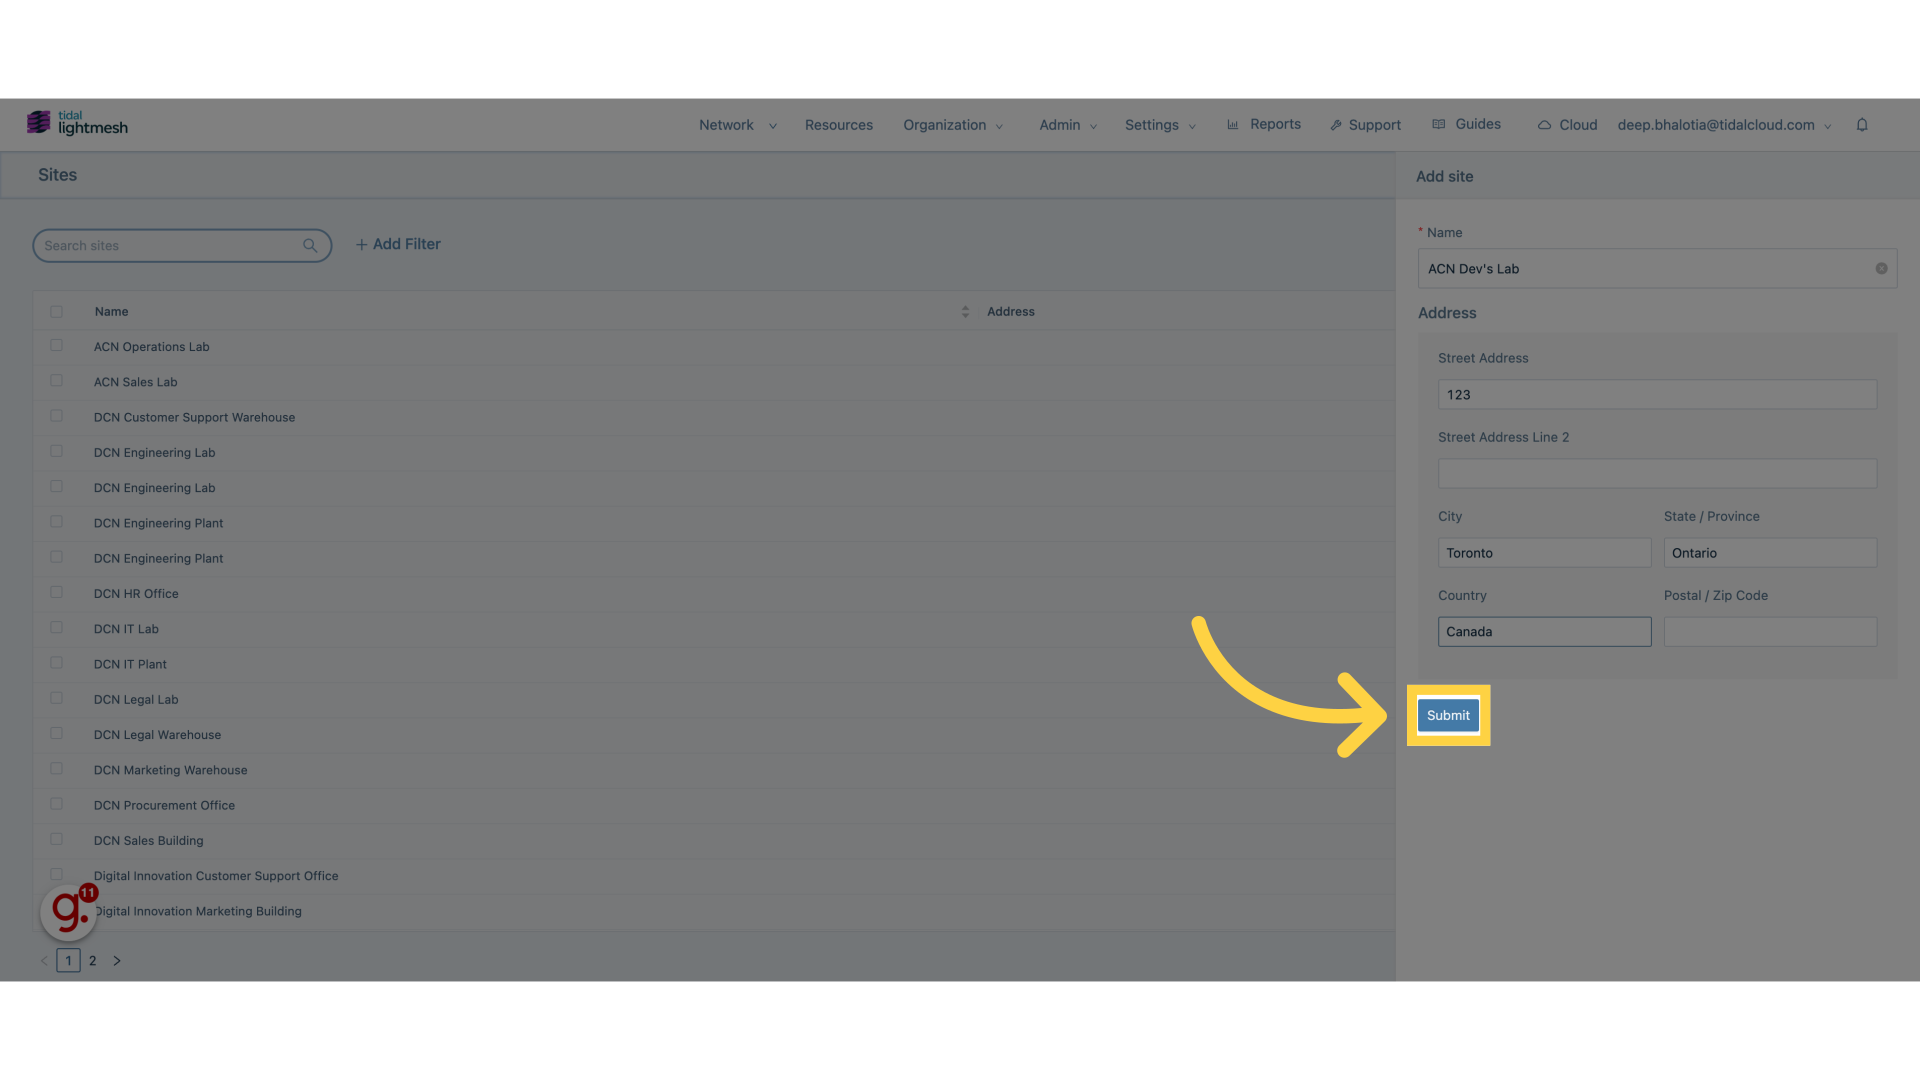
5. Fill “ACN Dev’s Lab”
Fill in “ACN Dev’s Lab”
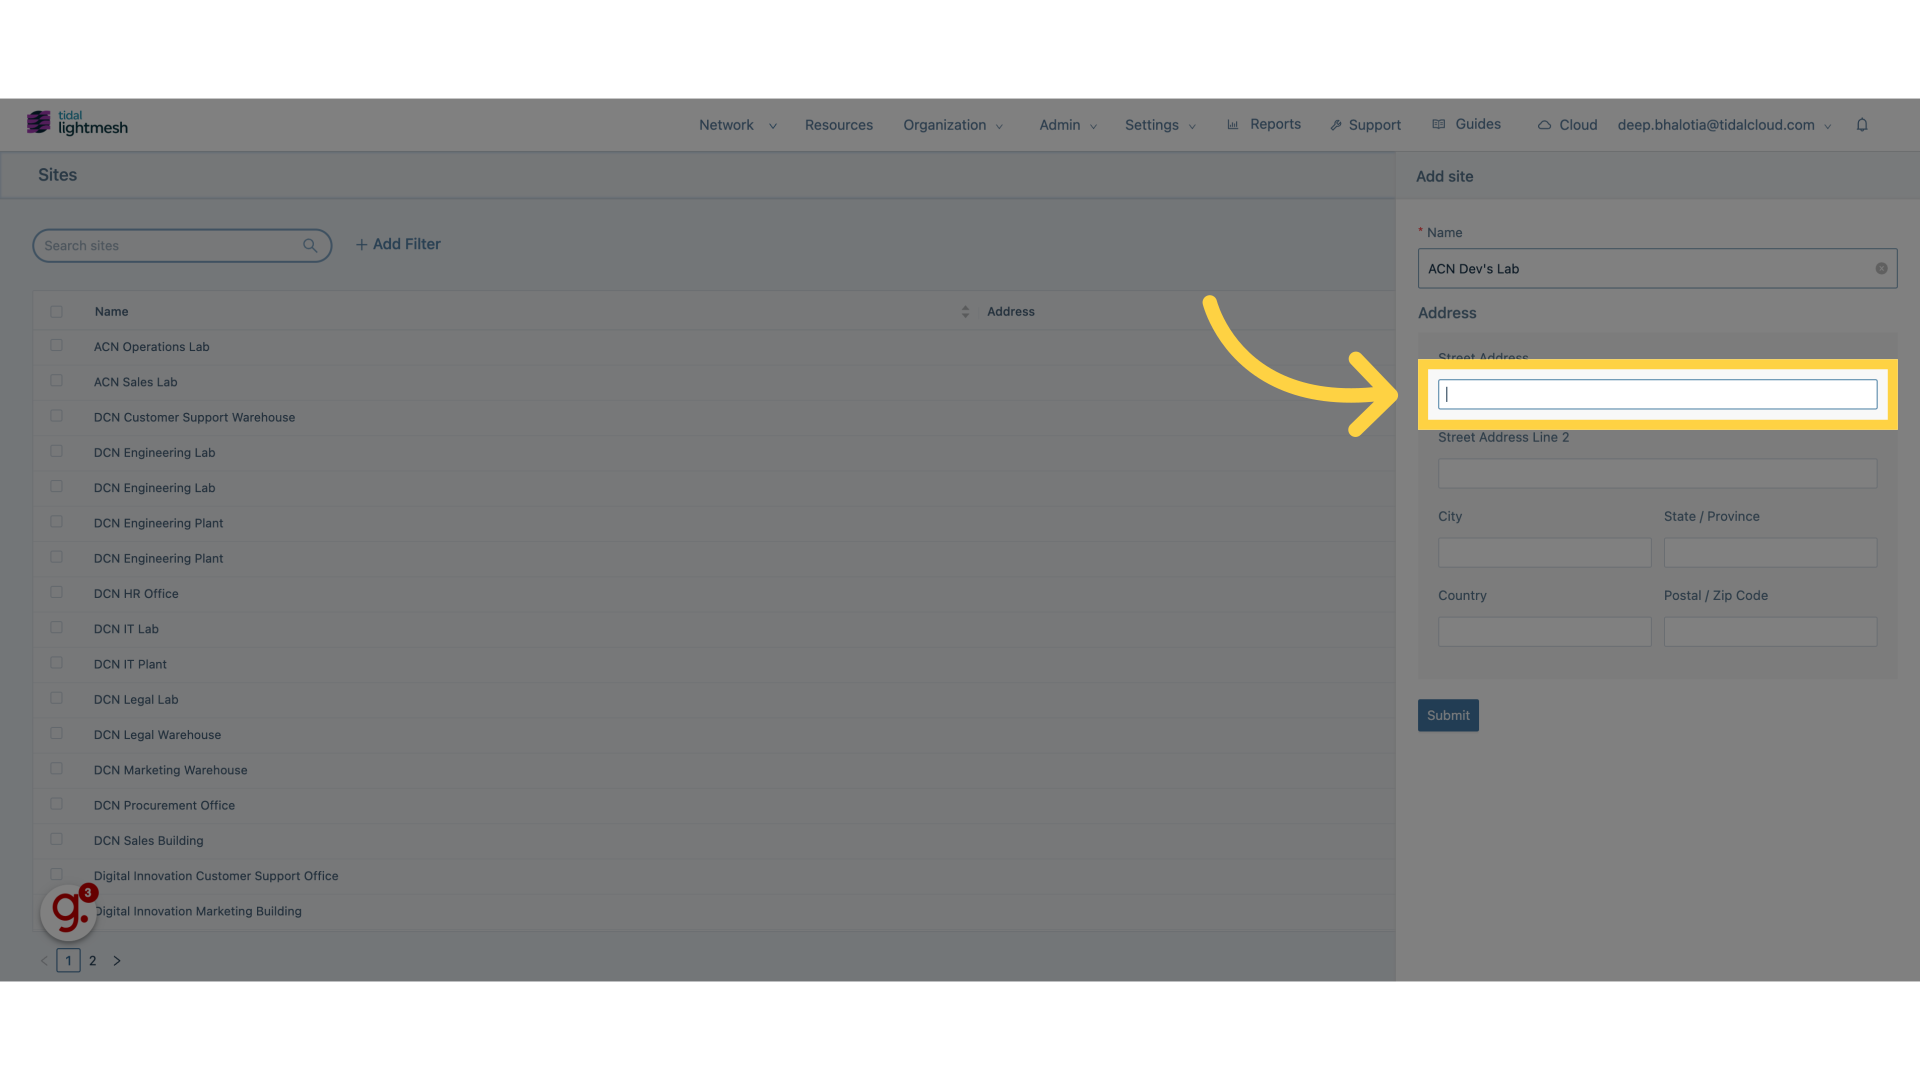
6. Click “Street Address”
Select the “Street Address” option
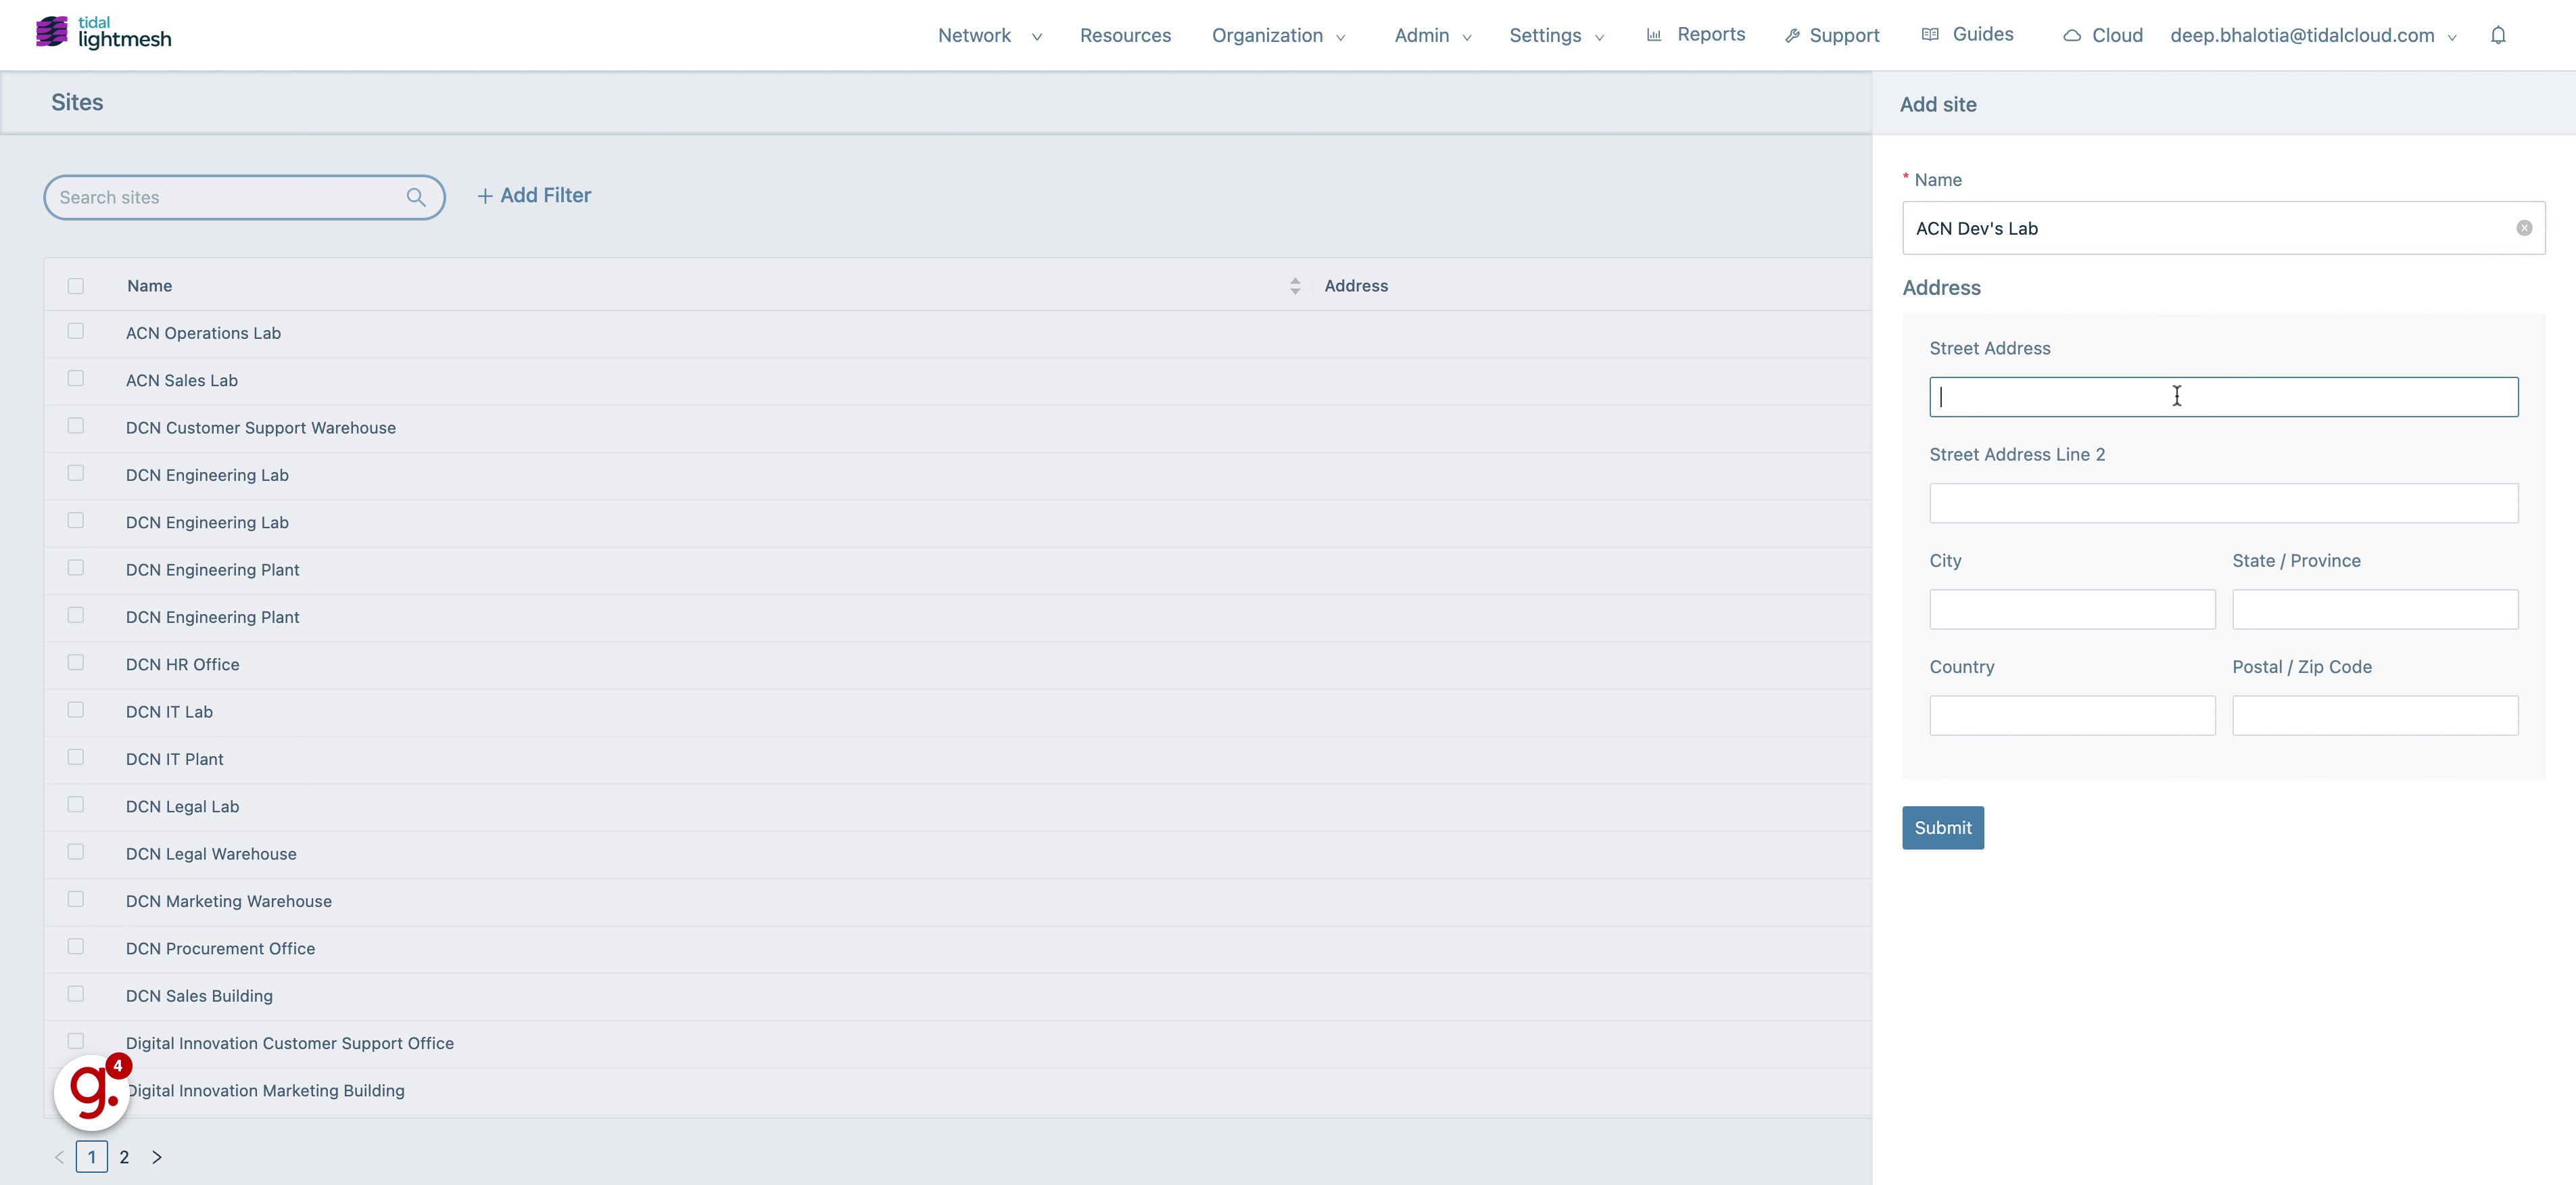
7. Fill “123”
Enter “123” in the provided field
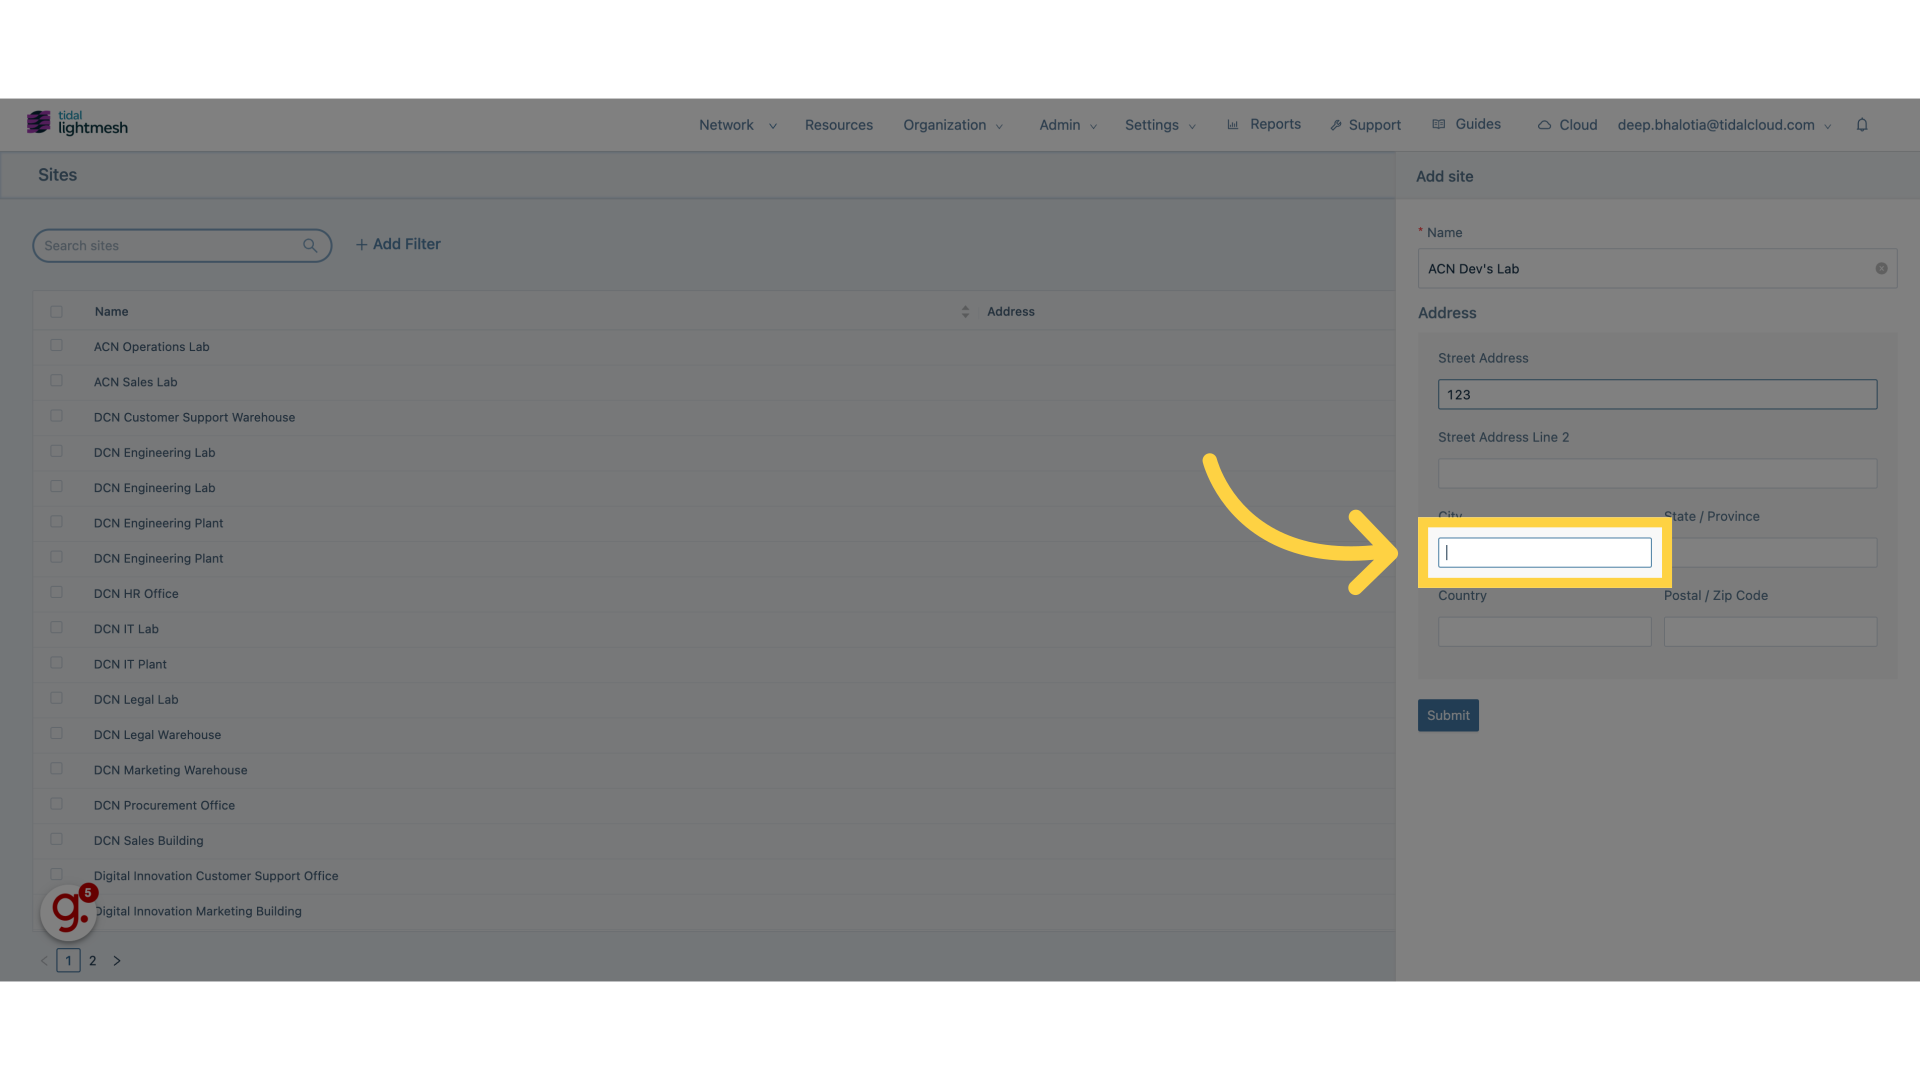
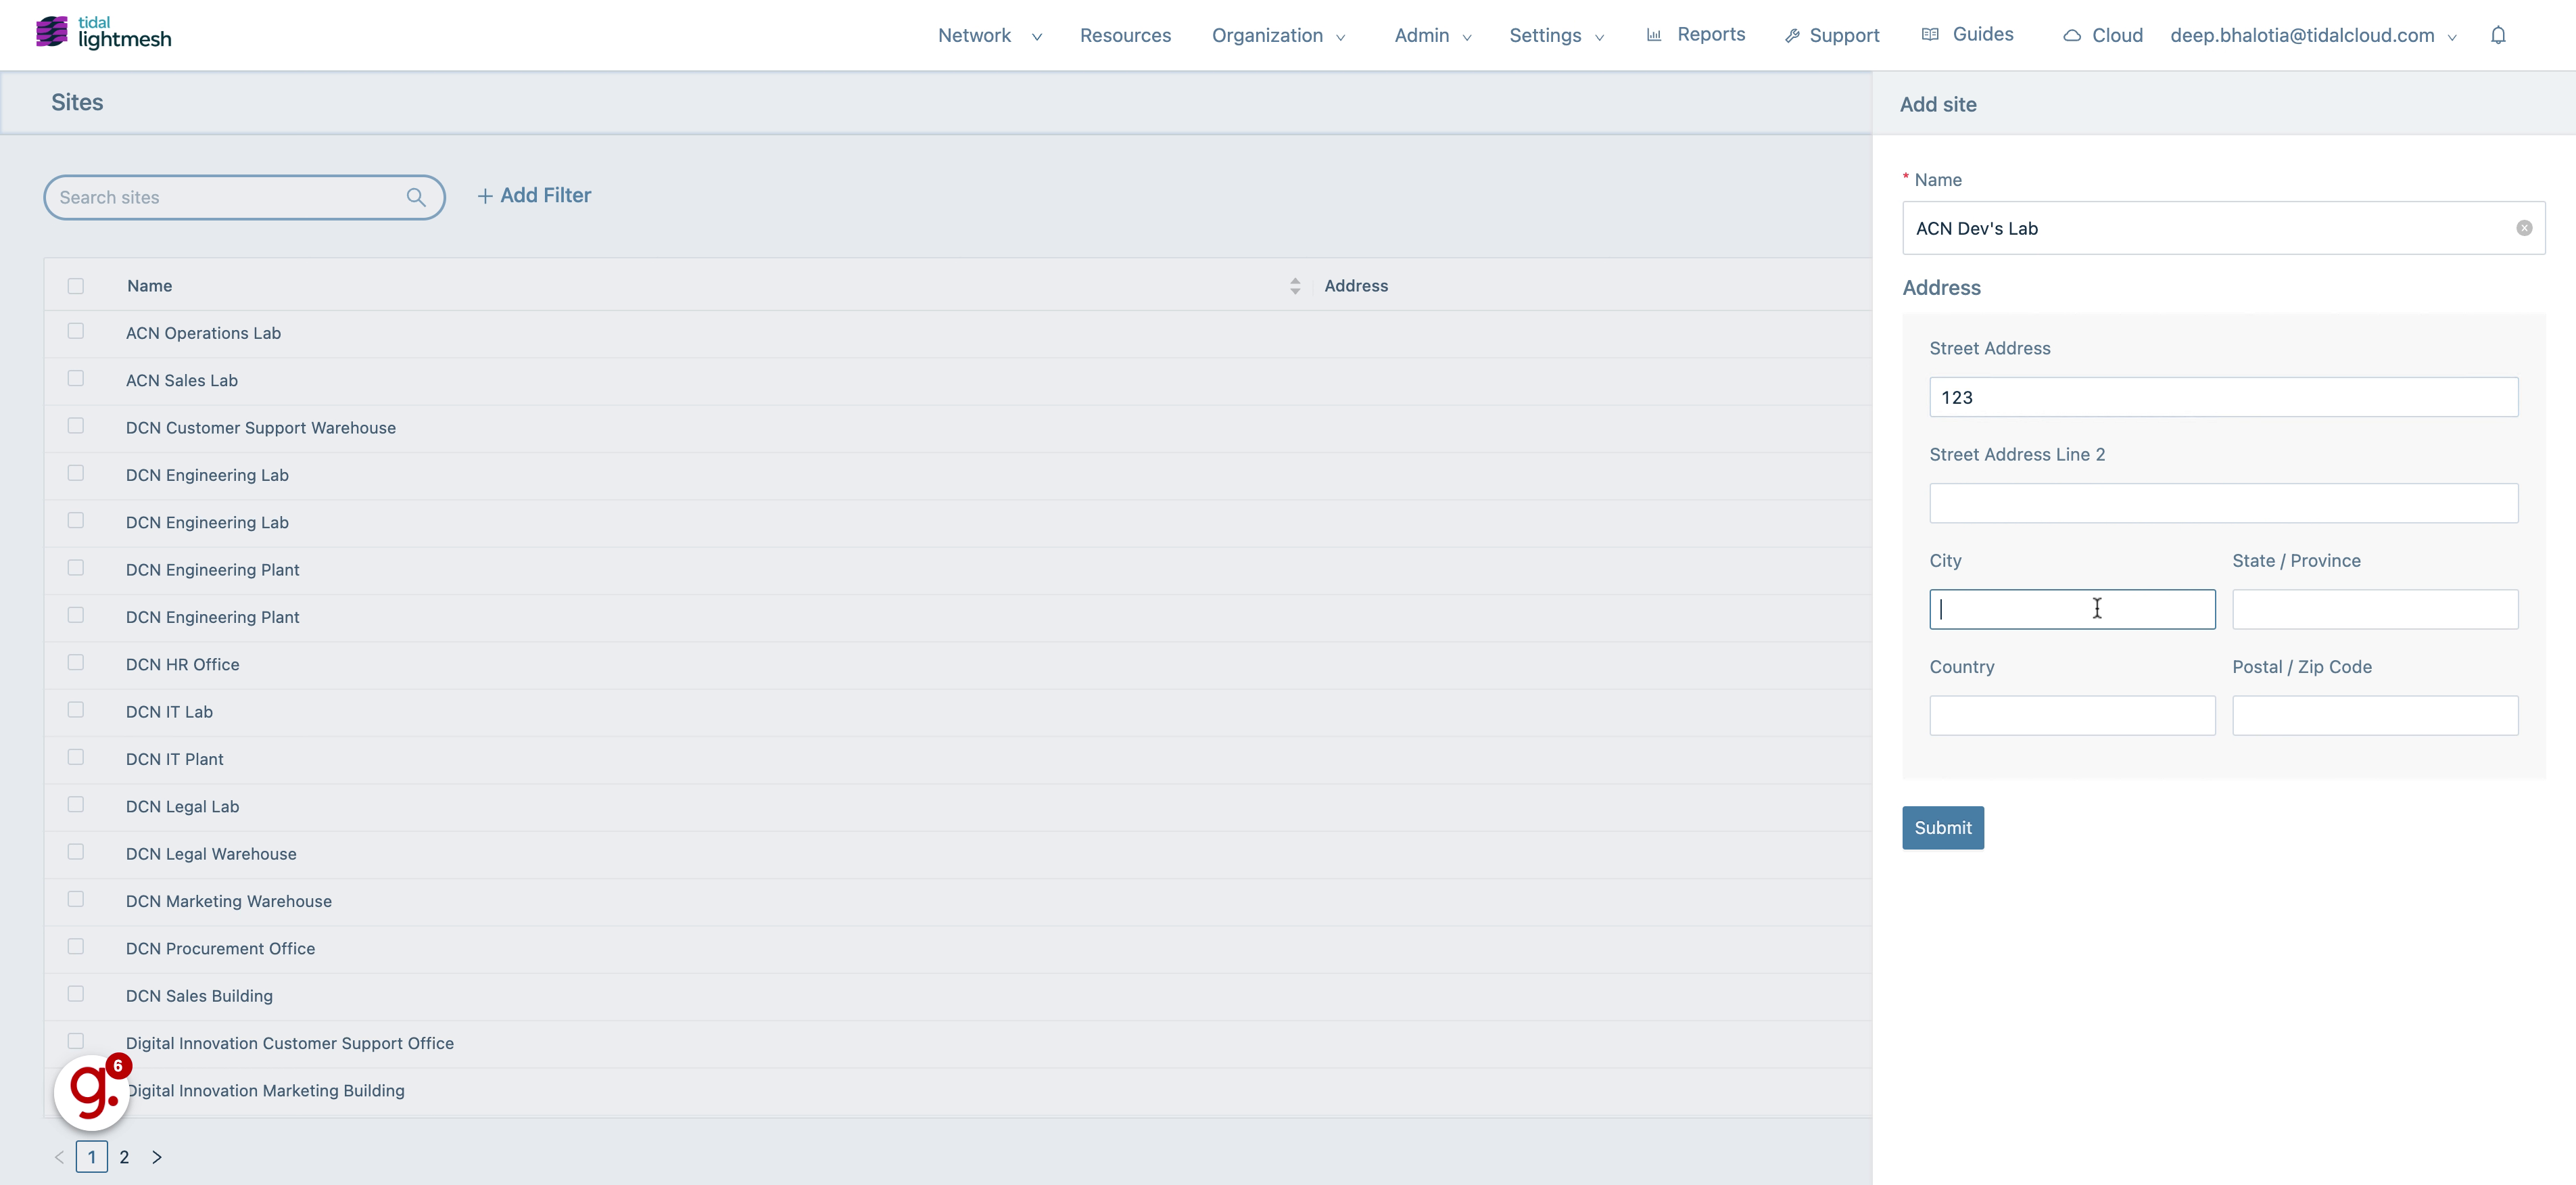
8. Click “City”
Choose the “City” option
9. Fill “Toronto”
Fill in the text box with “Toronto”
10. Click “State/Province”
Navigate here
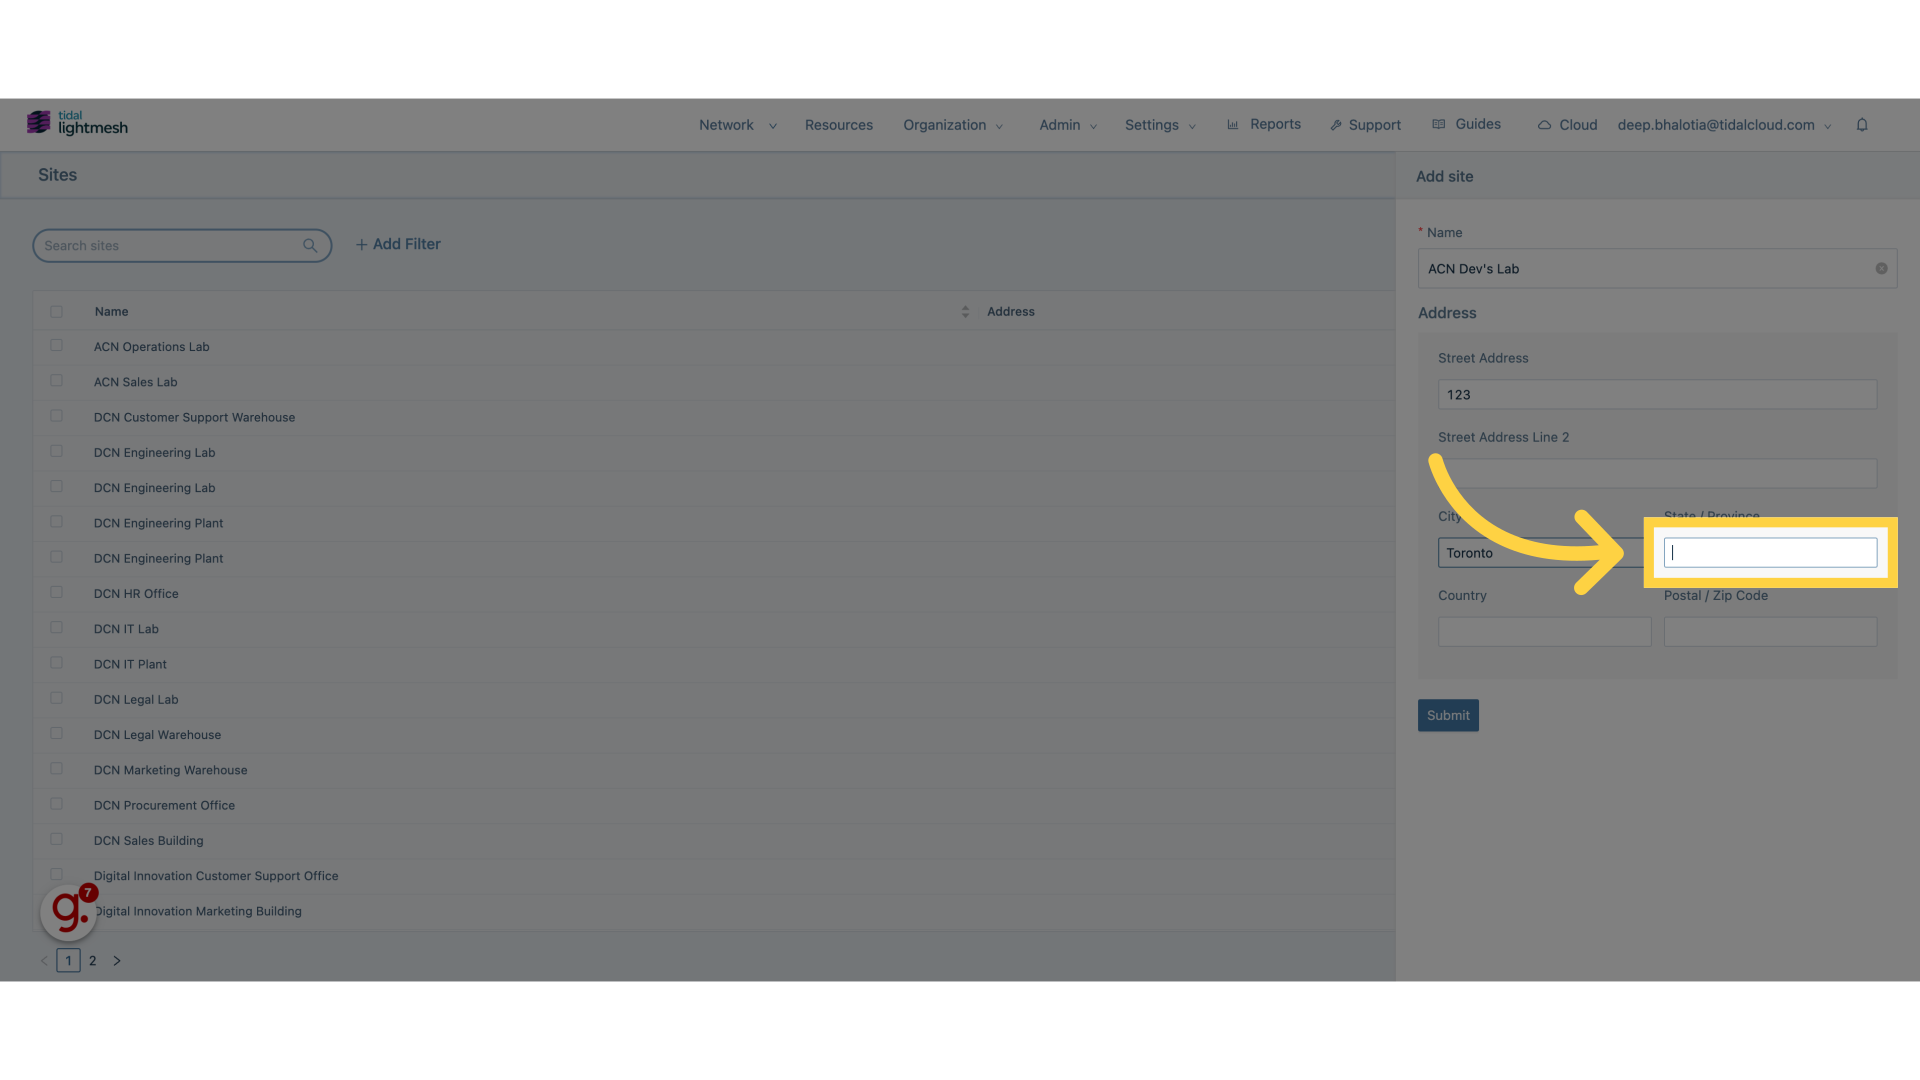
11. Fill “Ontario”
Enter the desired text.

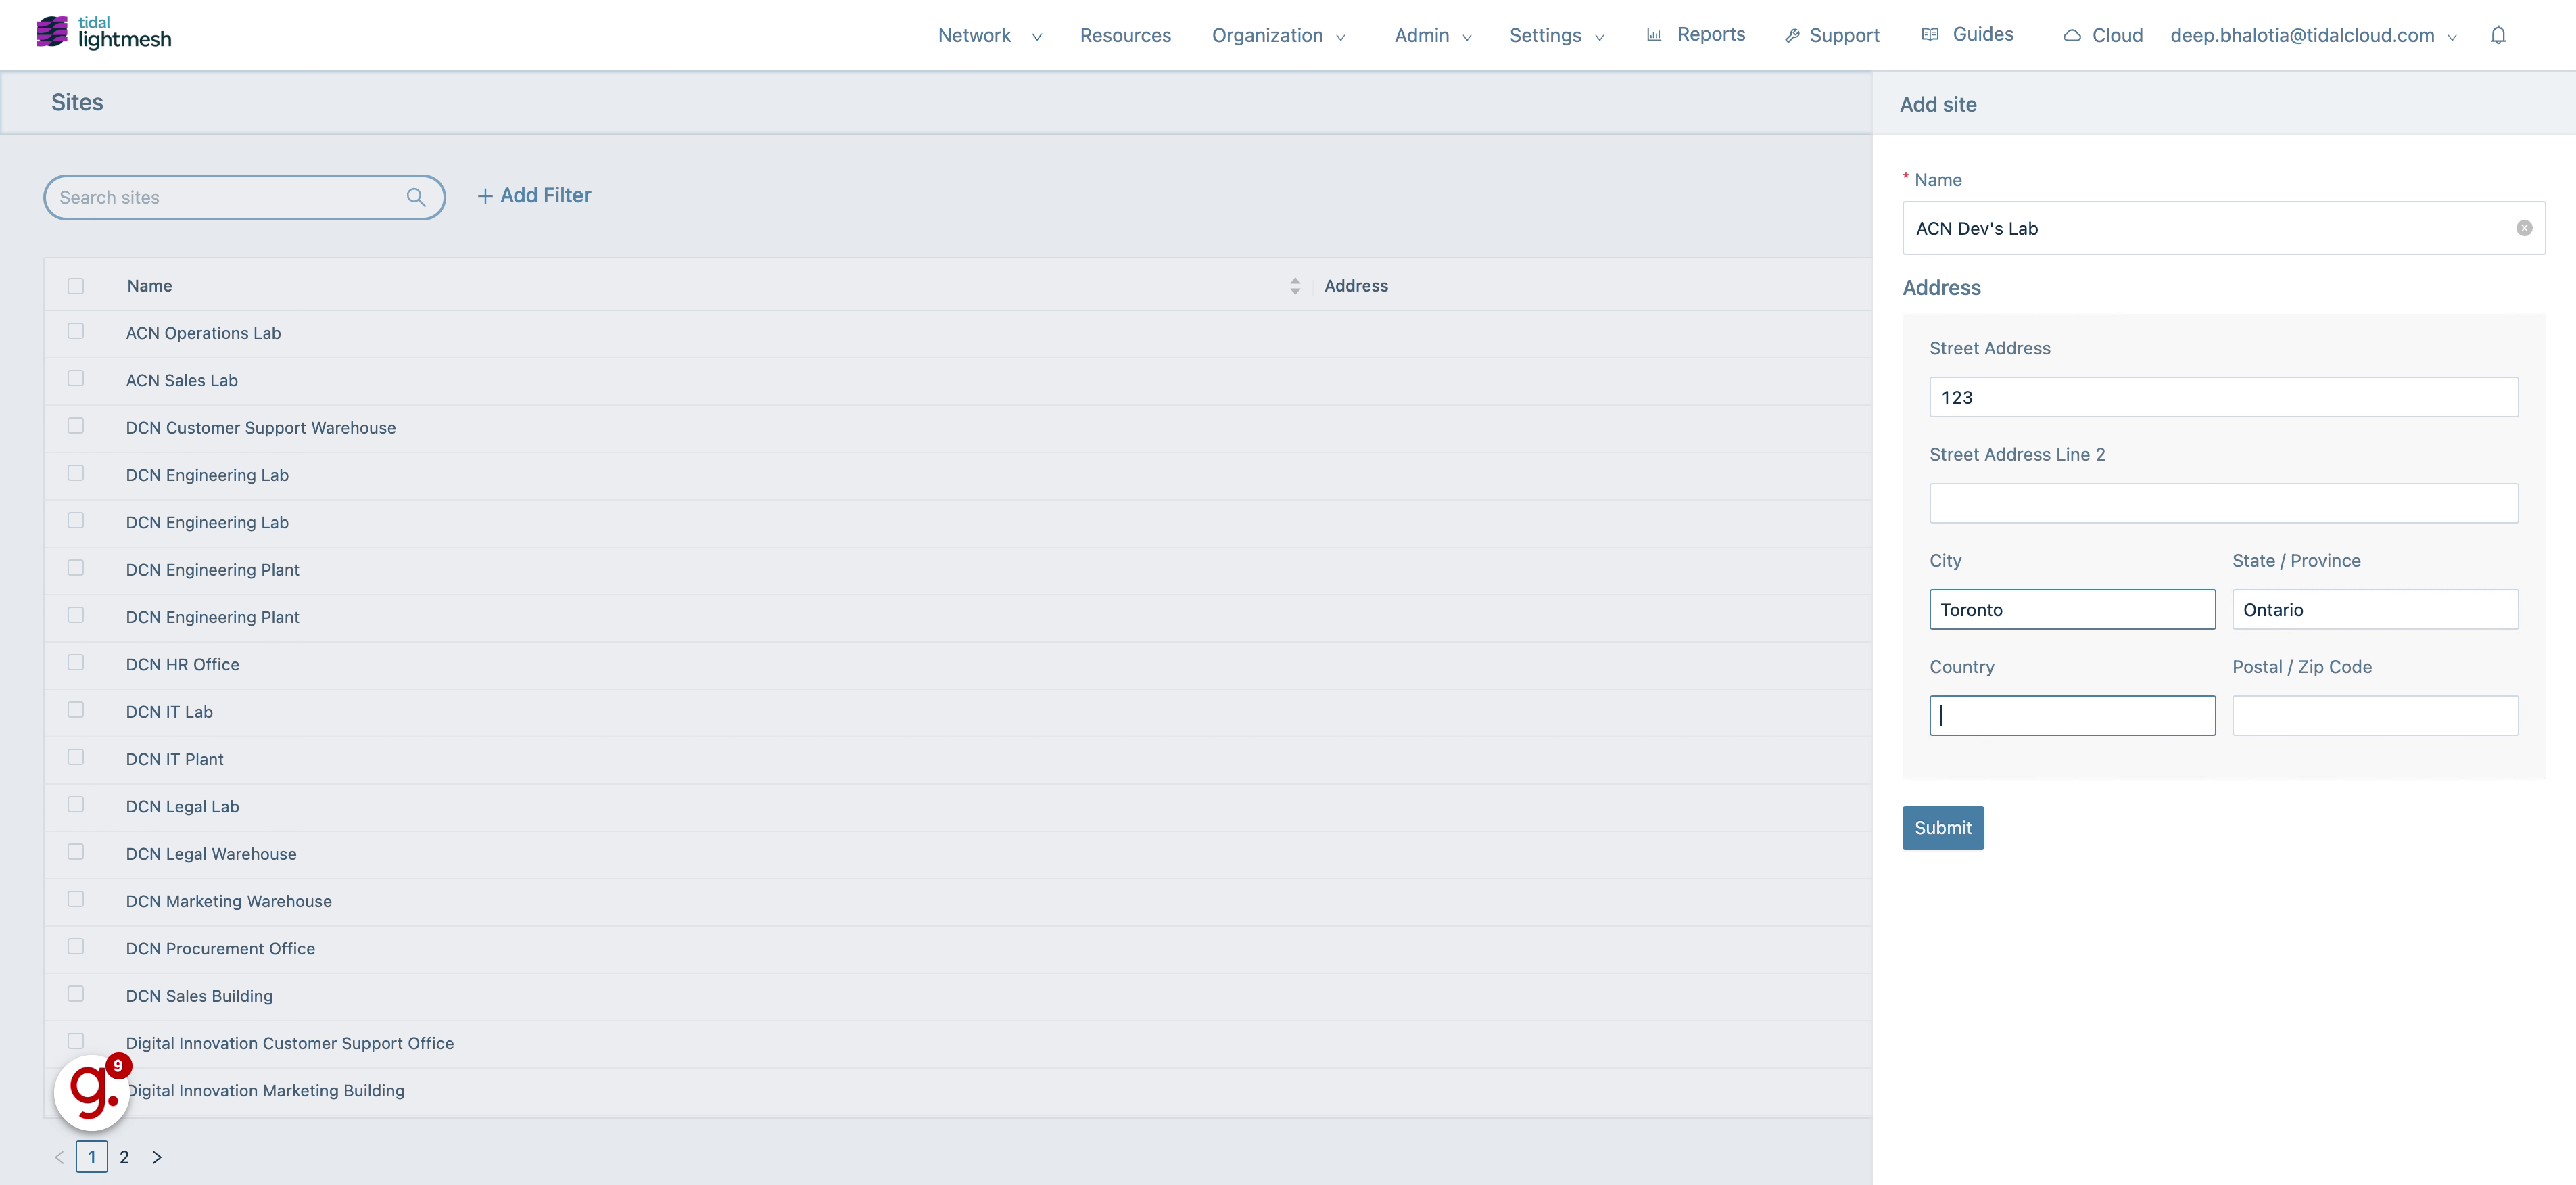
12. Click “Country”
Access this field
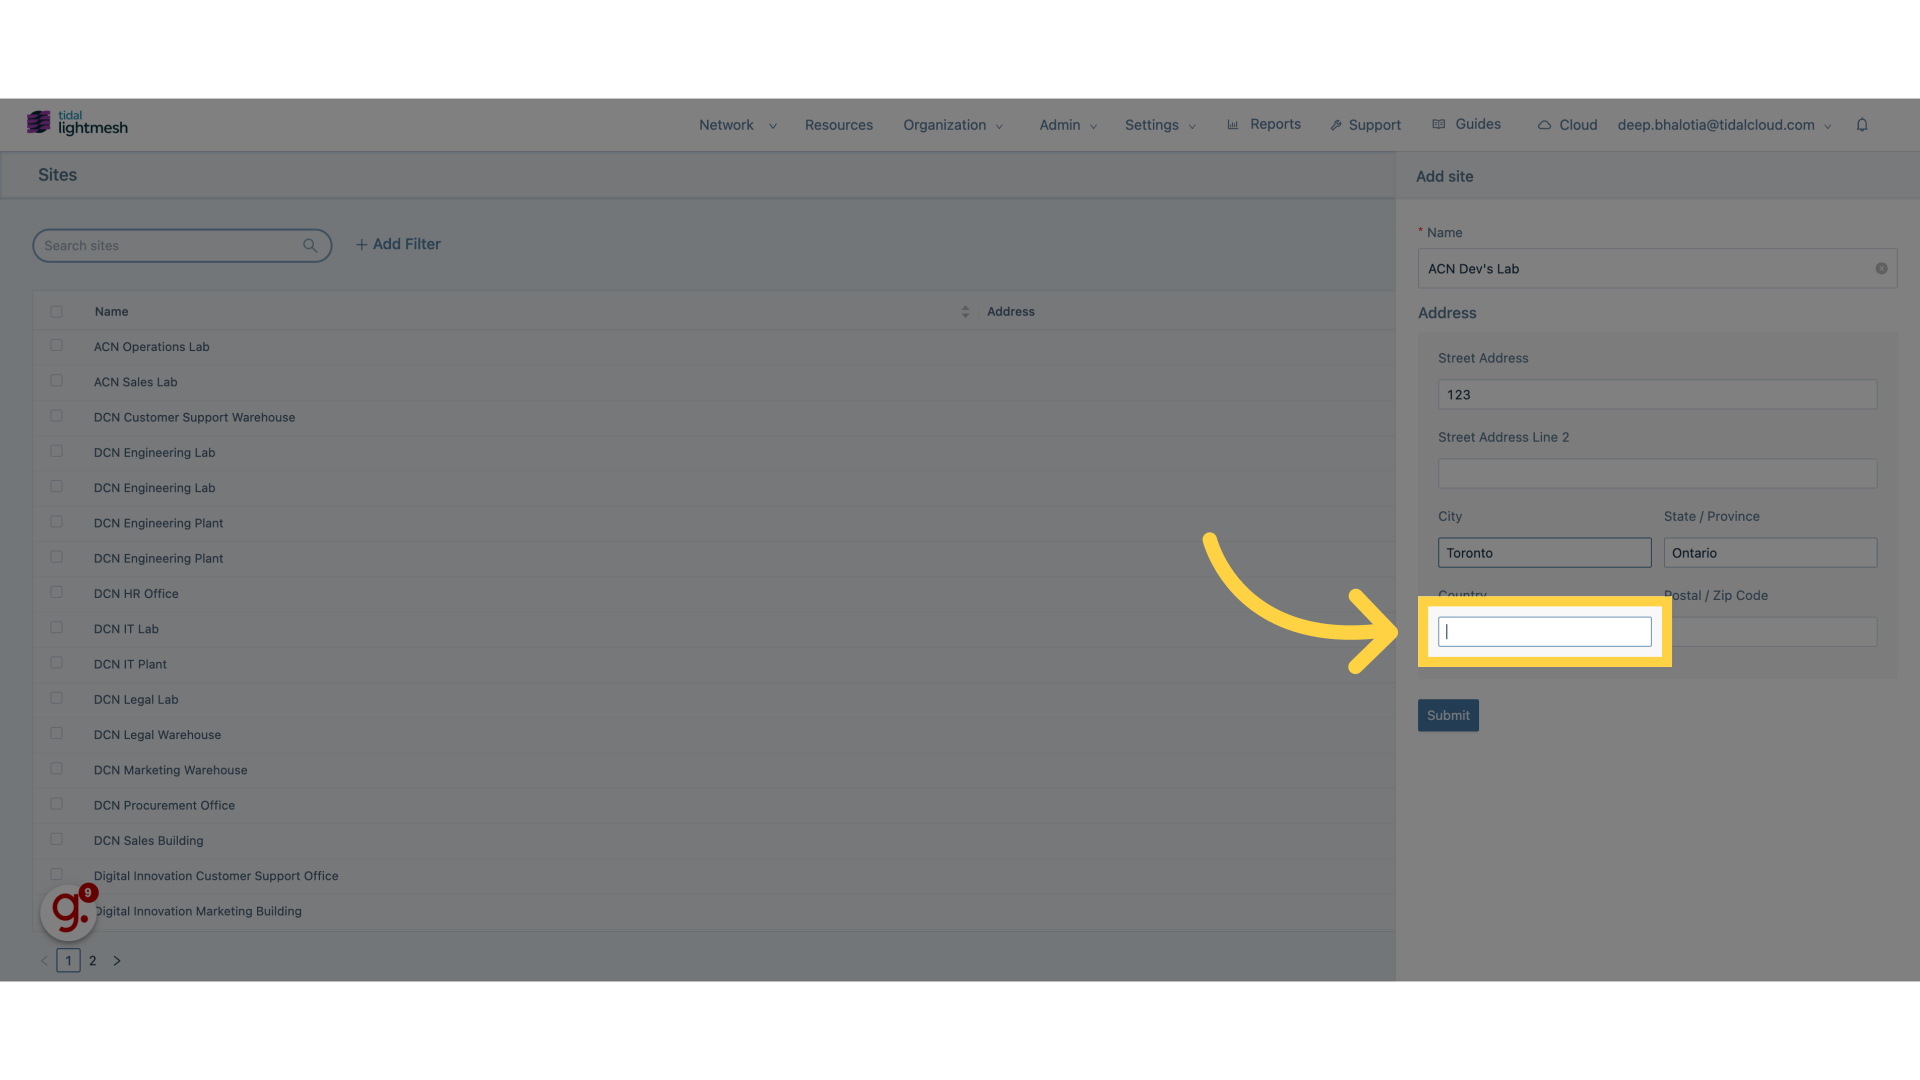
13. Fill “Canada”
Type “Canada” in the given field
14. Click “Submit”
Click on the “Submit” field
This guide covered the steps required to in Lightmesh.