New IP Assignment
This guide walks you through adding new IP Assignment in LightMesh. IP Assignments represent an allocated resource or network interface, and can be associated with DNS entries and Reservations.
1. Introduction
From selecting subnets to finalizing the assignment, each step was outlined to ensure a smooth setup process.
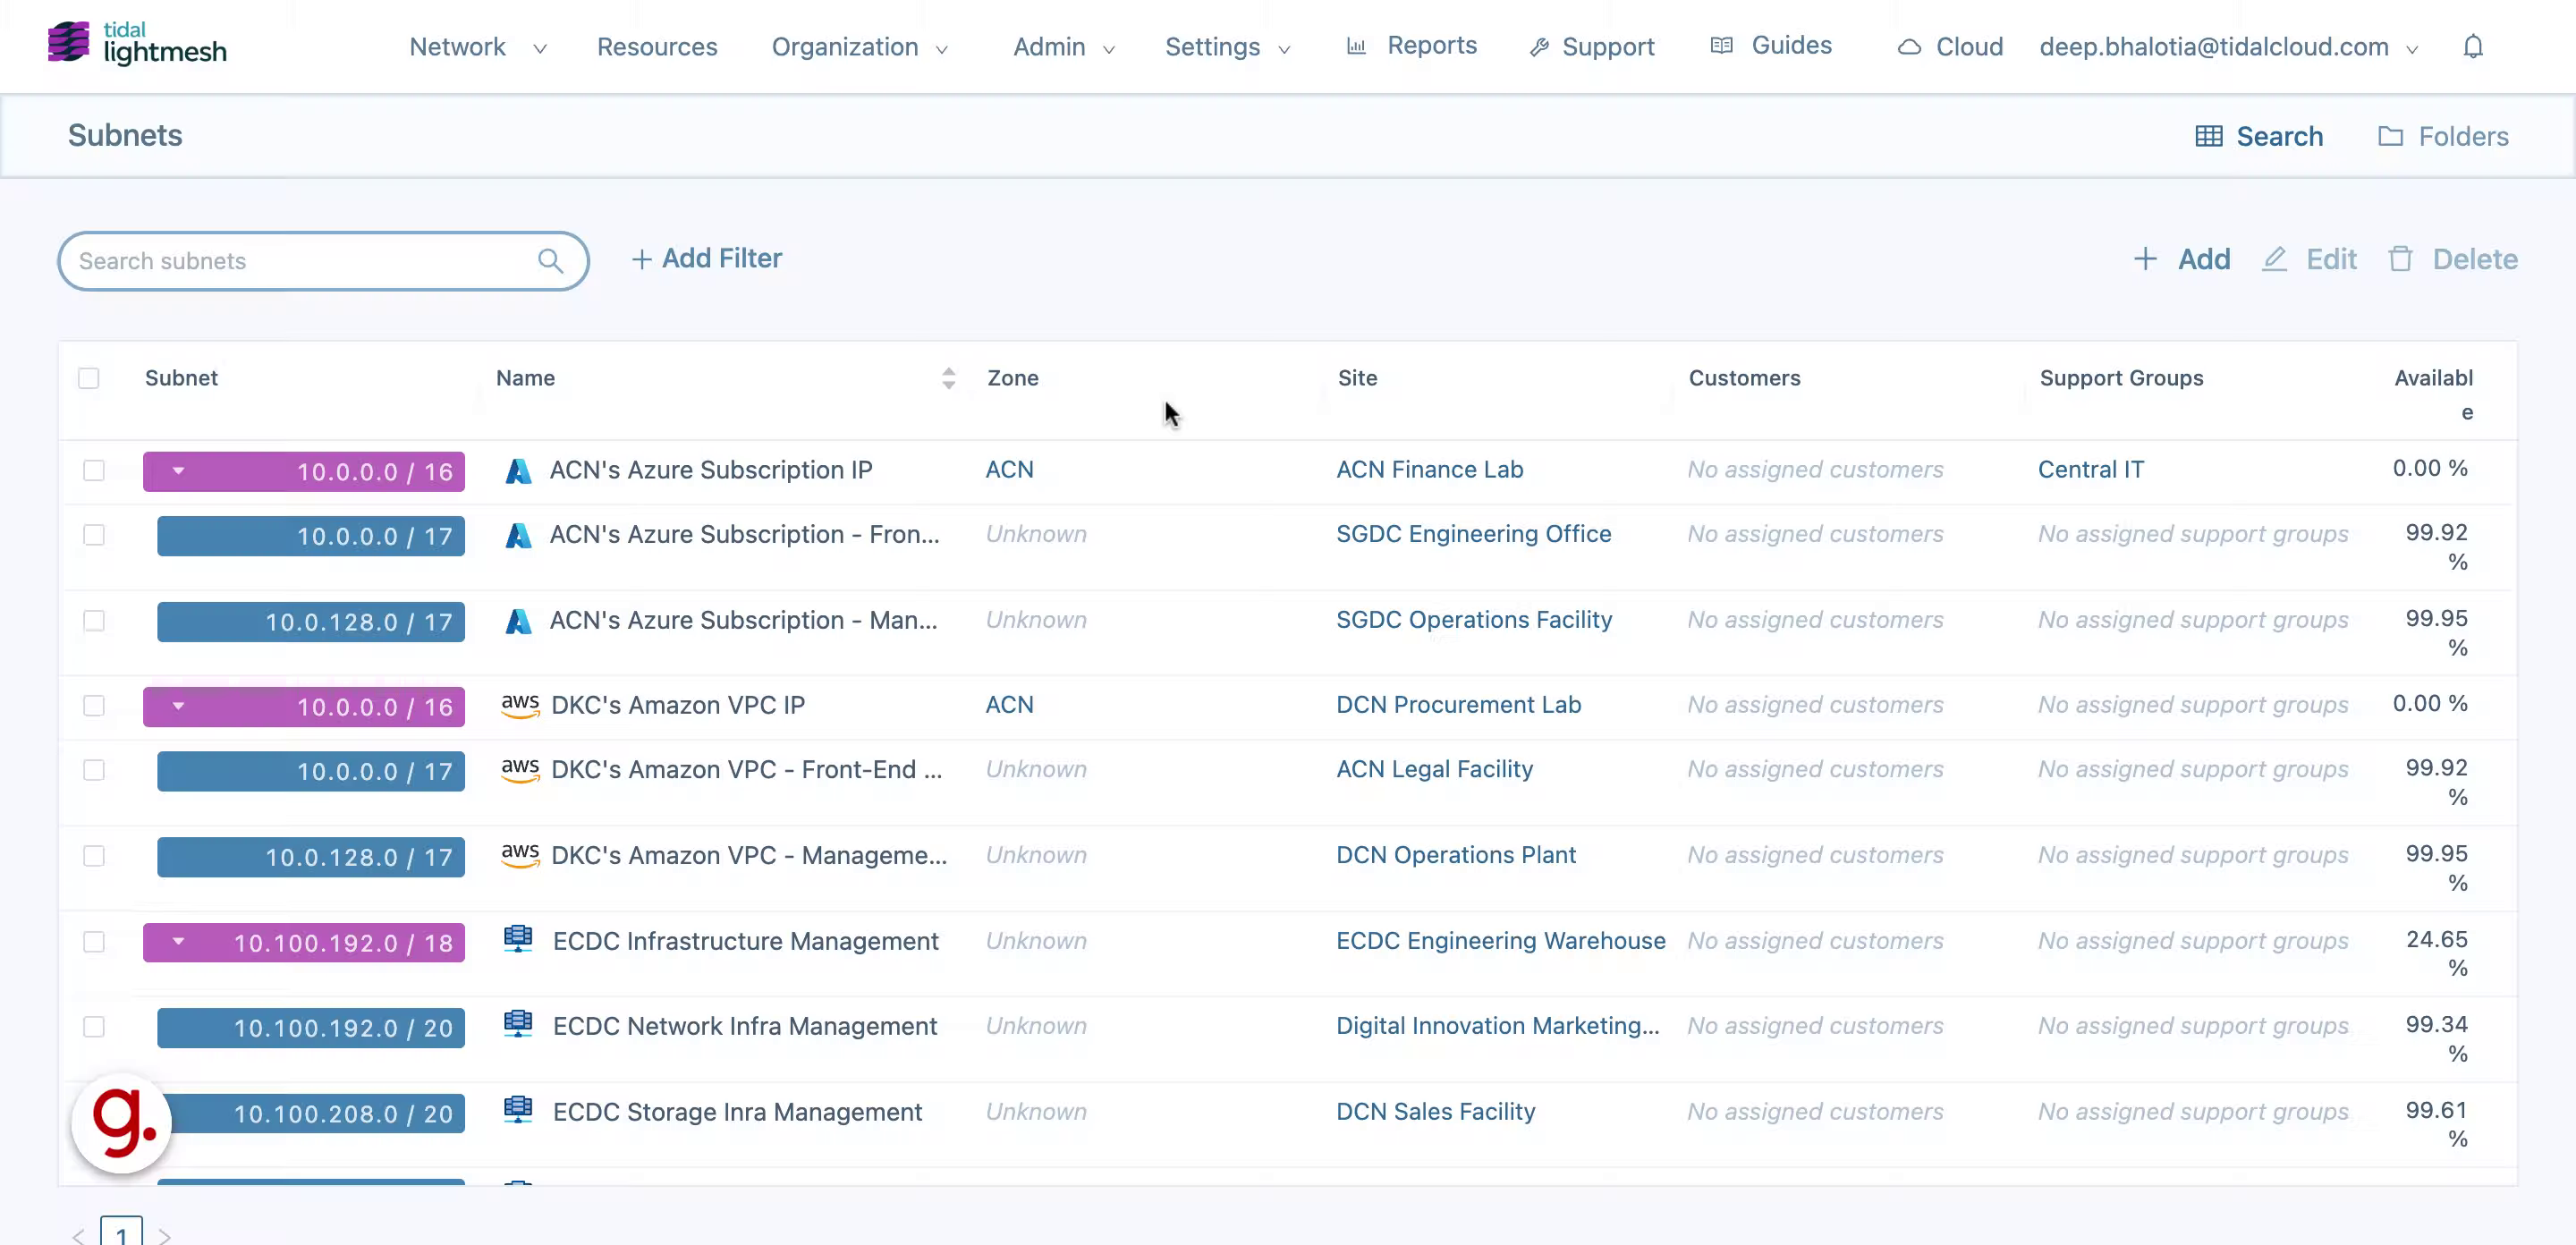
2. Click IP Assignment
Navigate to the desired section
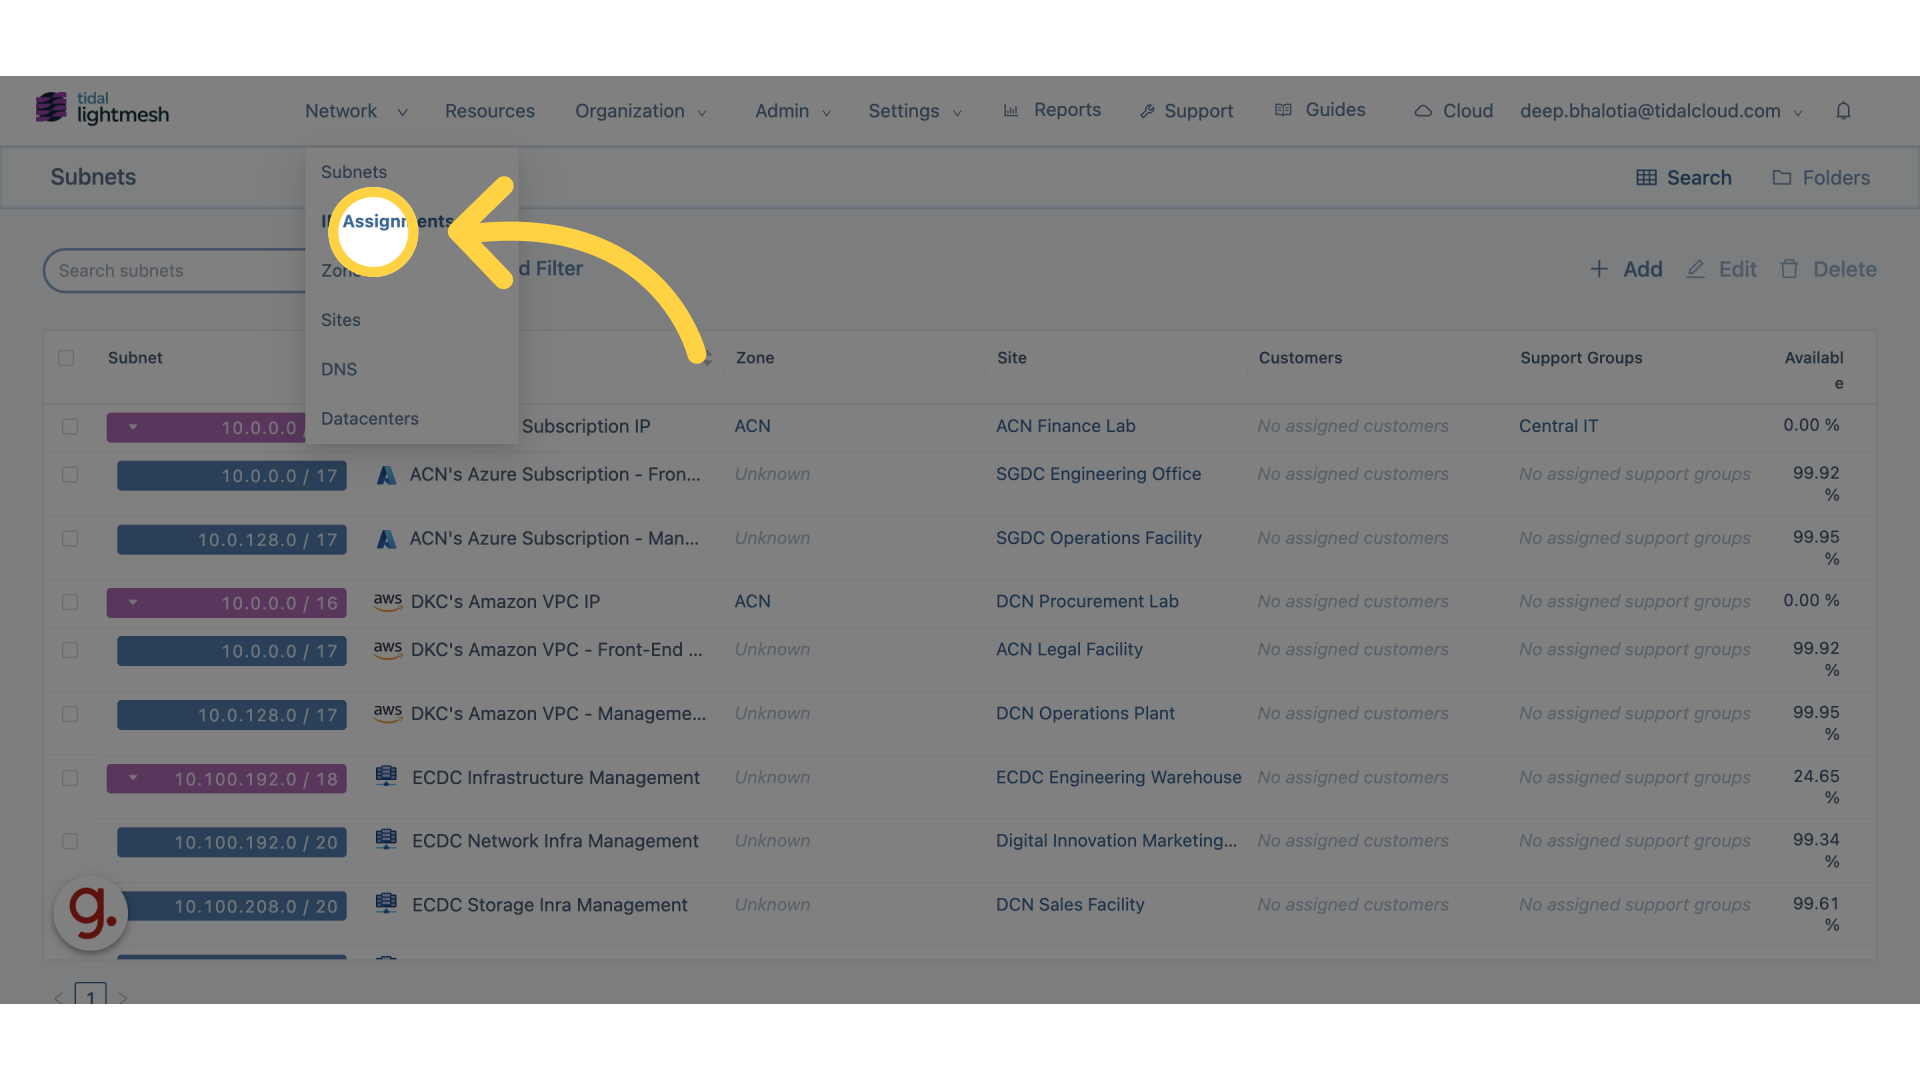
3. Click “Add IP Assignment”
Initiate the process of adding an IP assignment
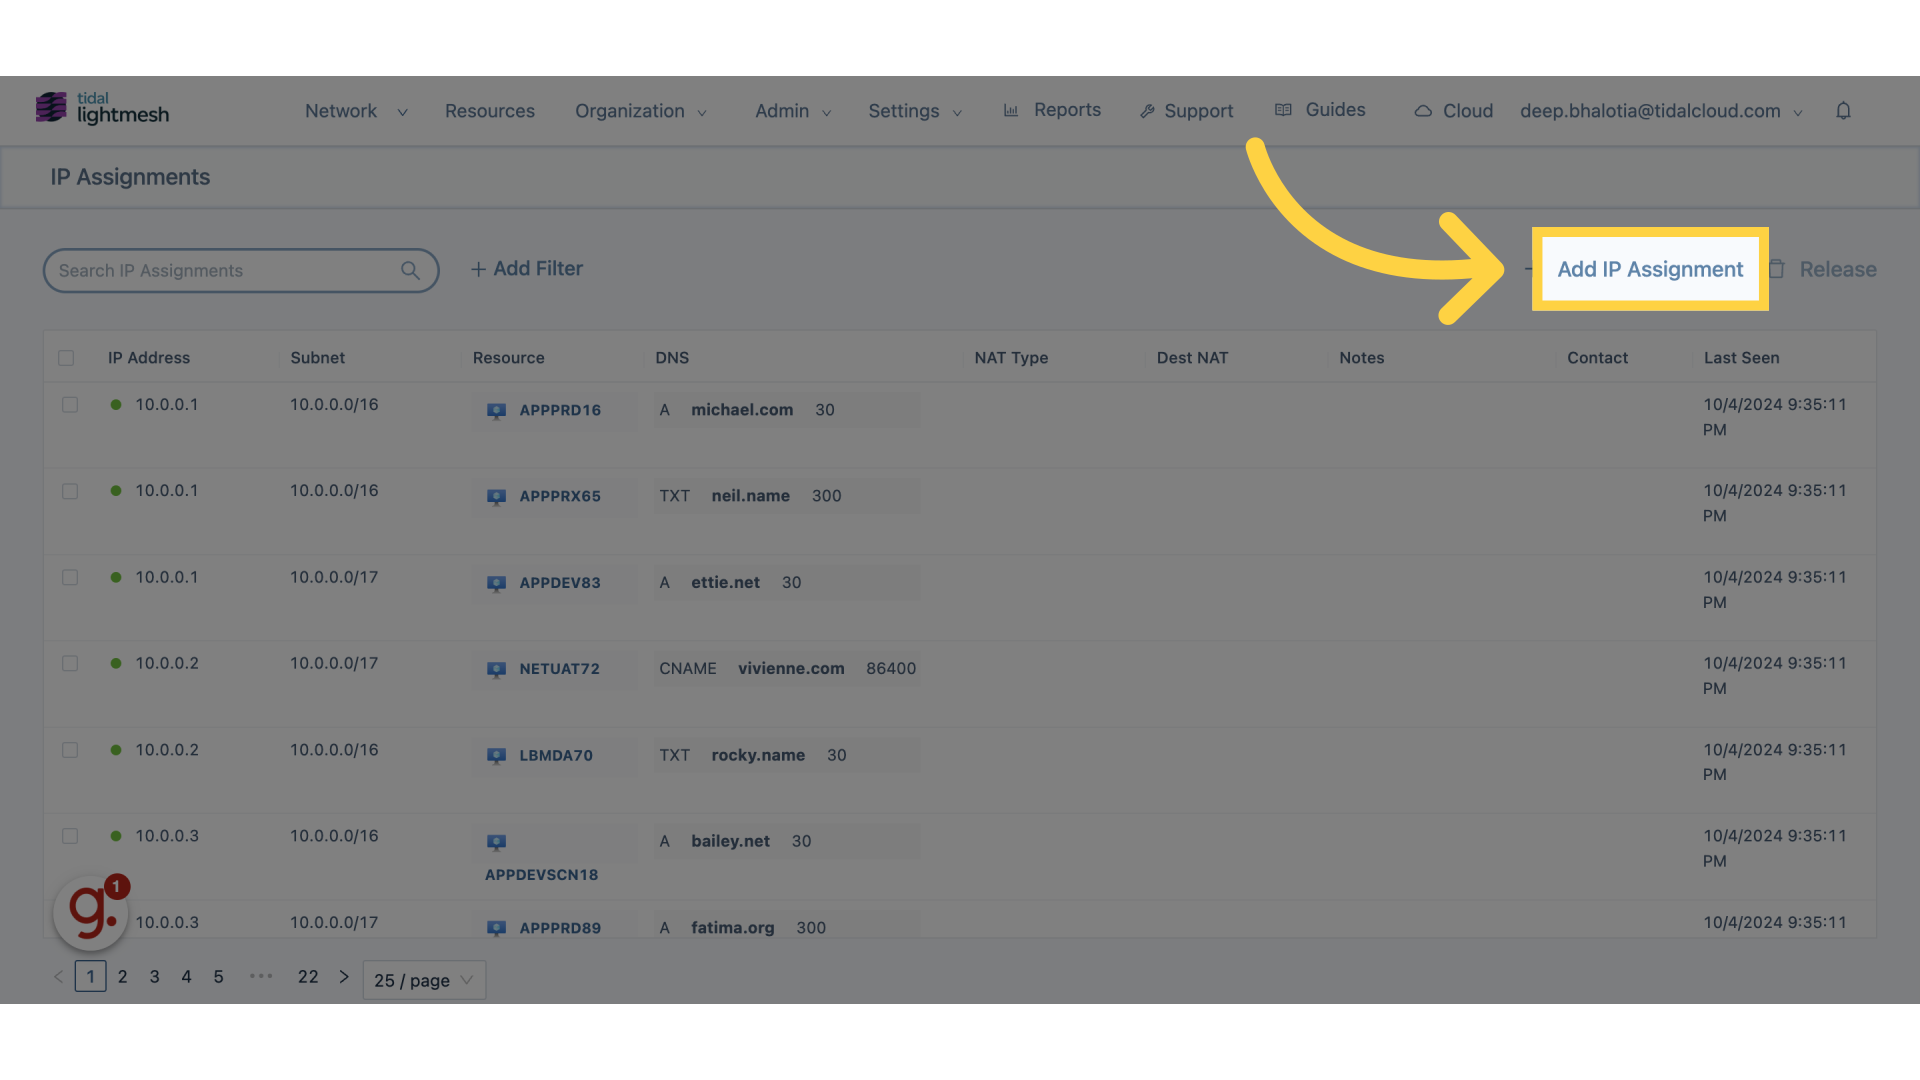
4. Click “Subnet”
Select the subnet for the IP assignment
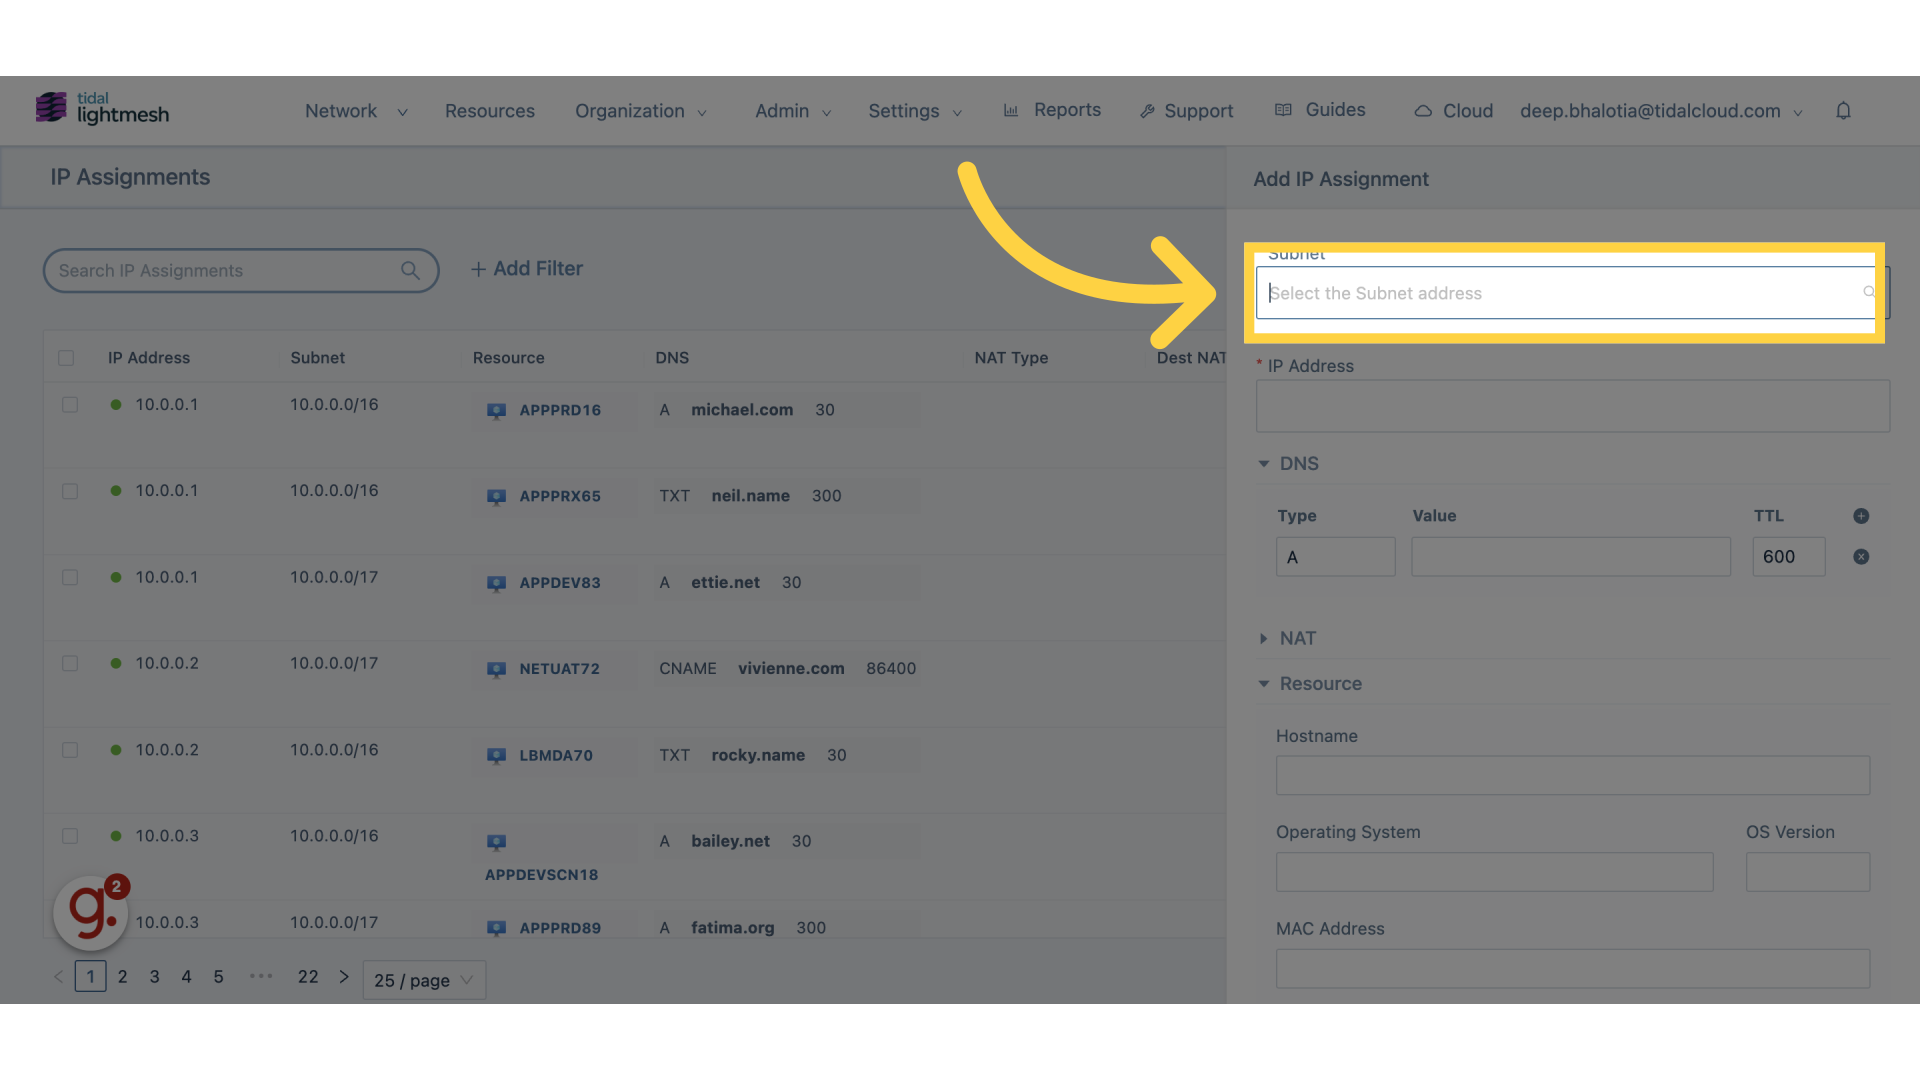
5. Click “IP Address”
Enter the IP address
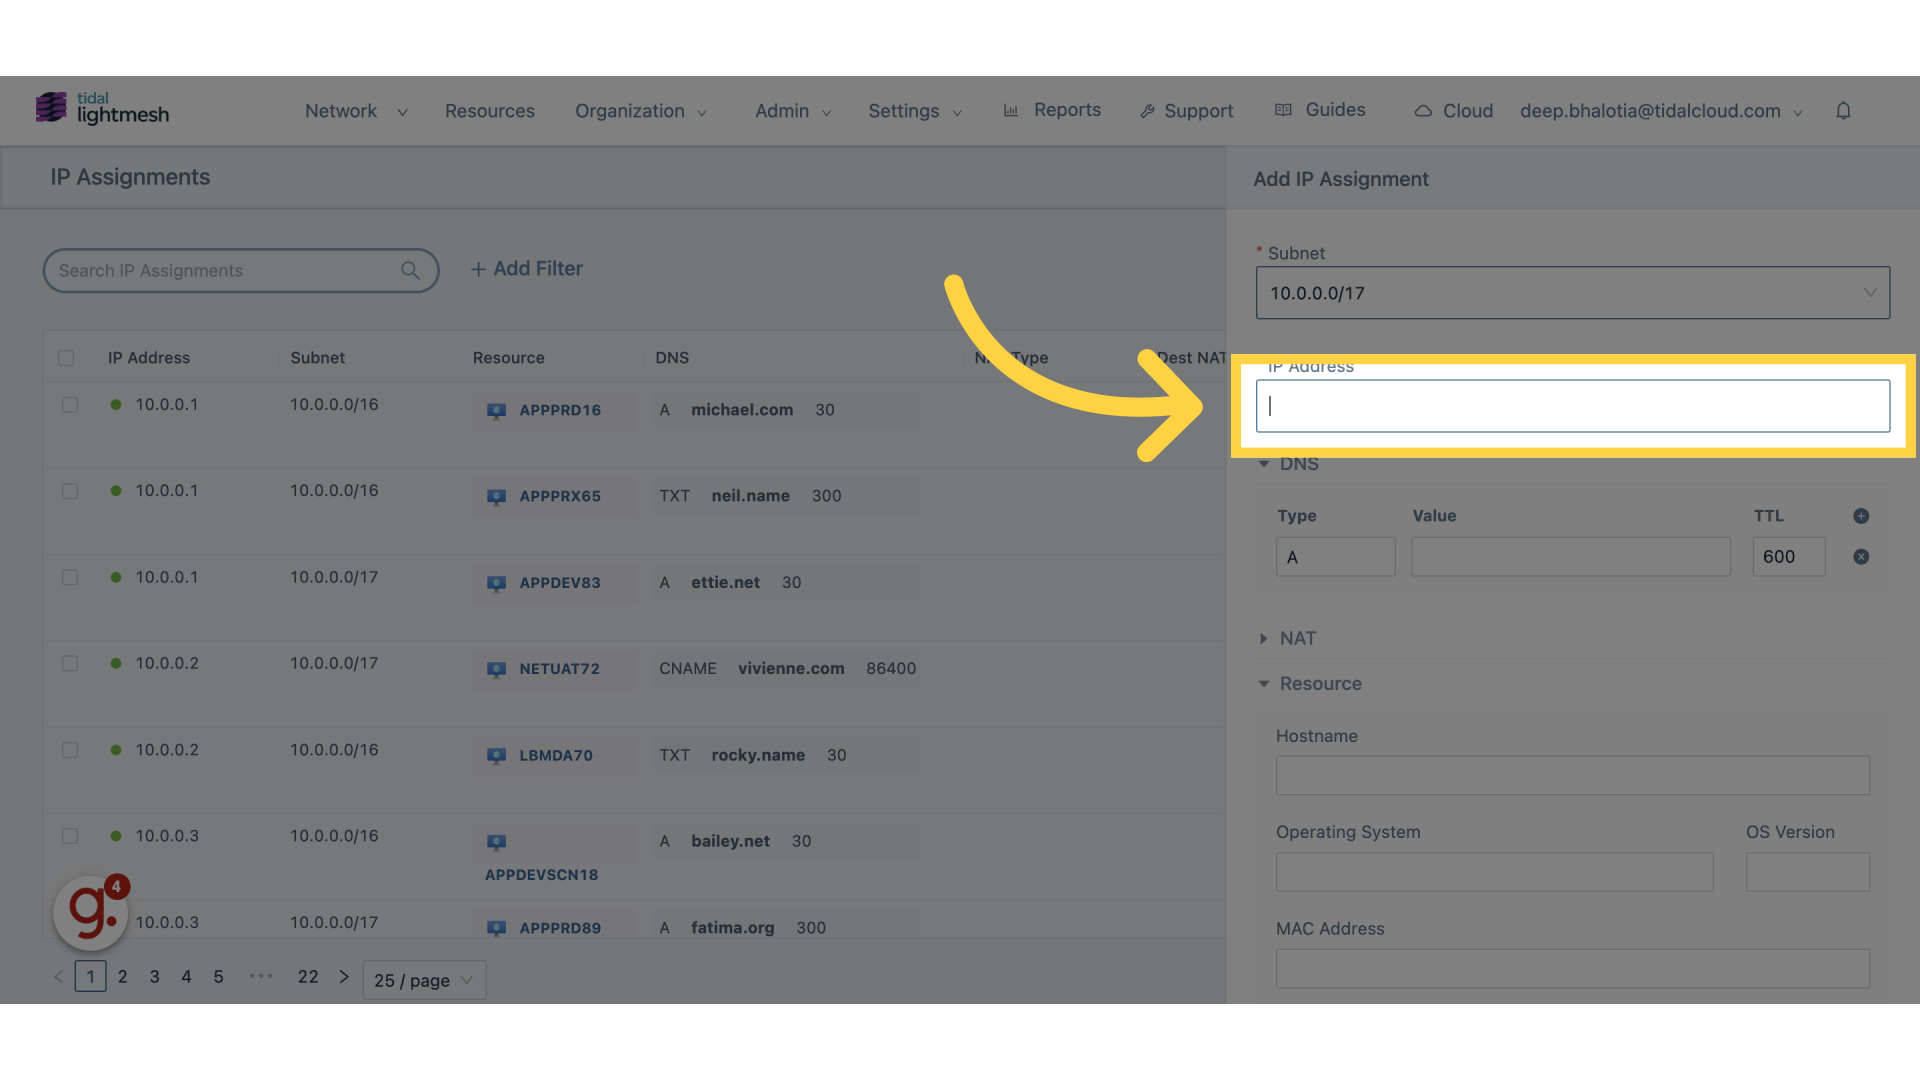
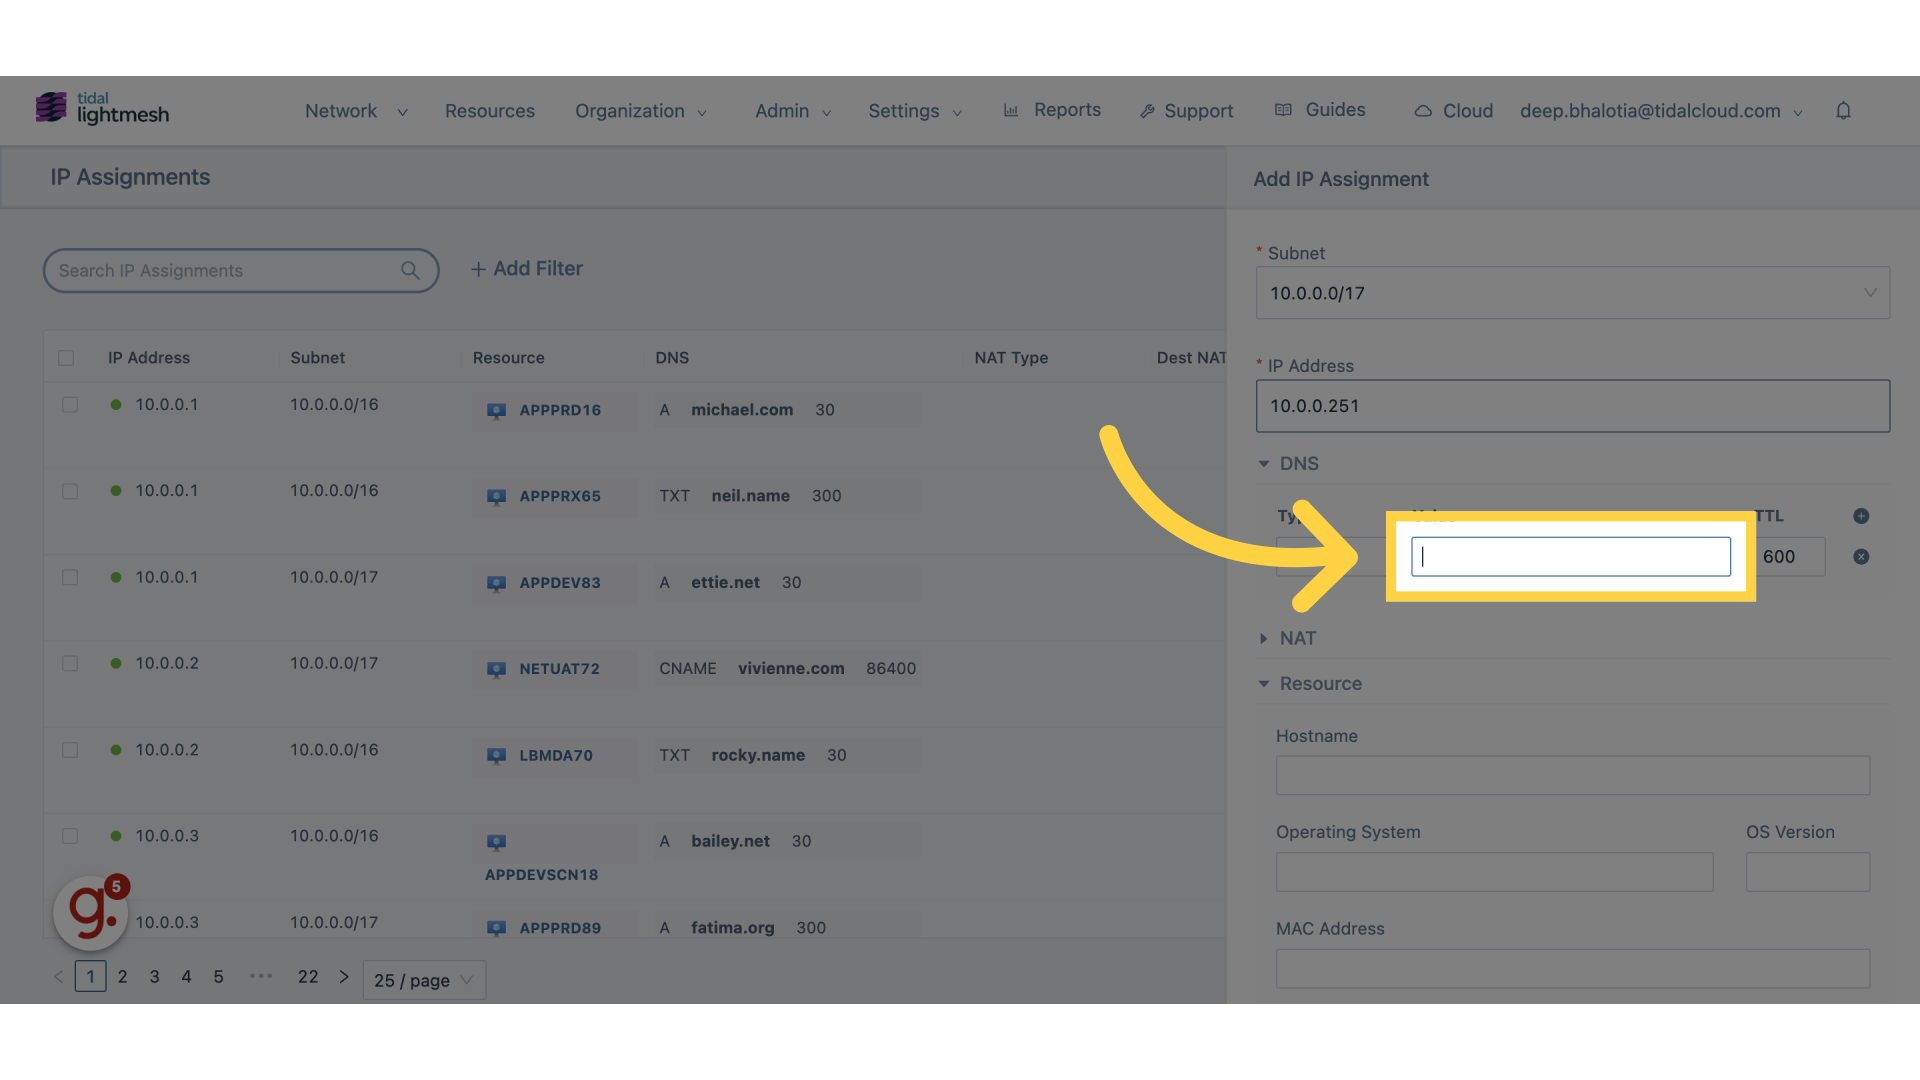
6. Click DNS Value
Navigate to the desired section
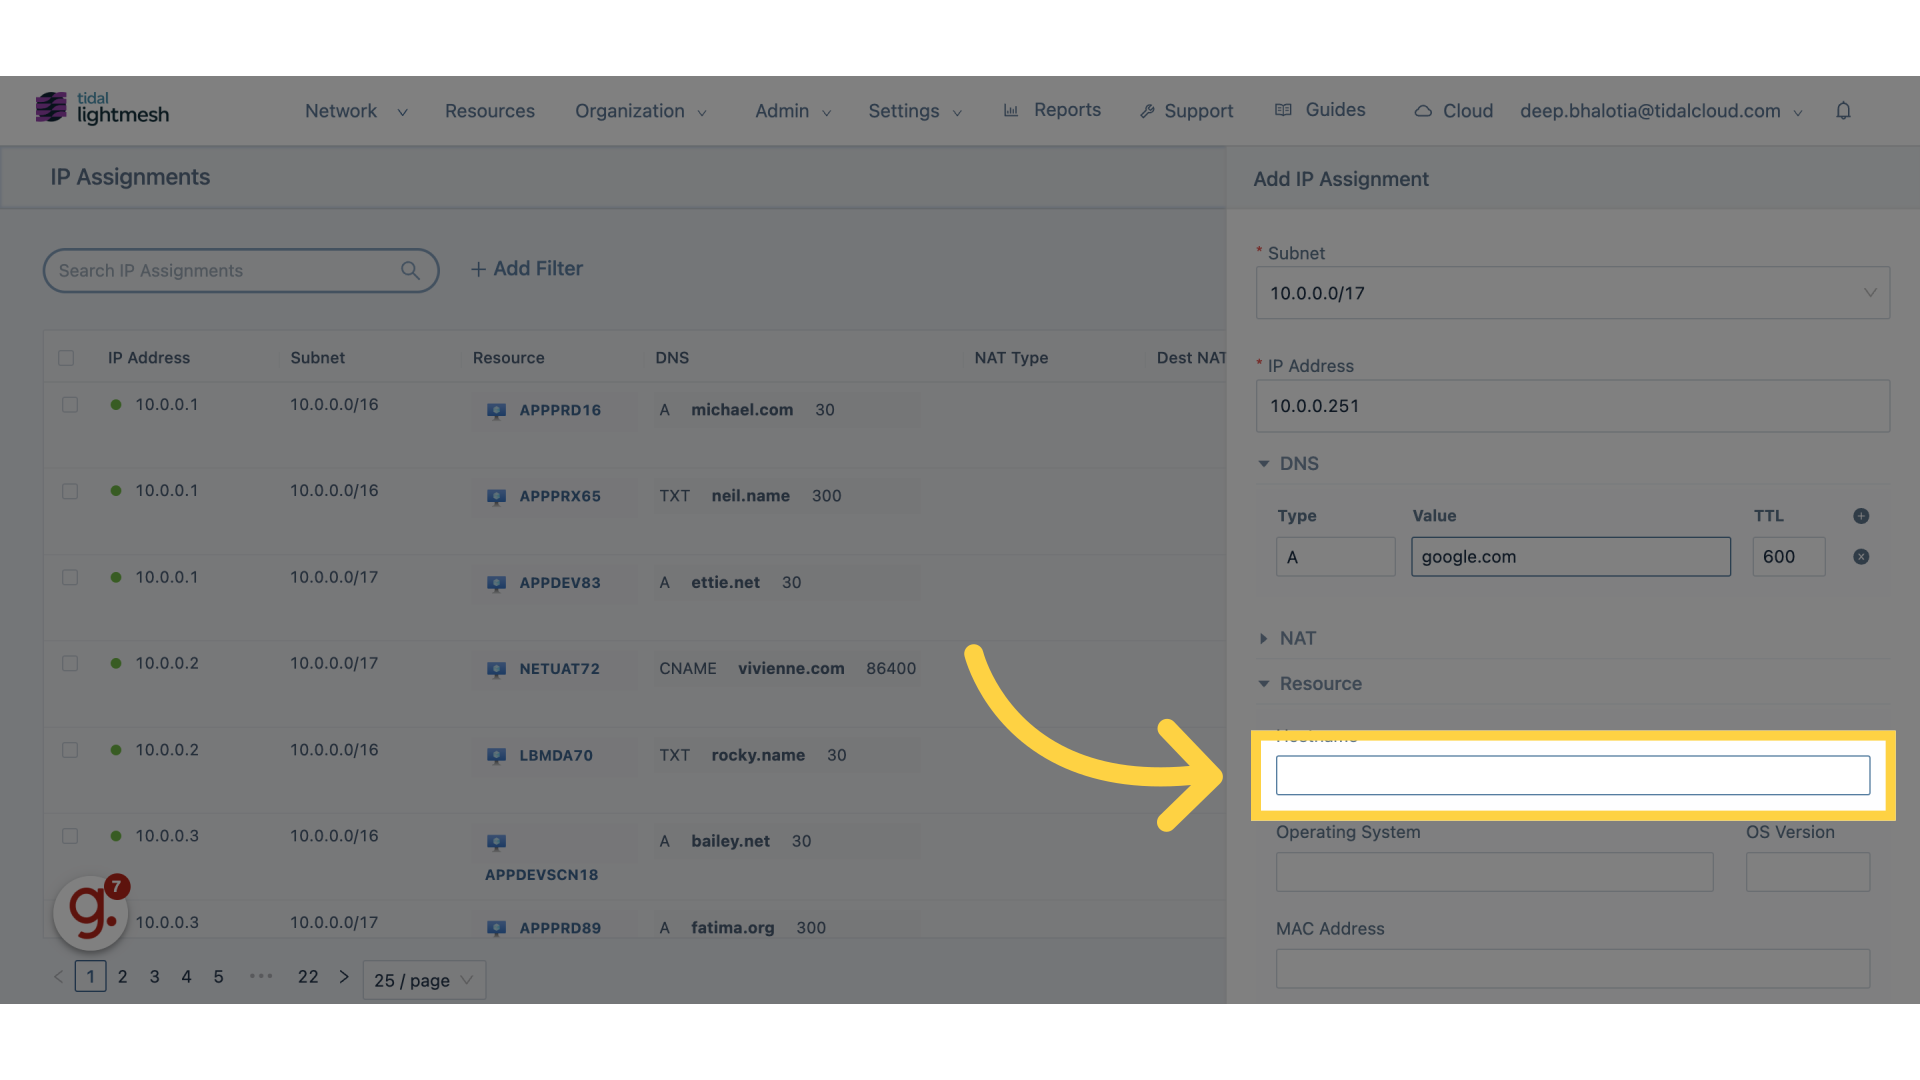
7. Click “Hostname”
Enter the hostname information
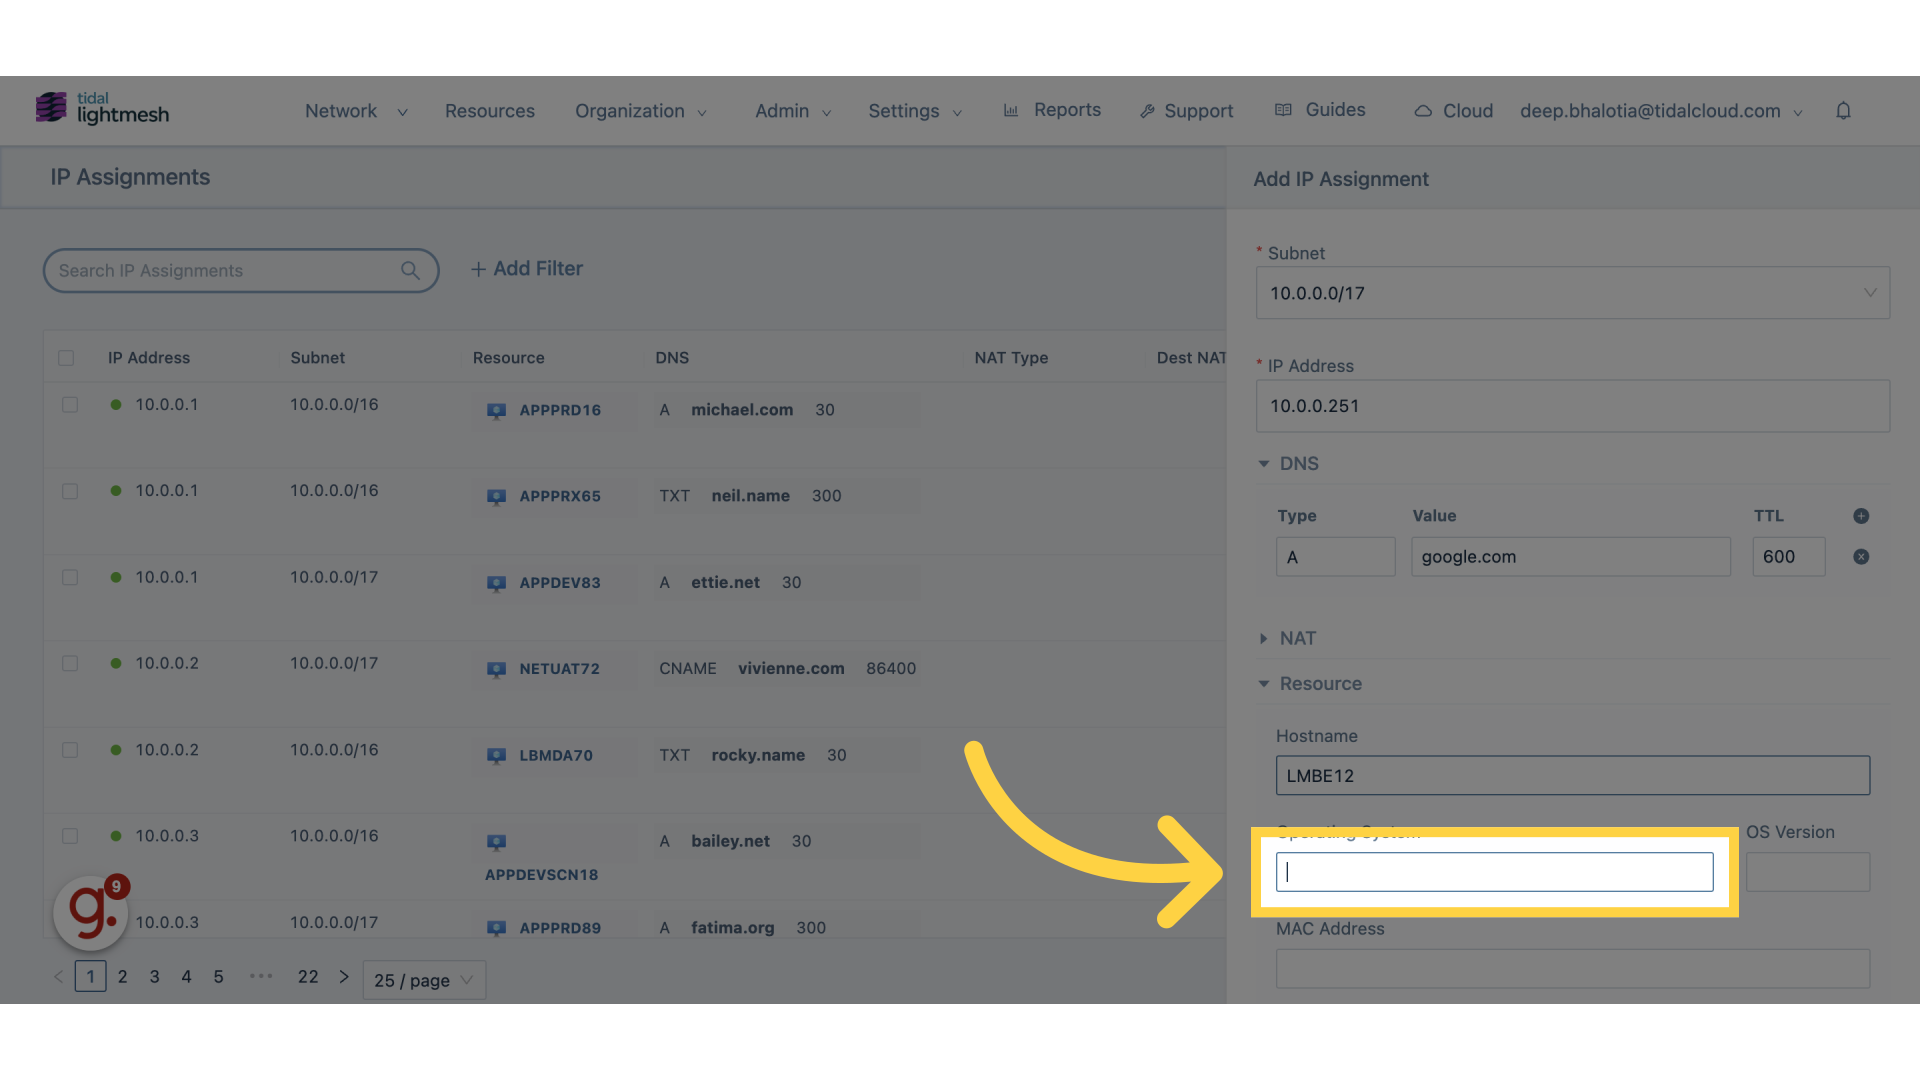
8. Click “Operating System”
Select the operating system
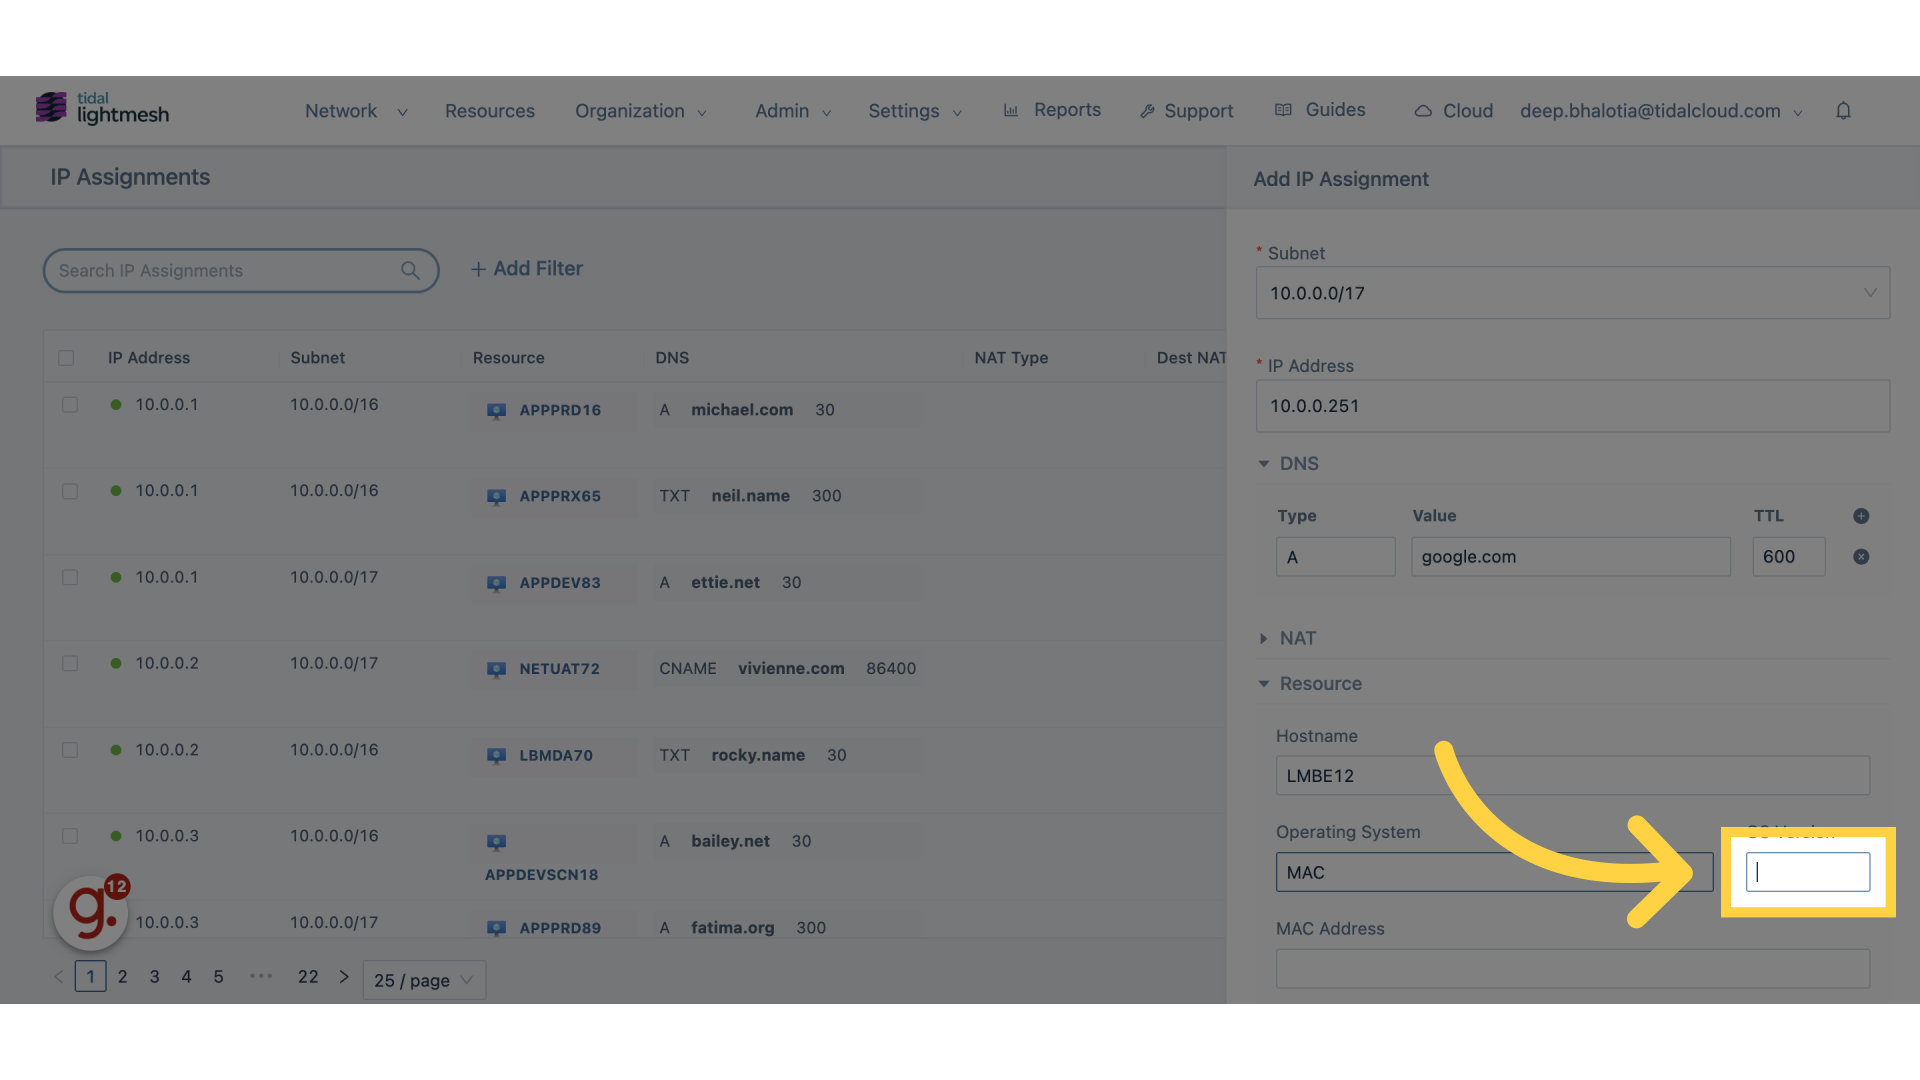
9. Click OS Version
Navigate to the specified location
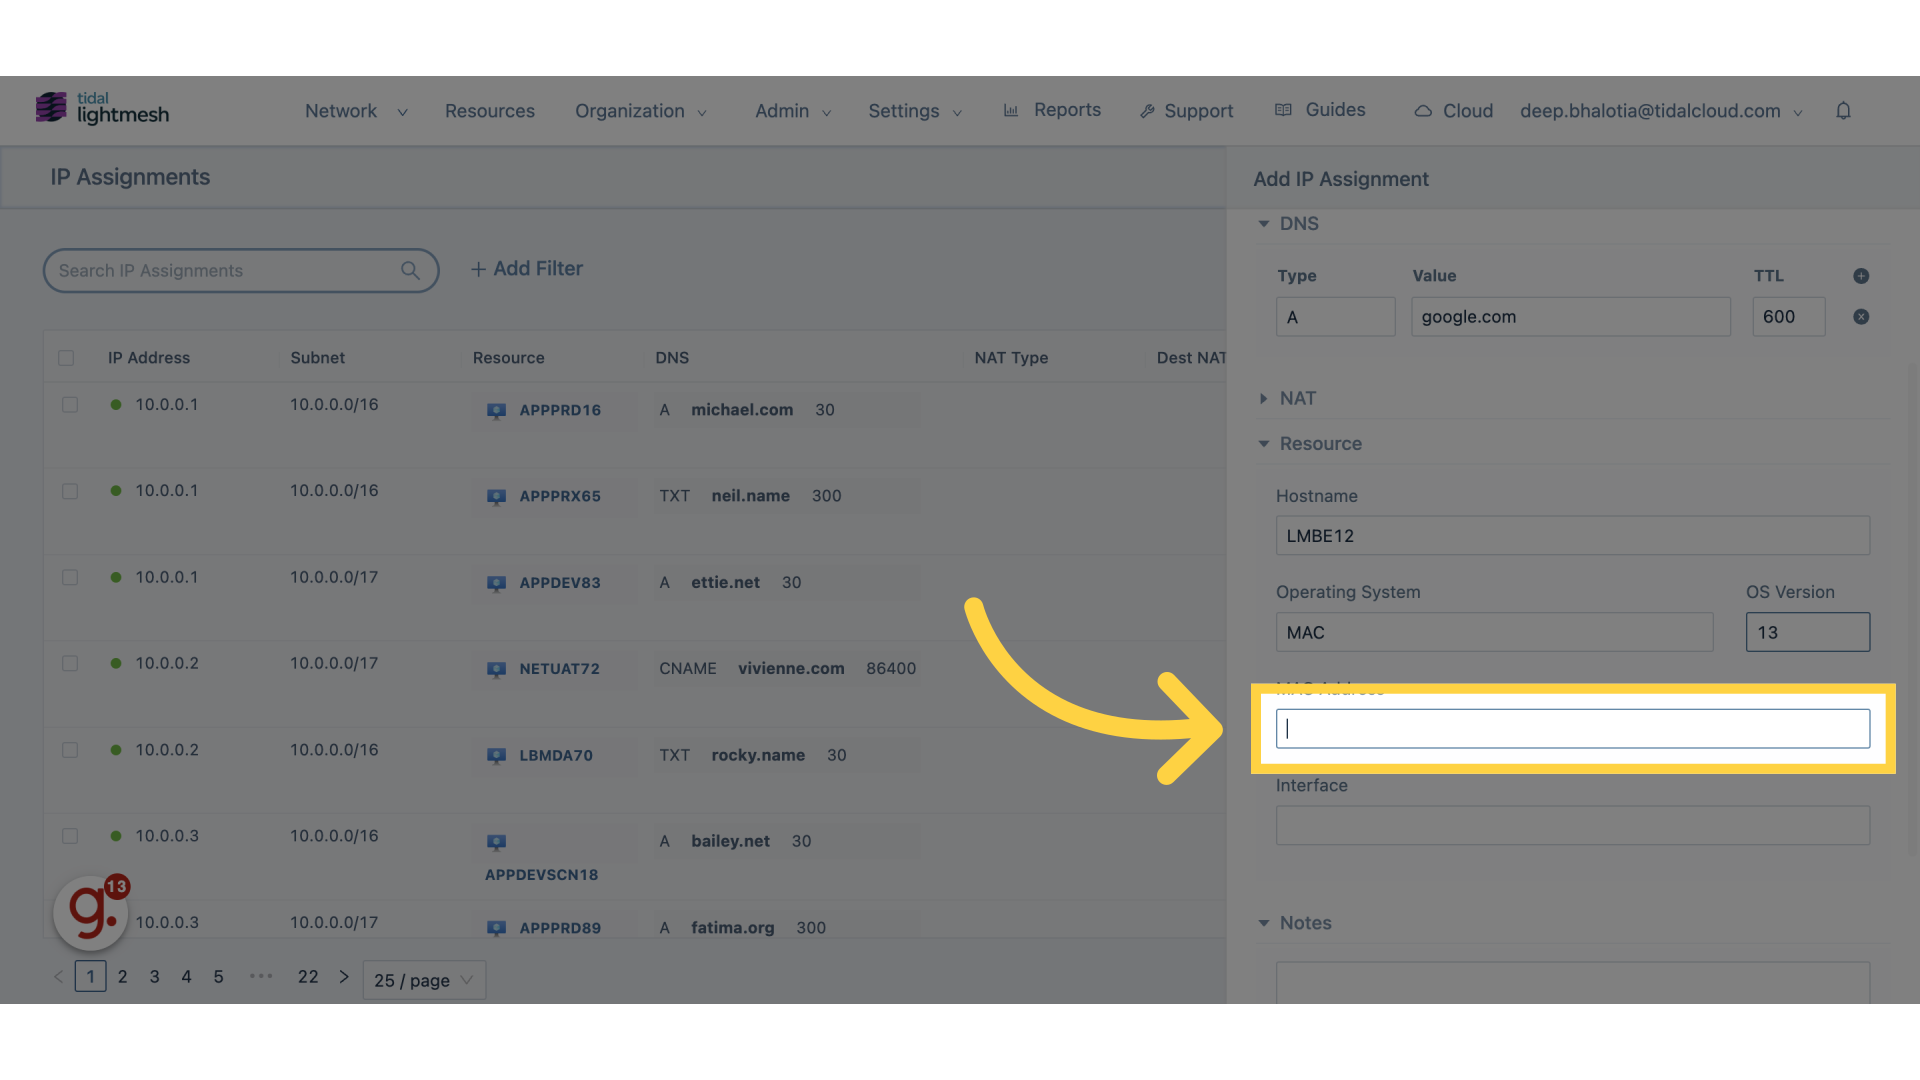
10. Click “MAC Address”
Provide the MAC address
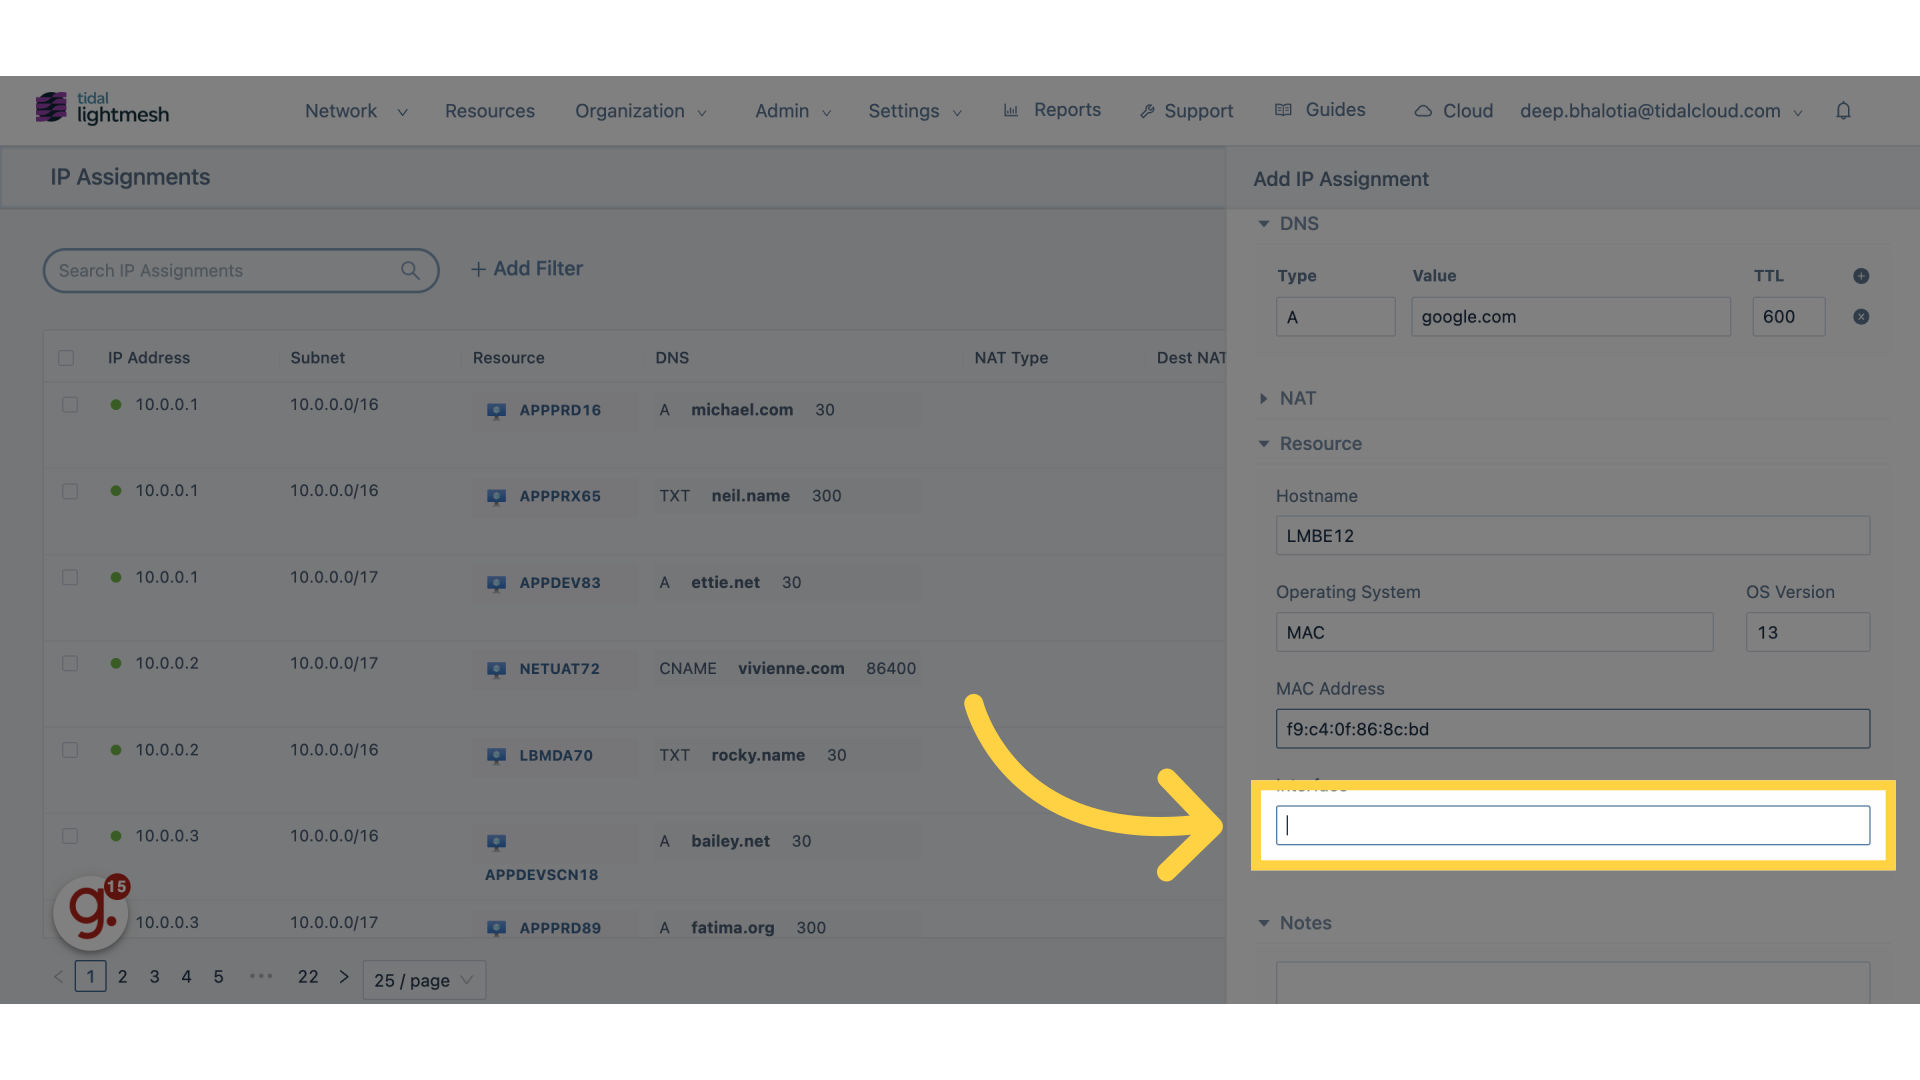
11. Click “Interface”
Select the interface for the assignment
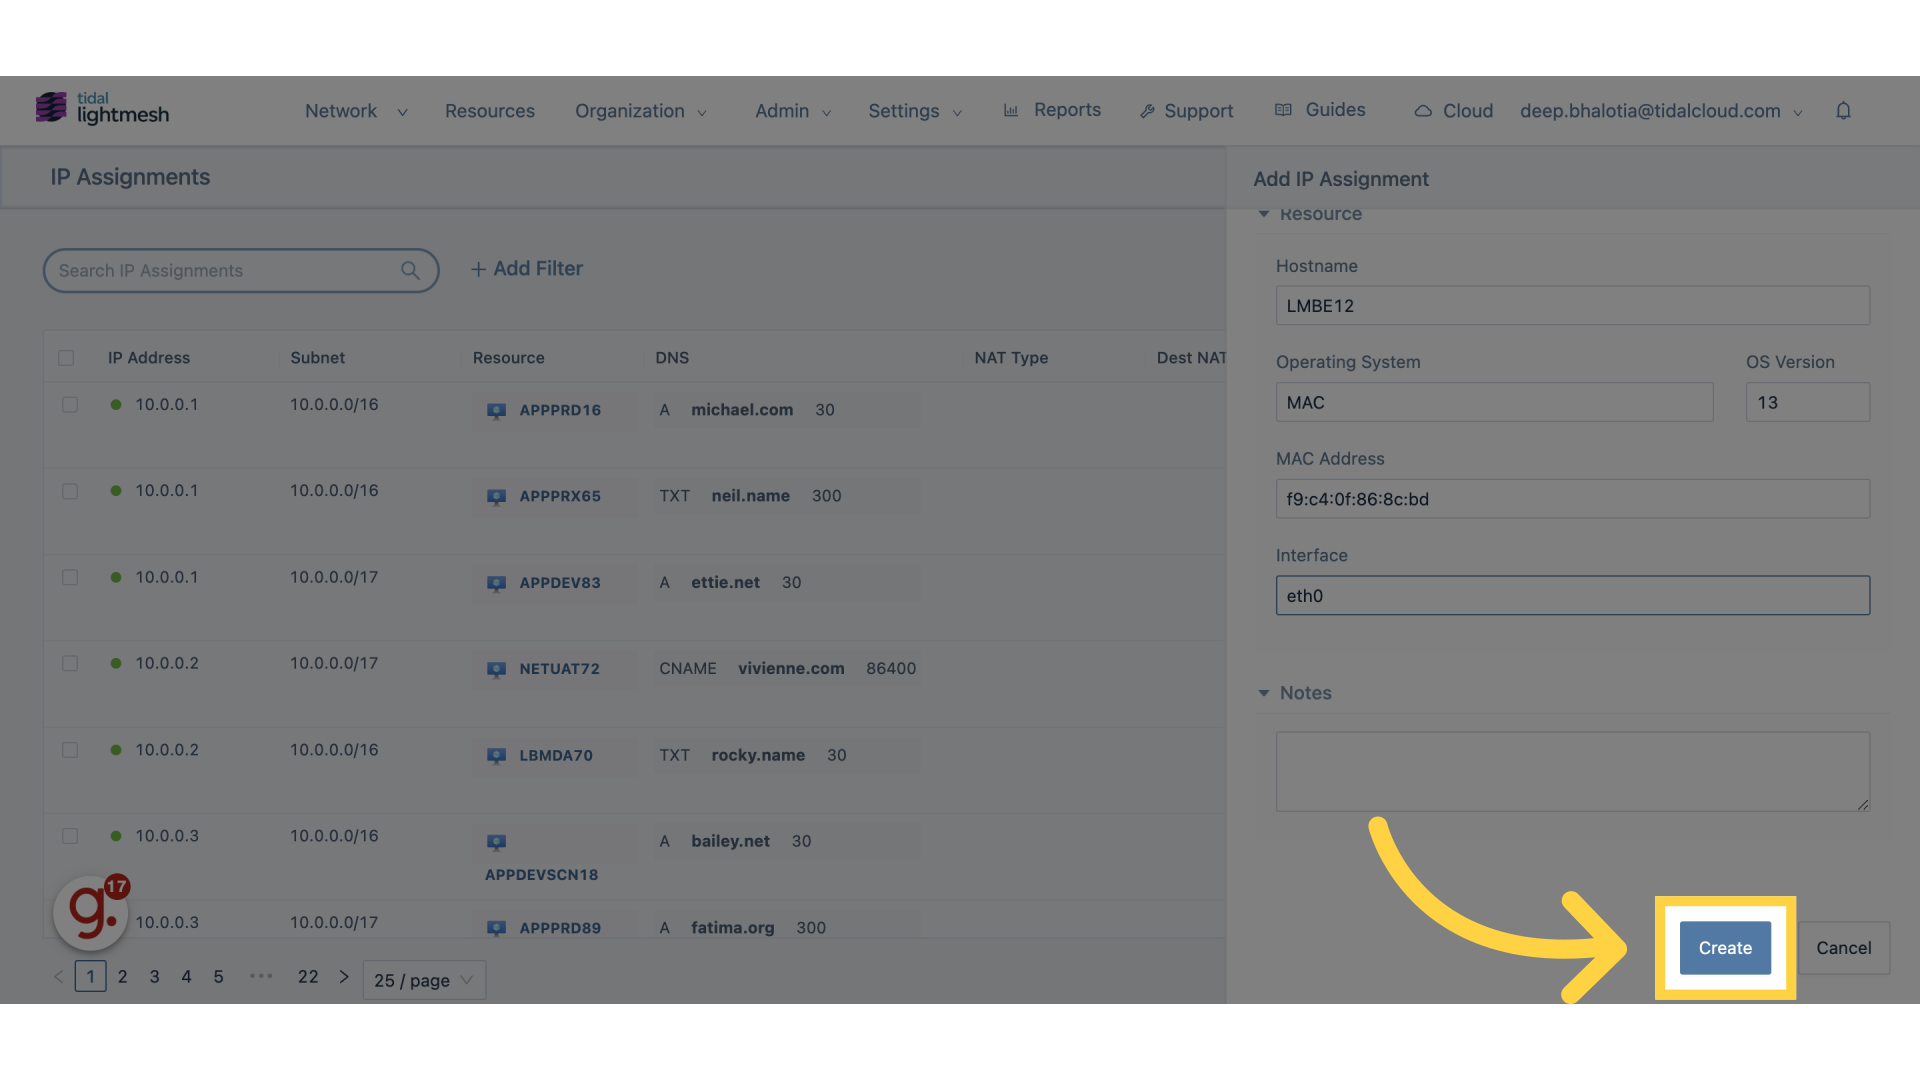
12. Click “Create”
Finalize and create the IP assignment
This guide covered the process of creating an IP Assignment in Lightmesh for employee training