New DNS
This guide walks you through adding DNS in LightMesh. DNS (Domain Name System) is a critical component that associates human-readable domain names with IP addresses. It enables automatic management of DNS records, ensuring that when devices are assigned IP addresses, corresponding DNS records are created or updated. This integration simplifies network administration, reduces errors, and ensures accurate domain name resolution in a network.
1. Introduction
From selecting the record type to setting TTL values and activating entries, you are now equipped to navigate DNS settings with ease.
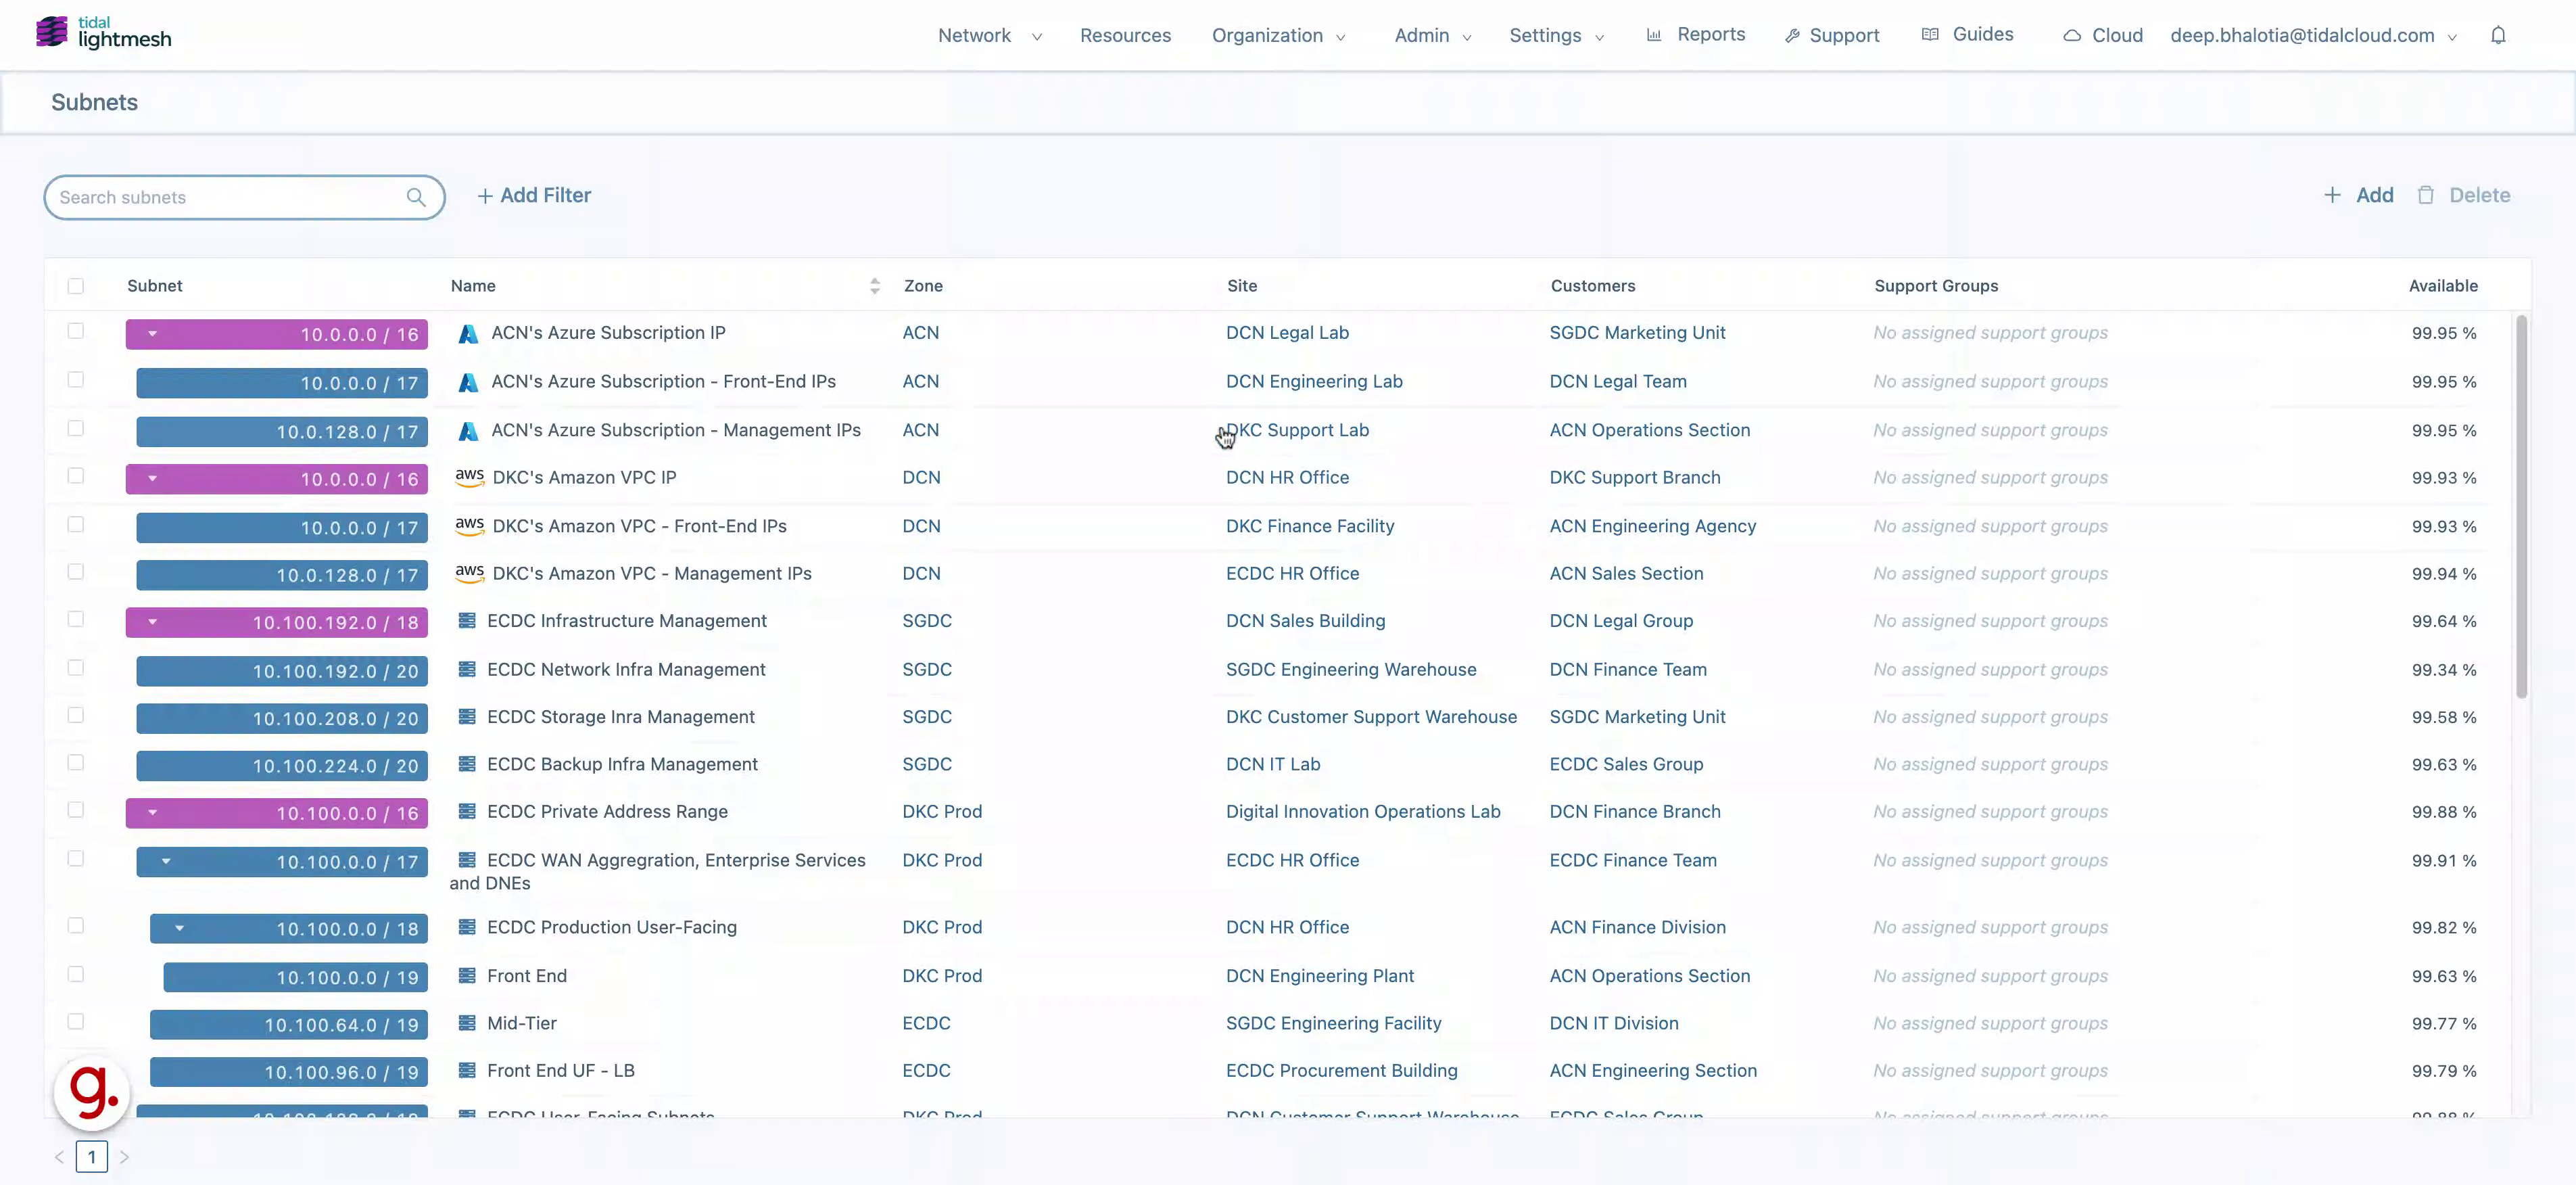
2. Click DNS
Access DNS settings.
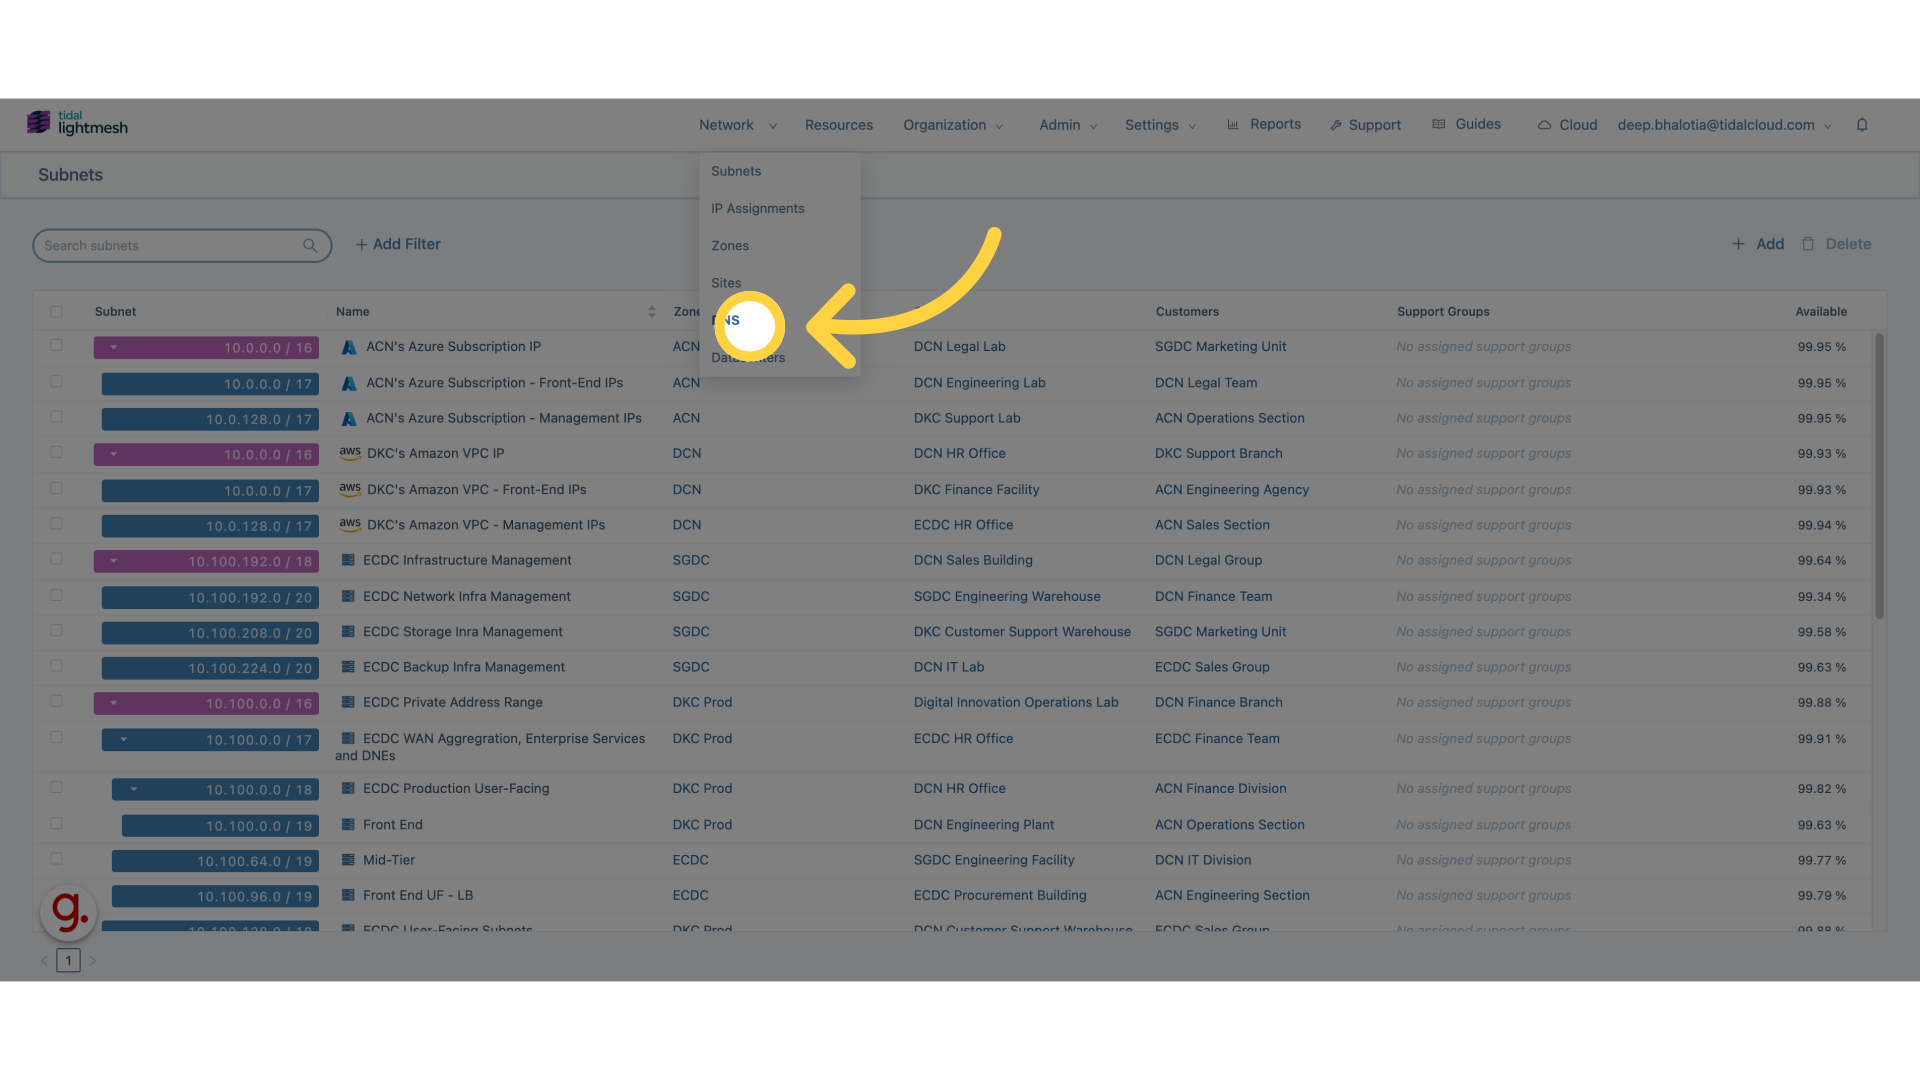
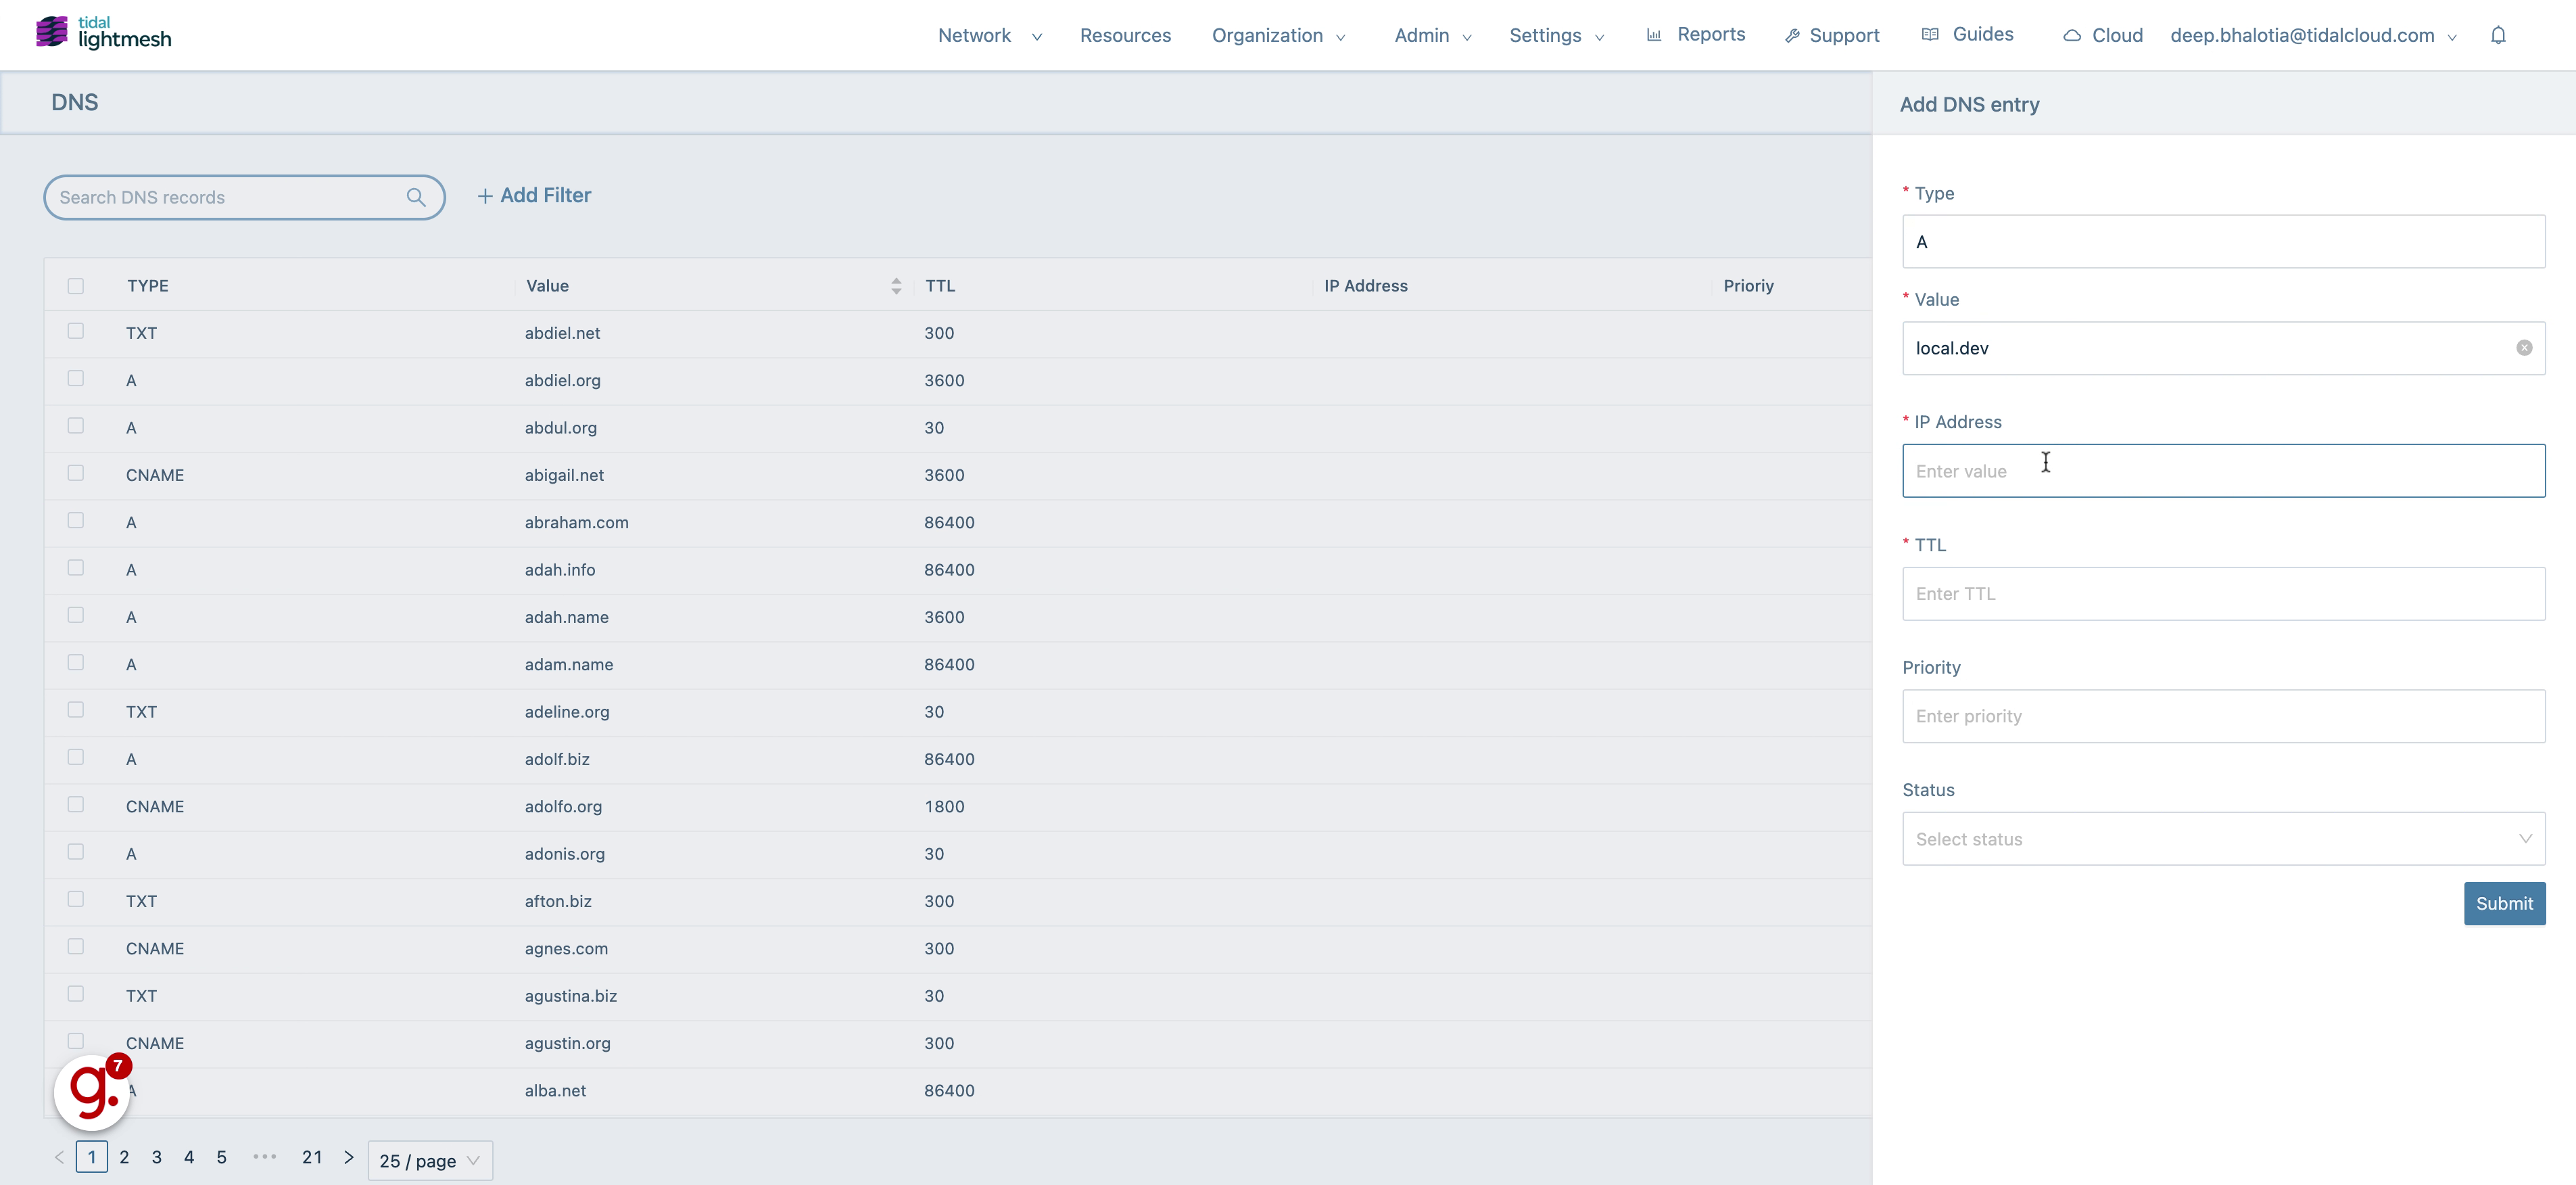
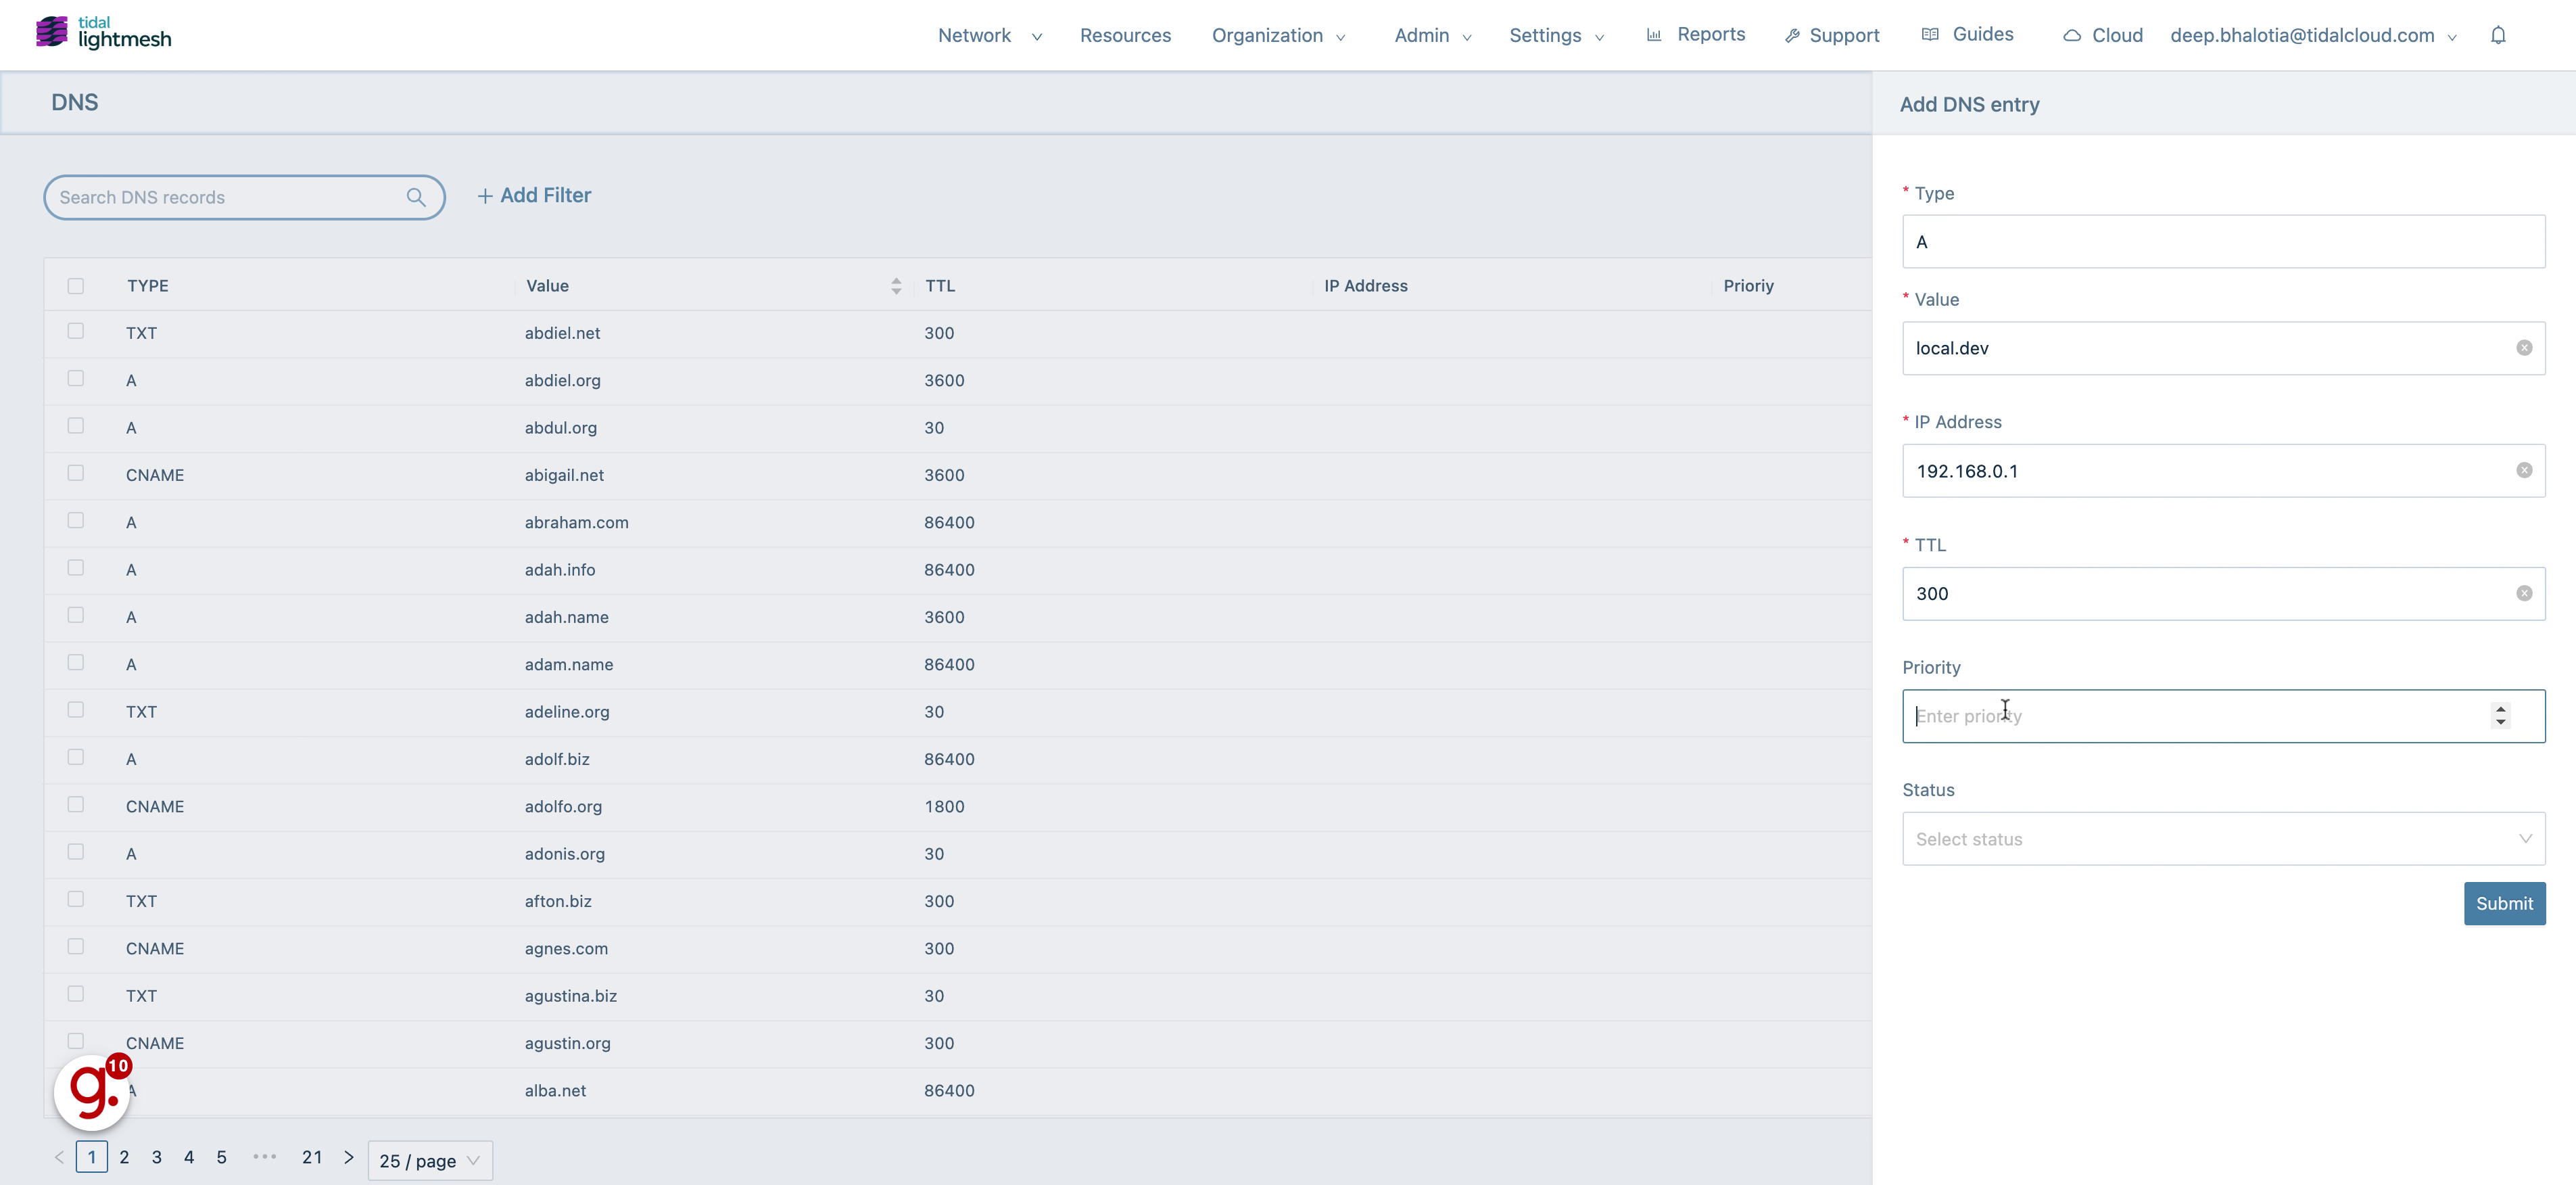
3. Click “Add DNS Entry”
Initiate adding a new DNS entry.
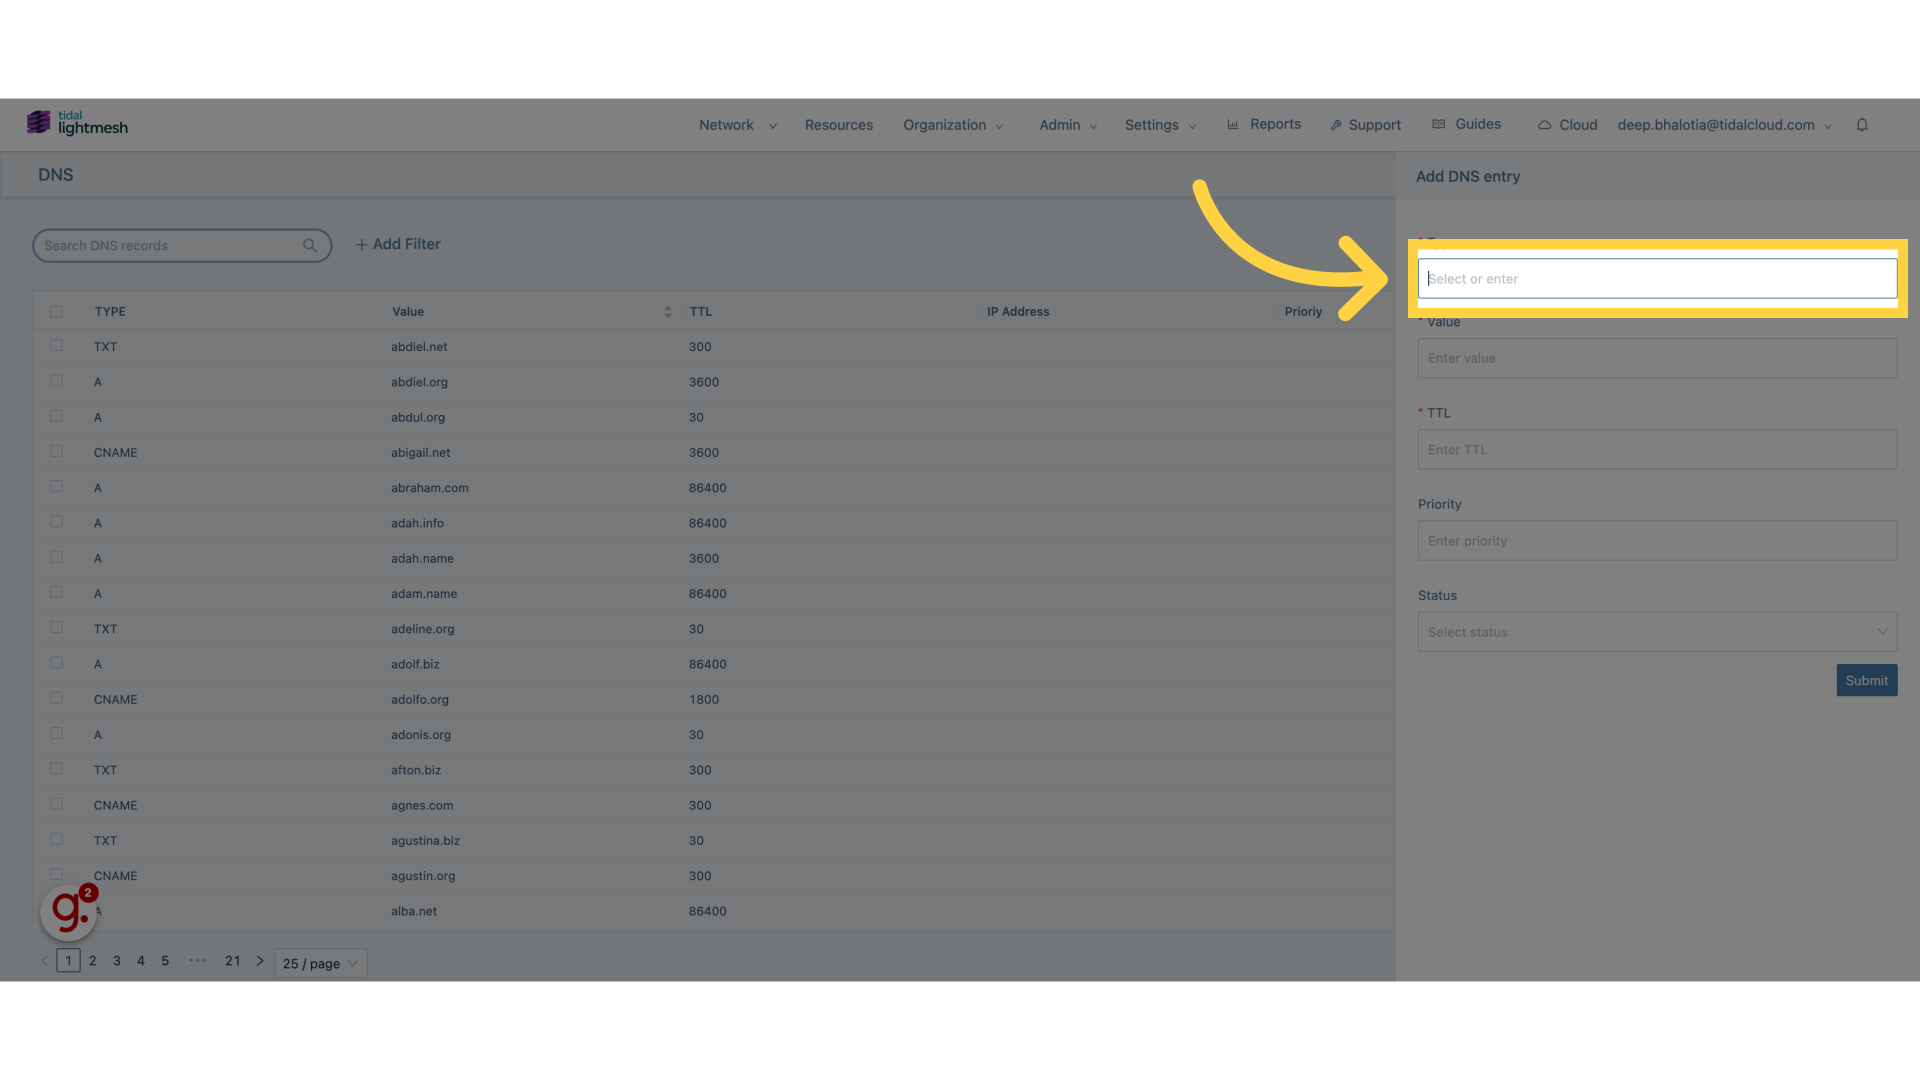
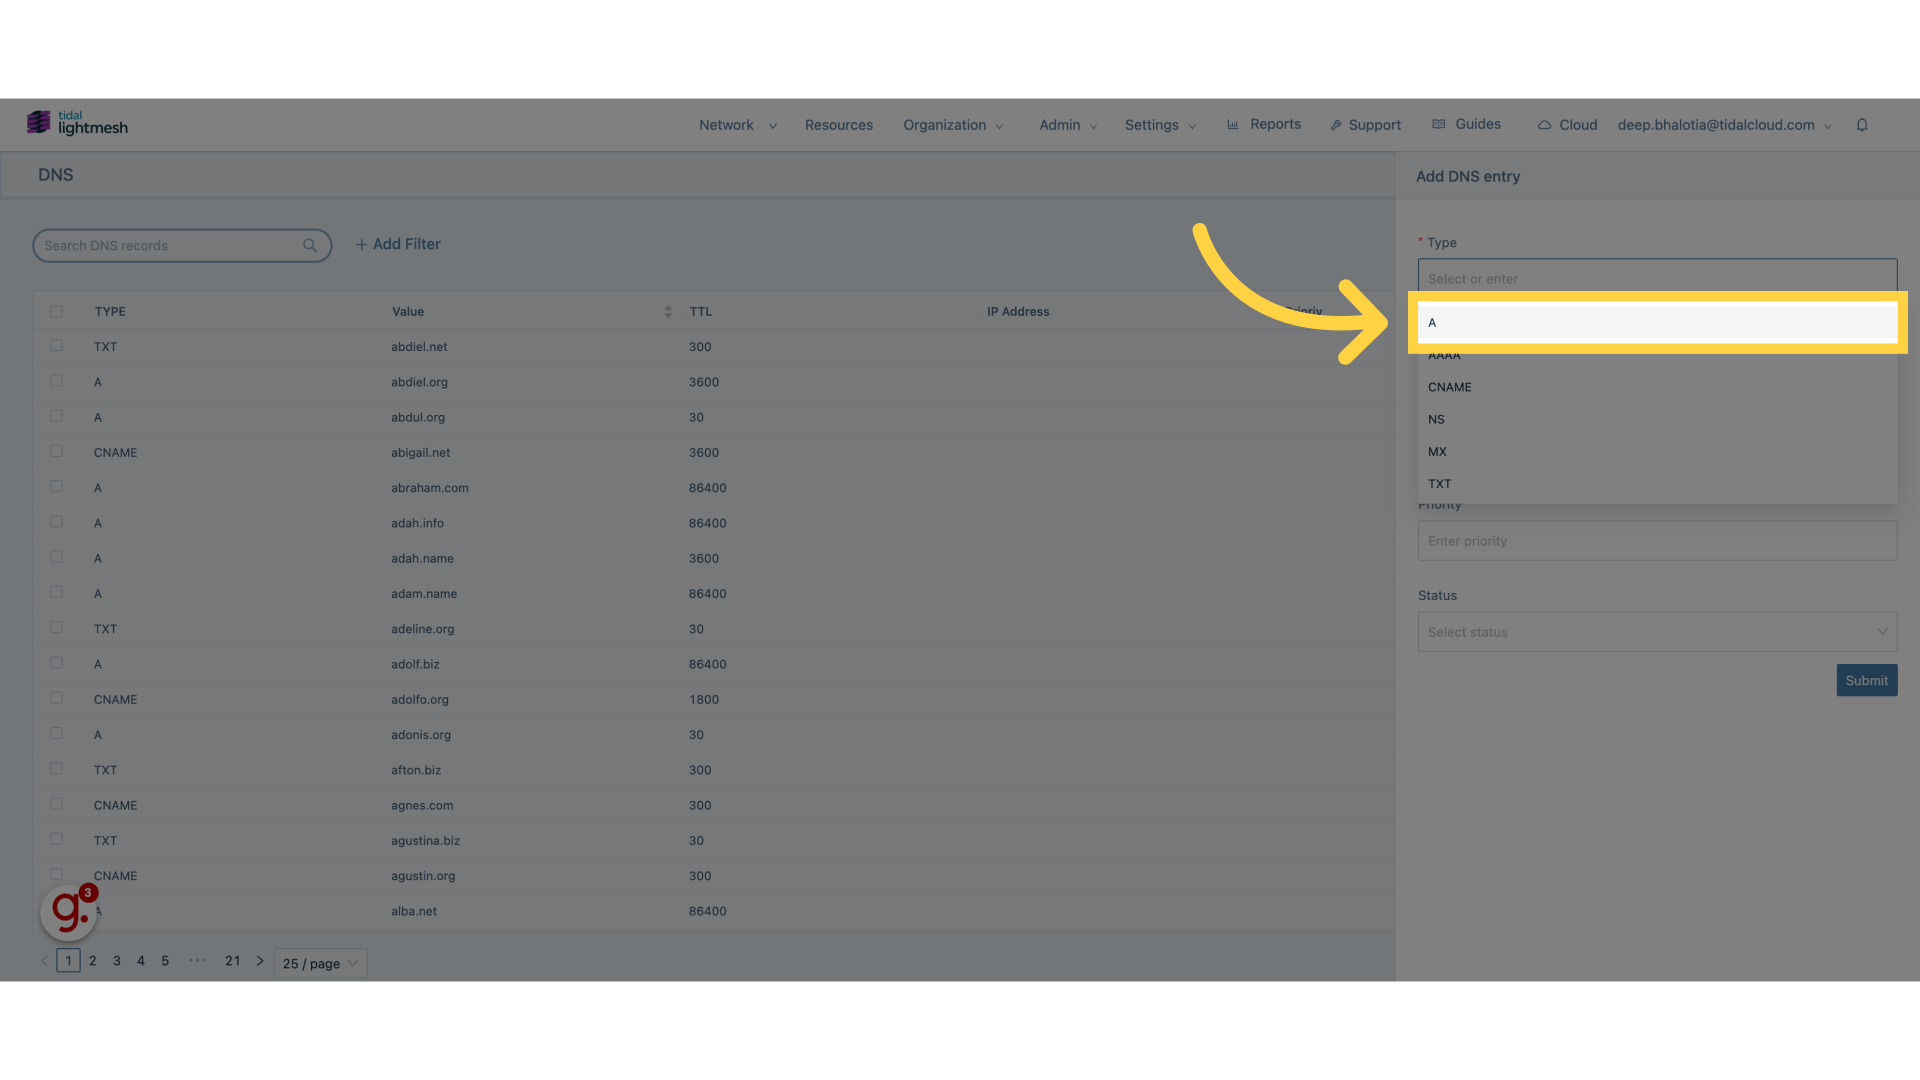
4. Click “Type”
Select the type of DNS record.
5. Click “A”
Choose A record type.
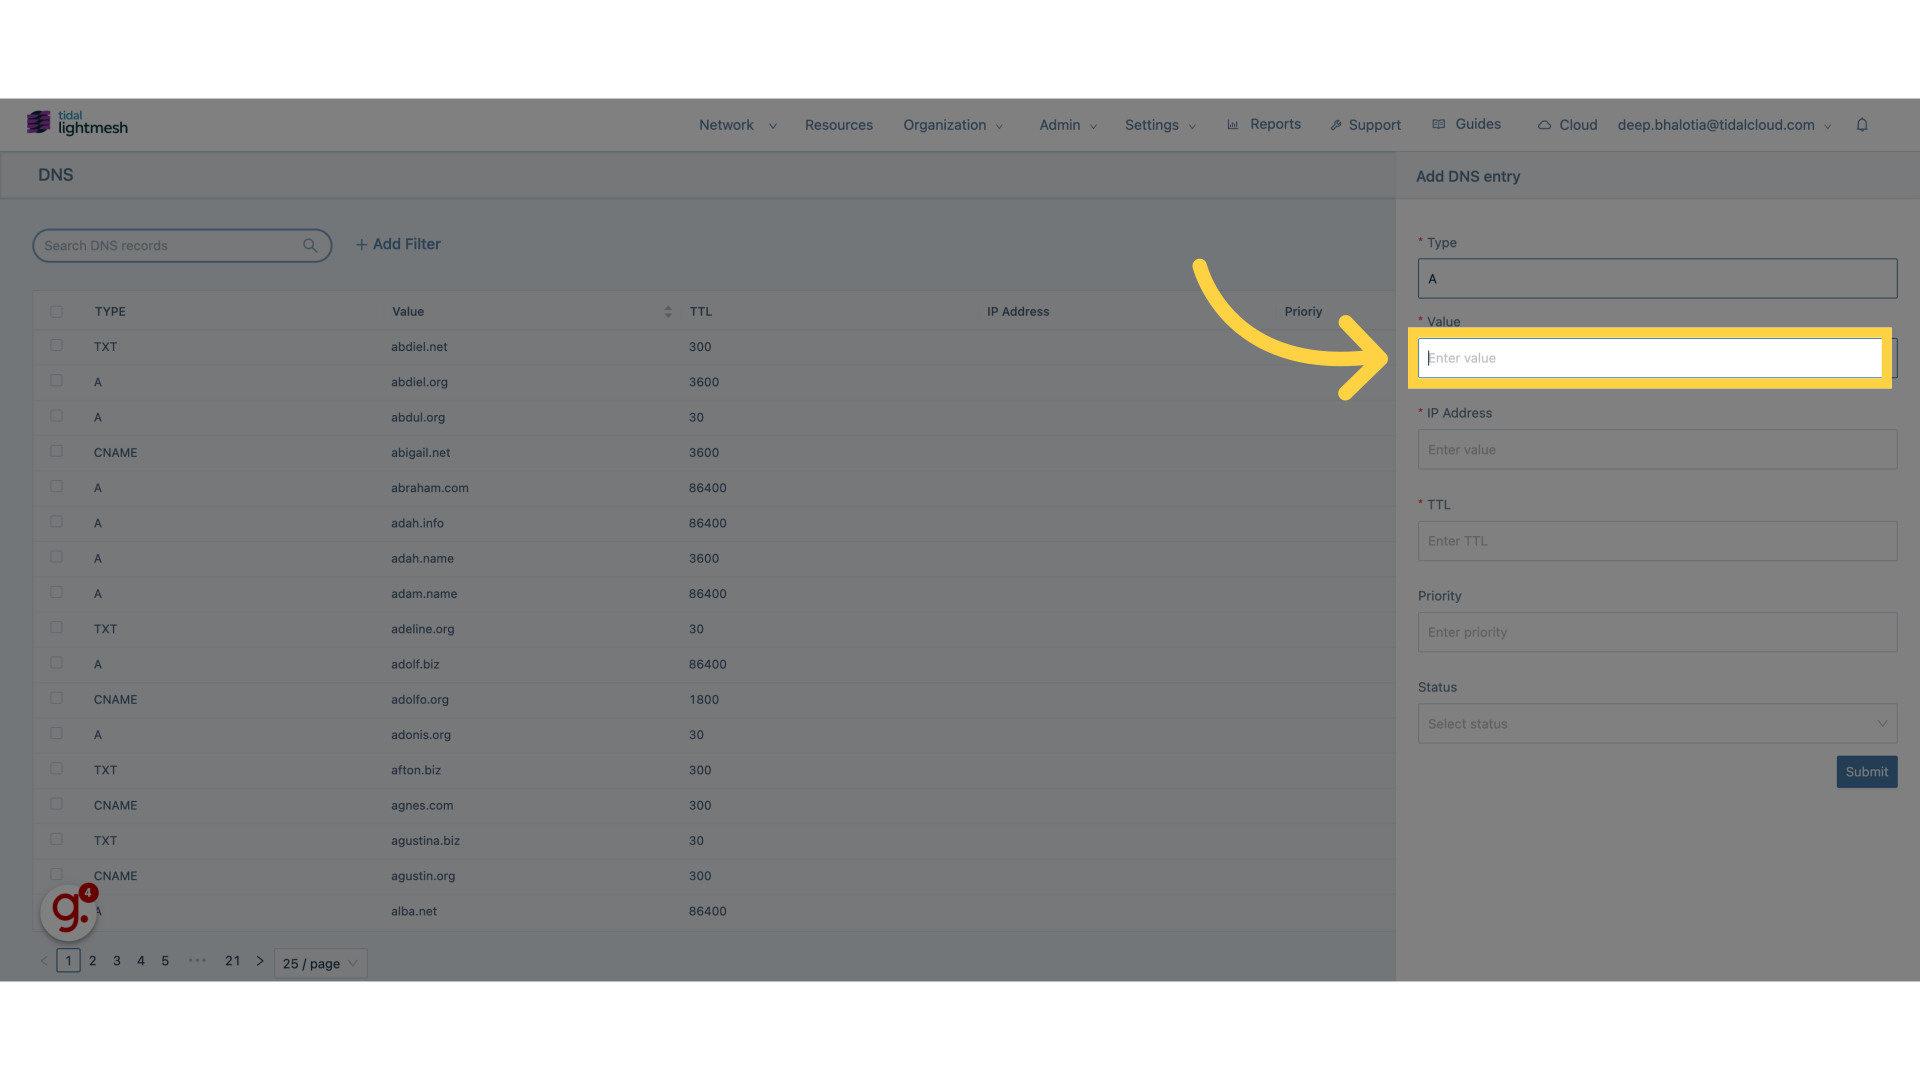
6. Click “Enter value”
Input the IP address.
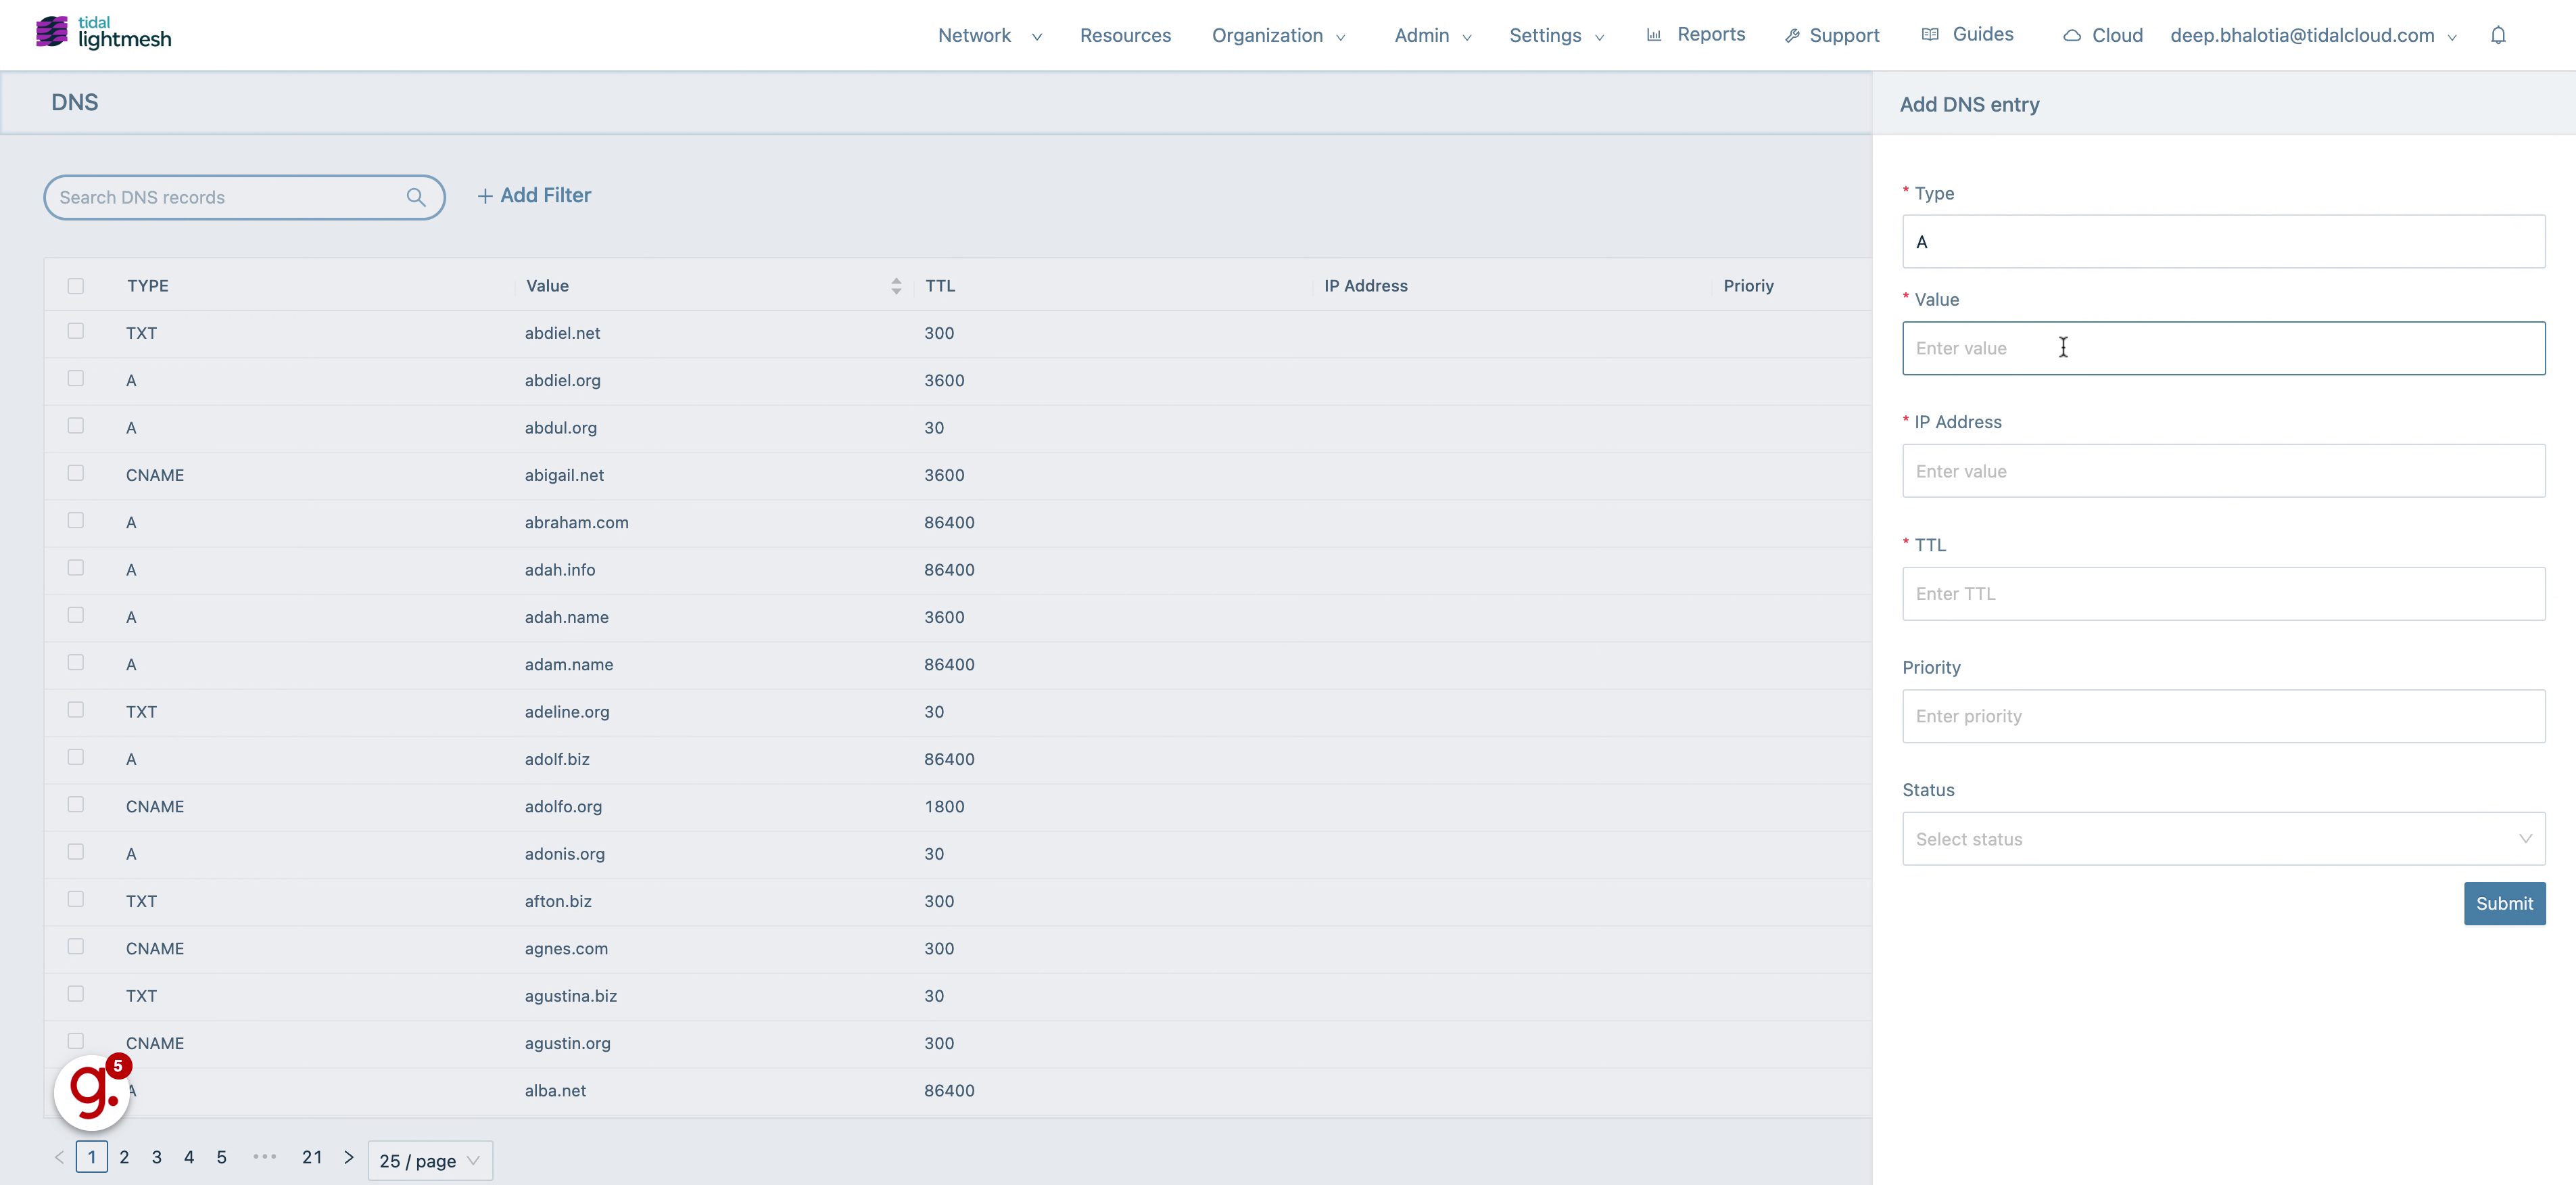
7. Fill “local.dev”
Fill in “local.dev”
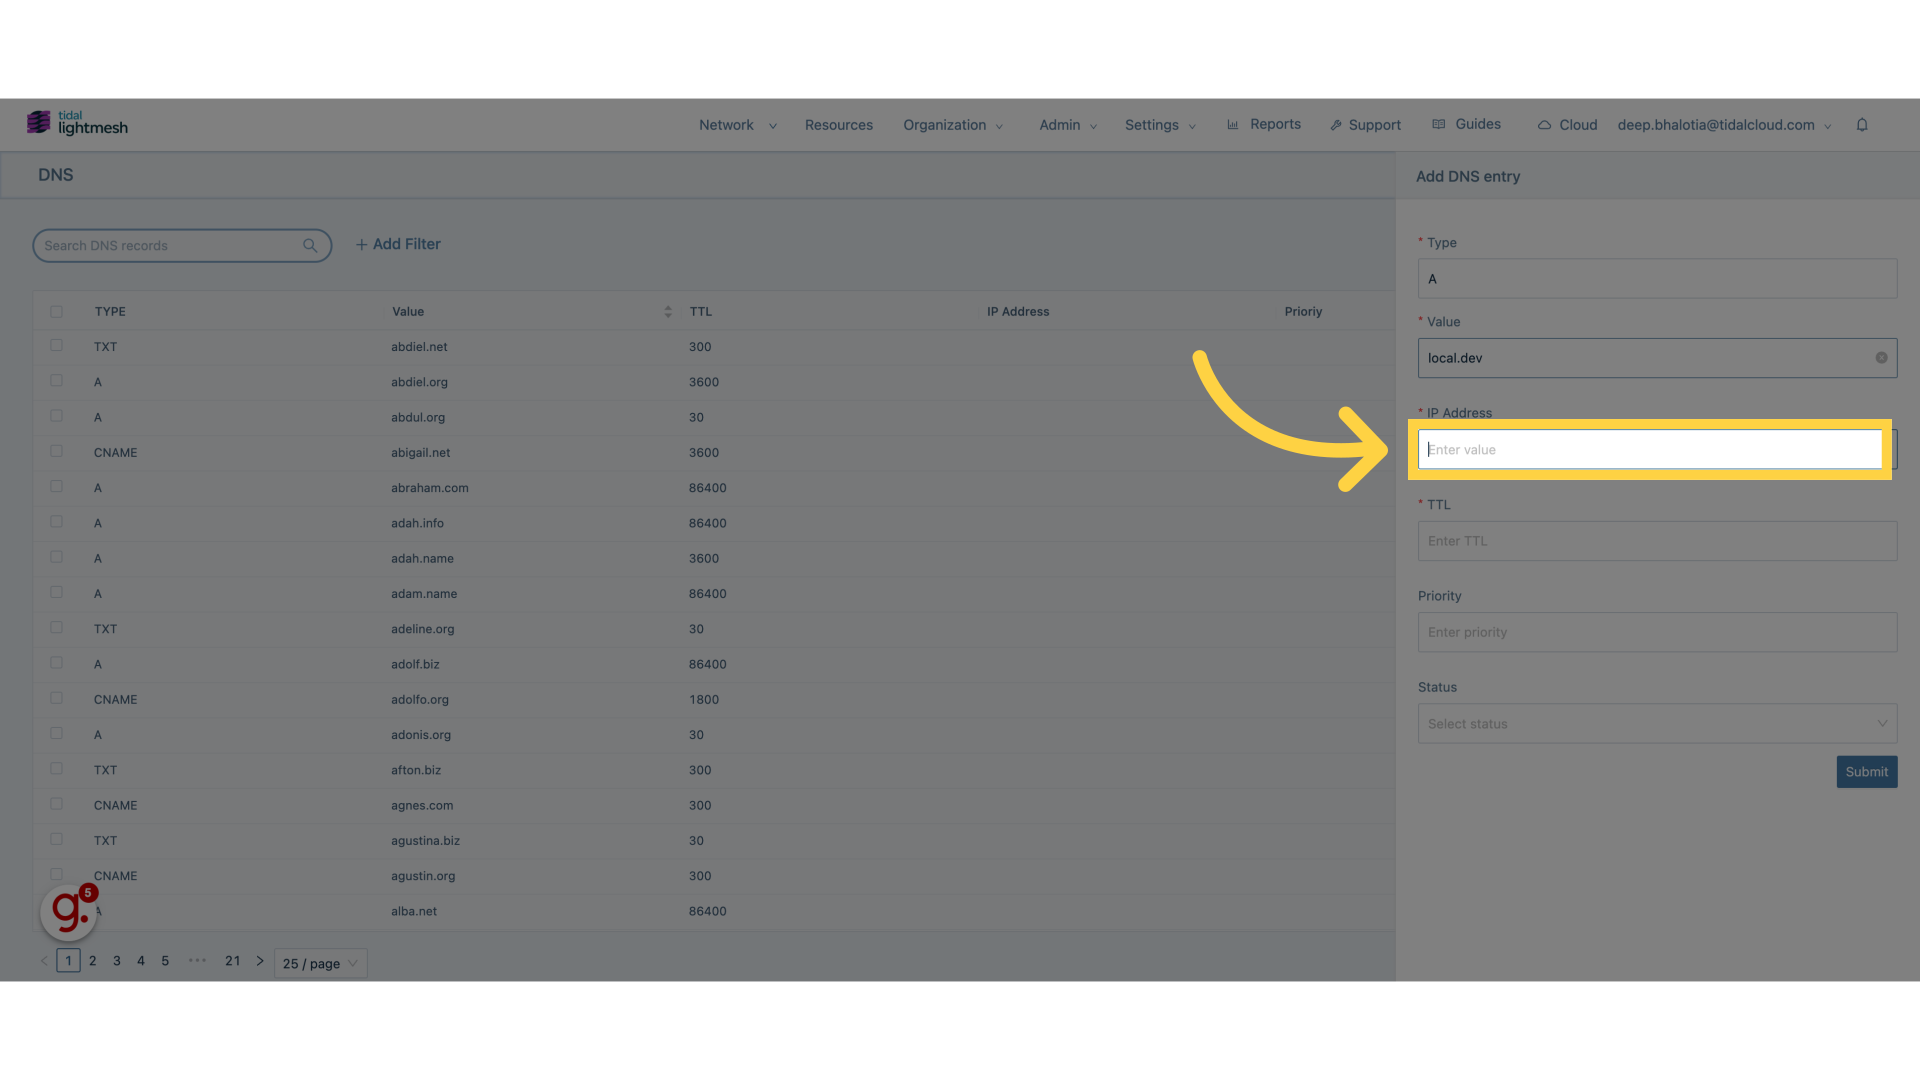
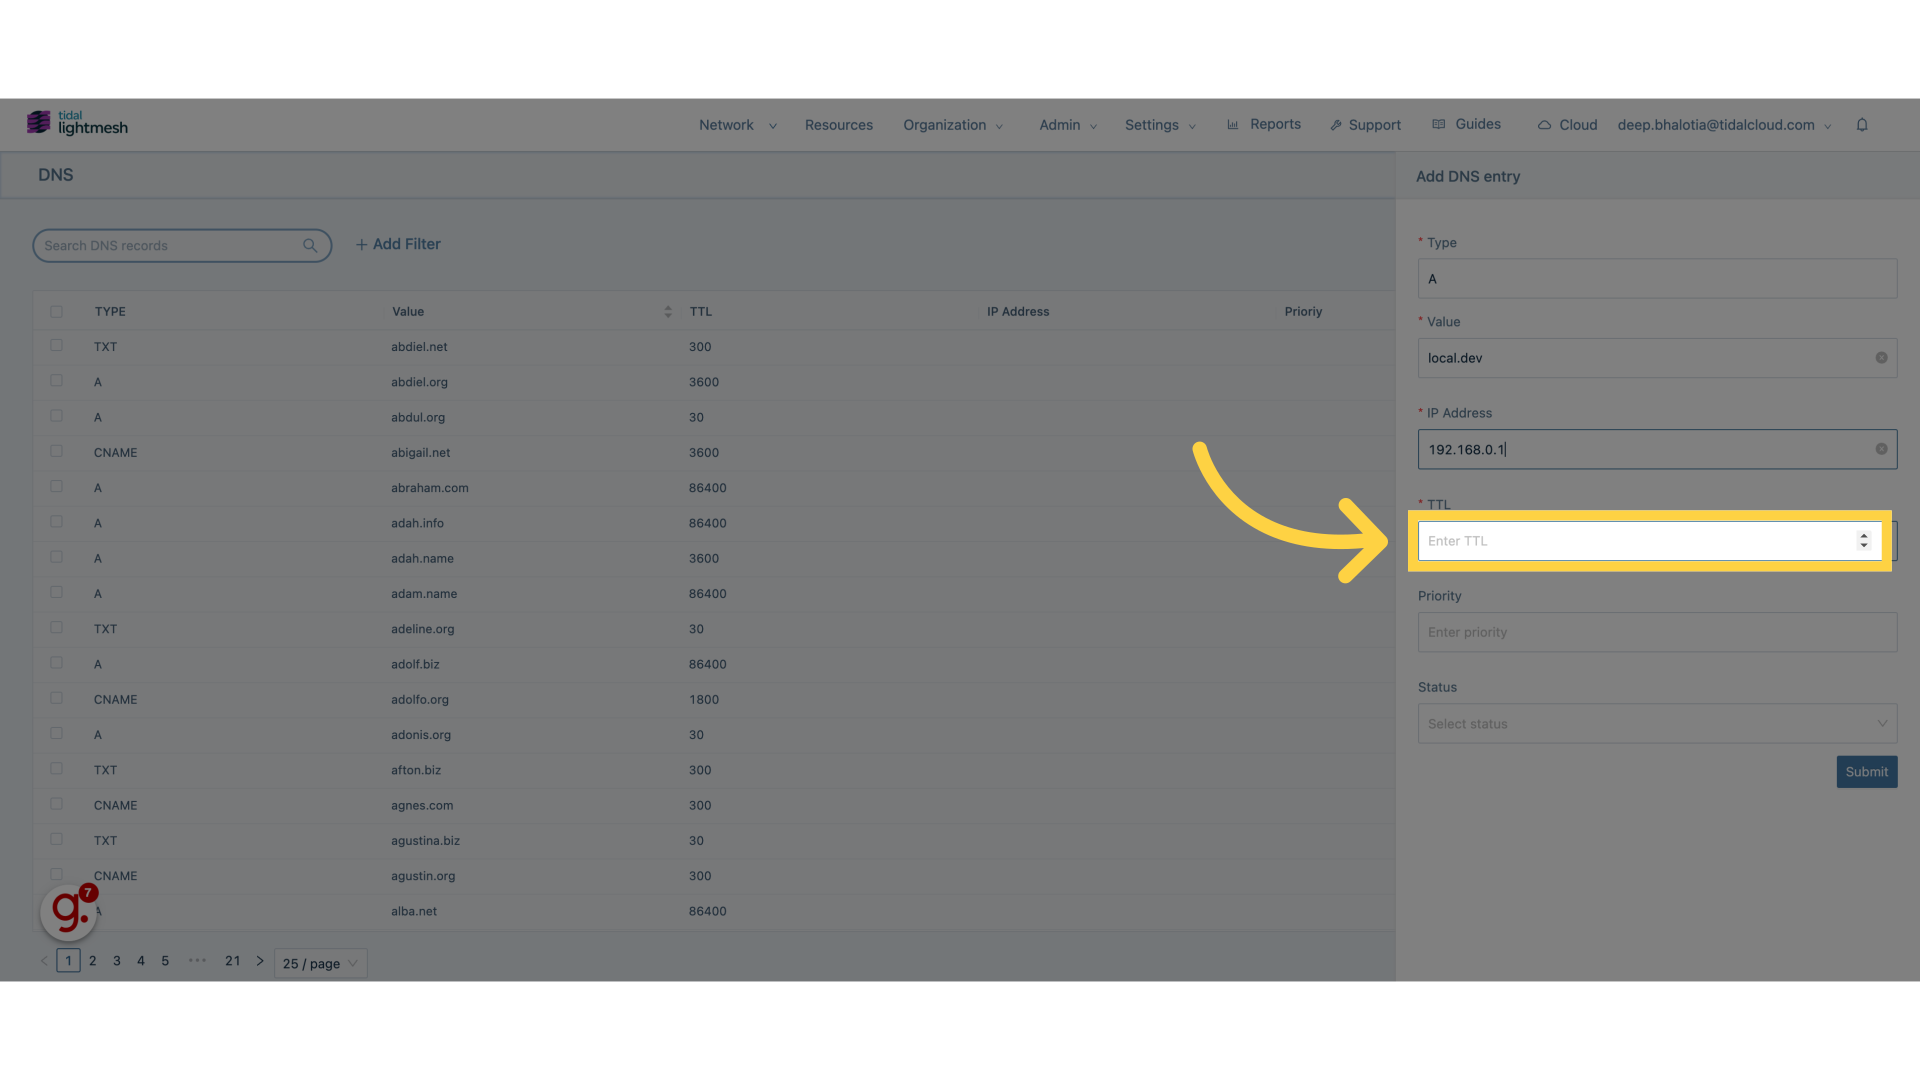
8. Click “Enter value”
Confirm the IP address.
9. Fill “192.168.0.1”
Enter “192.168.0.1” in the provided field
10. Click “Enter TTL”
Set Time to Live value.
11. Fill “300”
Fill in the text box with “300”
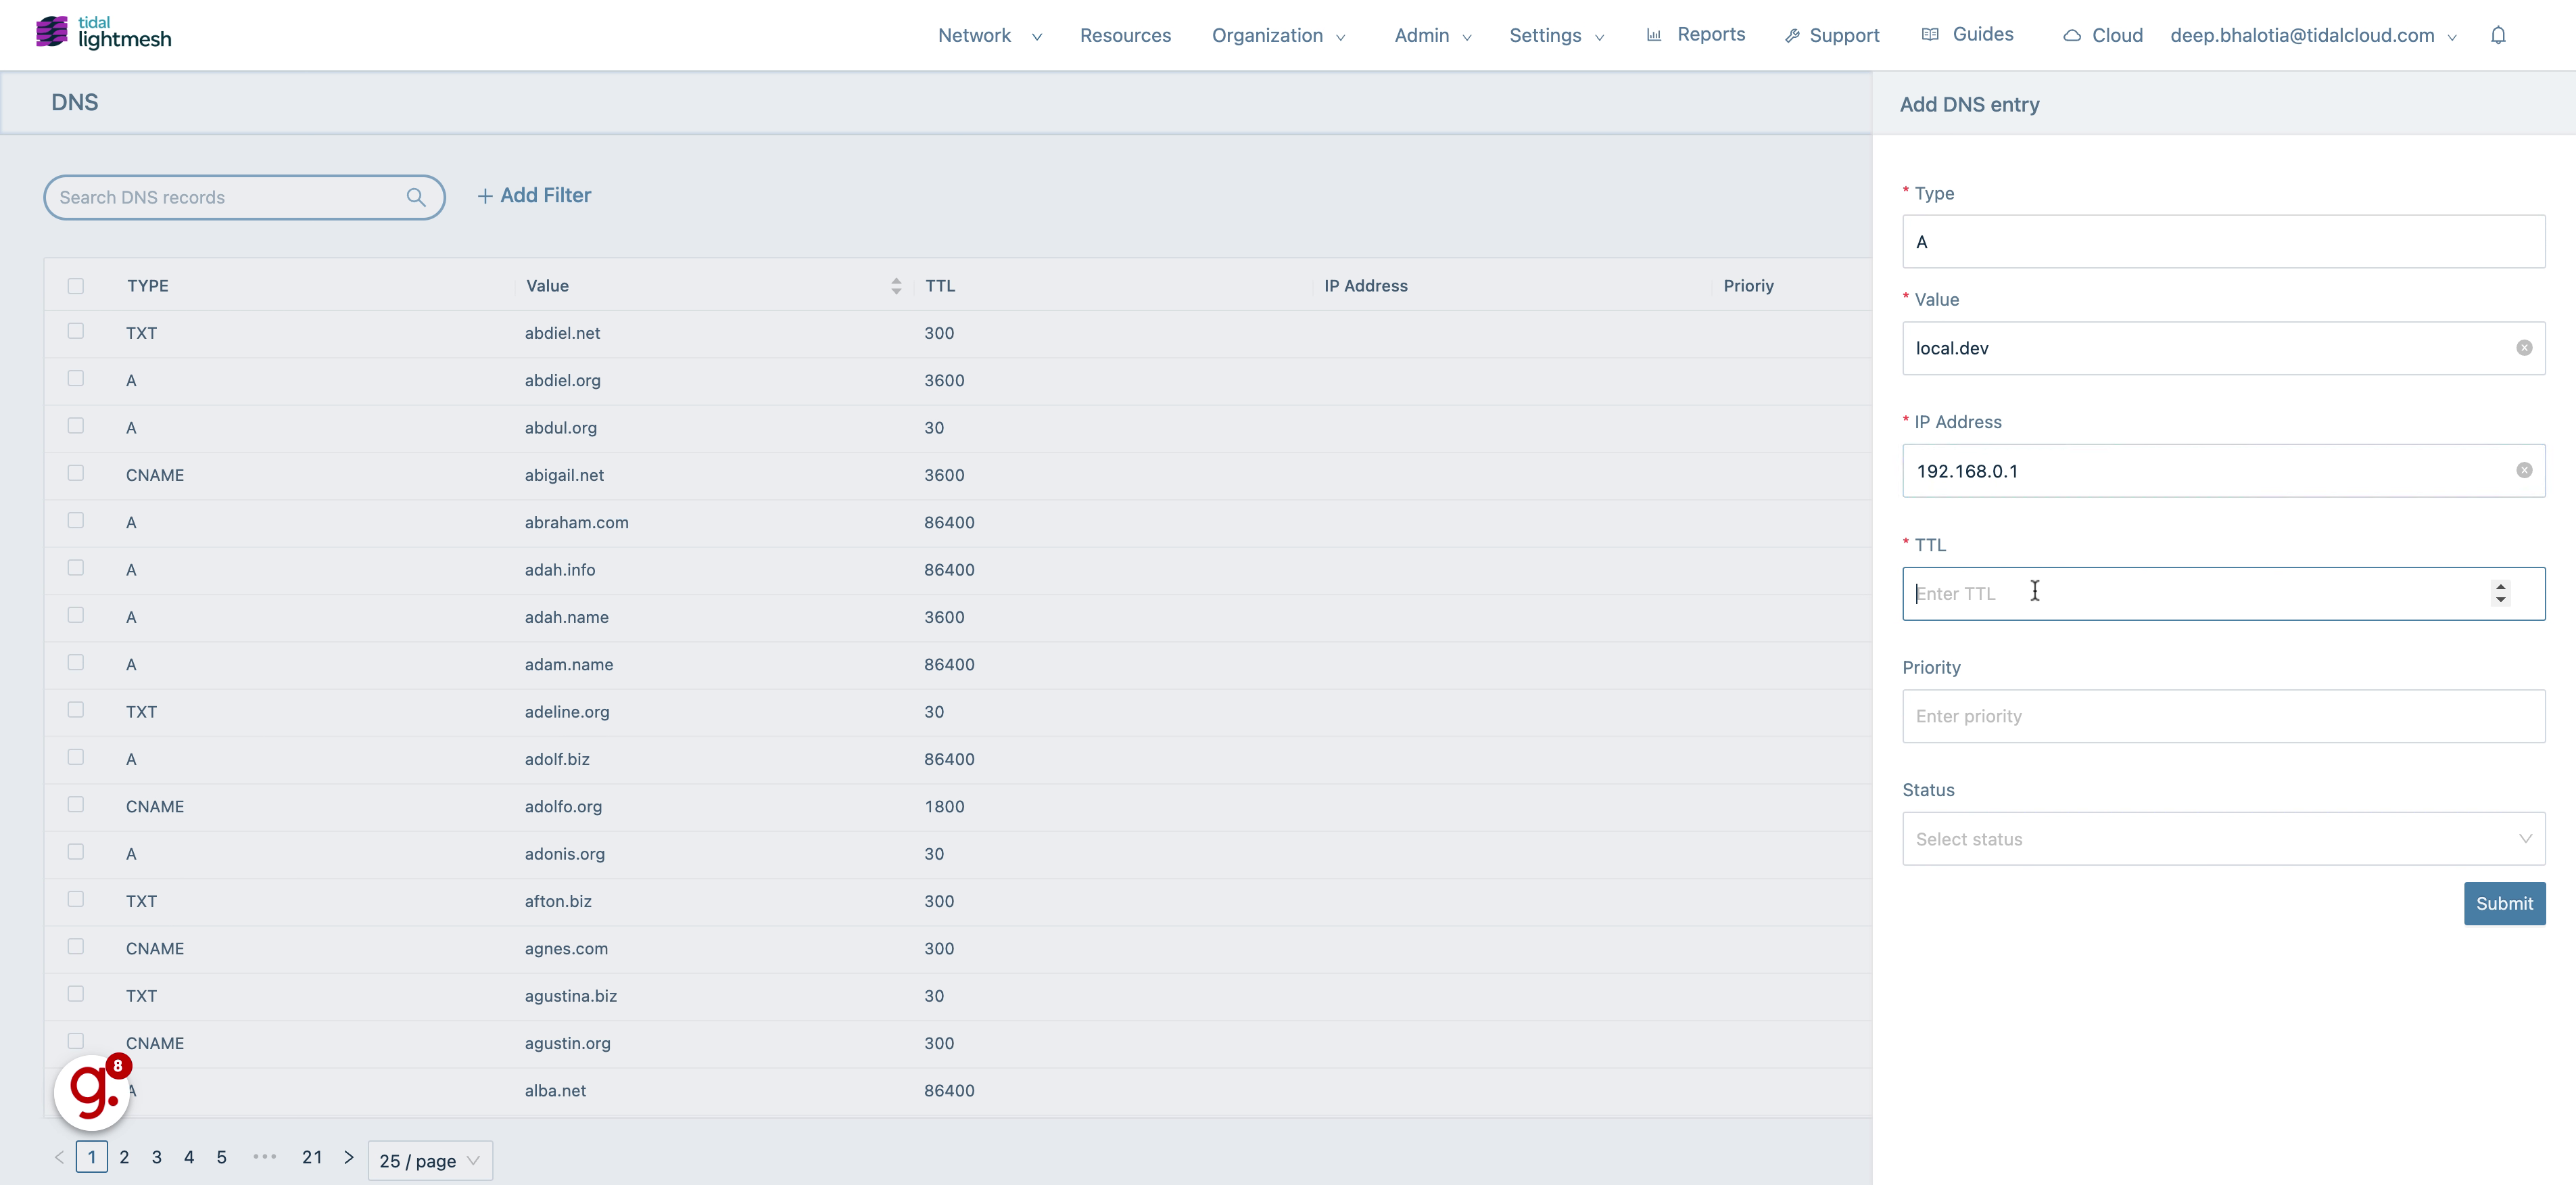
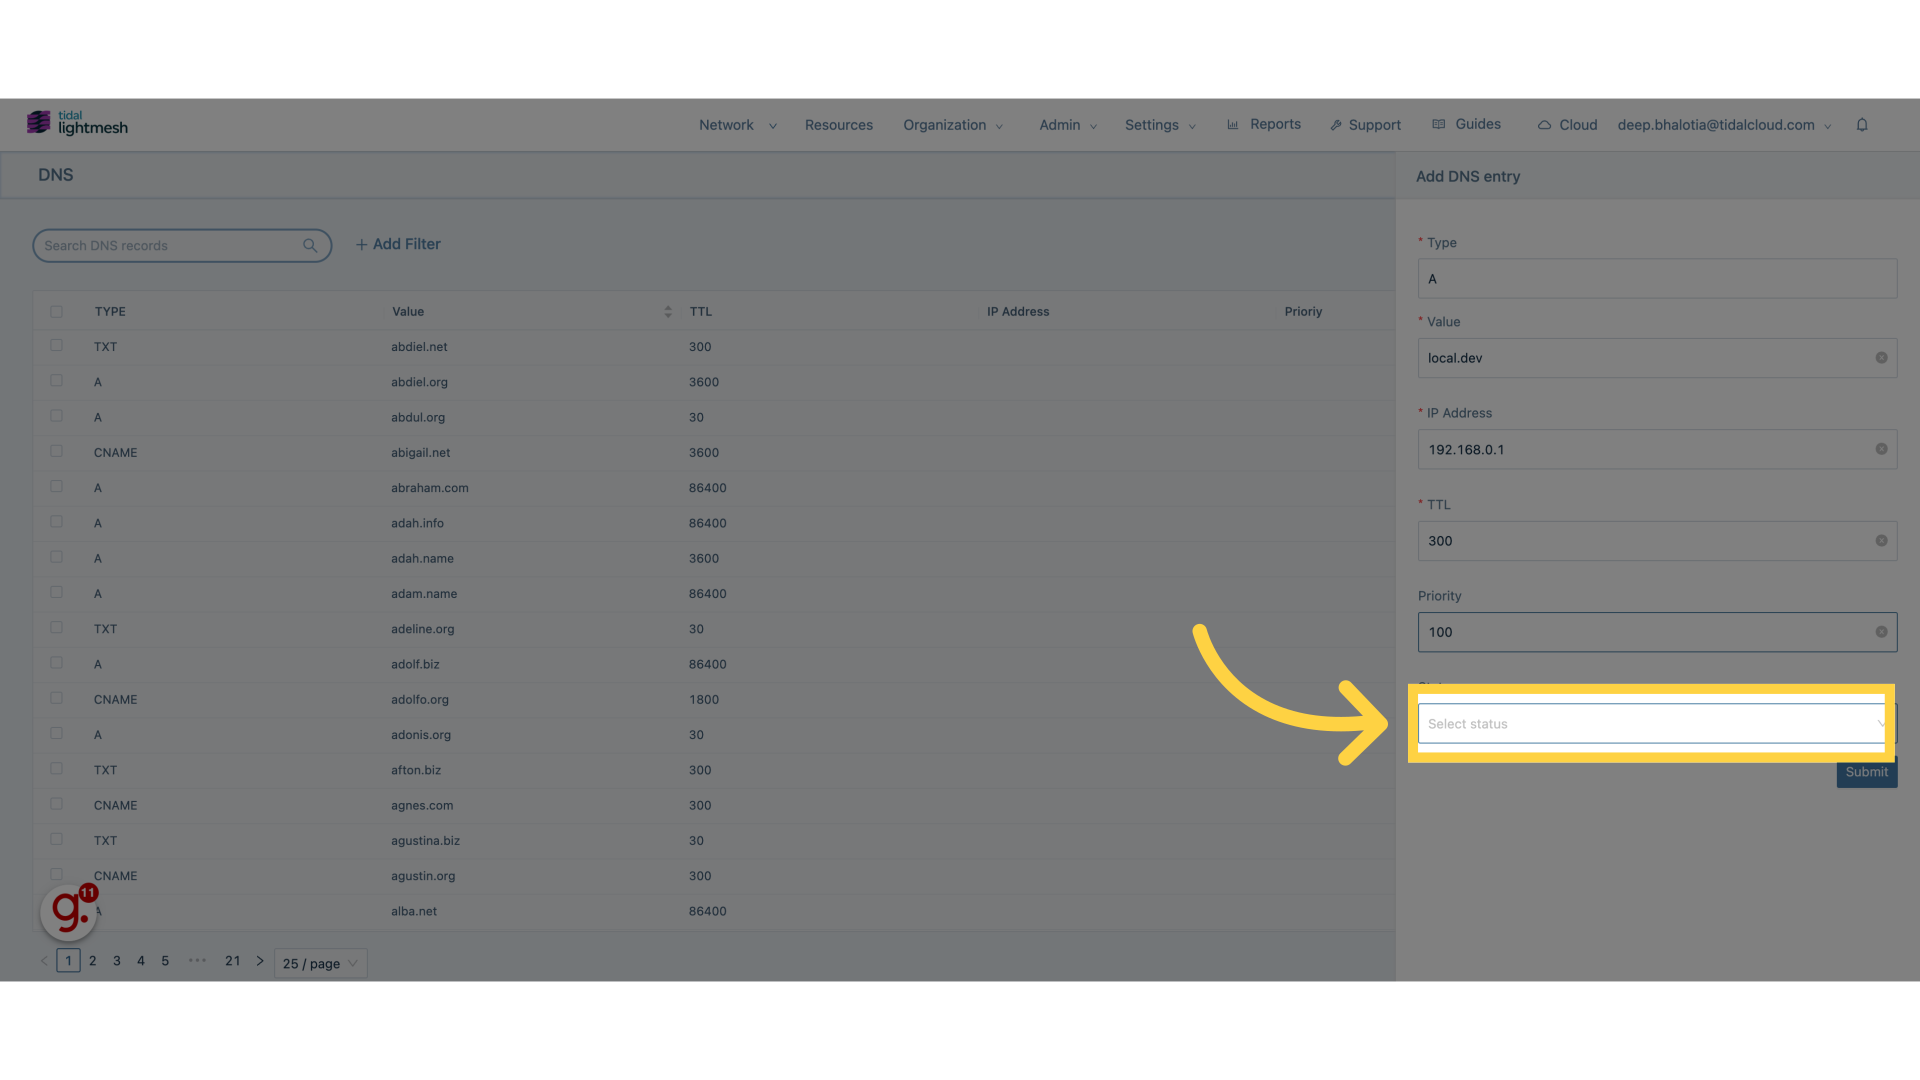
12. Click “Enter priority”
Assign priority (if applicable).
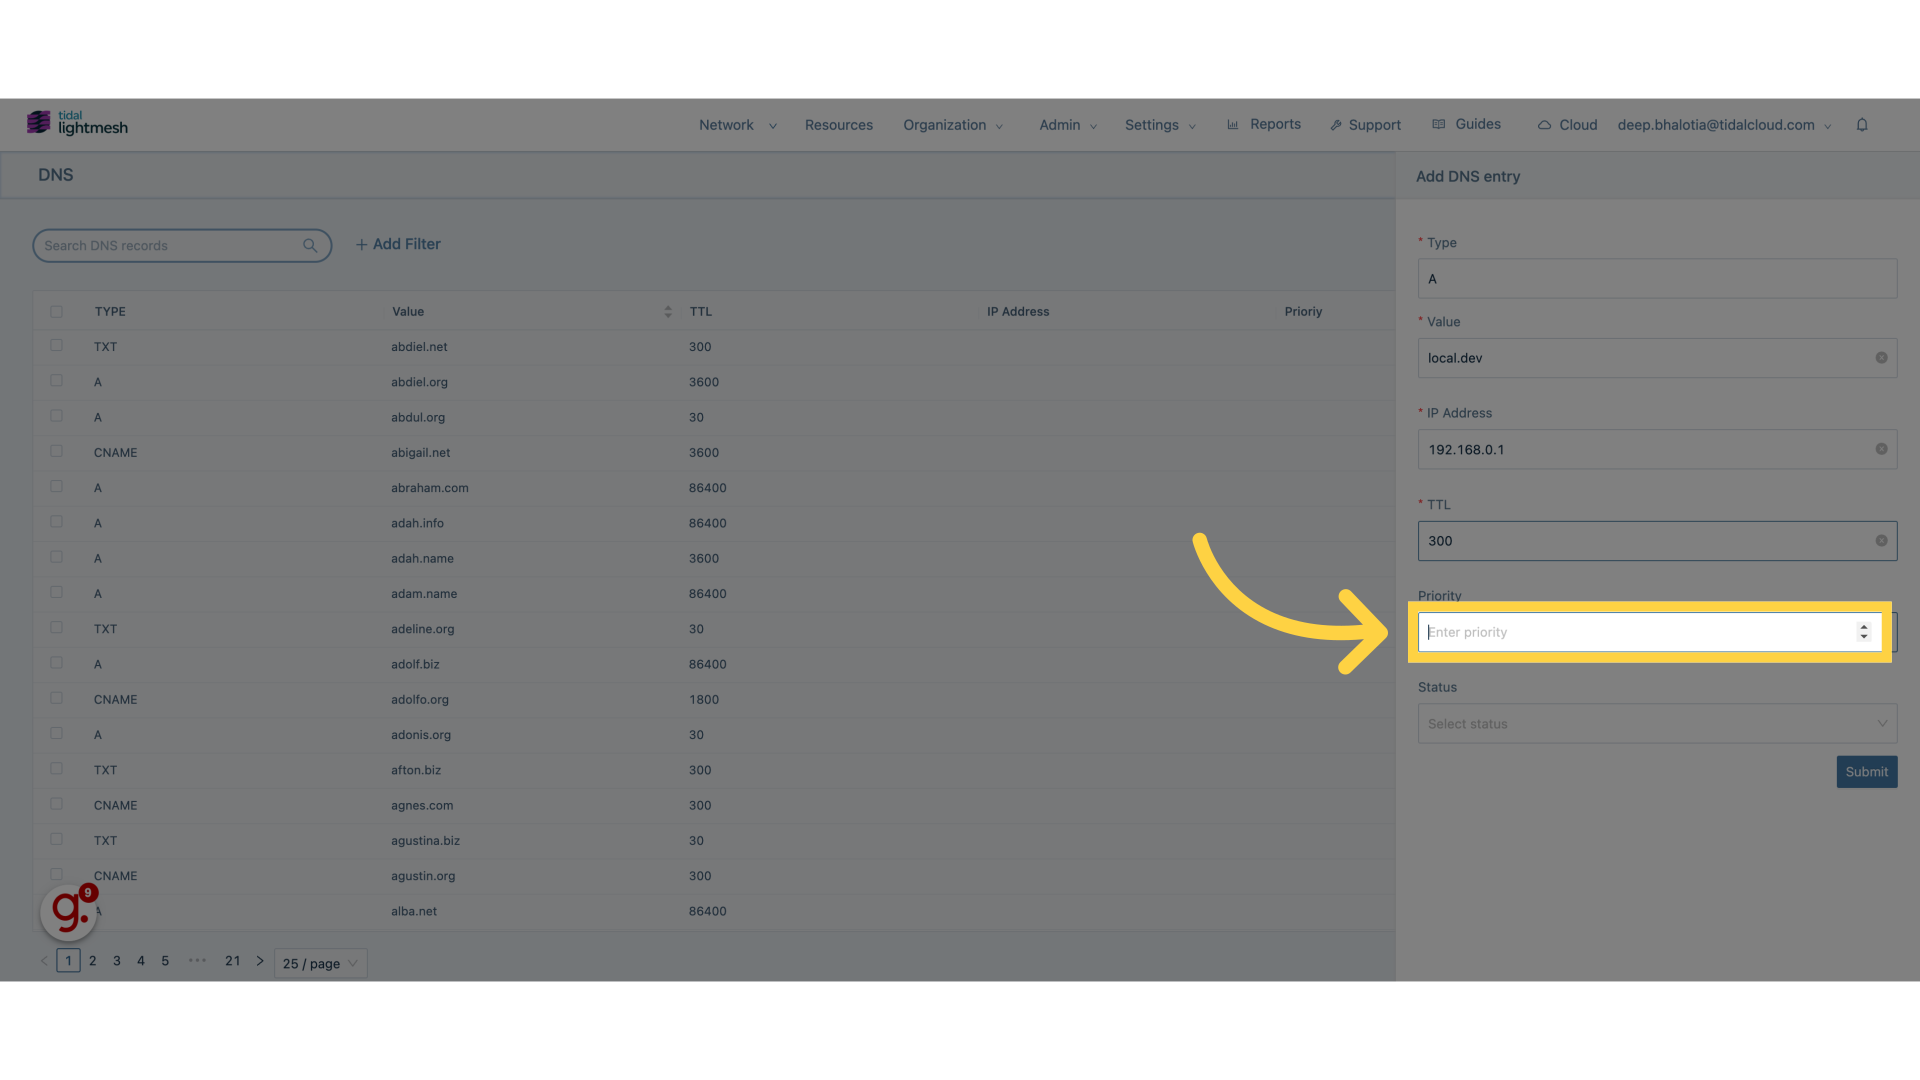
13. Fill “100”
Enter the desired text.
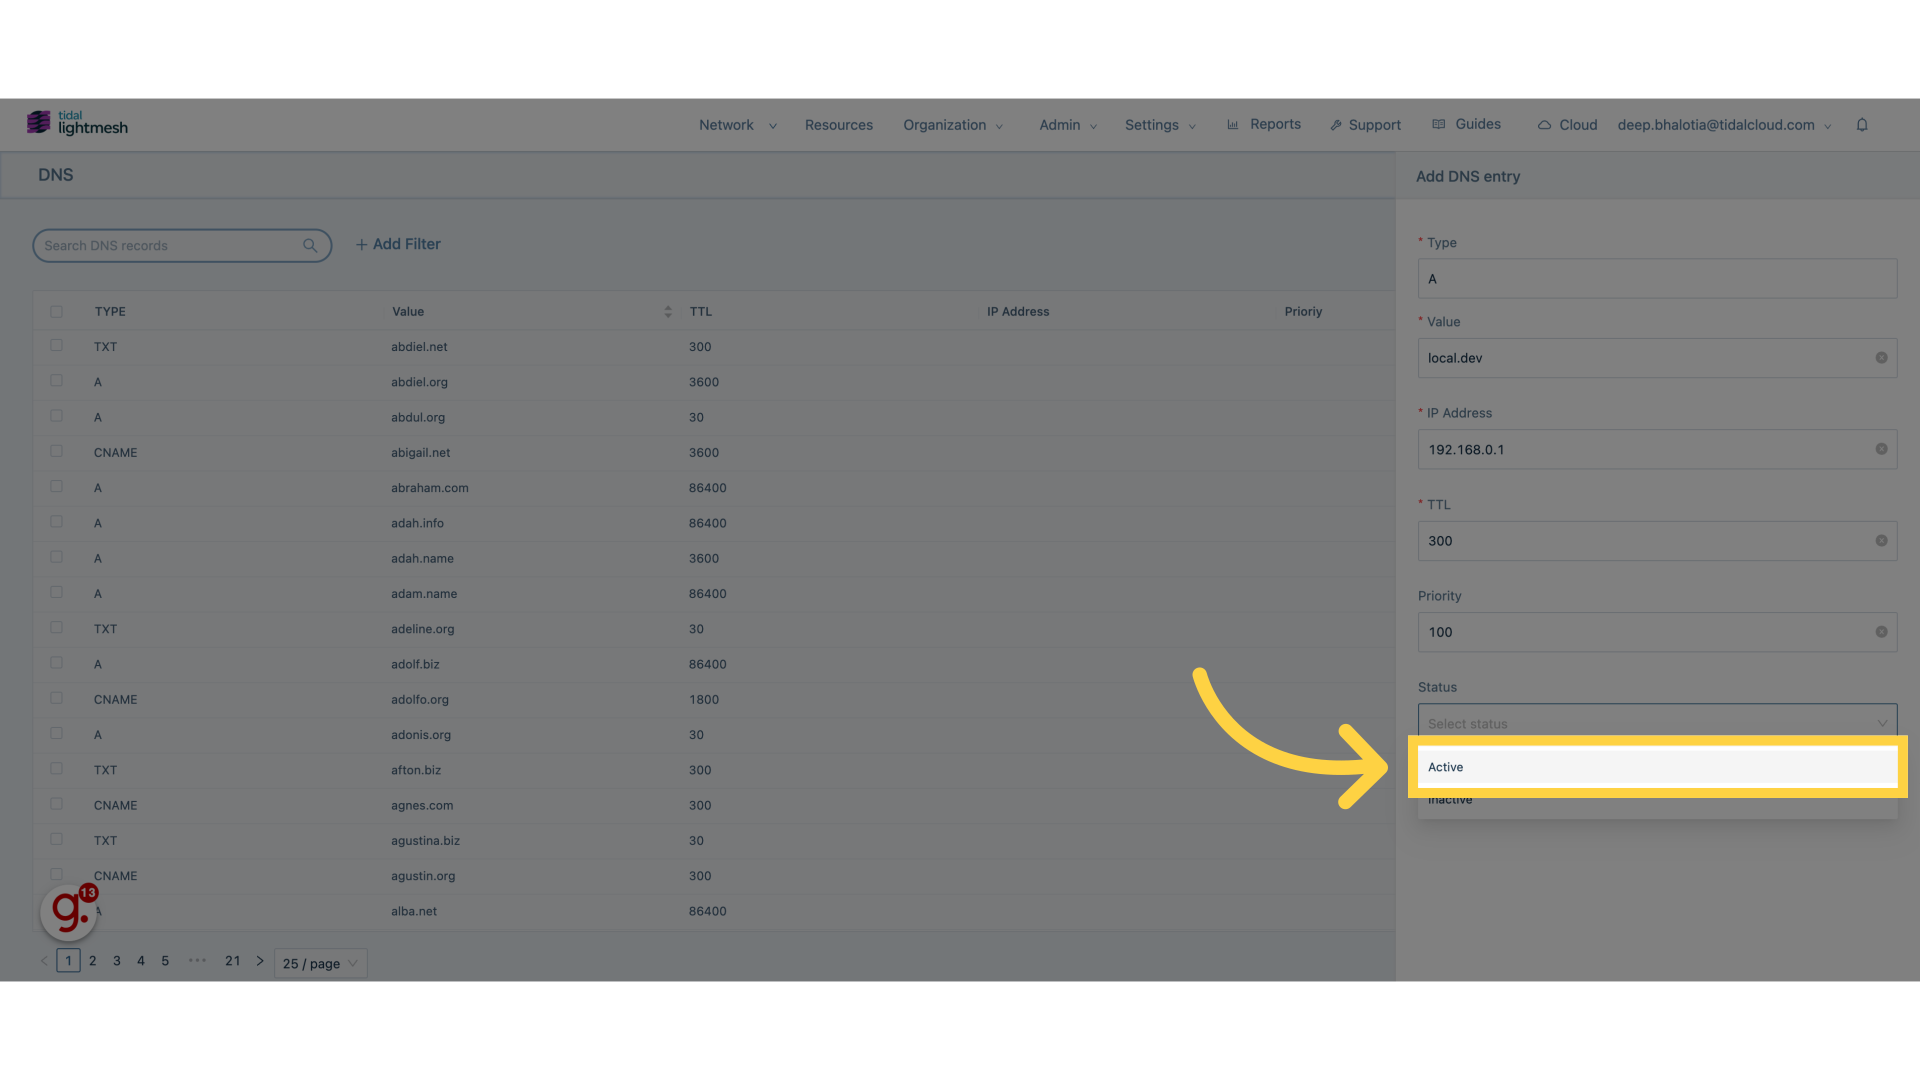
14. Click “Status”
Check the status of the DNS entry.
15. Click “Active”
Activate the DNS entry.
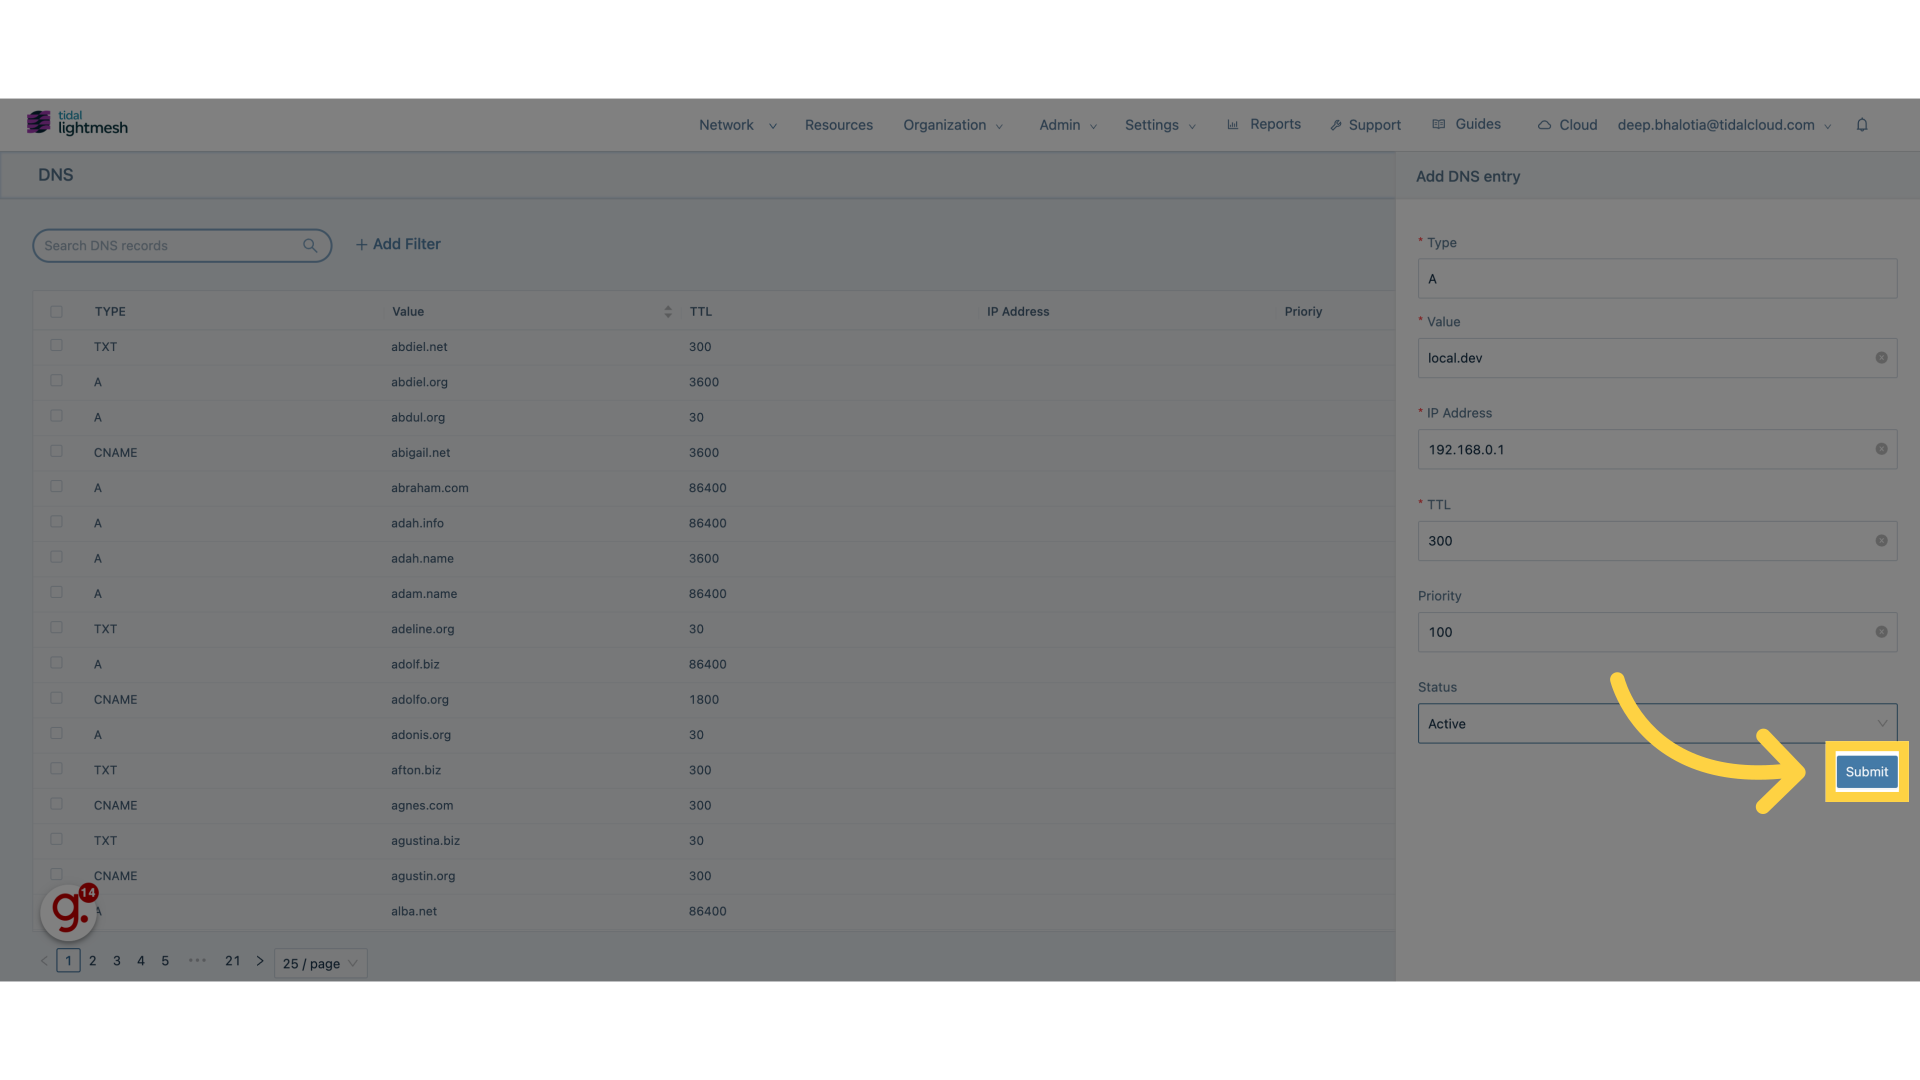
16. Click “Submit”
Save changes.
This guide covered the process of adding and managing DNS entries in Lightmesh.