New Customer
This guide walks you through adding new customers in LightMesh. Customers are any group that is able to use your parts of your network. Examples might be a division, group, agency, or company.
1. Introduction
By following these instructions, users can efficiently input customer details and enhance employee training processes.
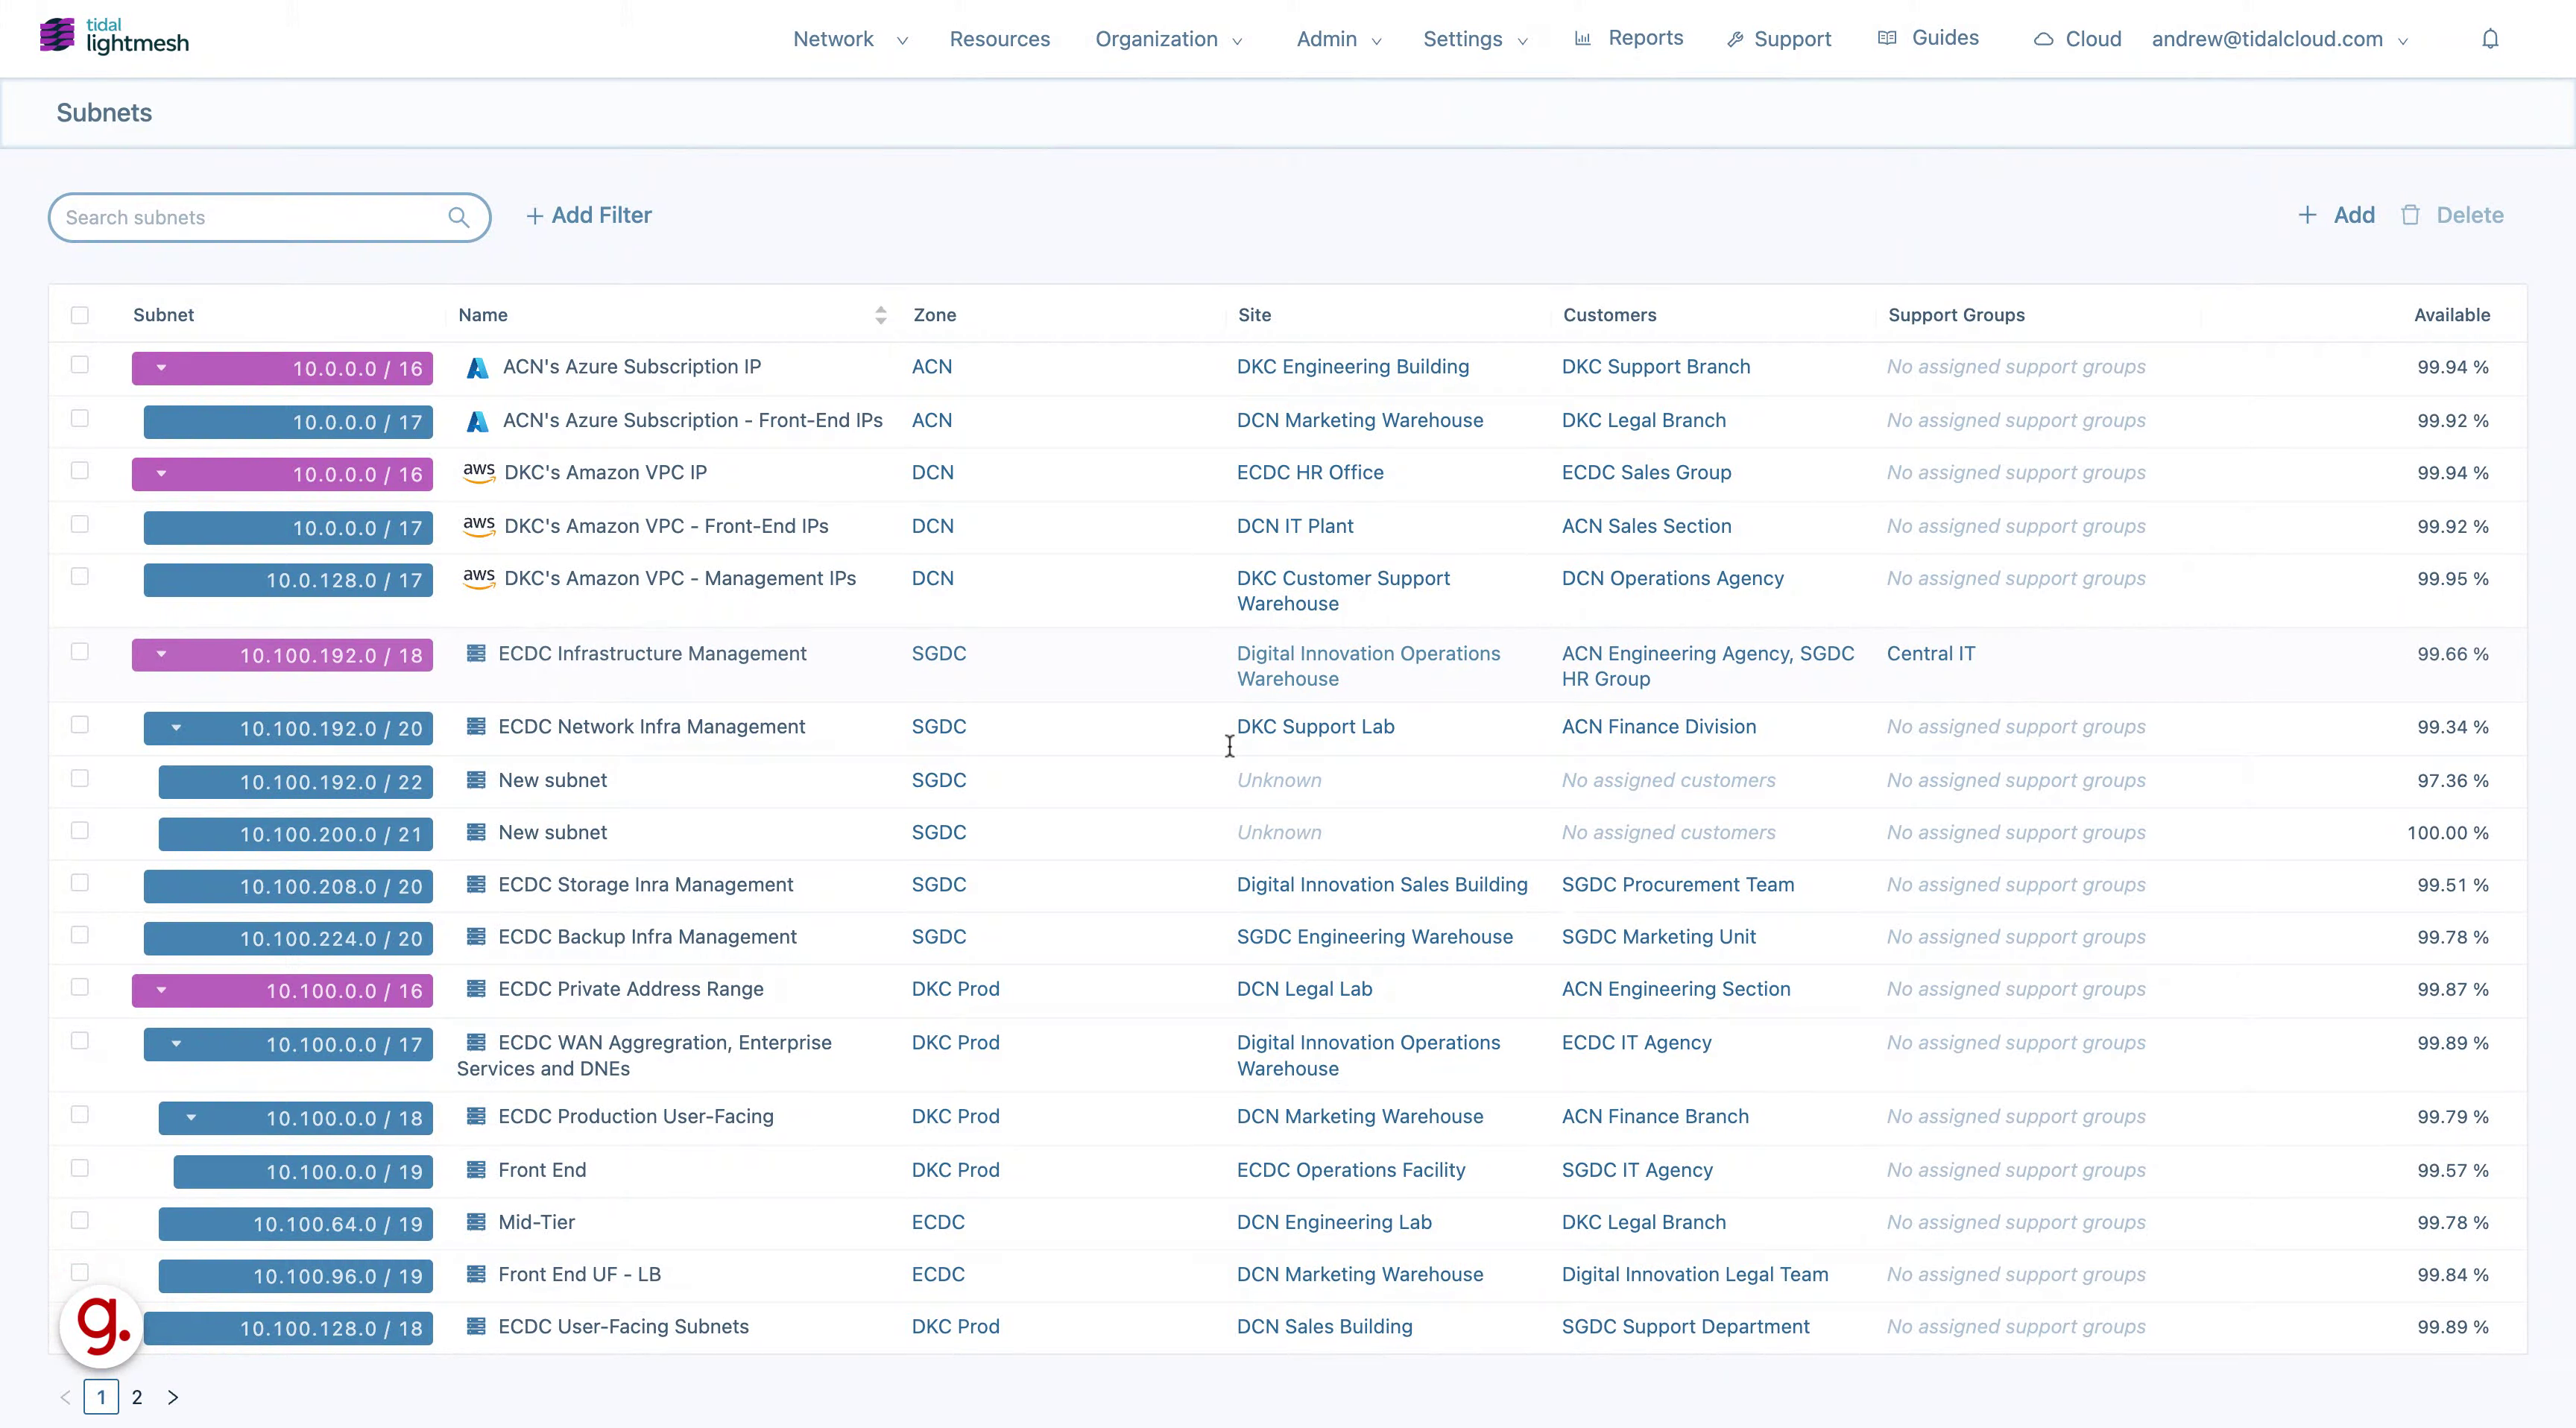
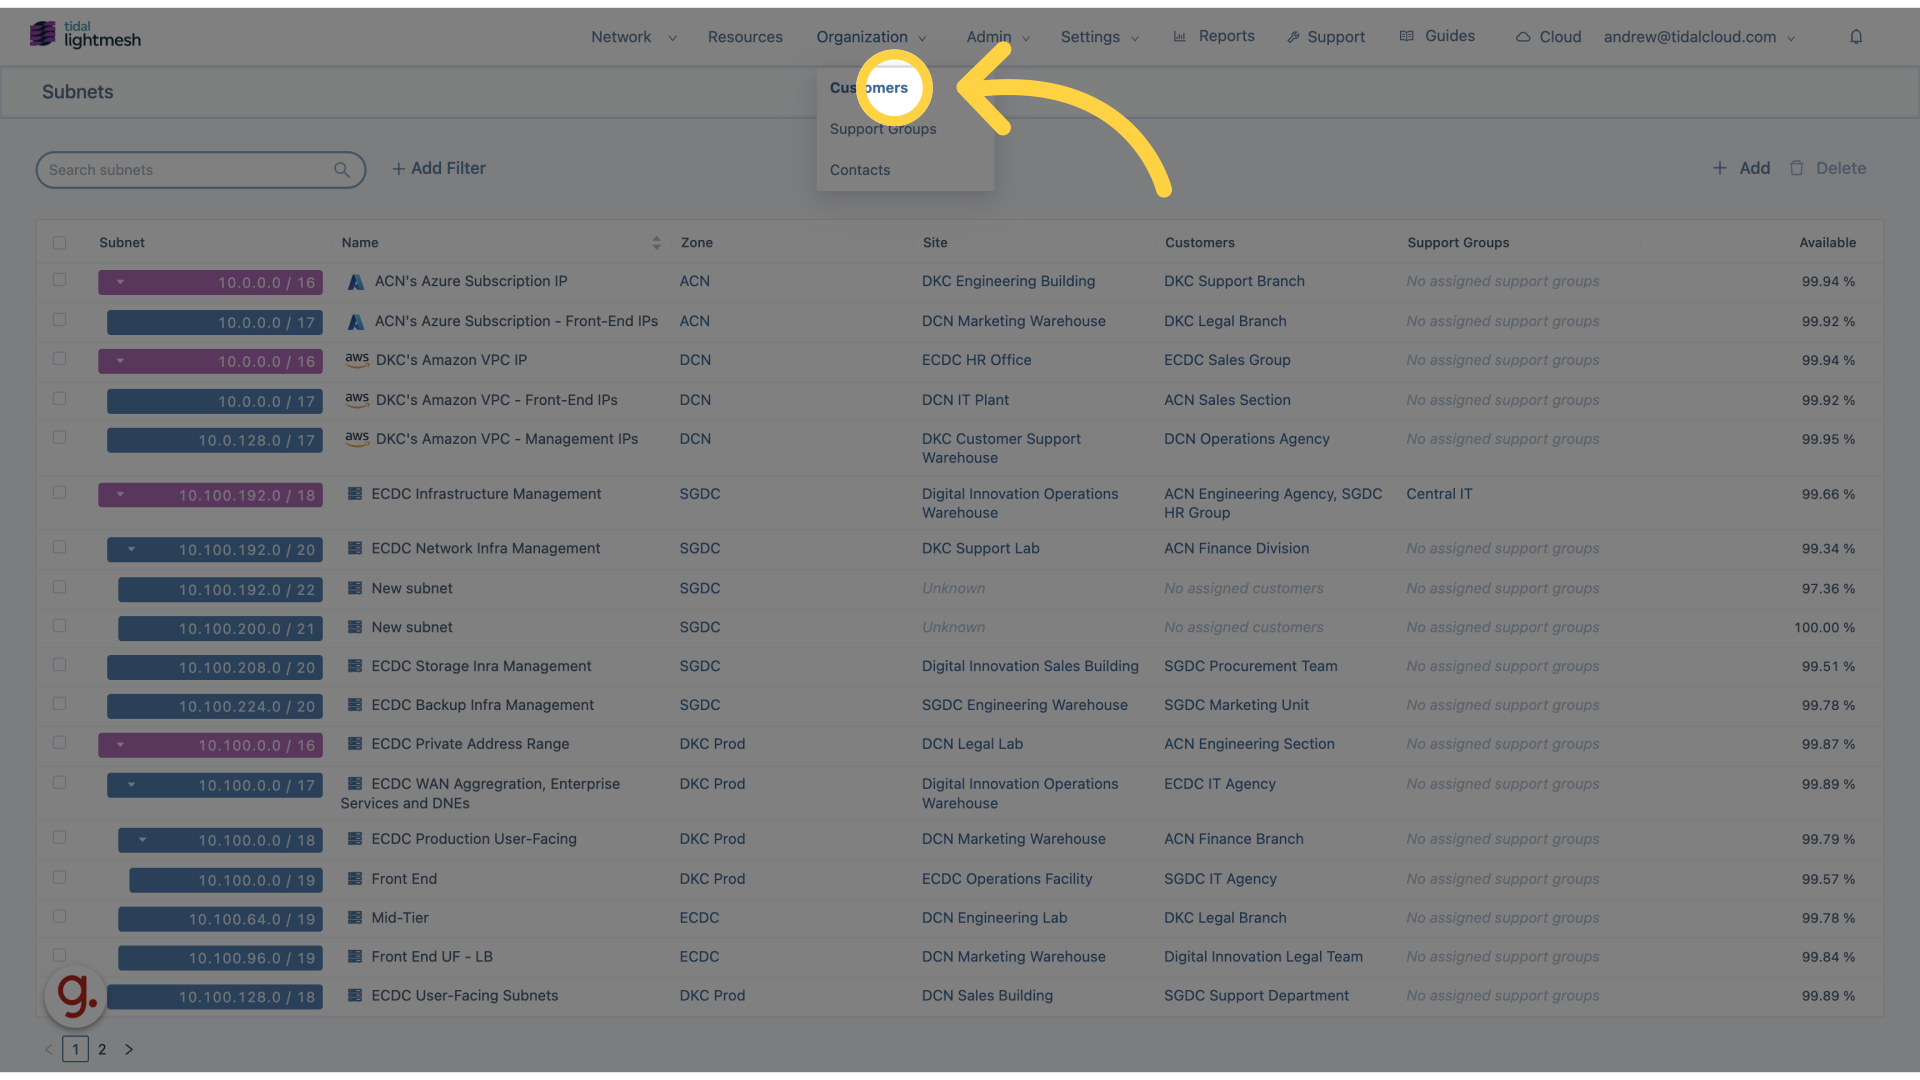
2. Click Customers
Navigate to the customers section.
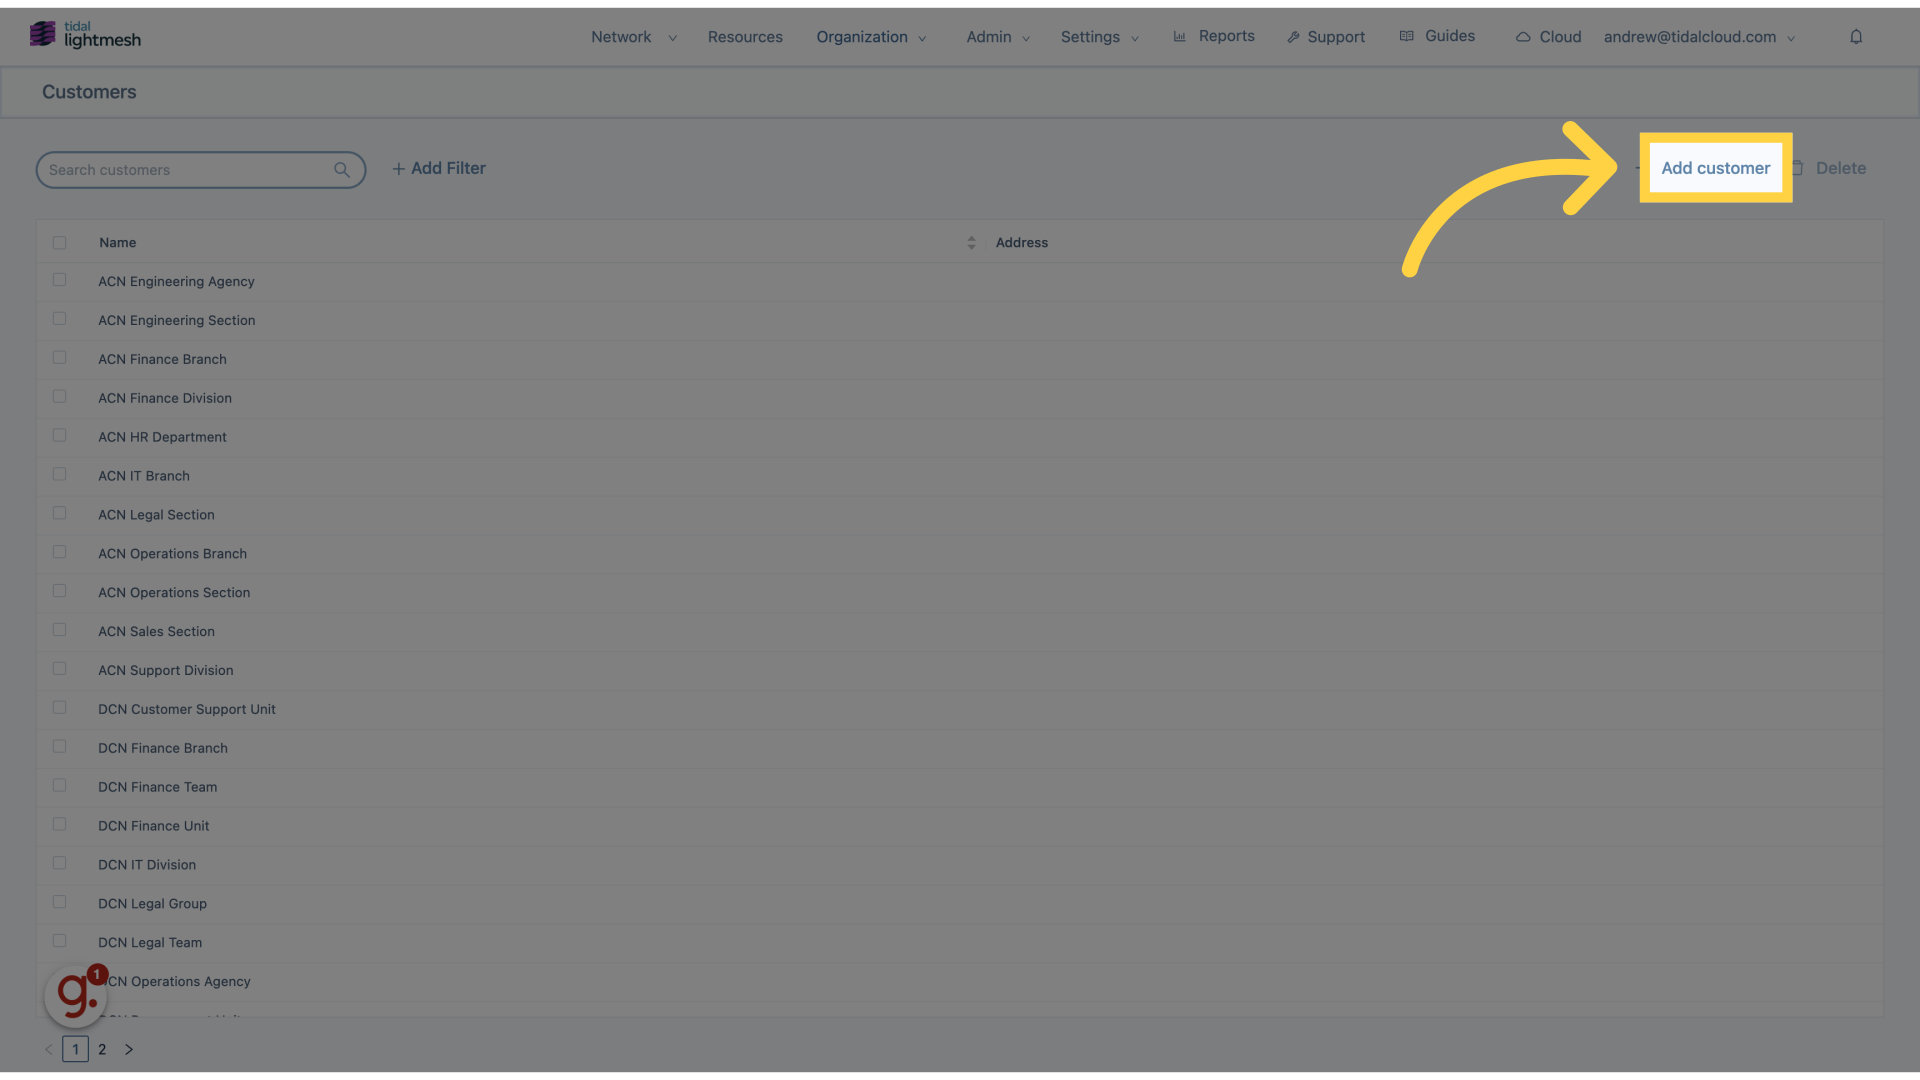
3. Click “Add customer”
Access the option to add a new customer entry.
4. Click “Name”
Enter the customer’s name.

5. Fill “New Customer”
Fill in “New Customer”
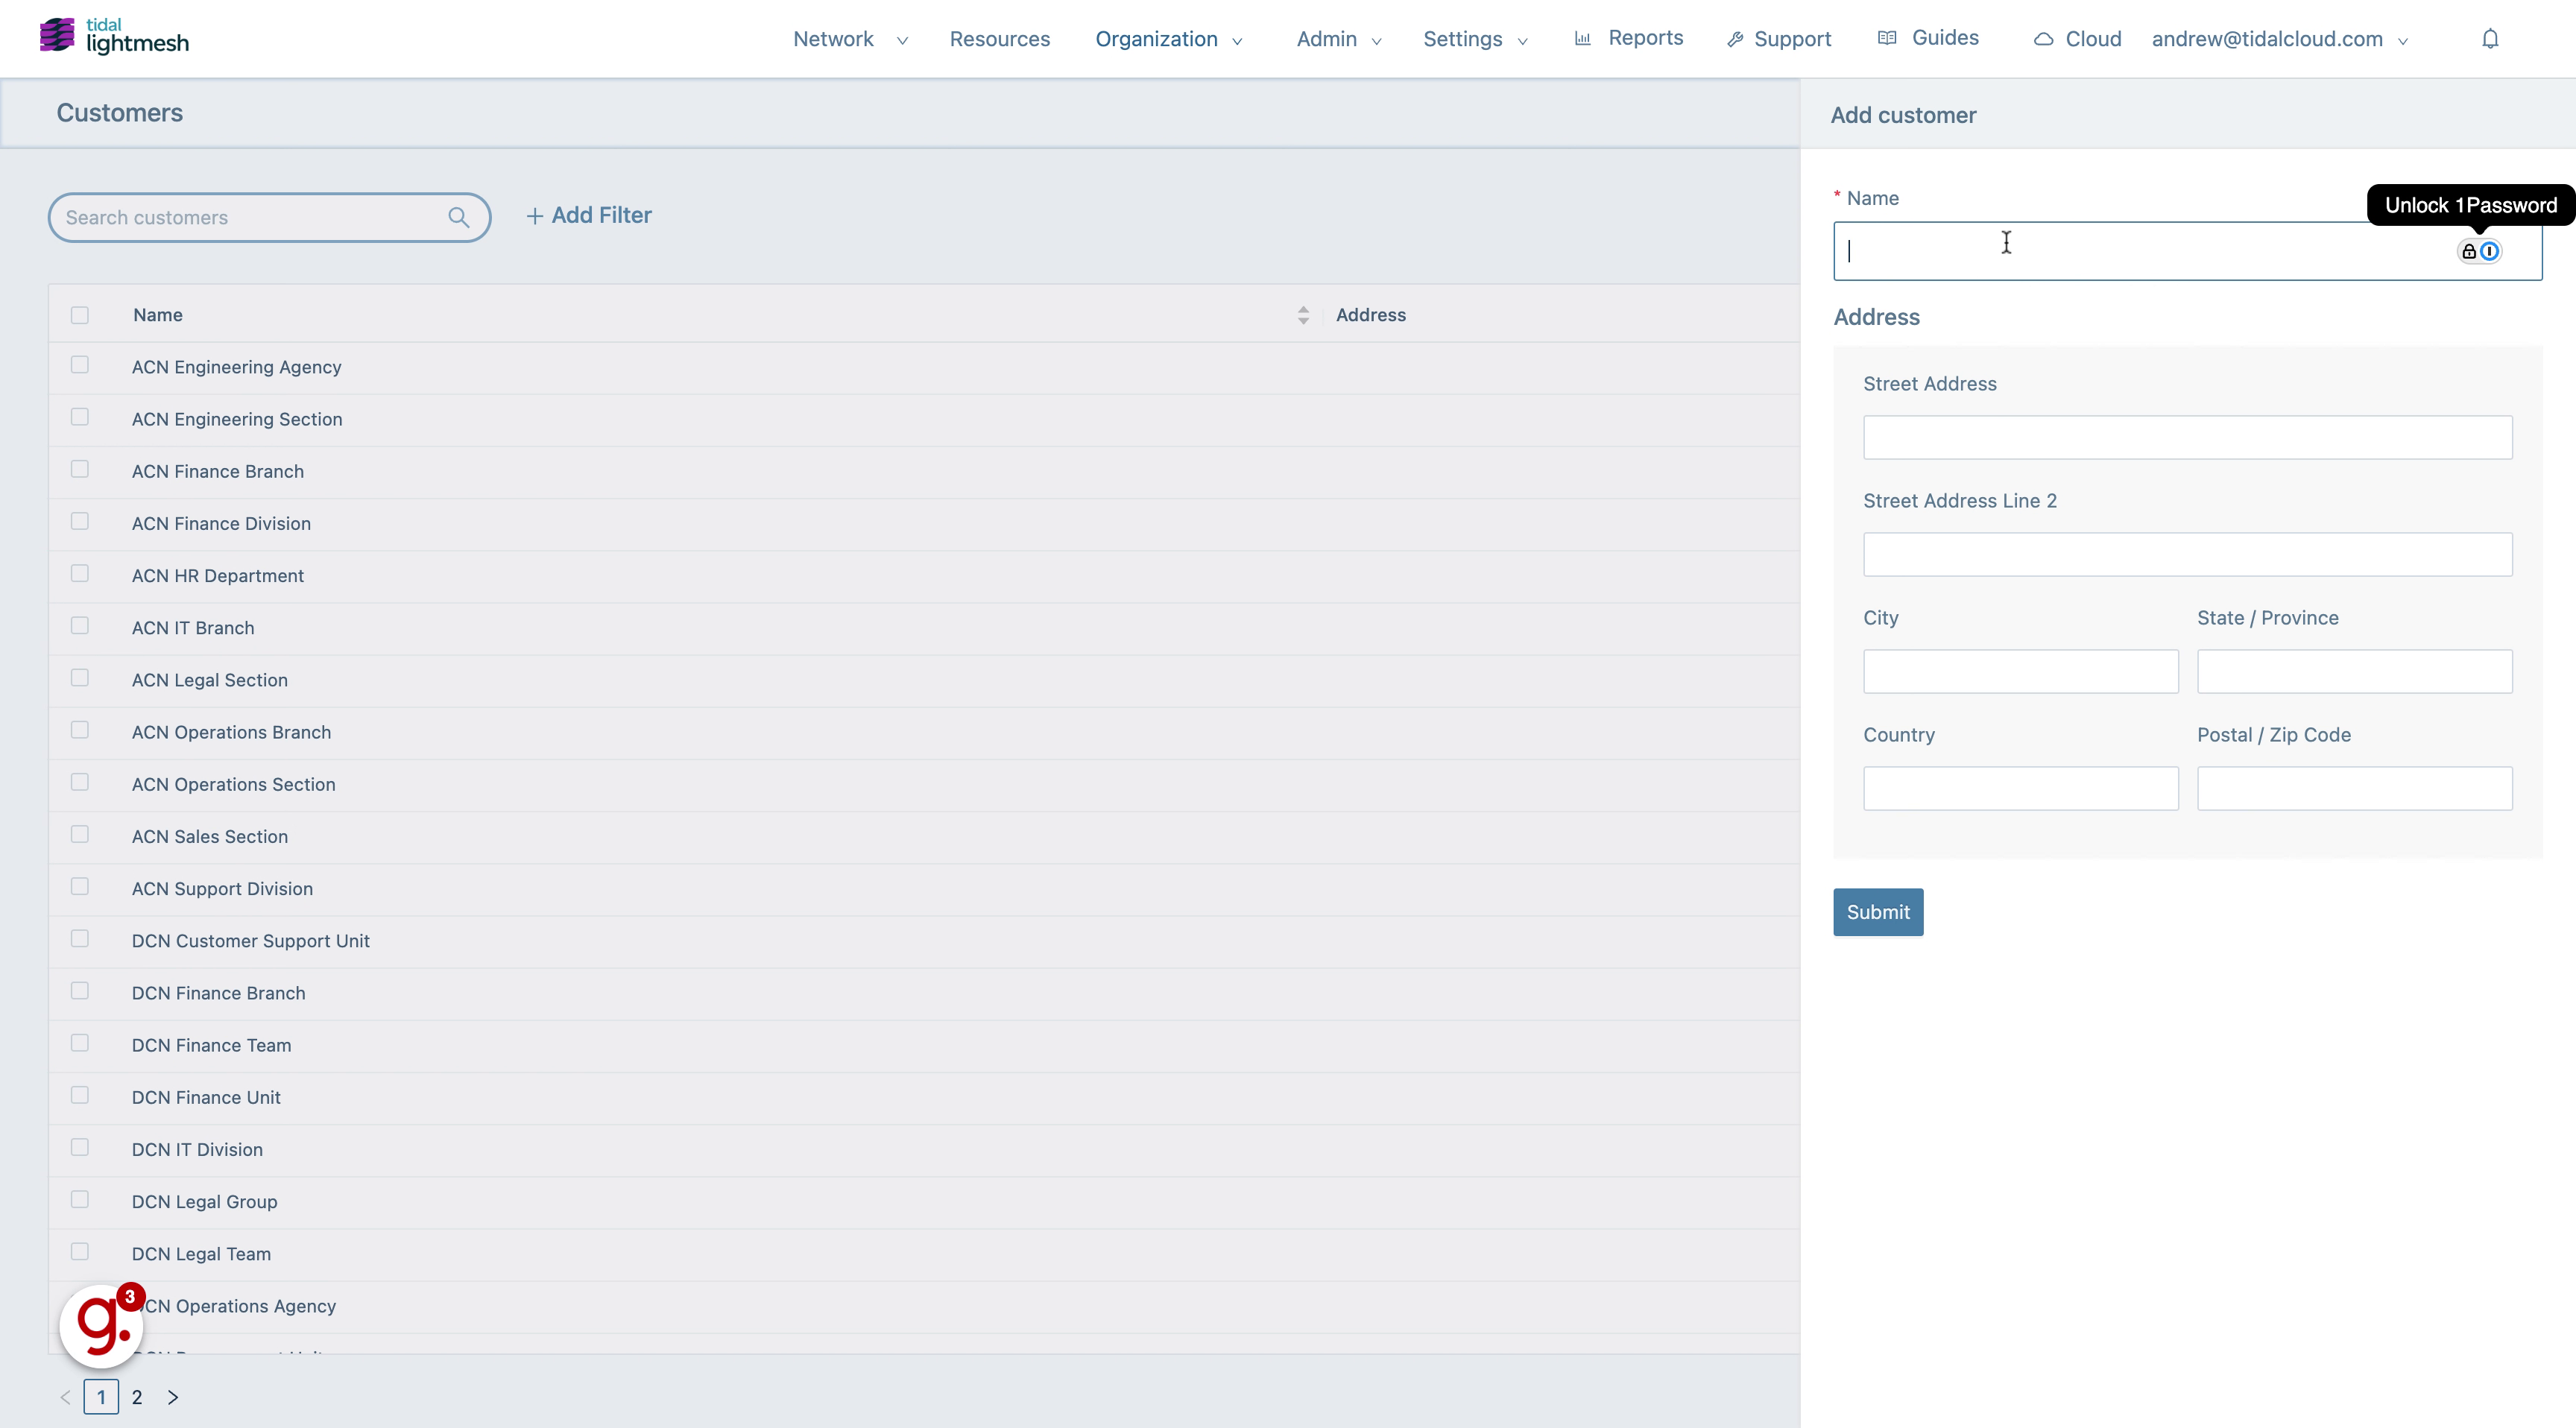
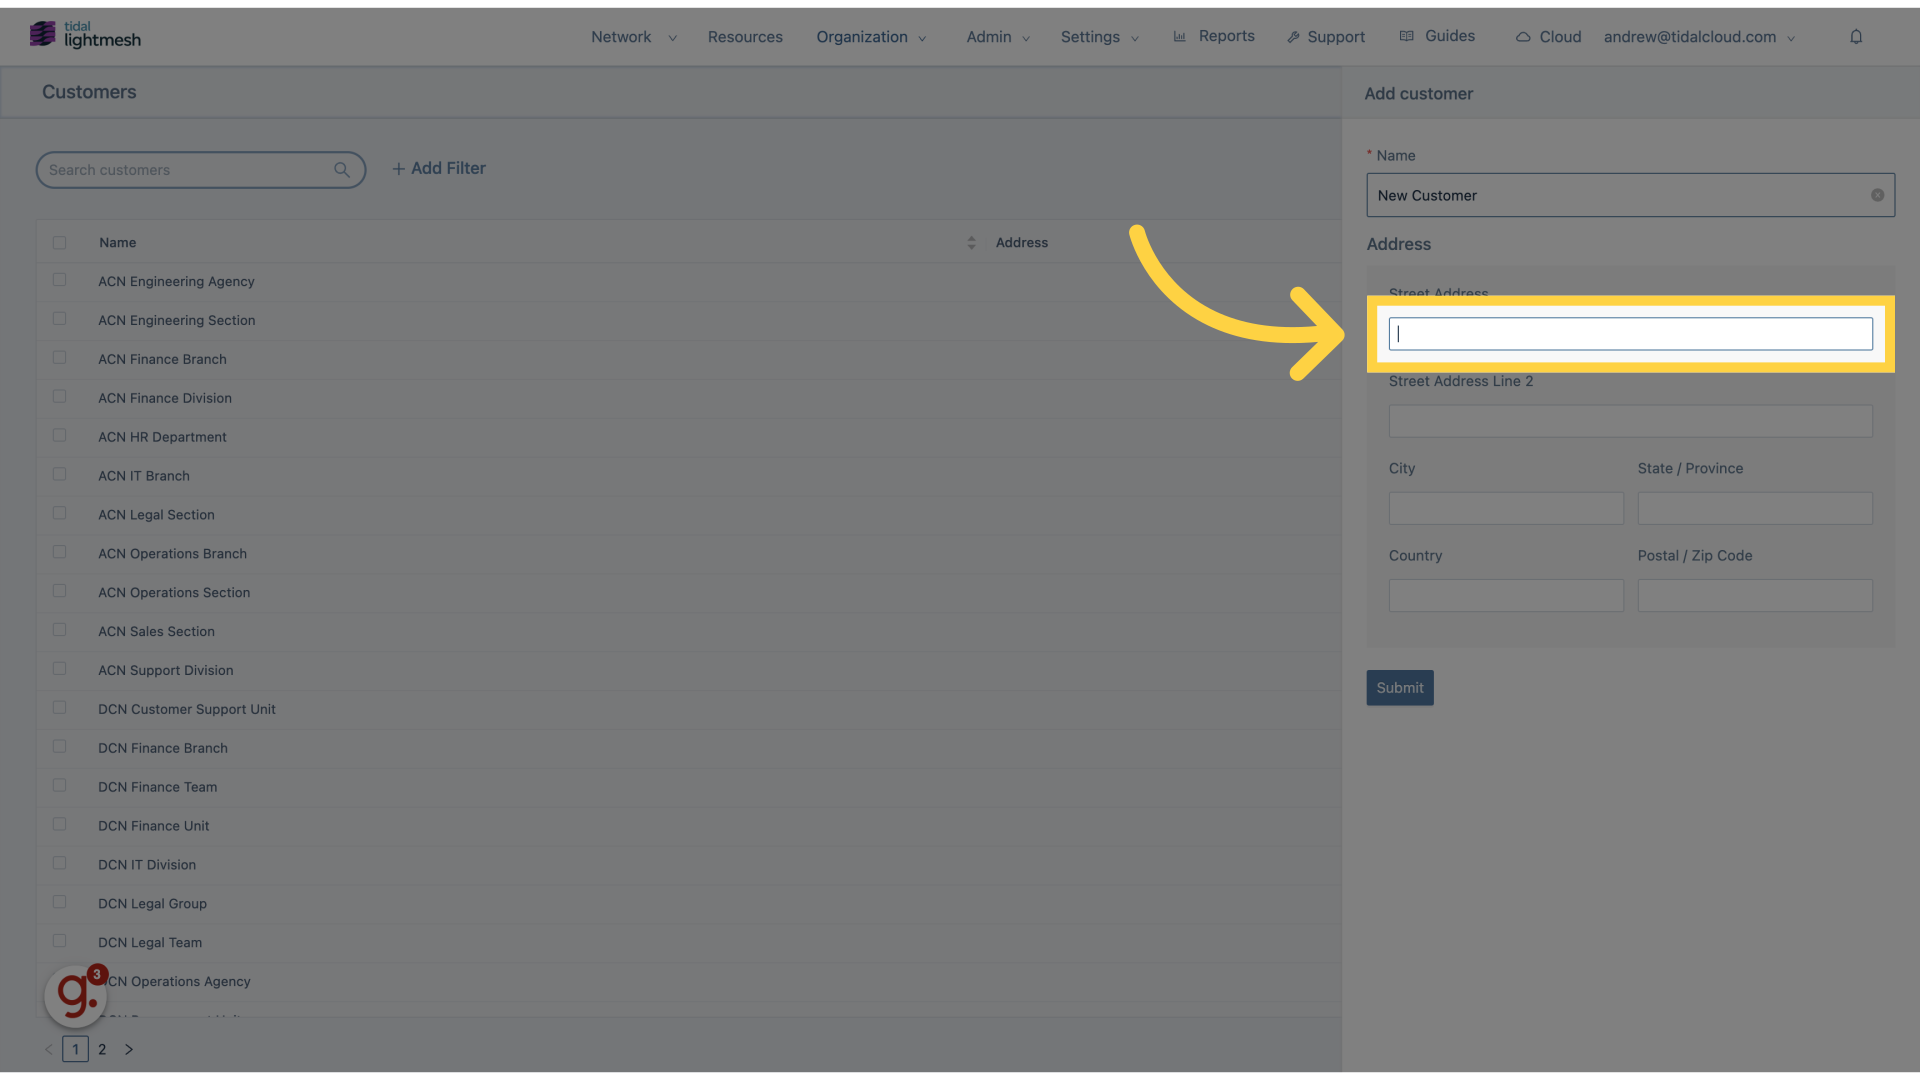
6. Click “Street Address”
Input the customer’s street address.
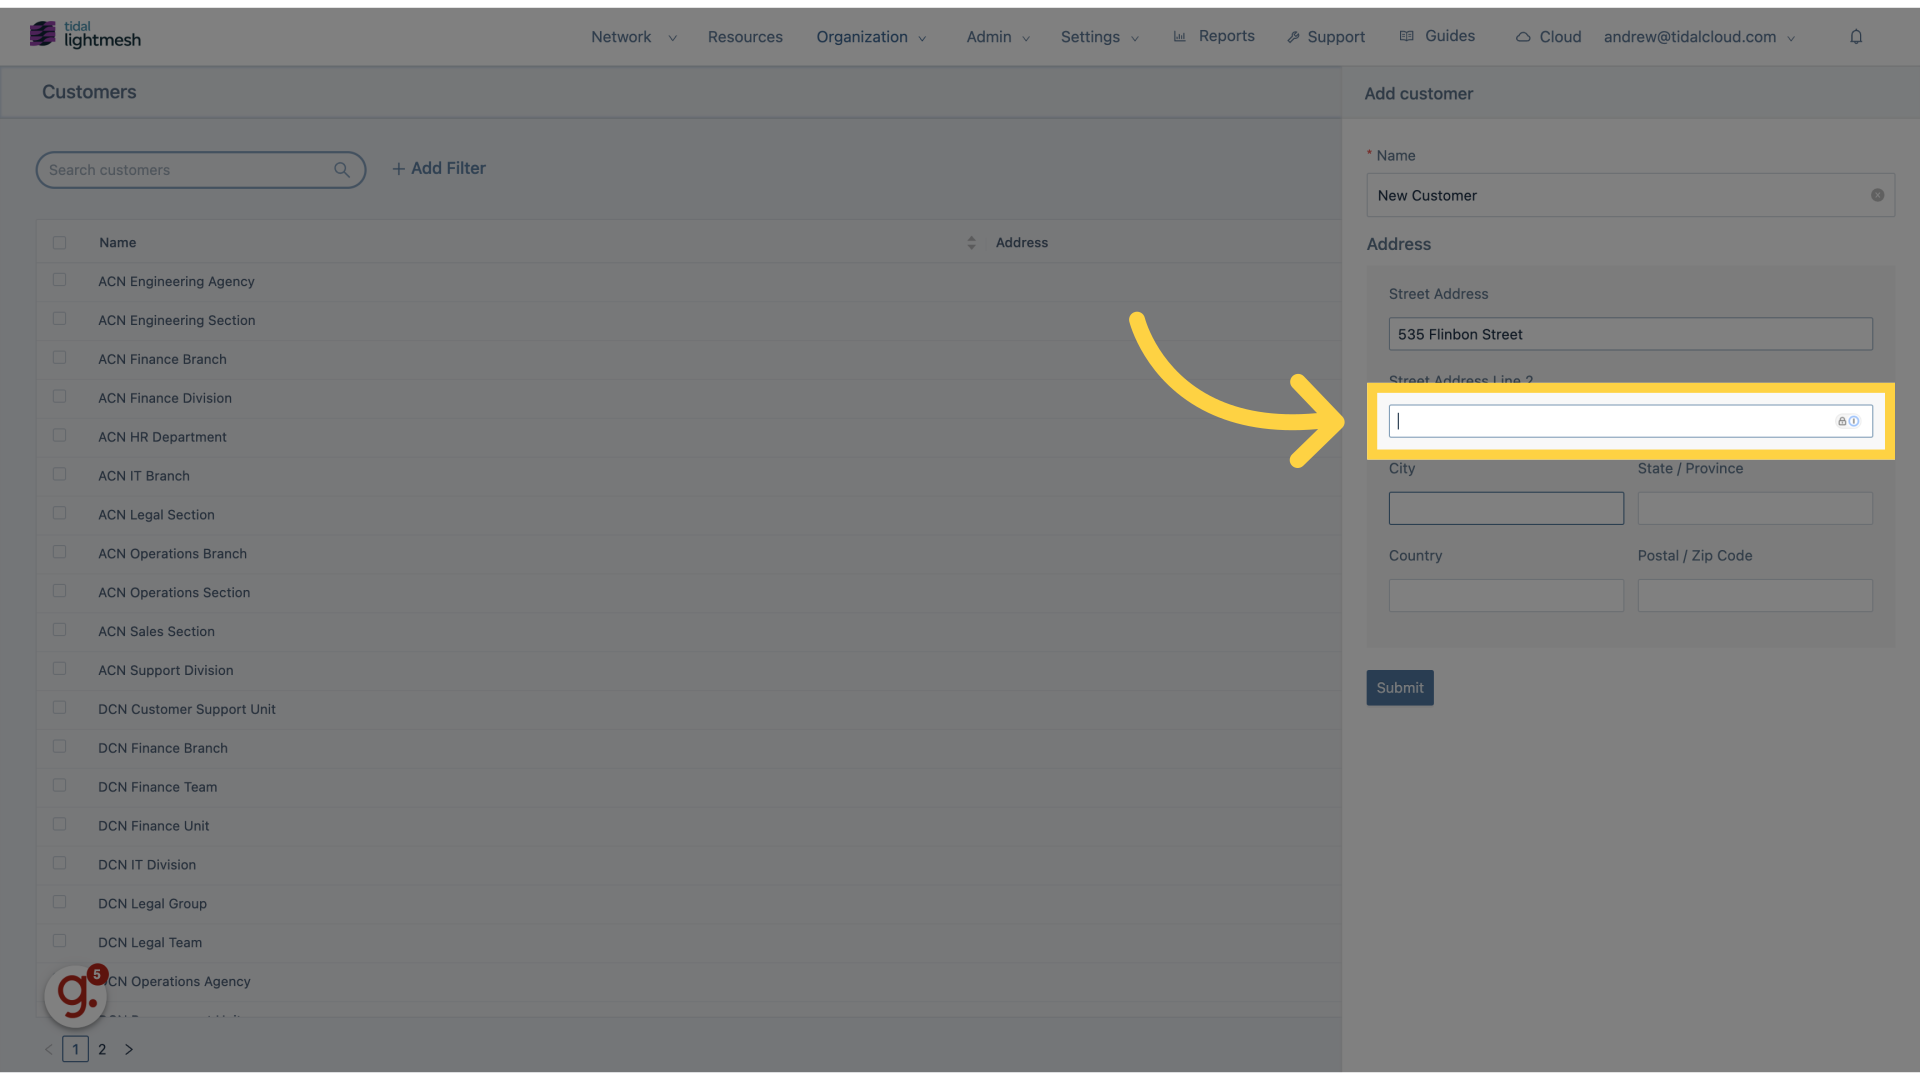
7. Fill “535 Flinbon Street”
Enter “535 Flinbon Street” in the provided field

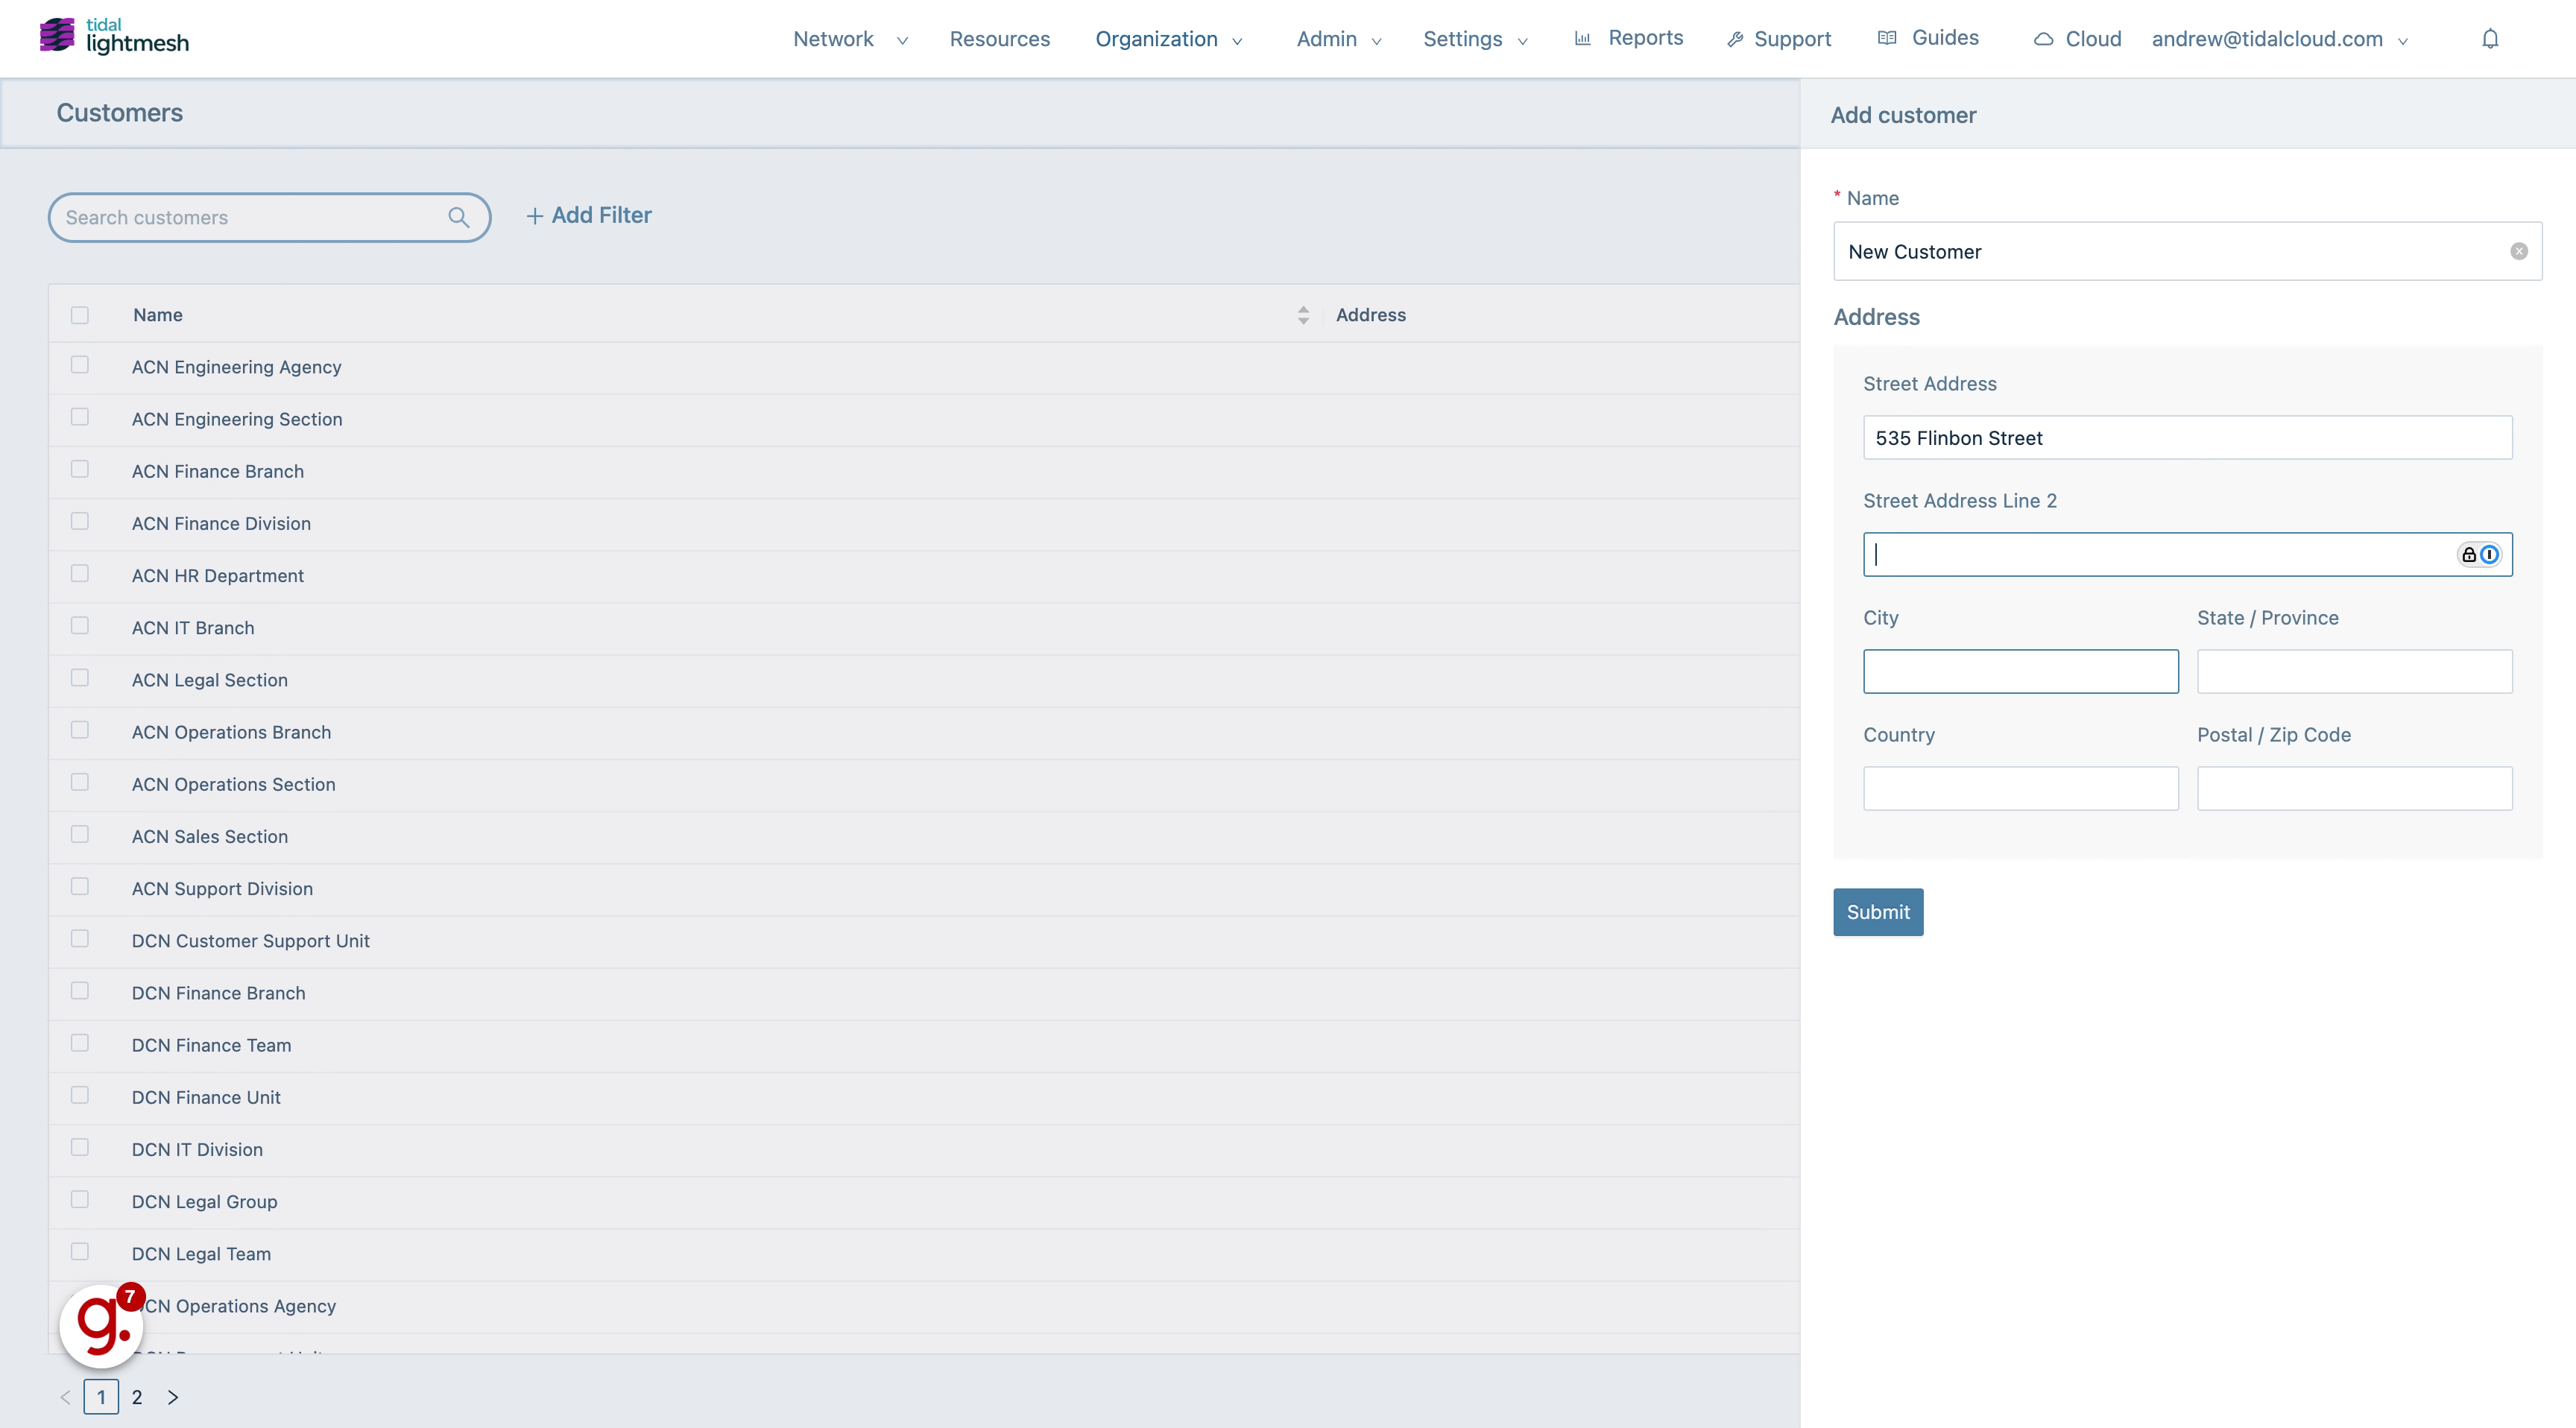
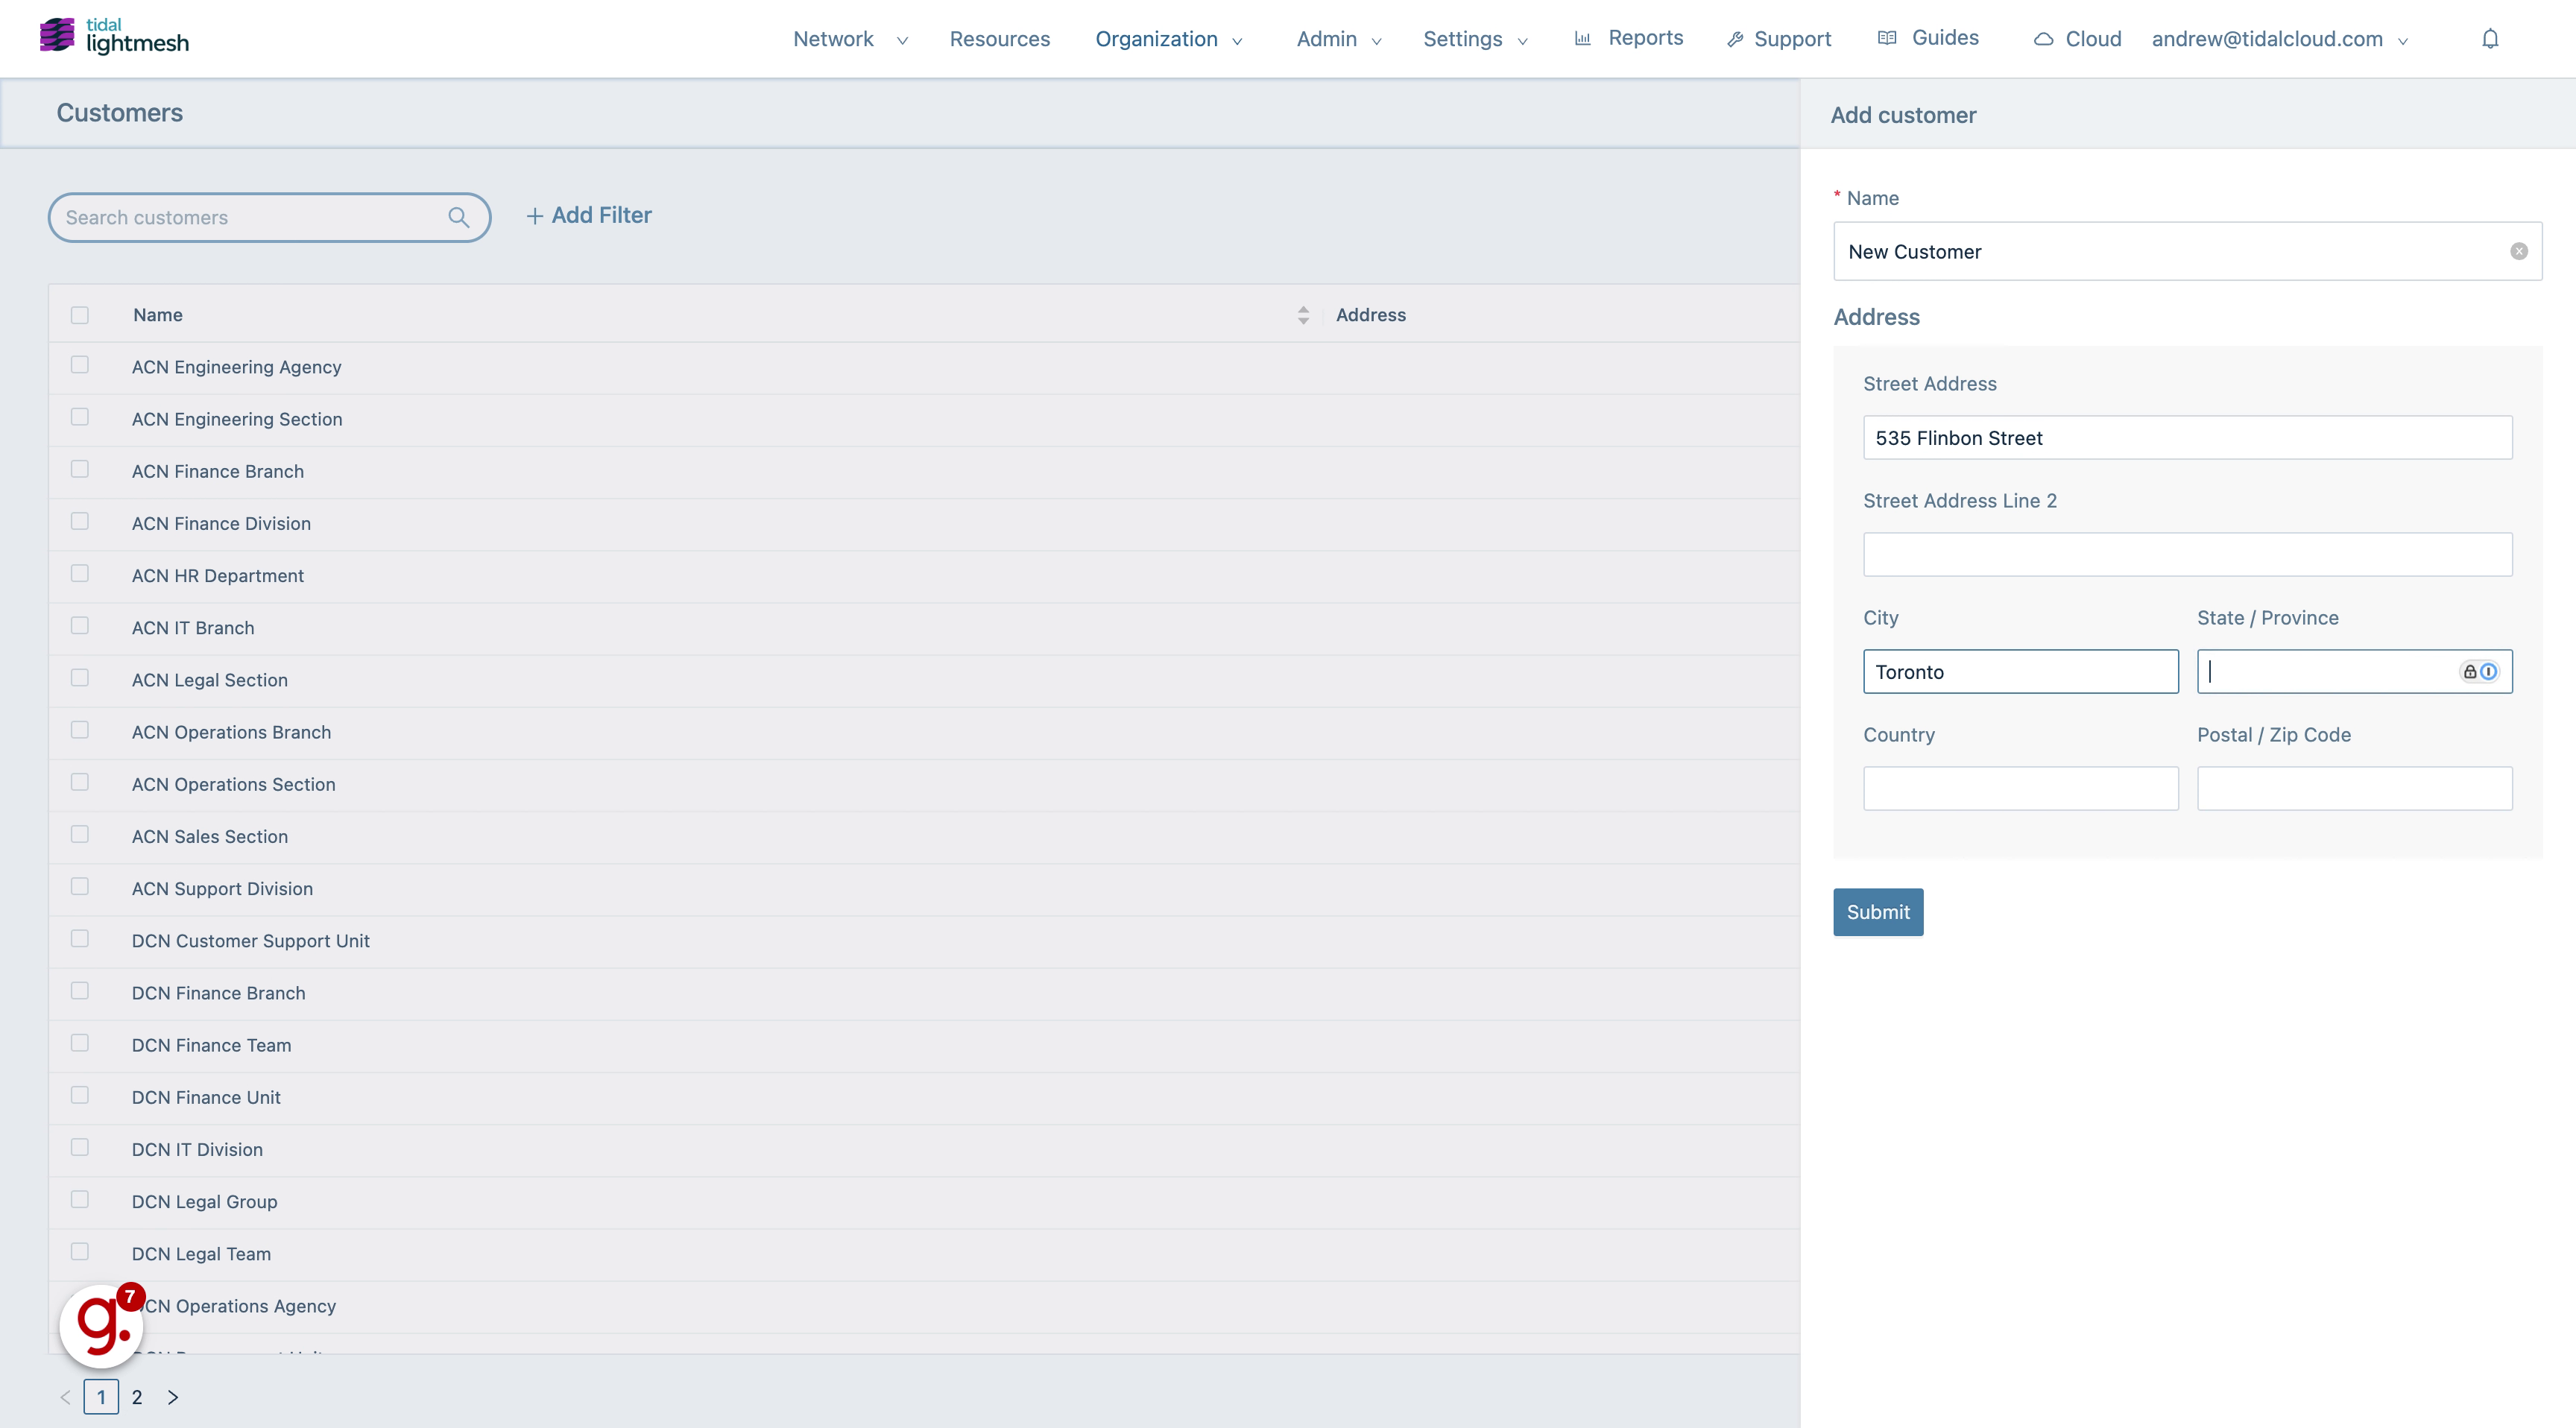
8. Go here
Navigate to the additional customer details section.
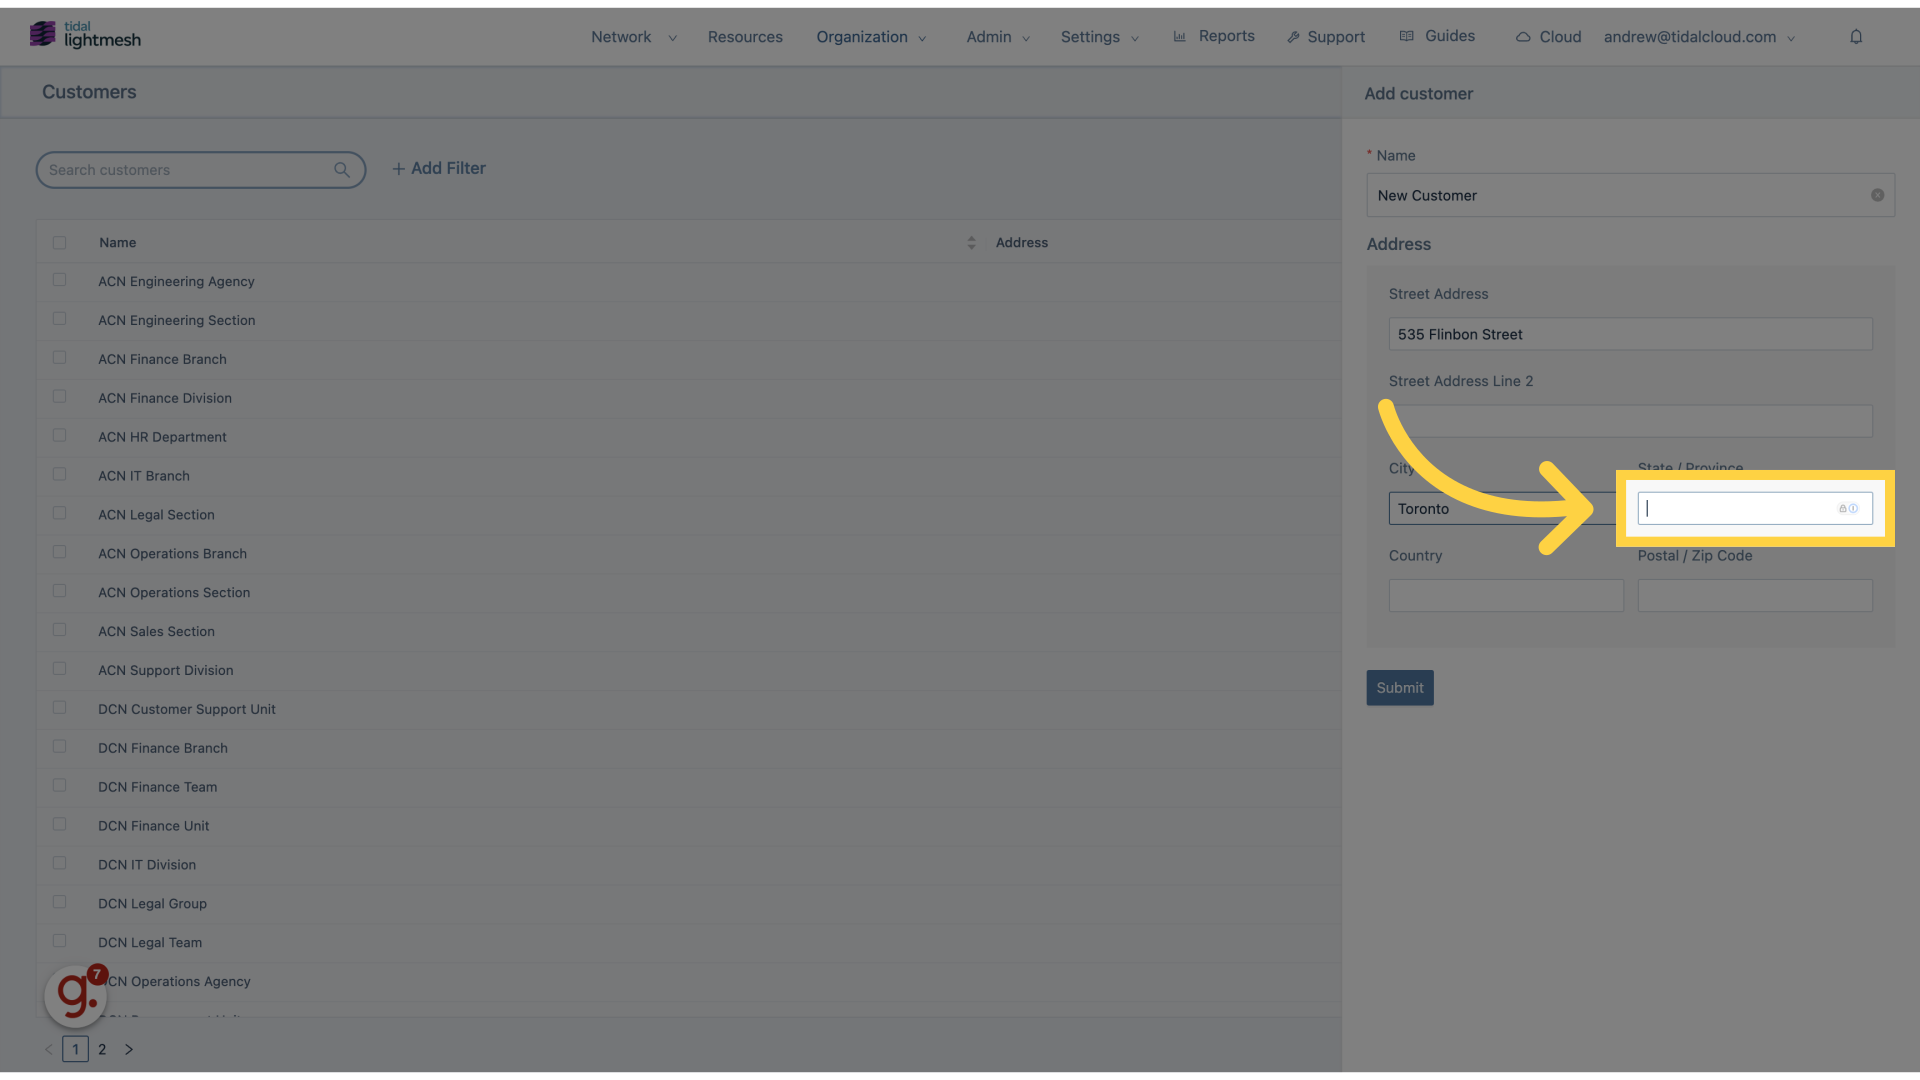
9. Fill “Toronto”
Fill in the text box with “Toronto”
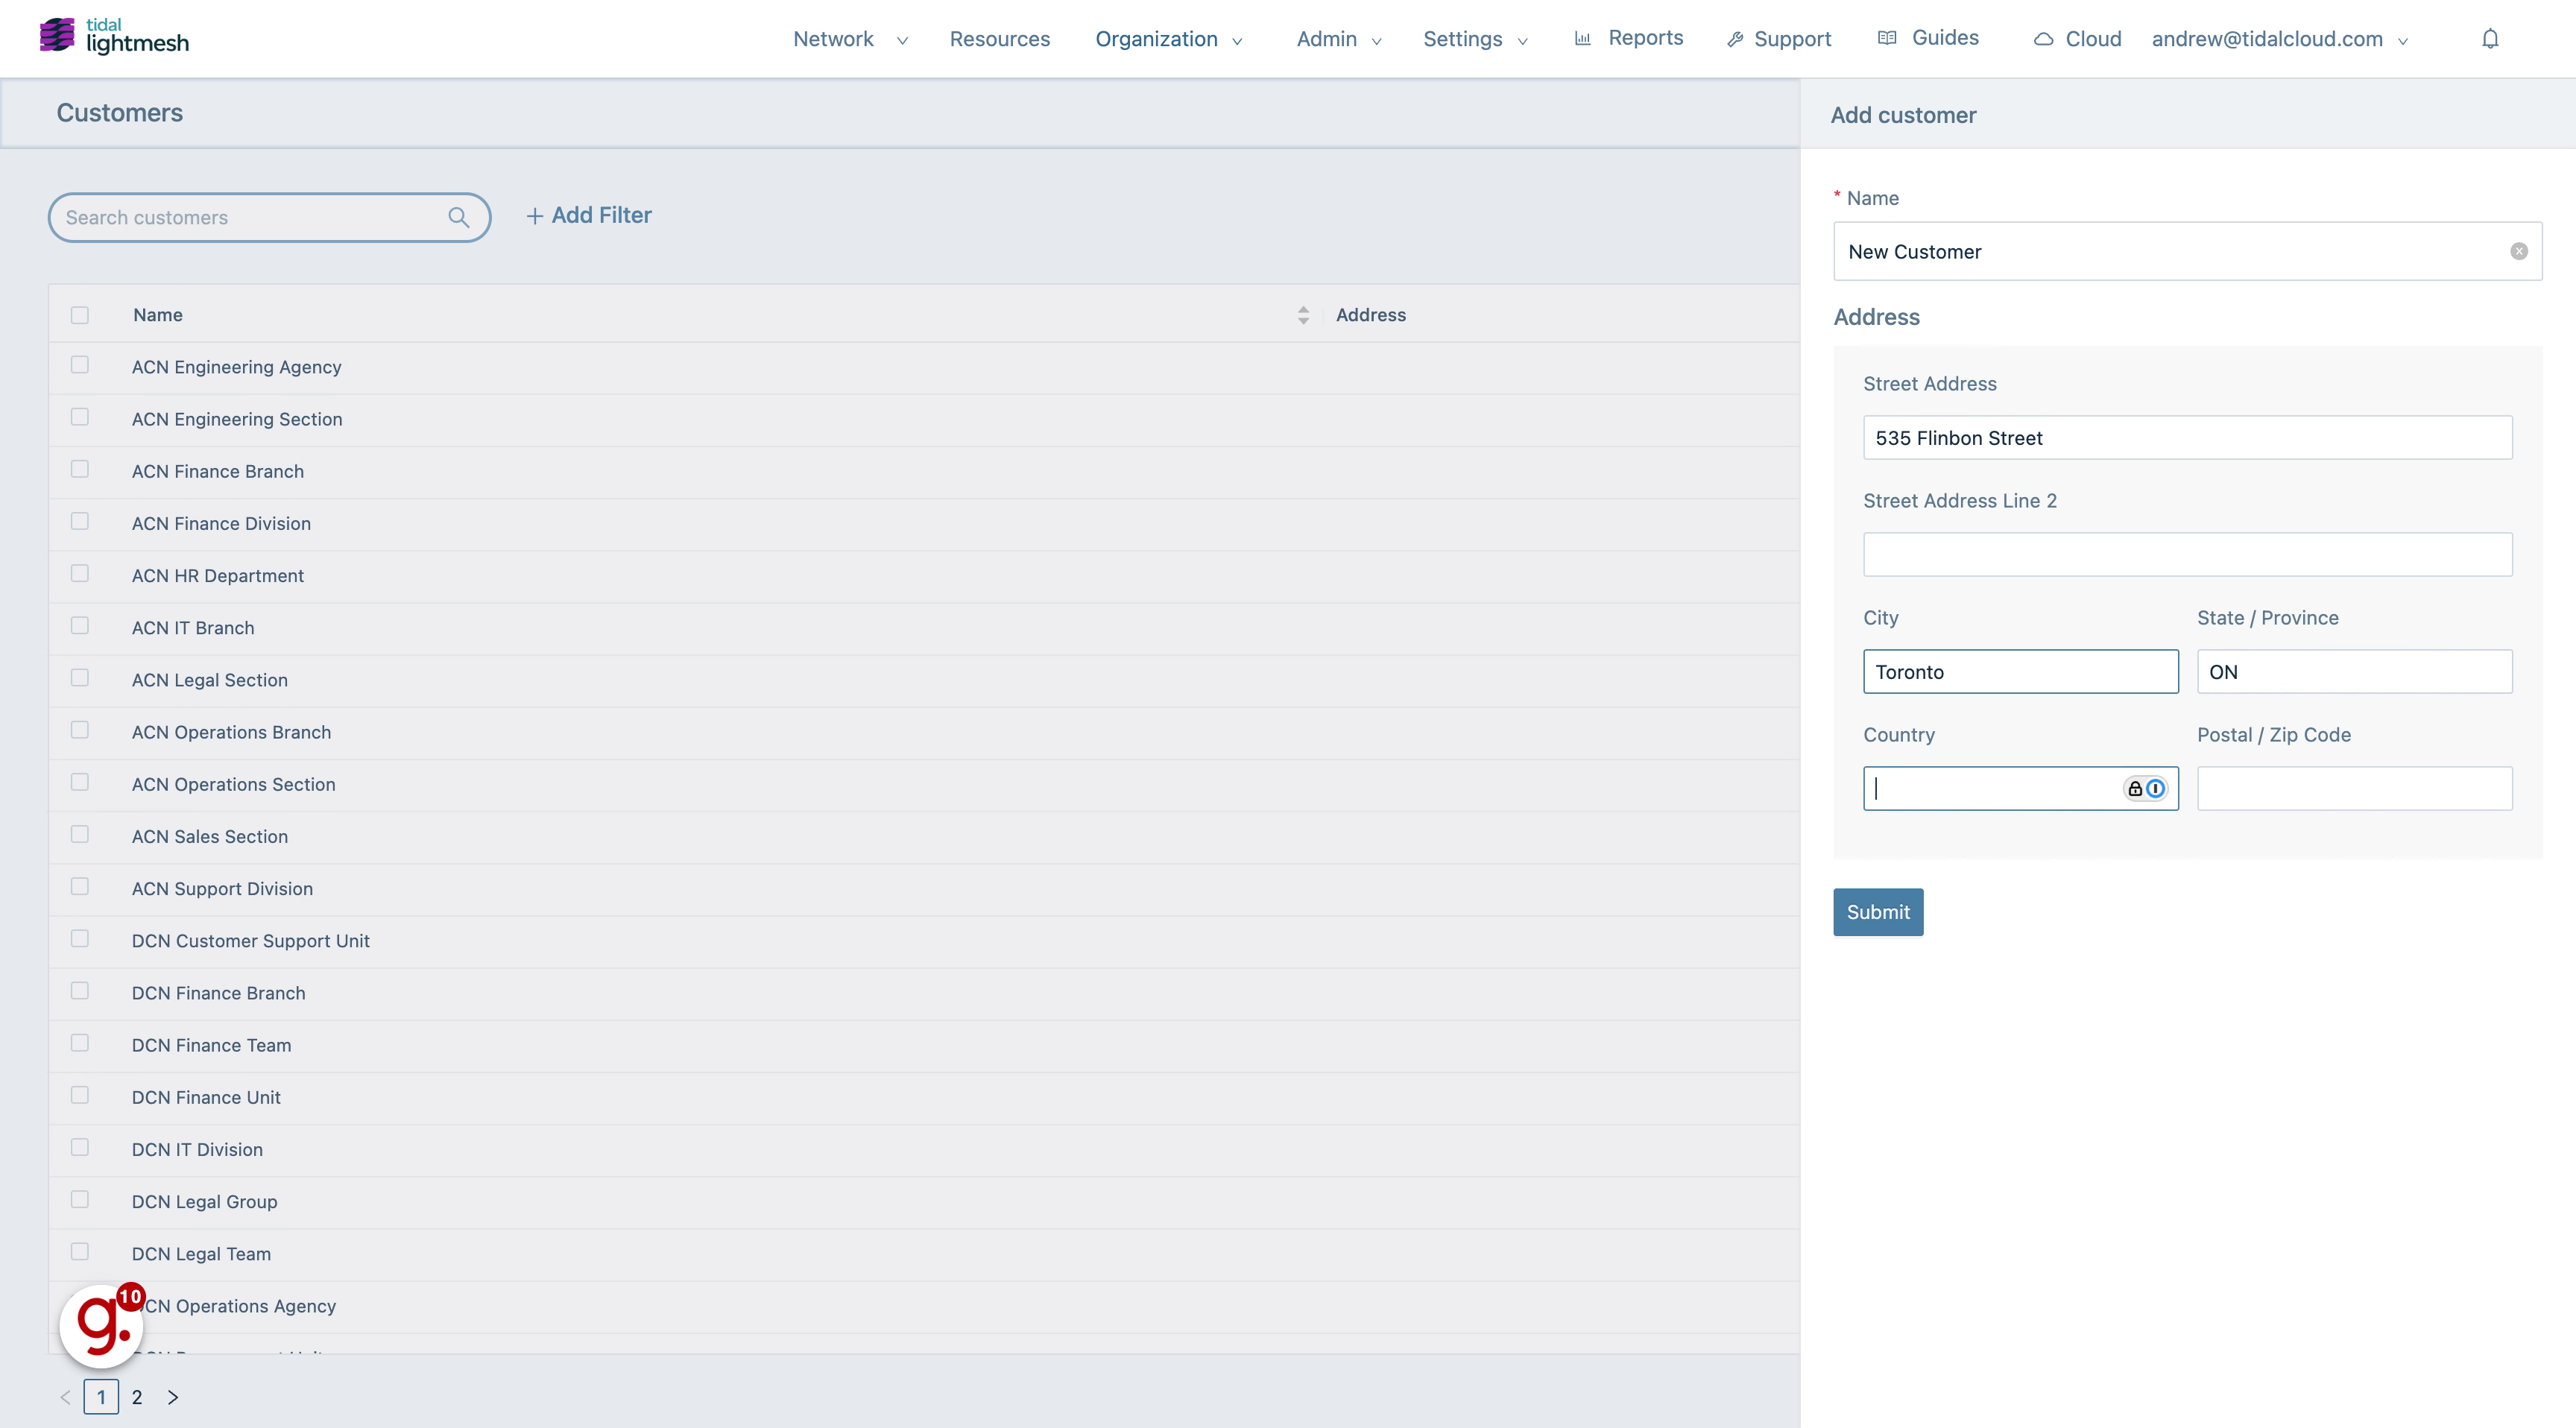
10. Go here
Provide any necessary additional customer information.
11. Fill “ON”
Enter the desired text.
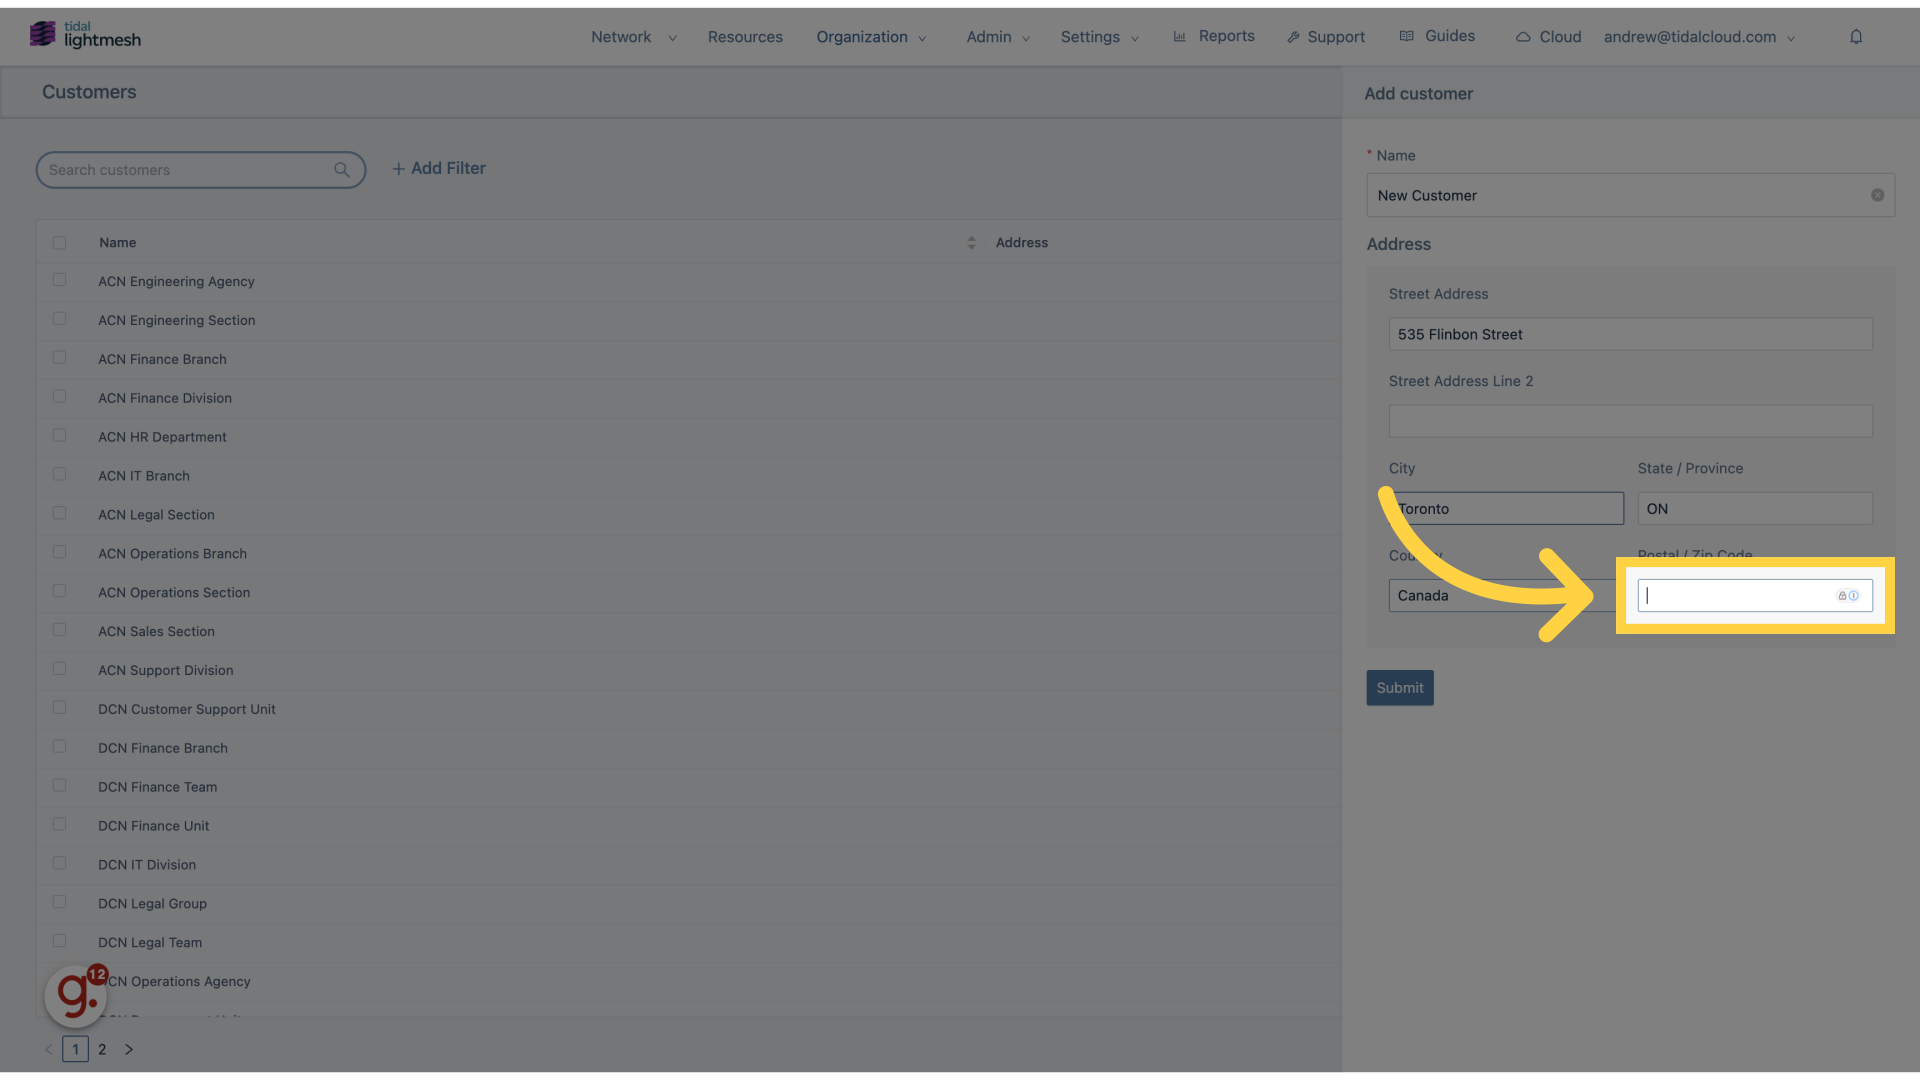
12. Go here
Fill in any further required customer details.

13. Fill “Canada”
Type “Canada” in the given field
14. Go here
Add any relevant notes or comments about the customer.
15. Fill “M4E1GC”
Input “M4E1GC” in the available field
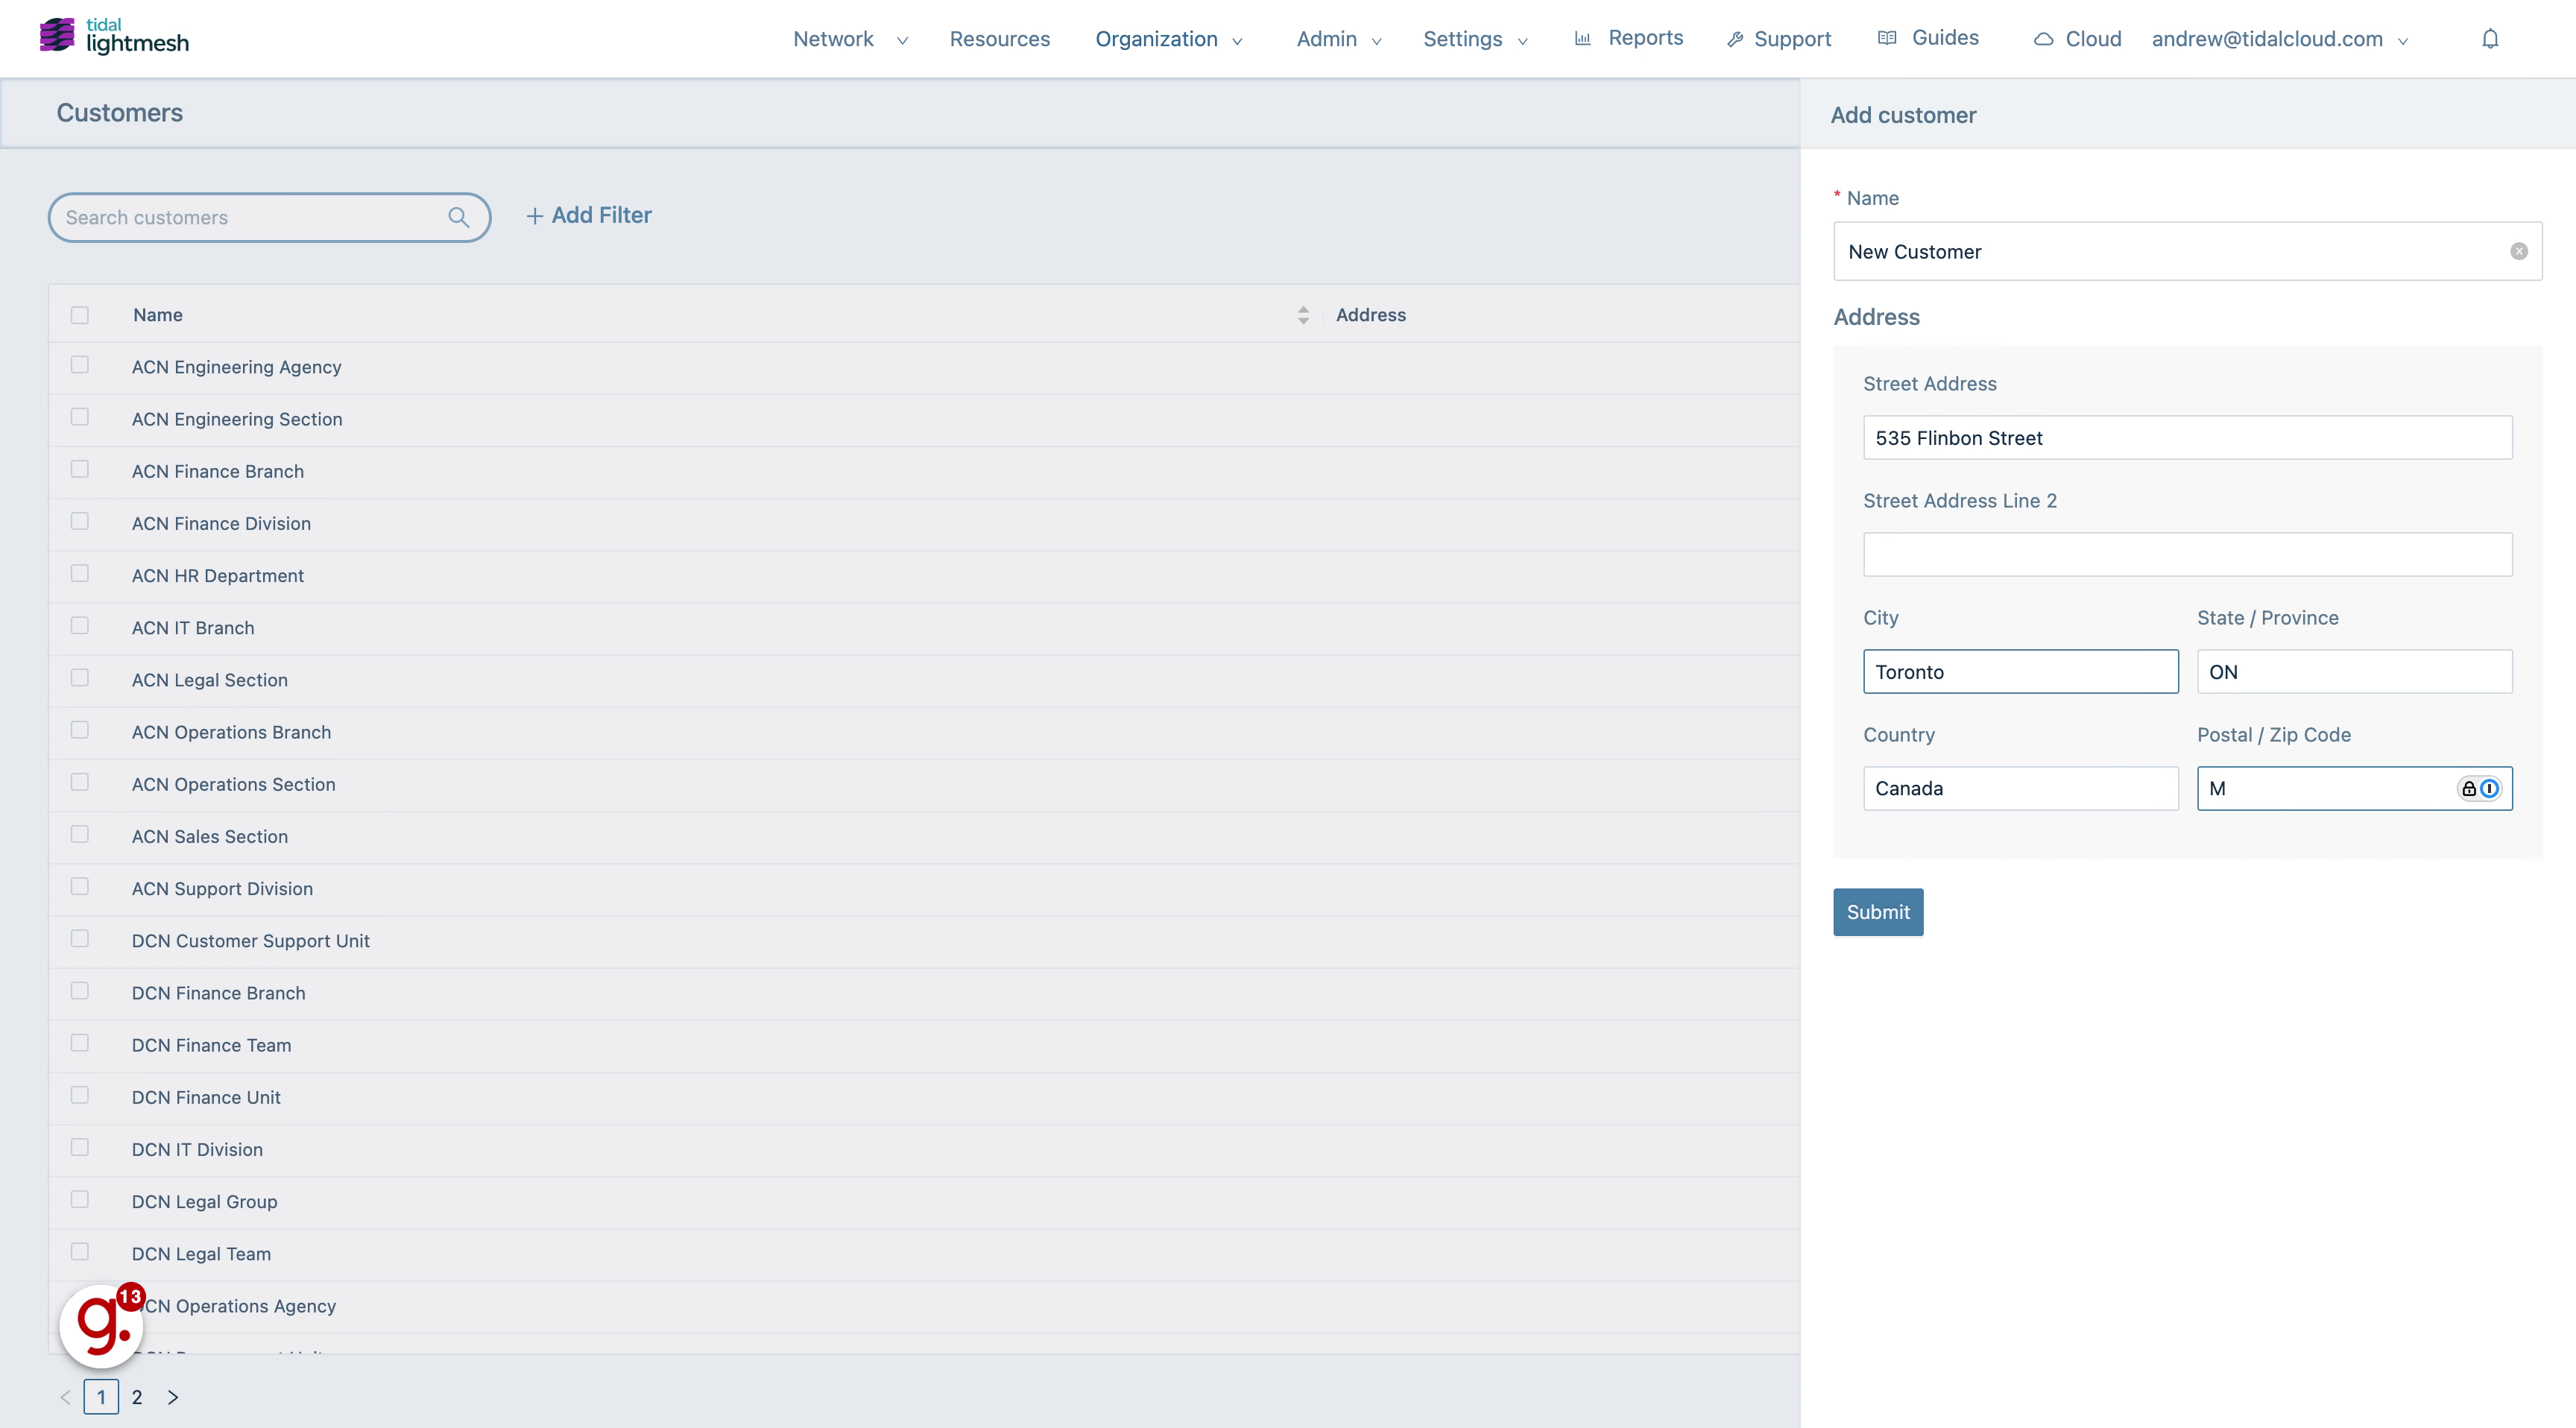
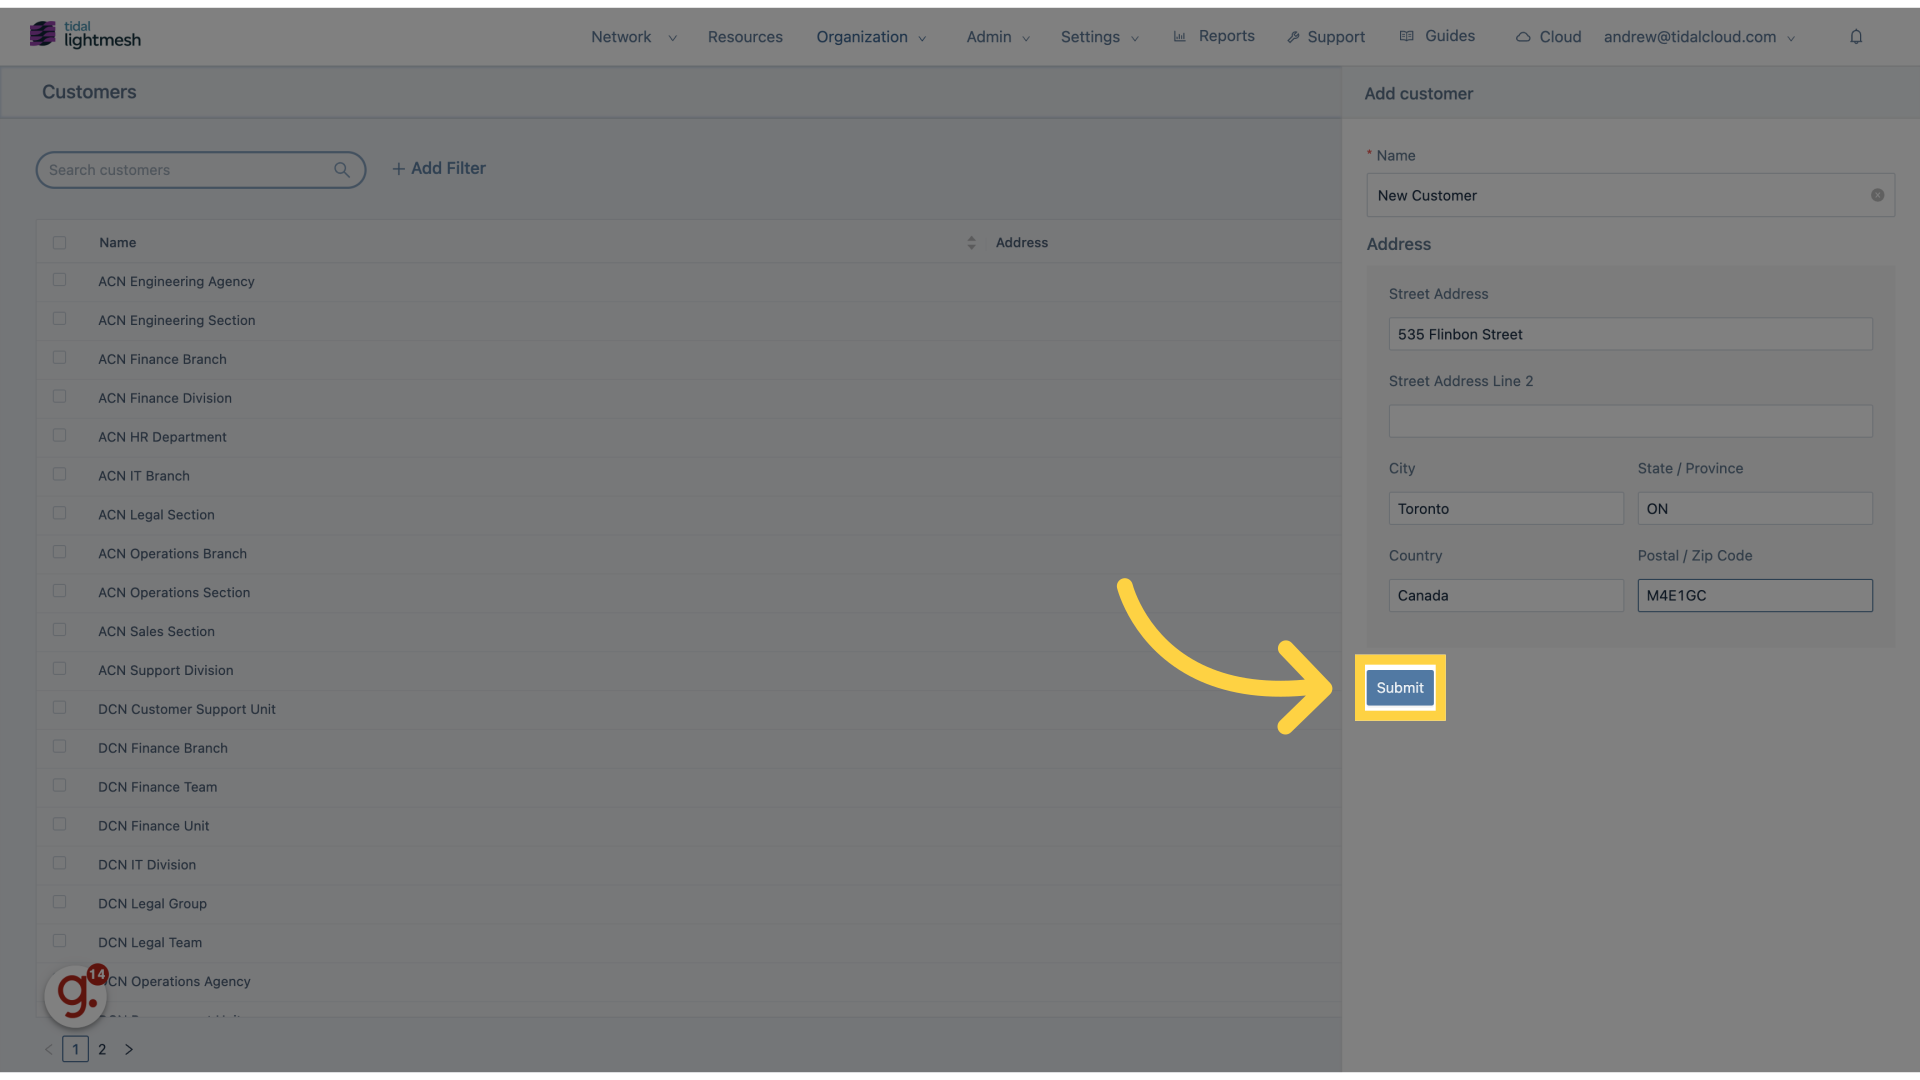
16. Click “Submit”
Finalize and submit the new customer entry.
This guide covered the steps to add customers in Lightmesh, detailing the process from accessing the customer section to submitting the new entry.