New Contact
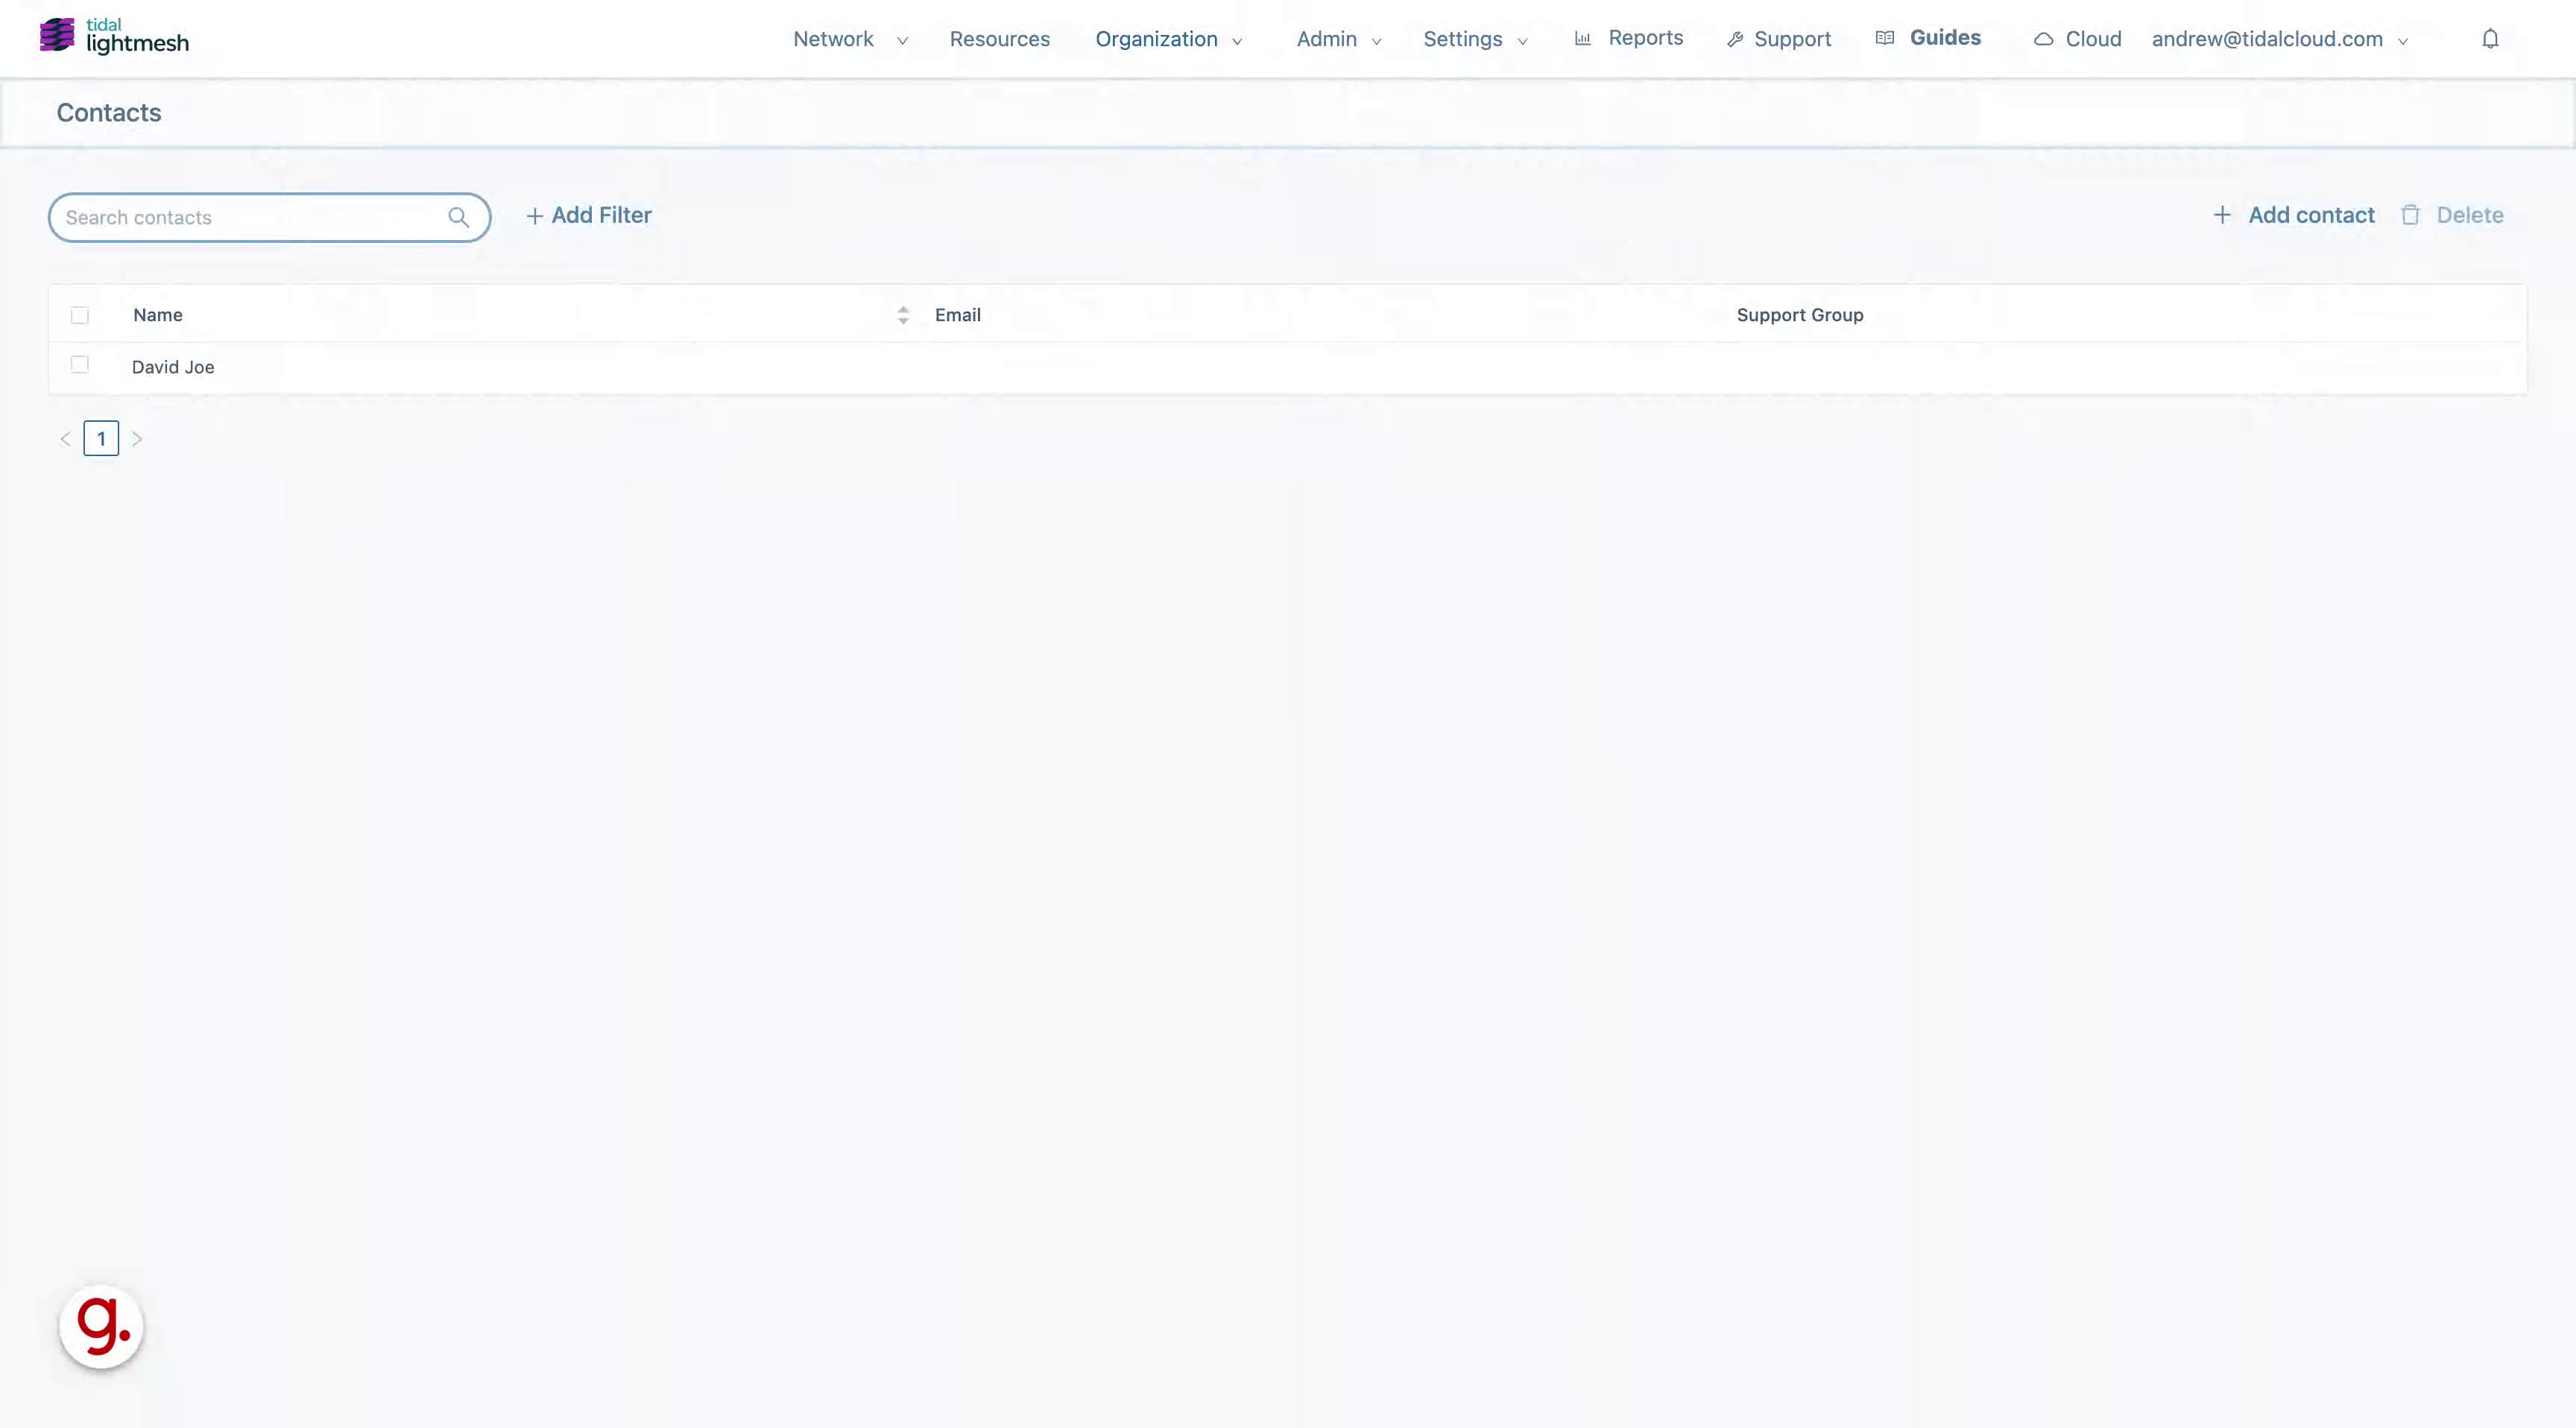
This guide walks you through adding new contacts in LightMesh. Contacts are any person who may be related to your network. They can belong to a Customer, or a Support Group. They can be tied to a subnet or resource and are useful to track for support and planning purposes.
1. Introduction
It includes steps such as selecting support groups, entering contact information, and submitting the details effectively.
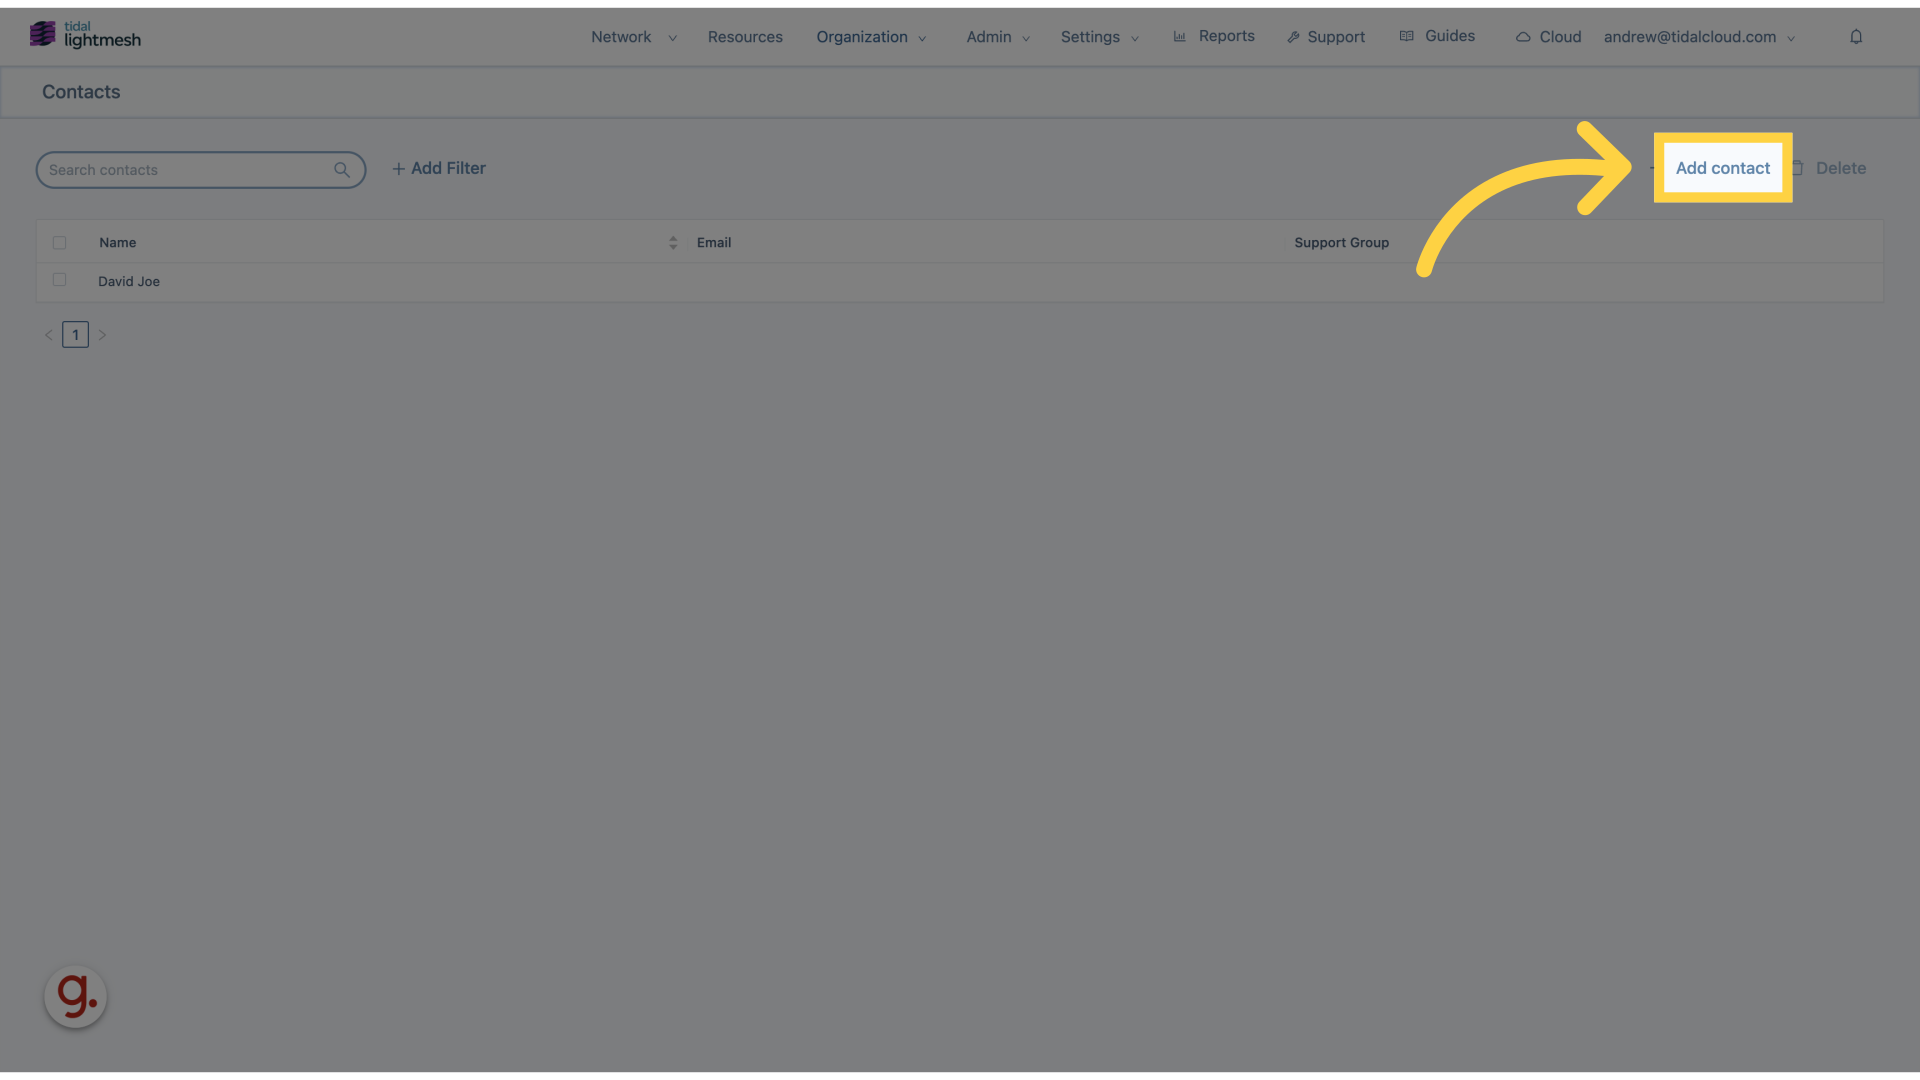
2. Click “Add contact”
Add a new contact by clicking on “Add contact.
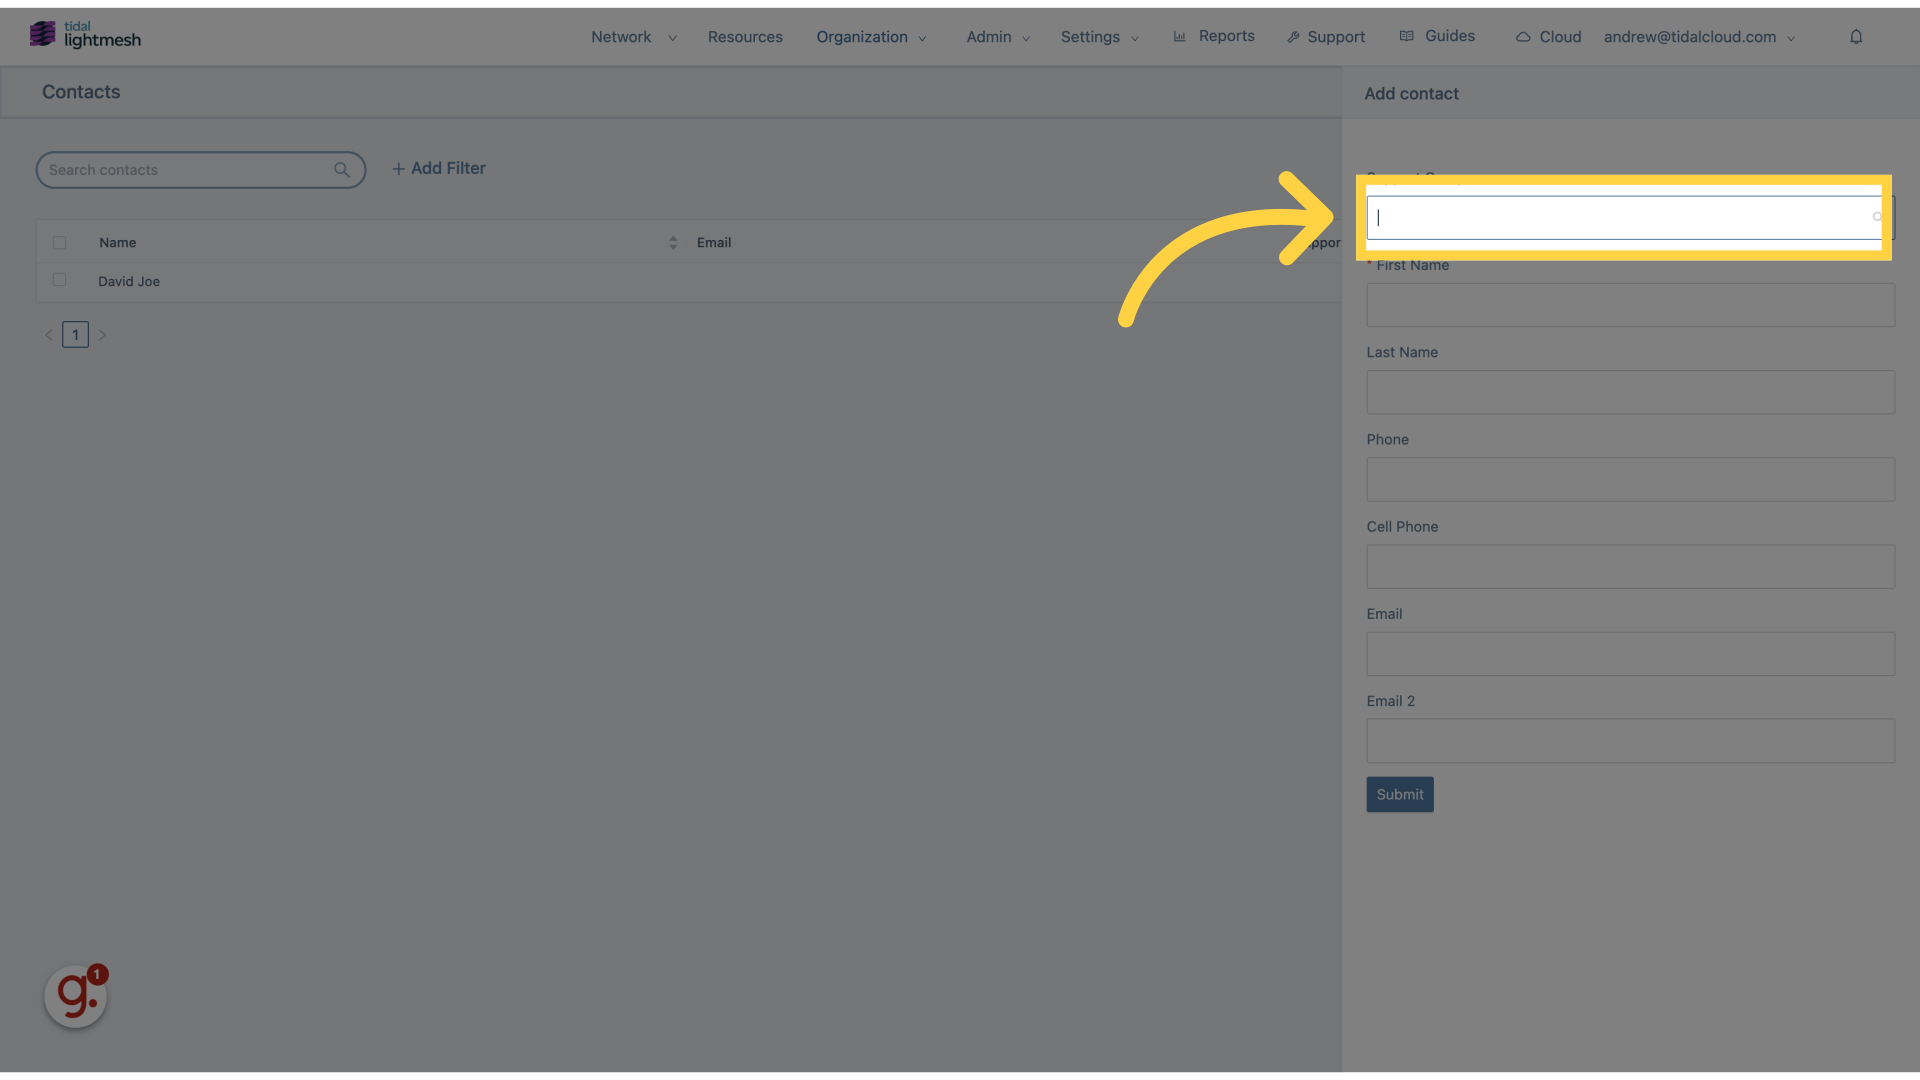
3. Click “Support Group”
Select the “Support Group” option.
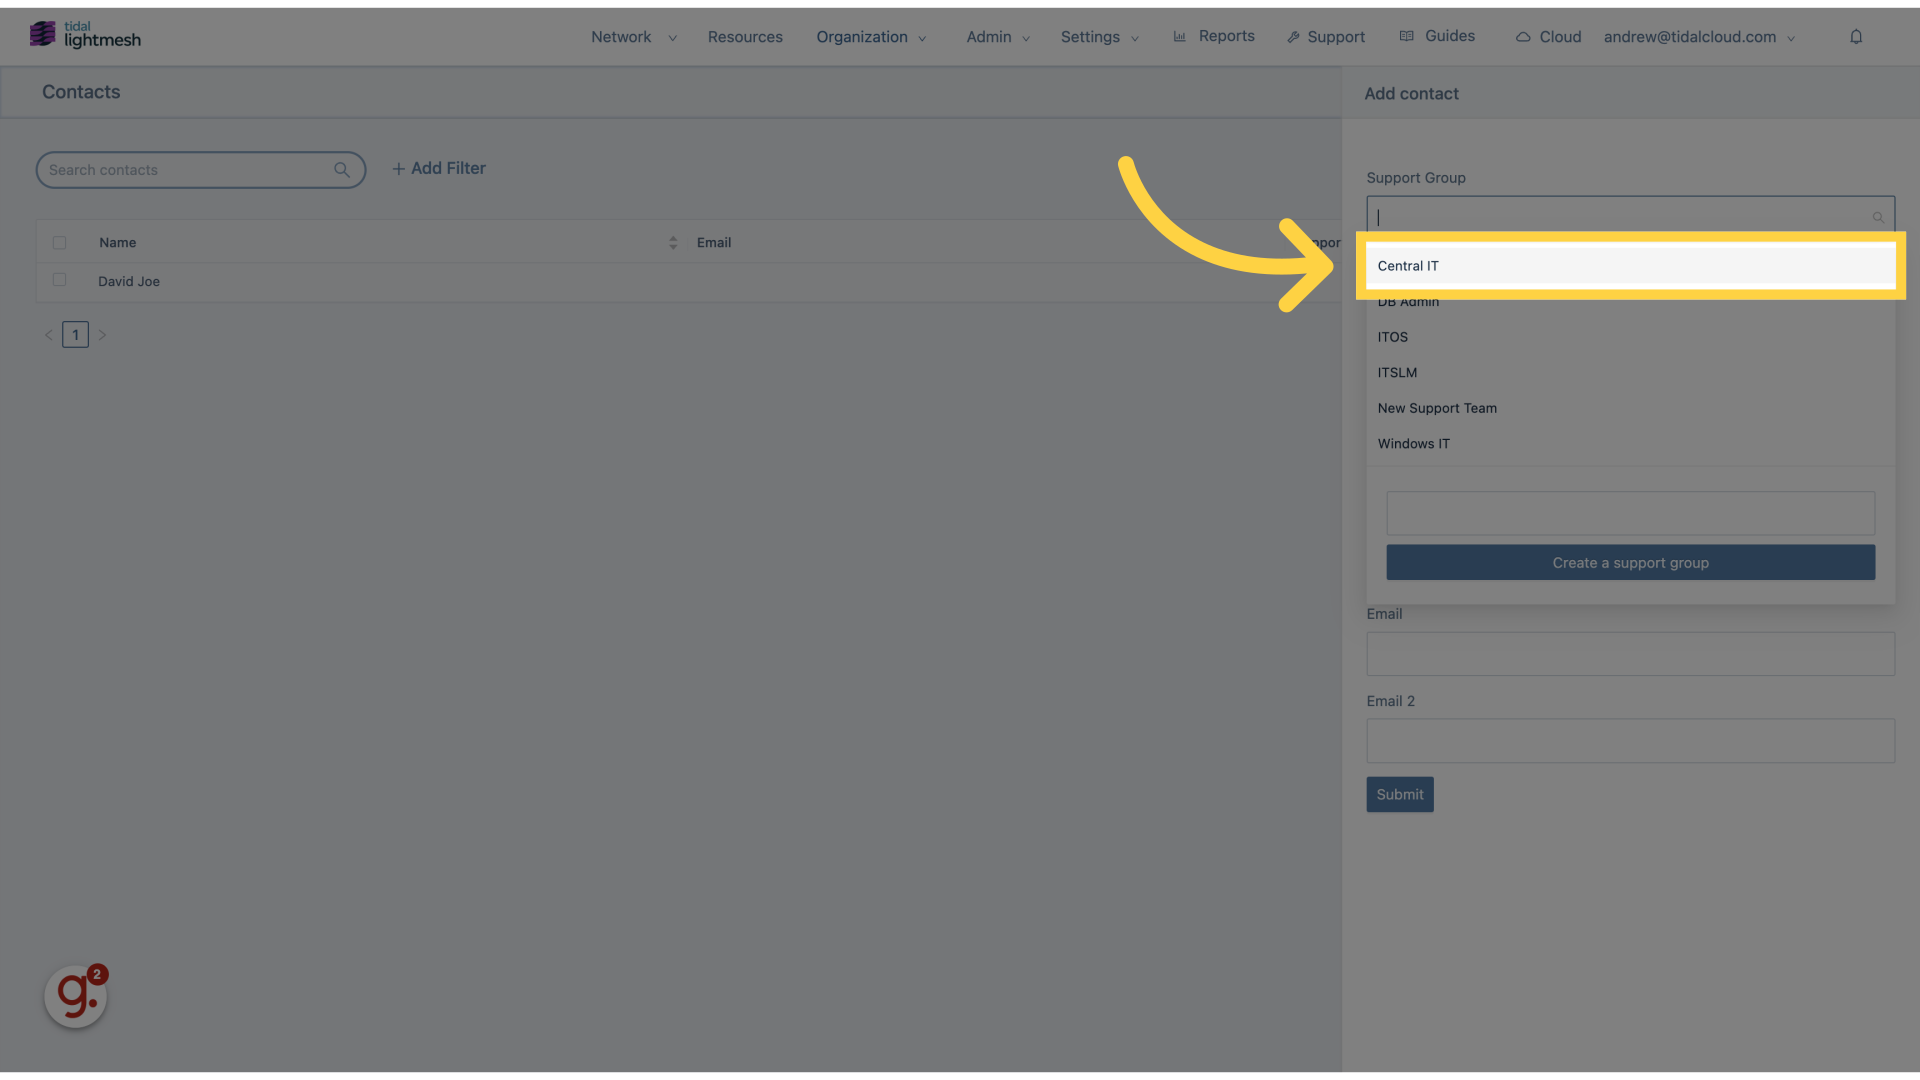
4. Click “Central IT”
Navigate to “Central IT” section.
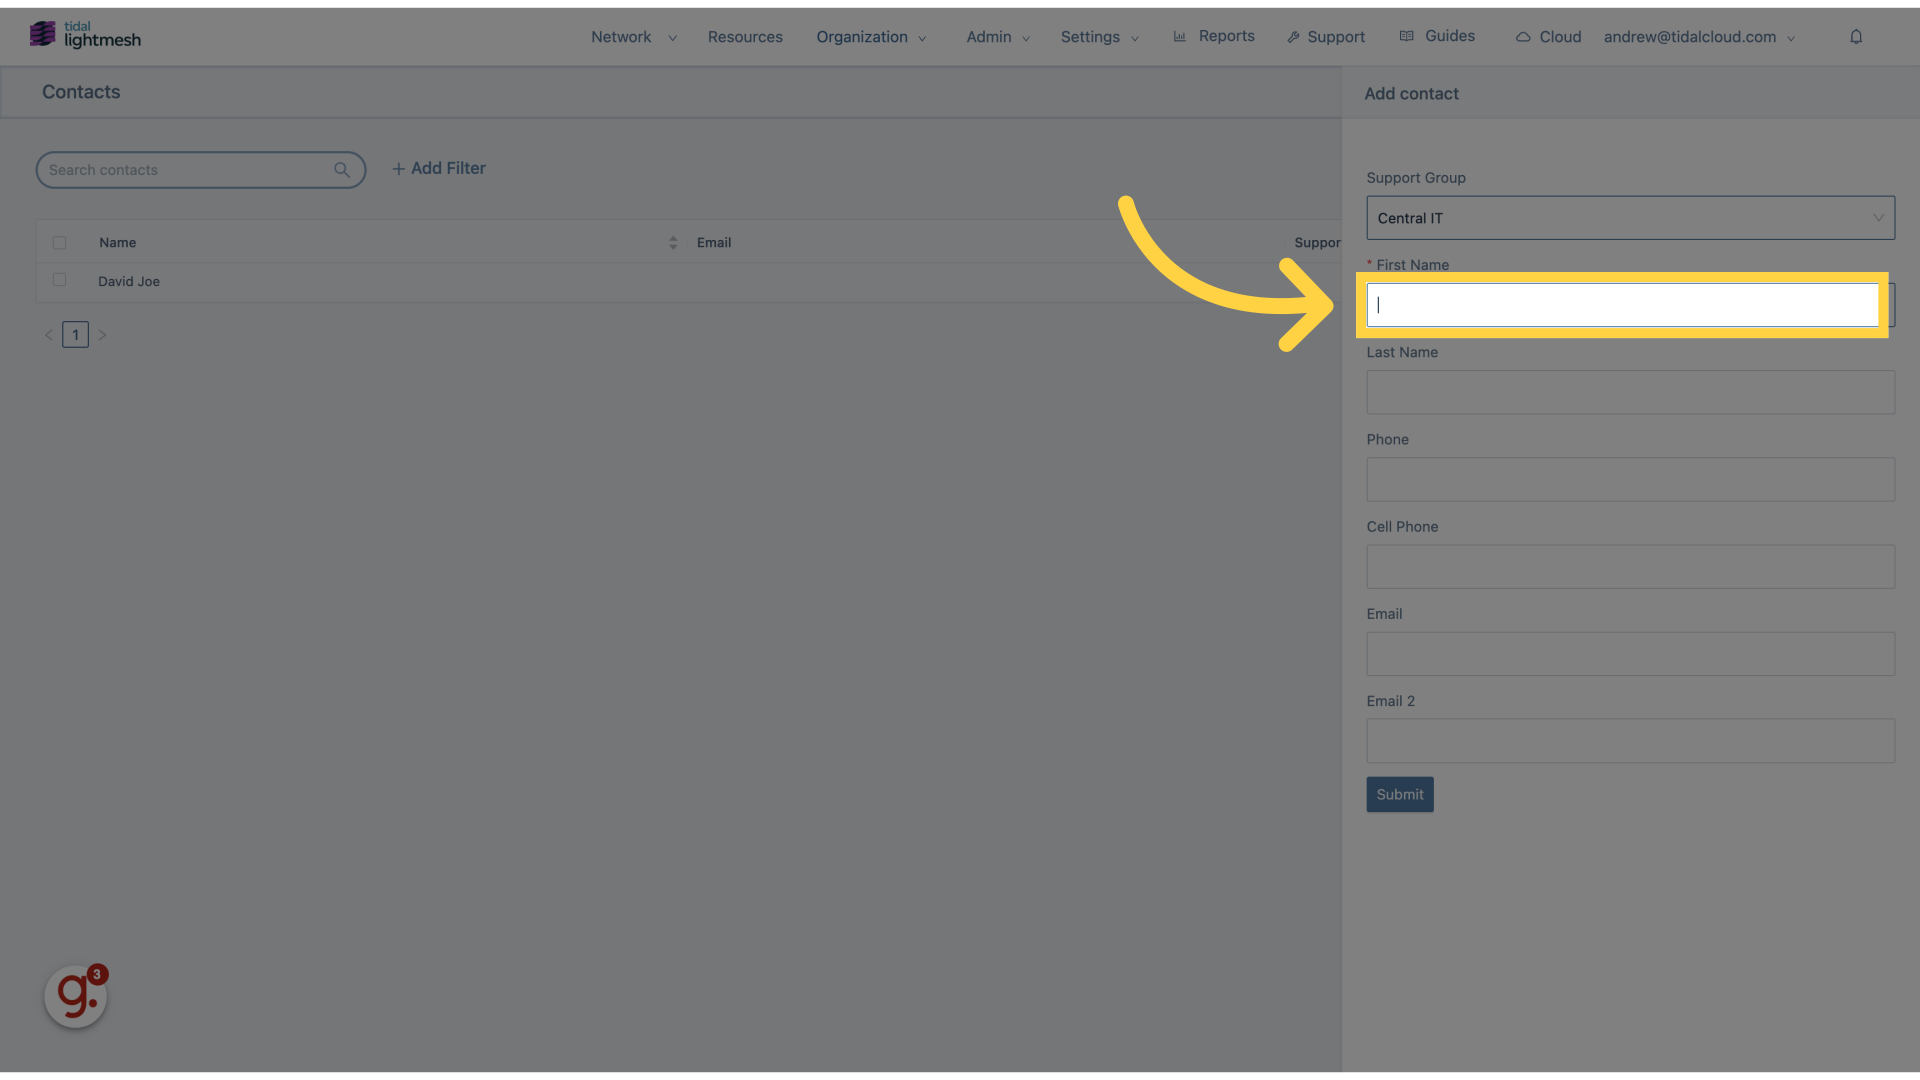
5. Click “First Name”
Enter the contact’s first name.
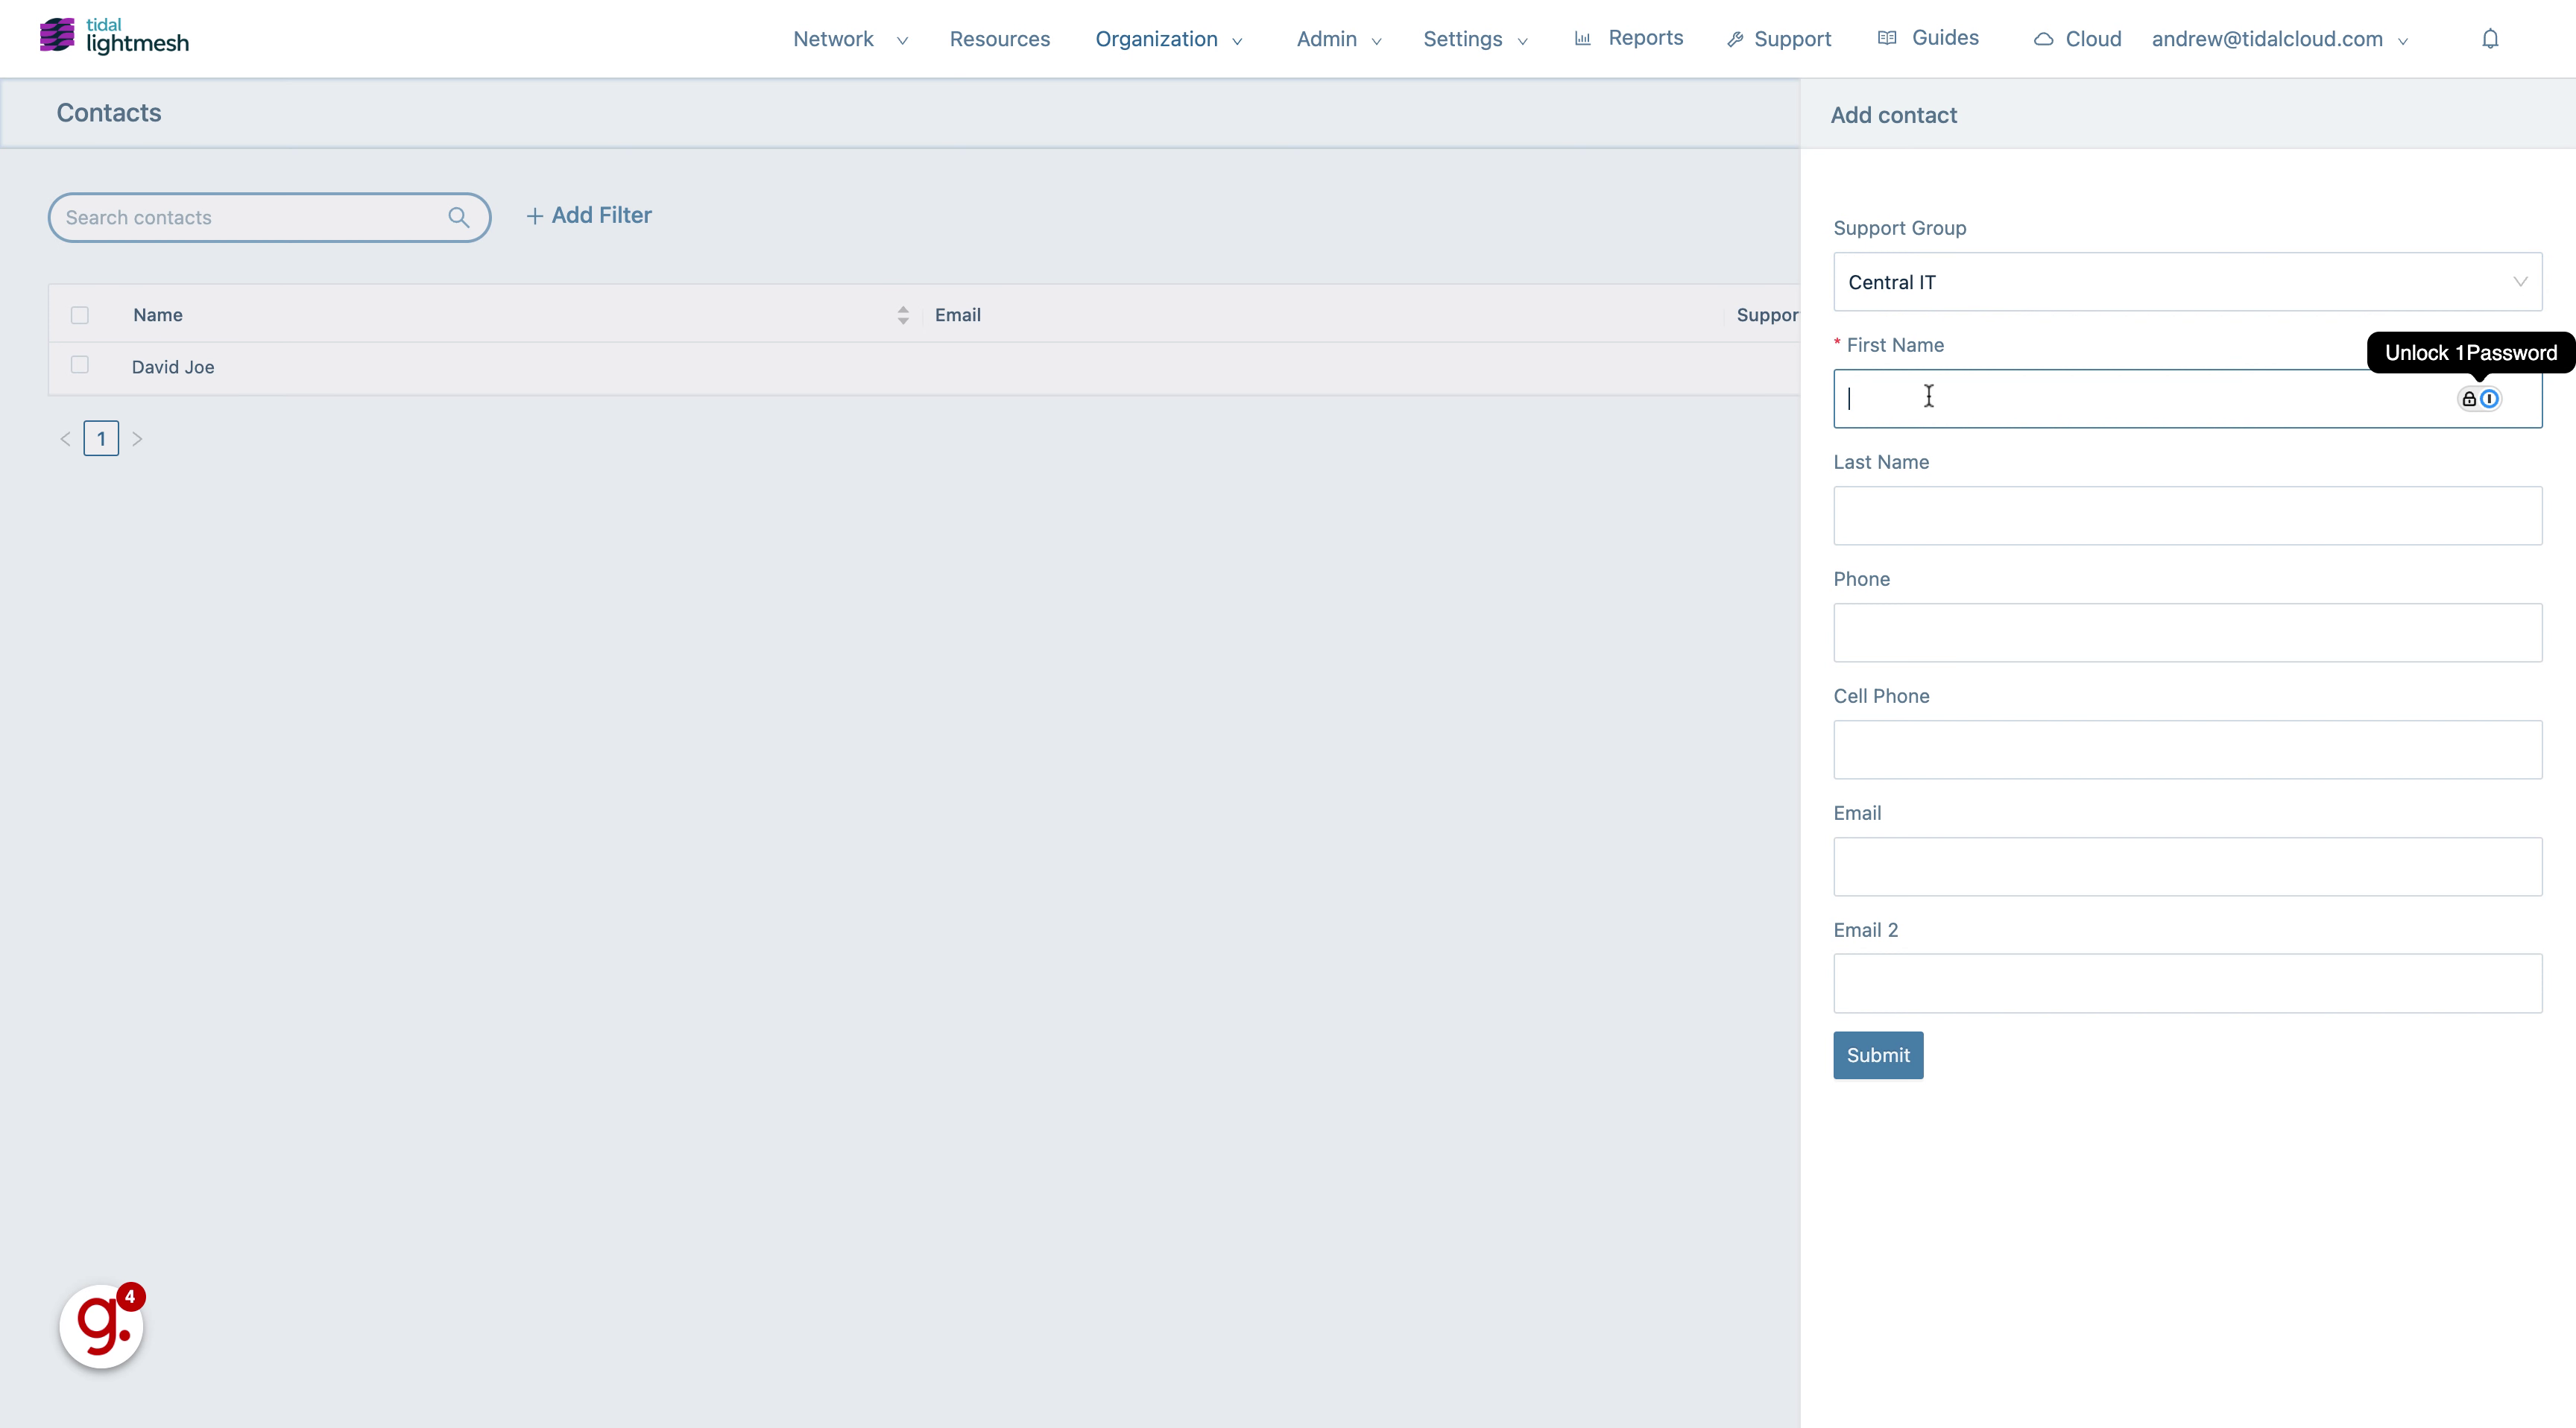
6. Fill “Dave”
Fill in “Dave”
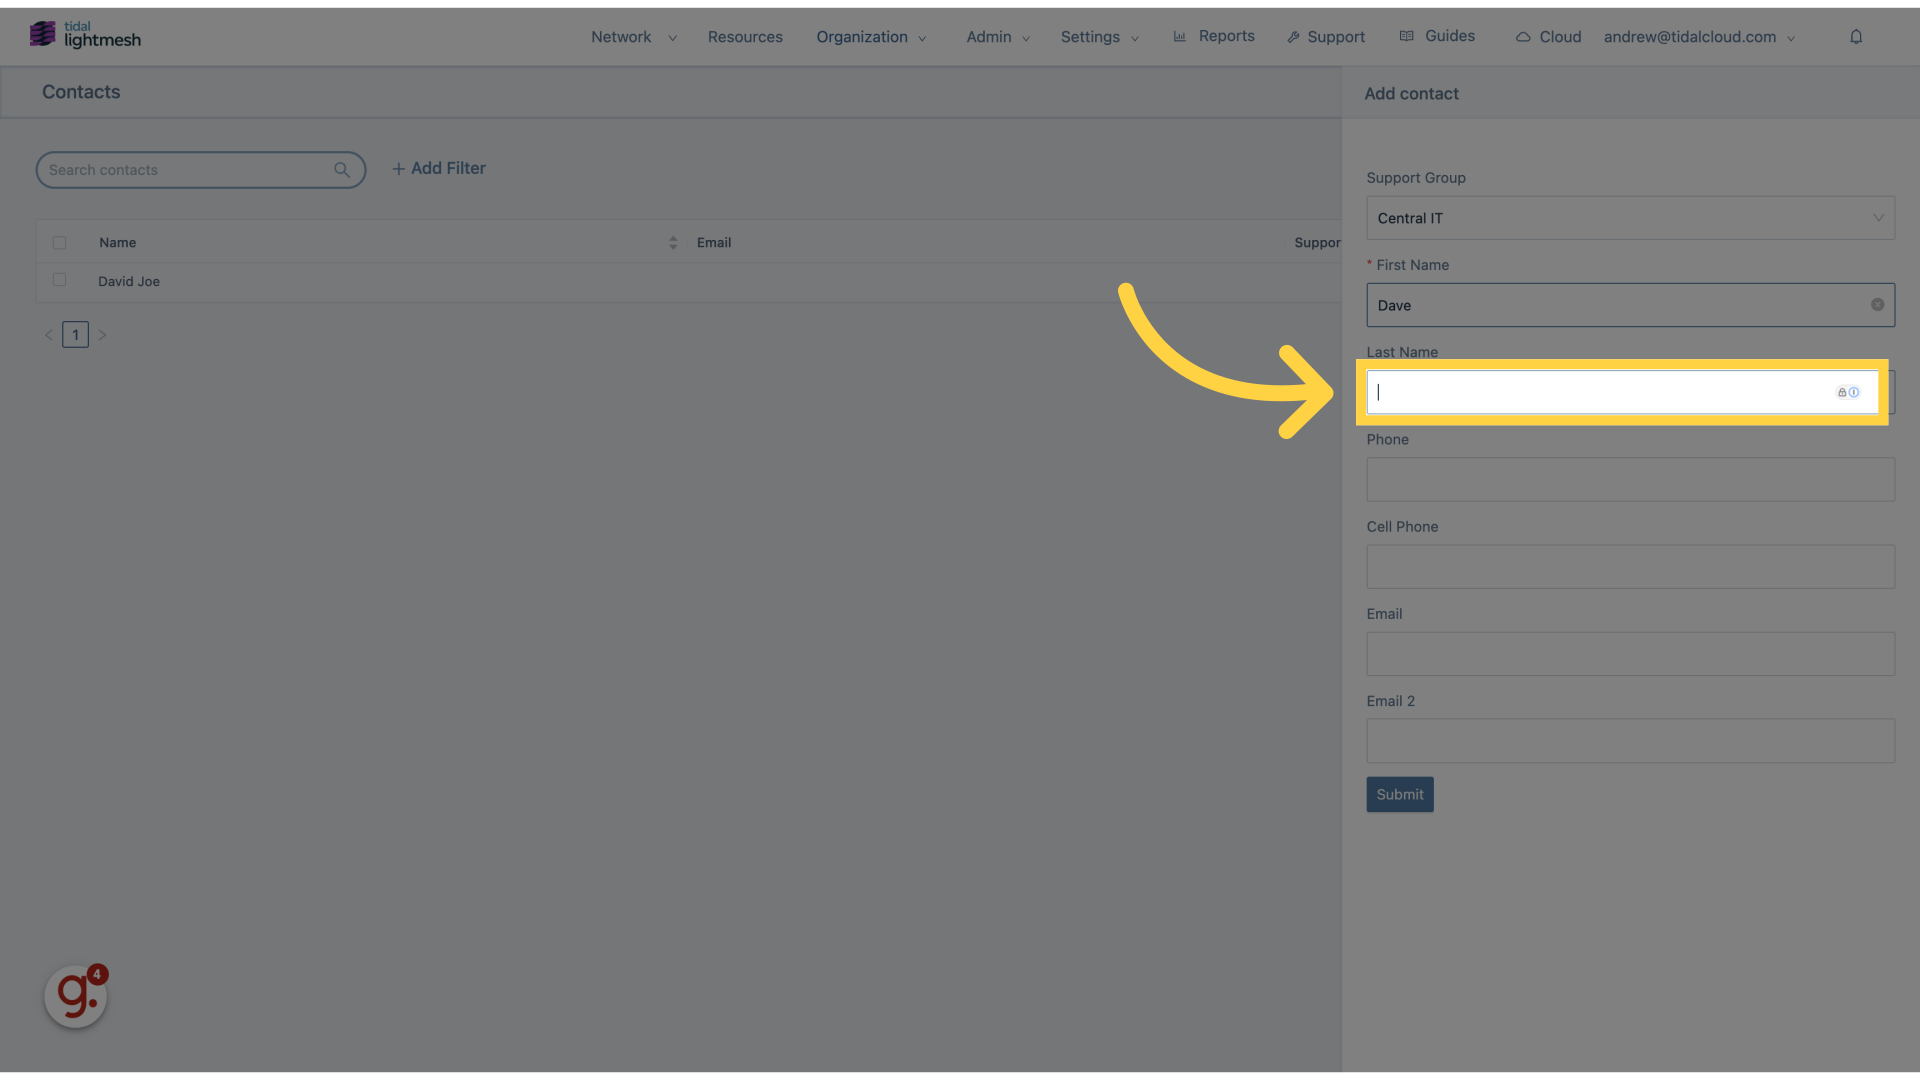
7. Go here
Proceed to the specified location.
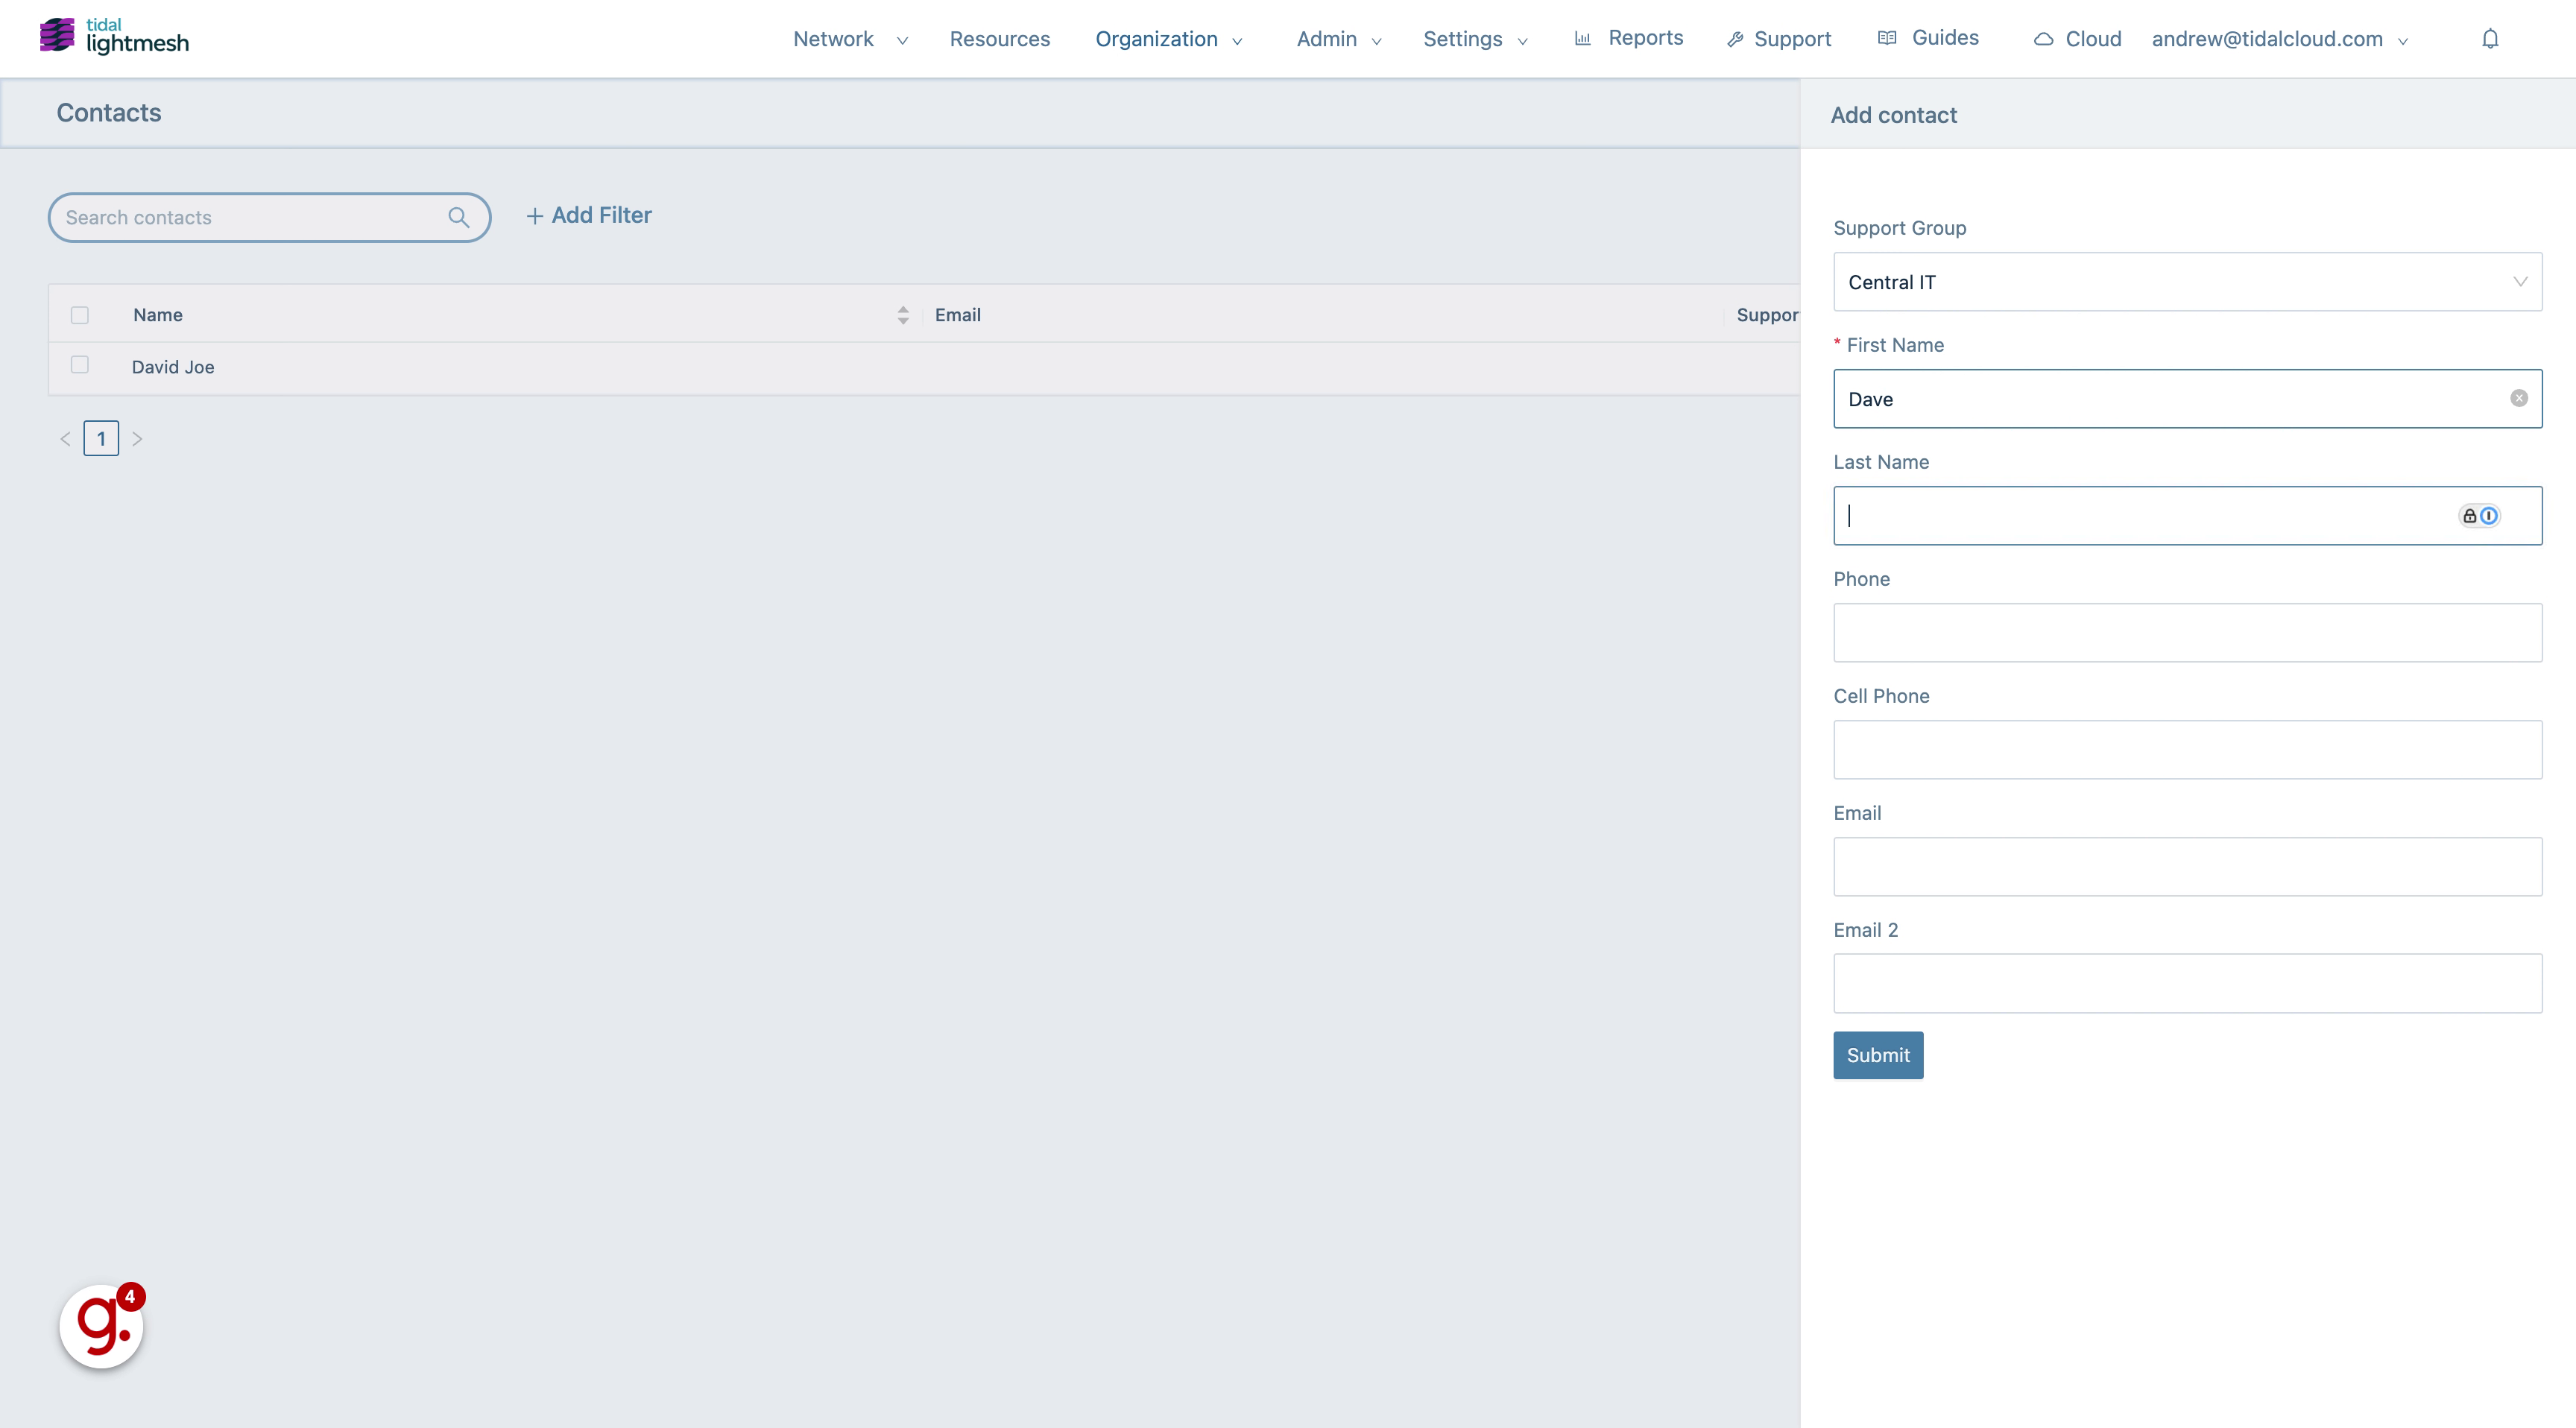
8. Fill “Joe”
Enter “Joe” in the provided field
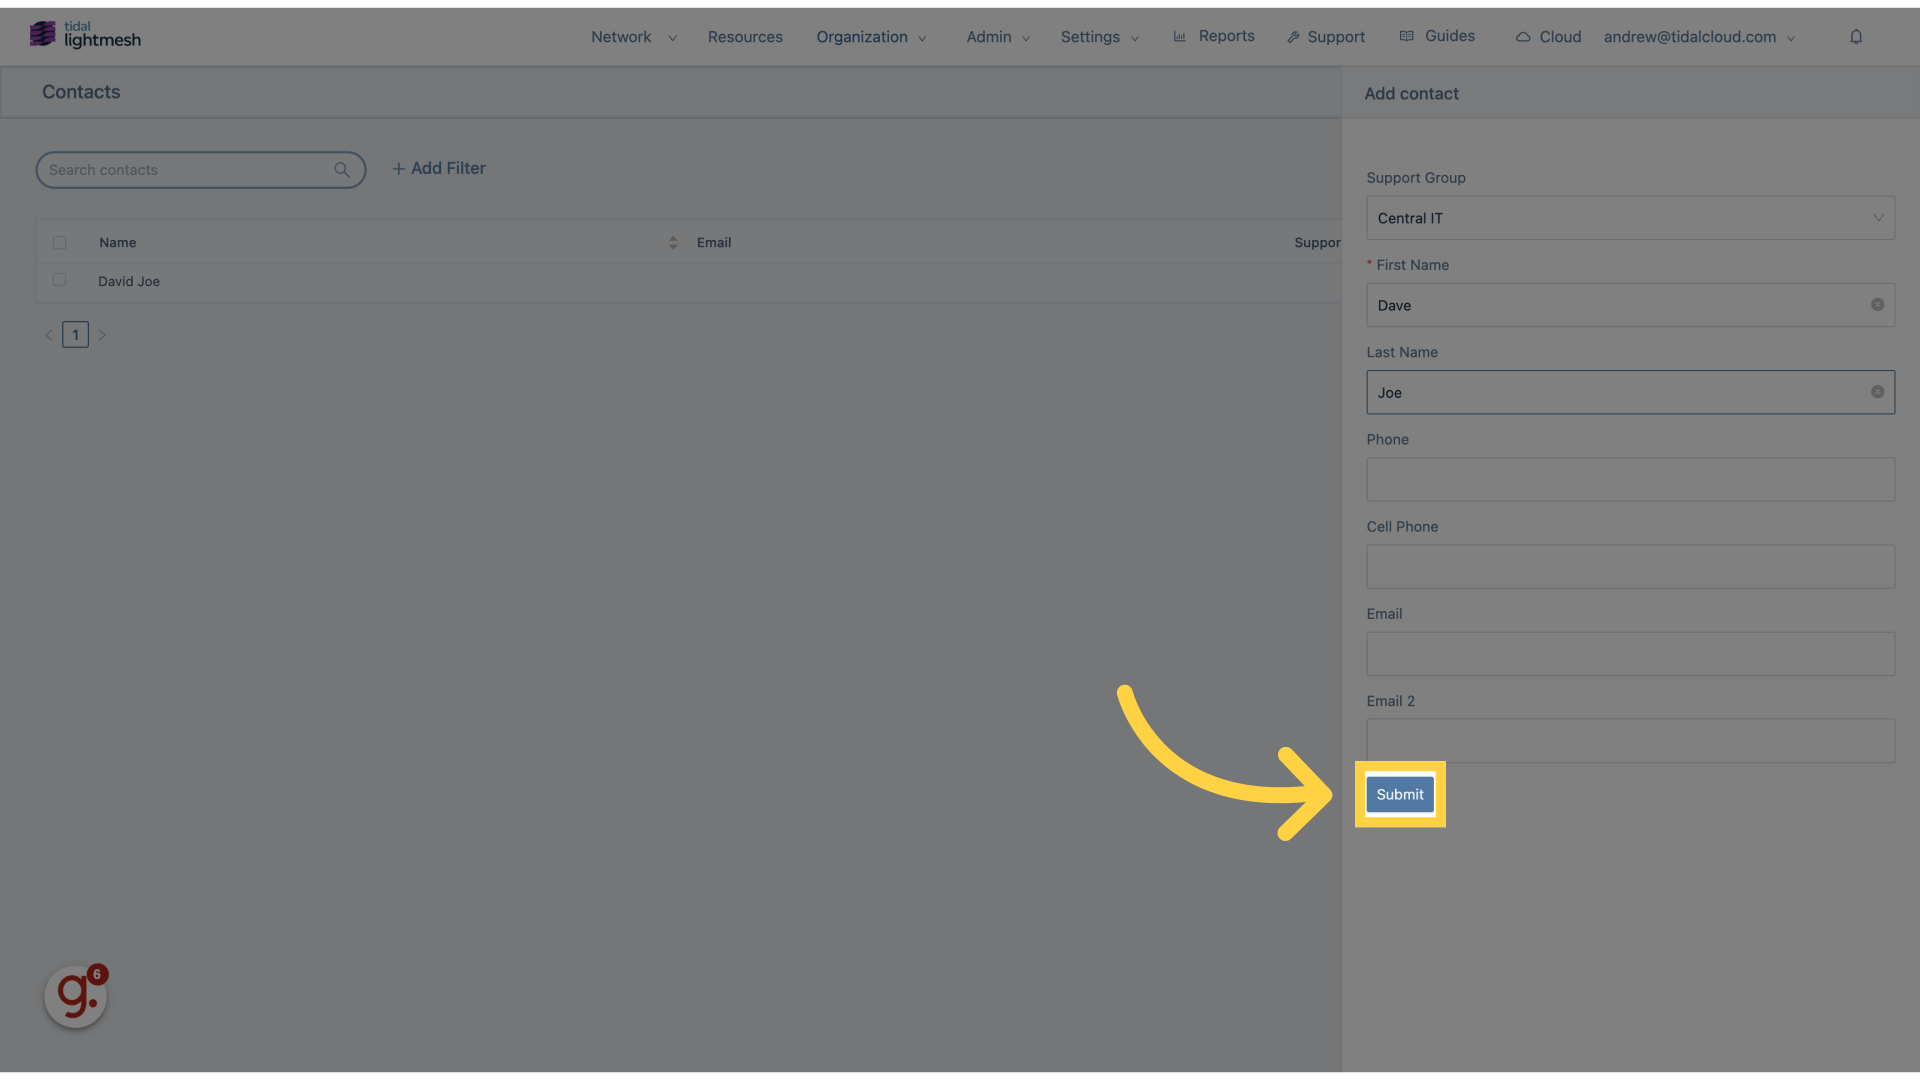
9. Click “Submit”
Click on the “Submit” button to save the contact.
This guide covered the process of adding contacts to Lightmesh for employee training.