IP Assignment within Subnet
This guide walks you through assigning IP within Subnet in LightMesh. IP Assignments represent an allocated resource or network interface, and can be associated with DNS entries and Reservations.
1. Introduction
From accessing specific sections to finalizing the assignment, the steps provided will help you navigate the process seamlessly. Master IP assignment creation through this comprehensive walkthrough.

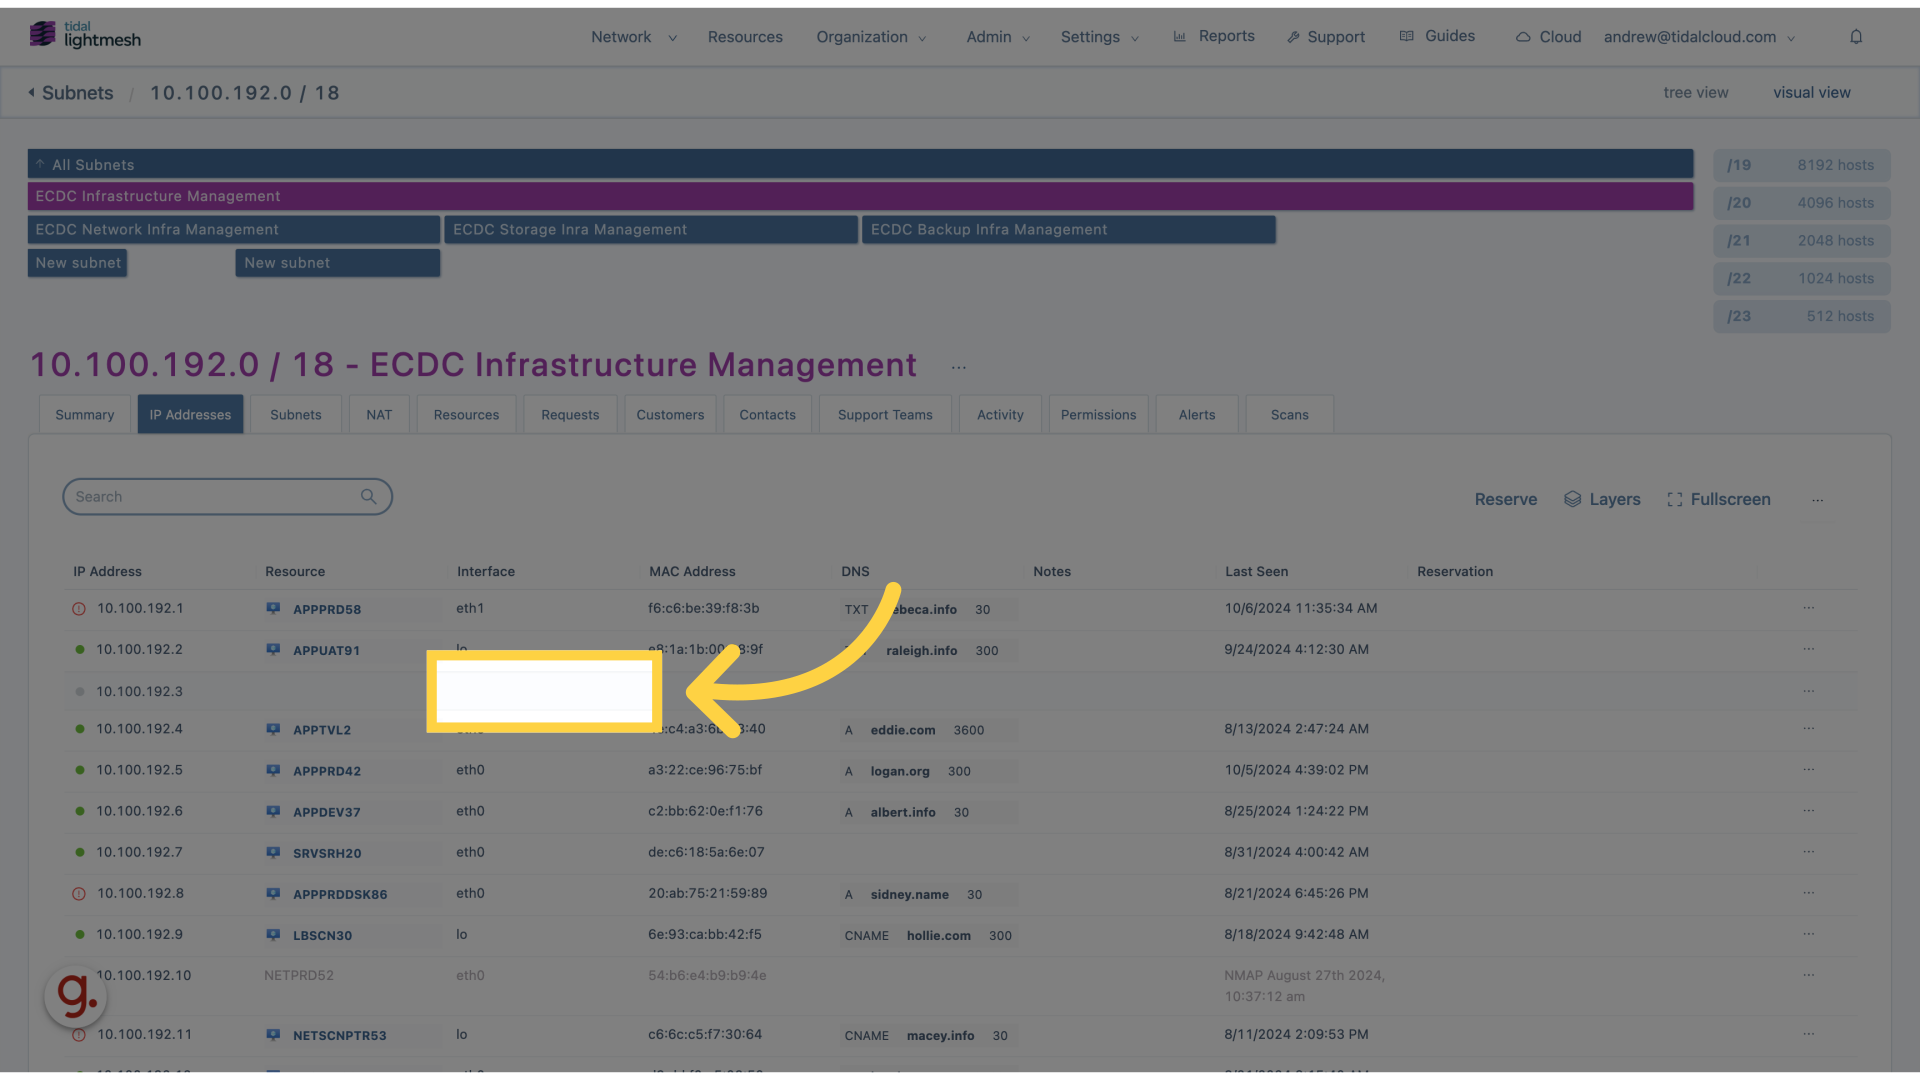
2. Click on specific IP Address
Click on the specific ip address to proceed.
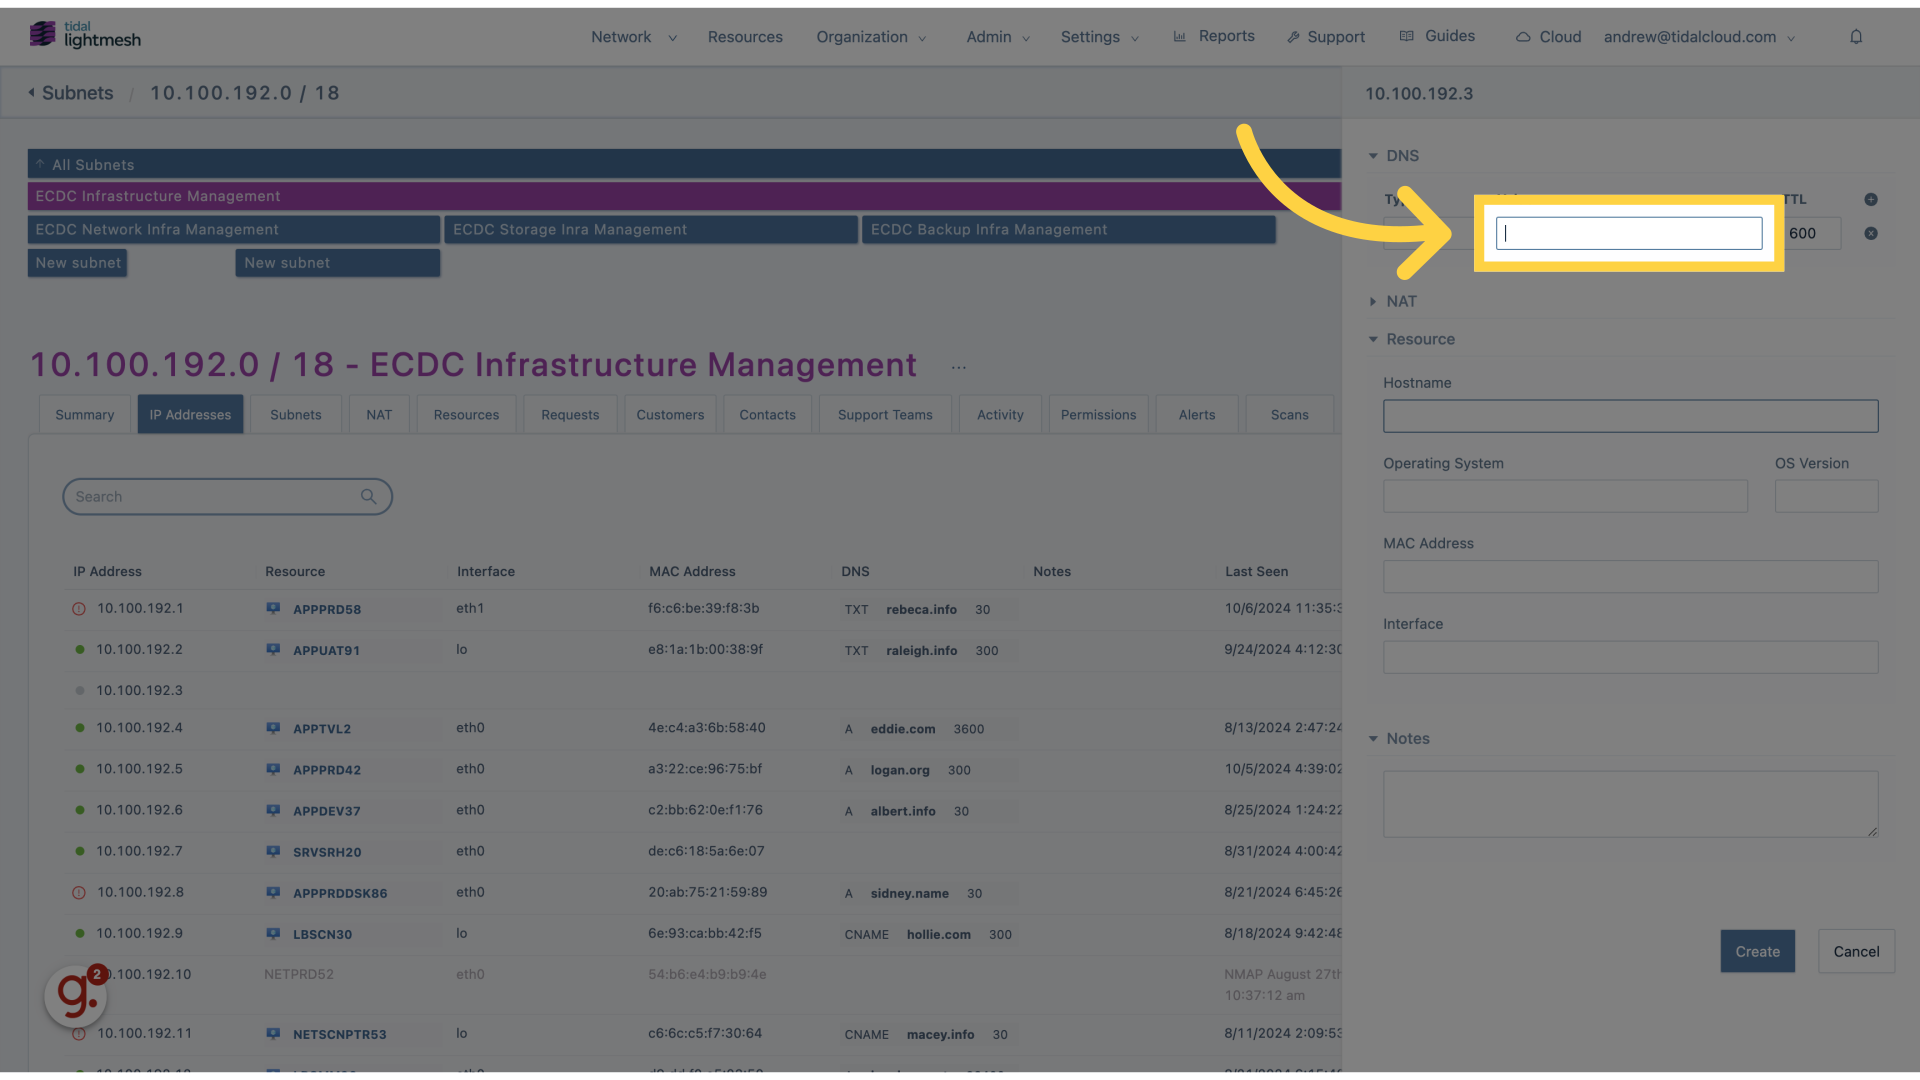
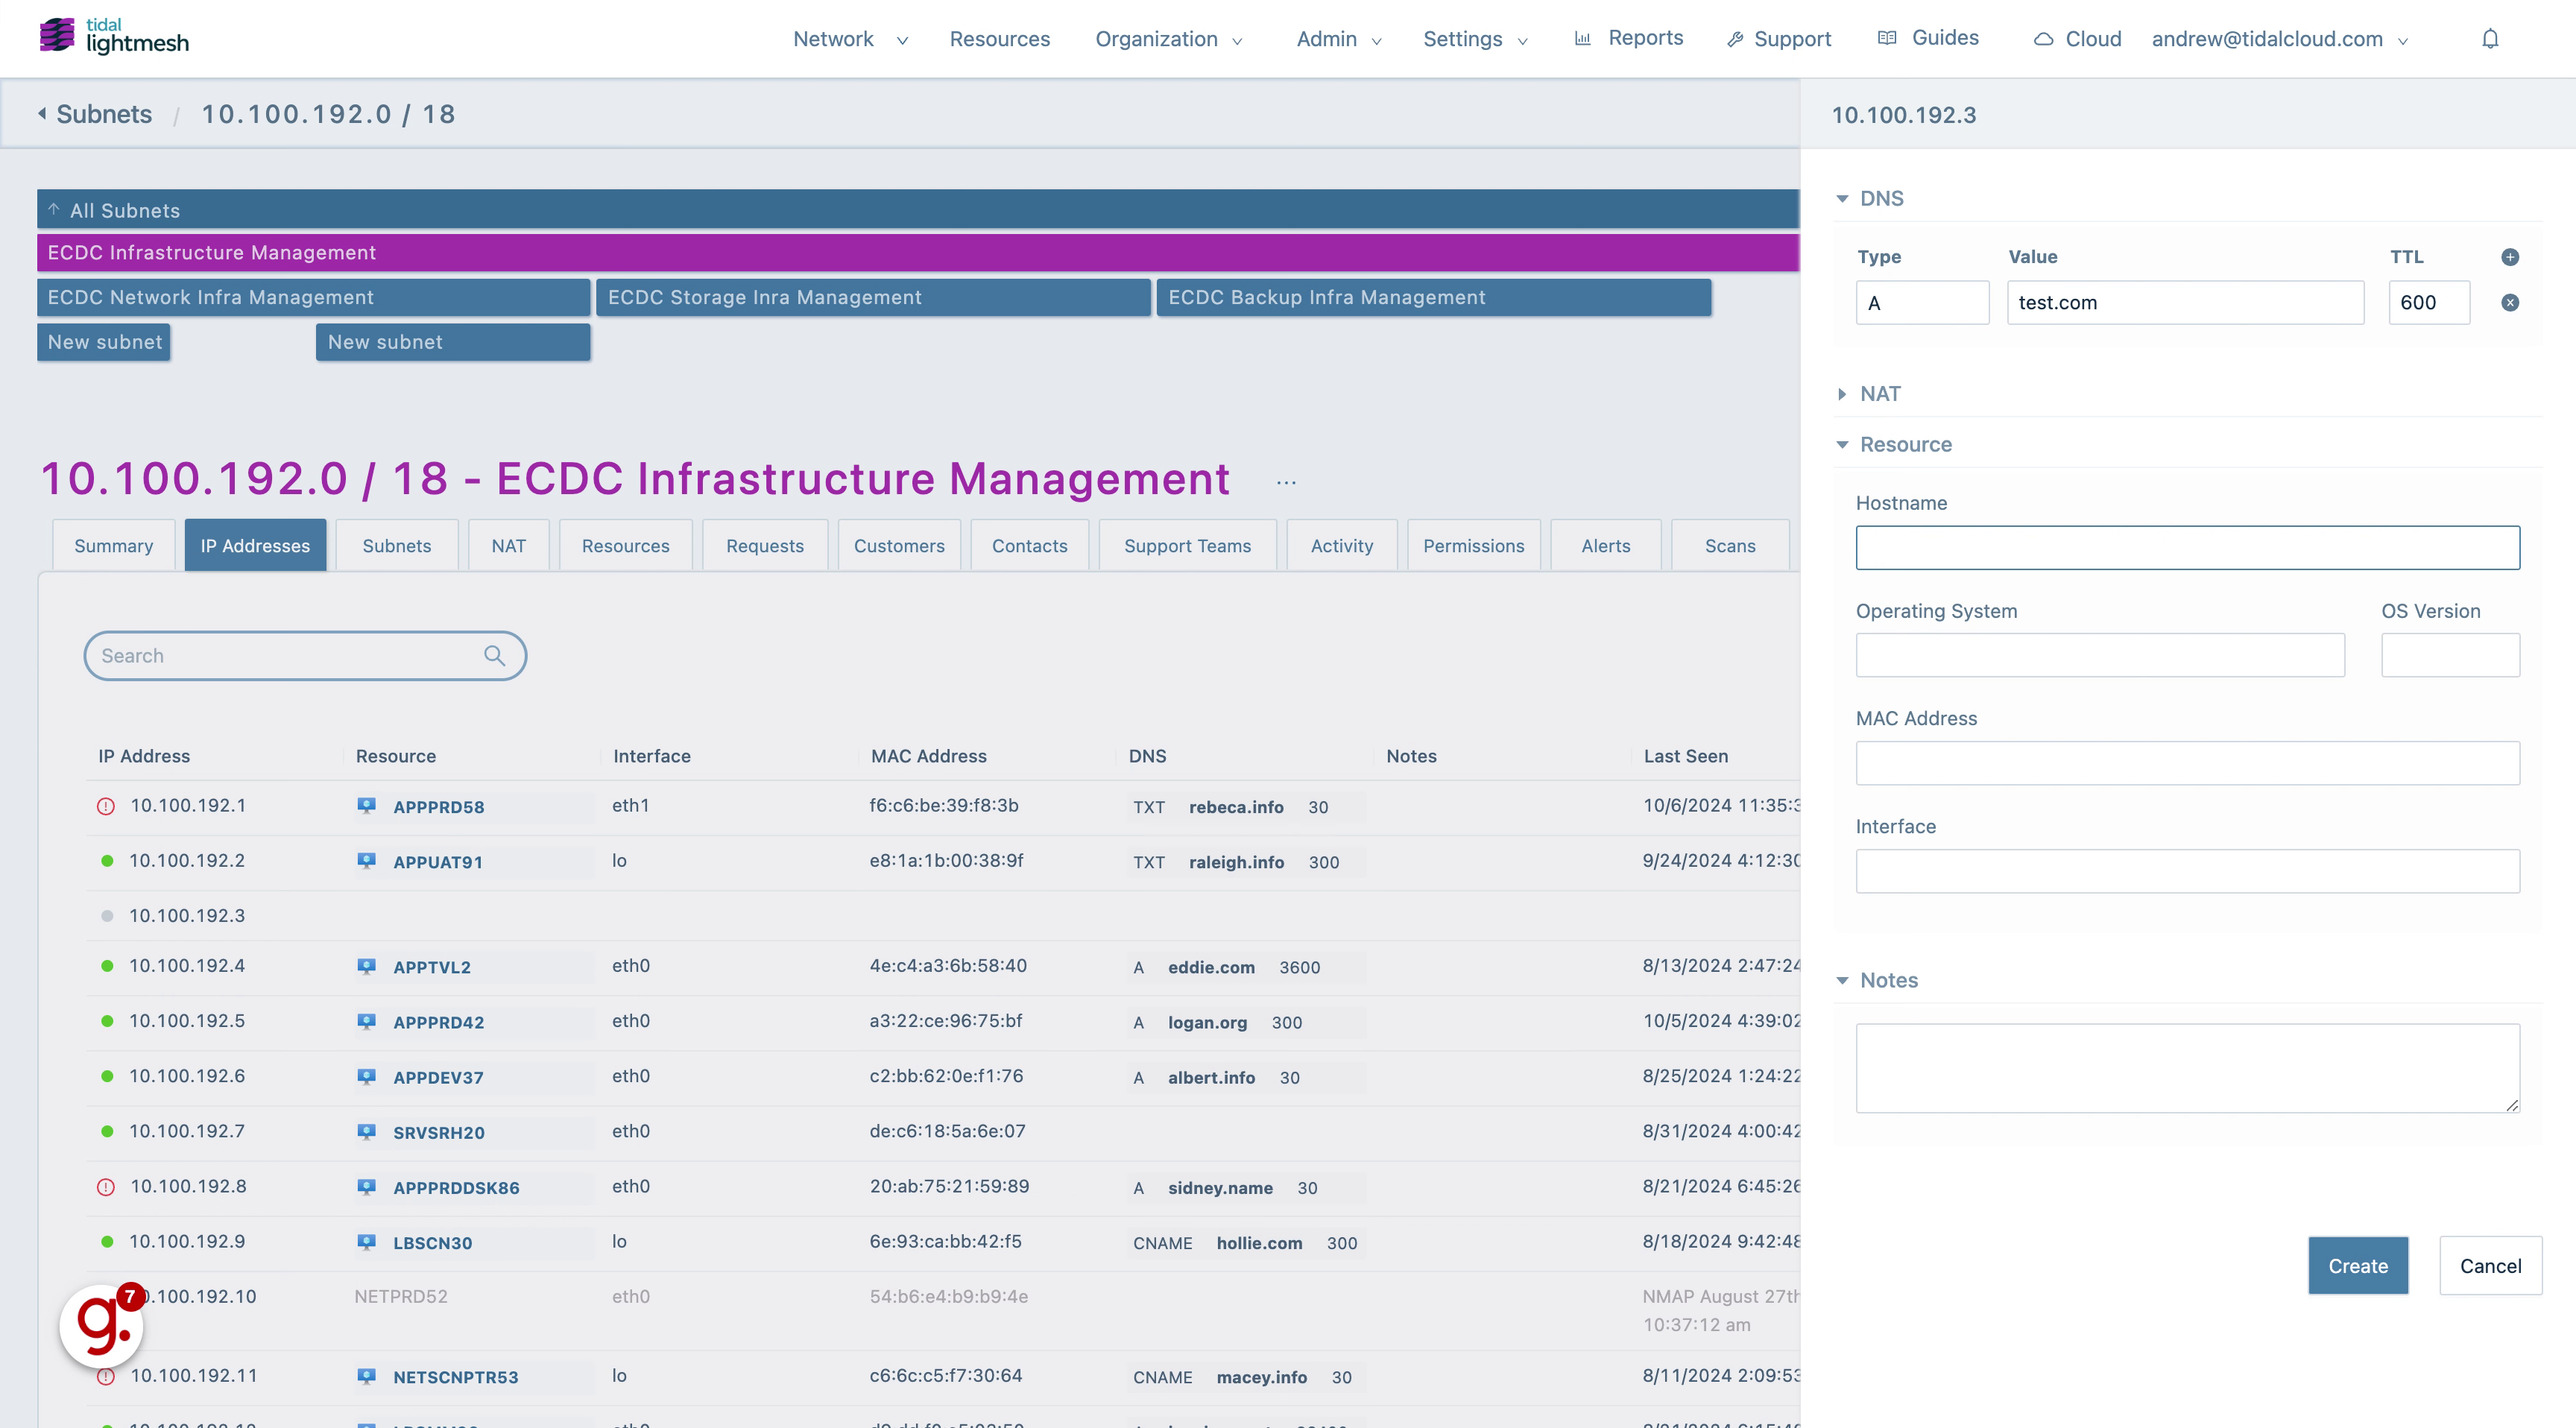
3. Add DNS value
Add DNS value
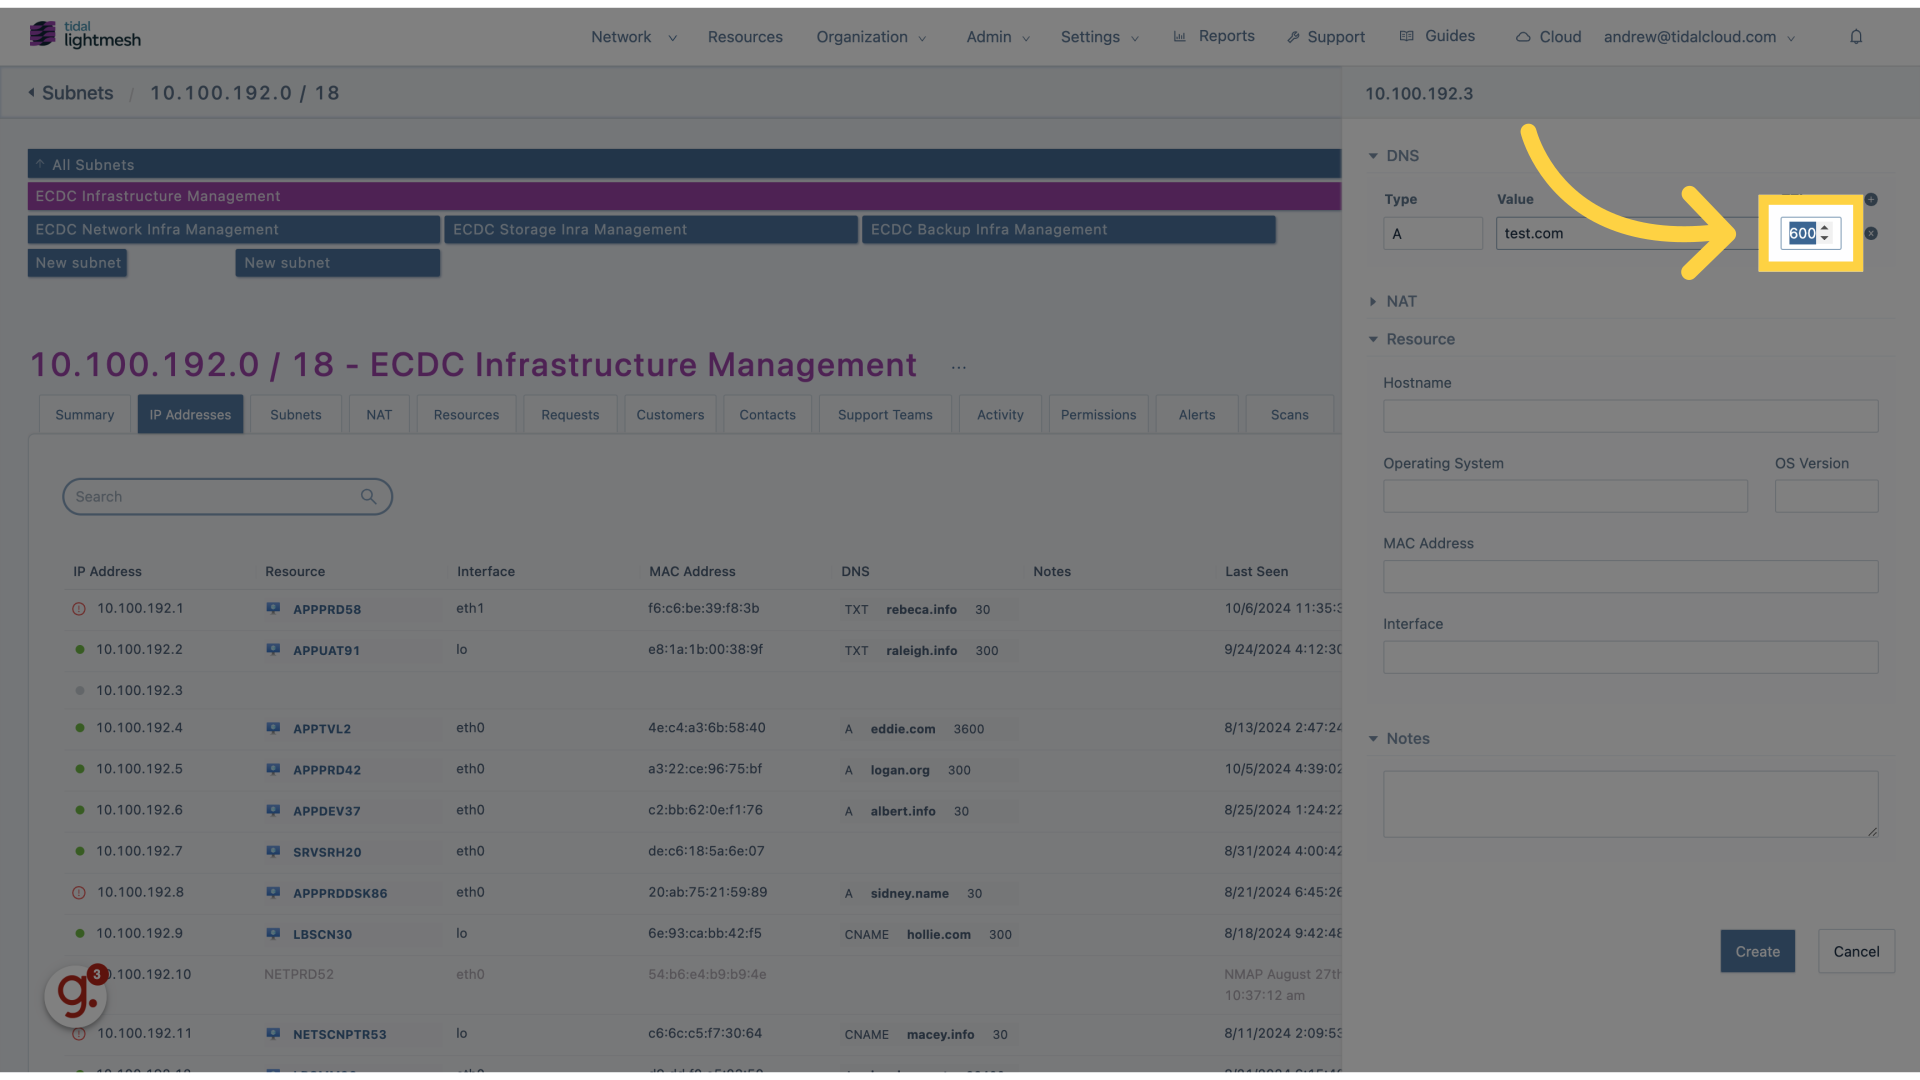
4. Fill “test.com”
Fill in “test.com”

5. Click TTL
Add TTL.
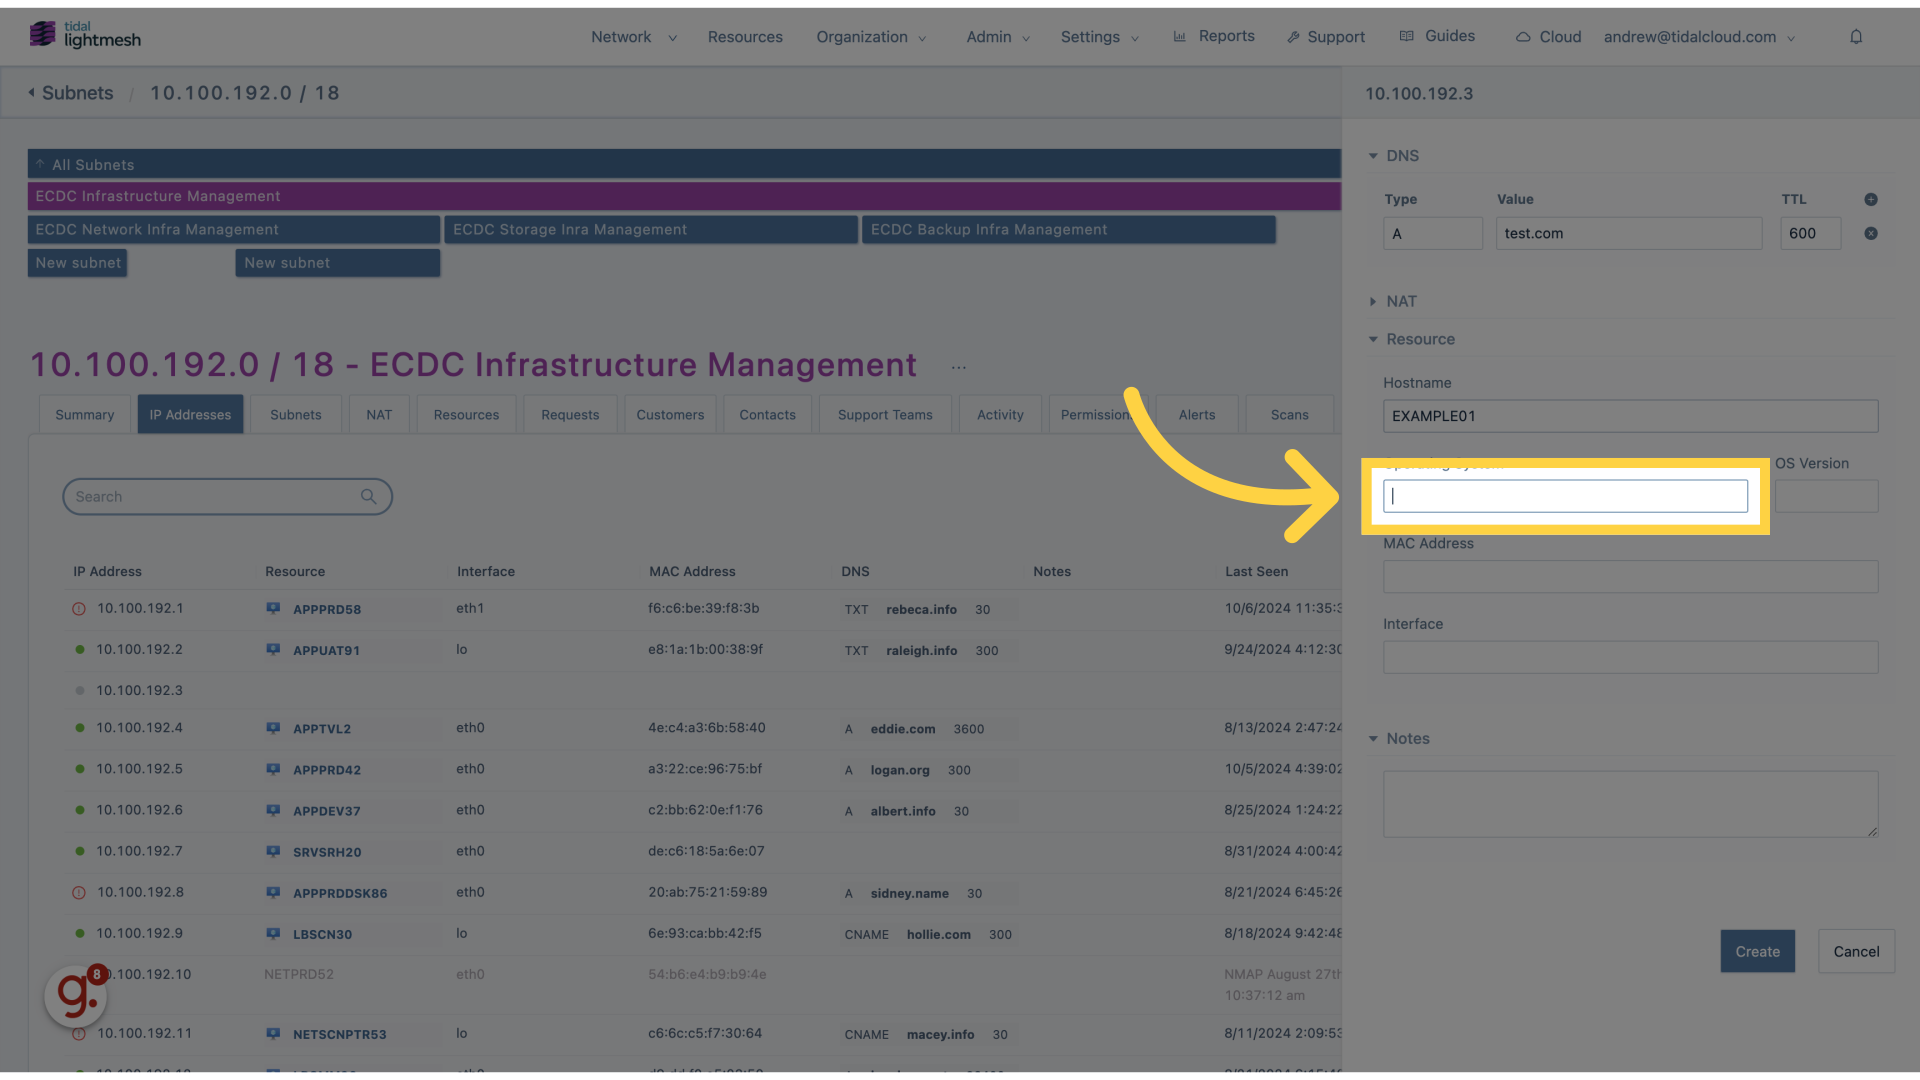
6. Click Hostname
Add Hostname
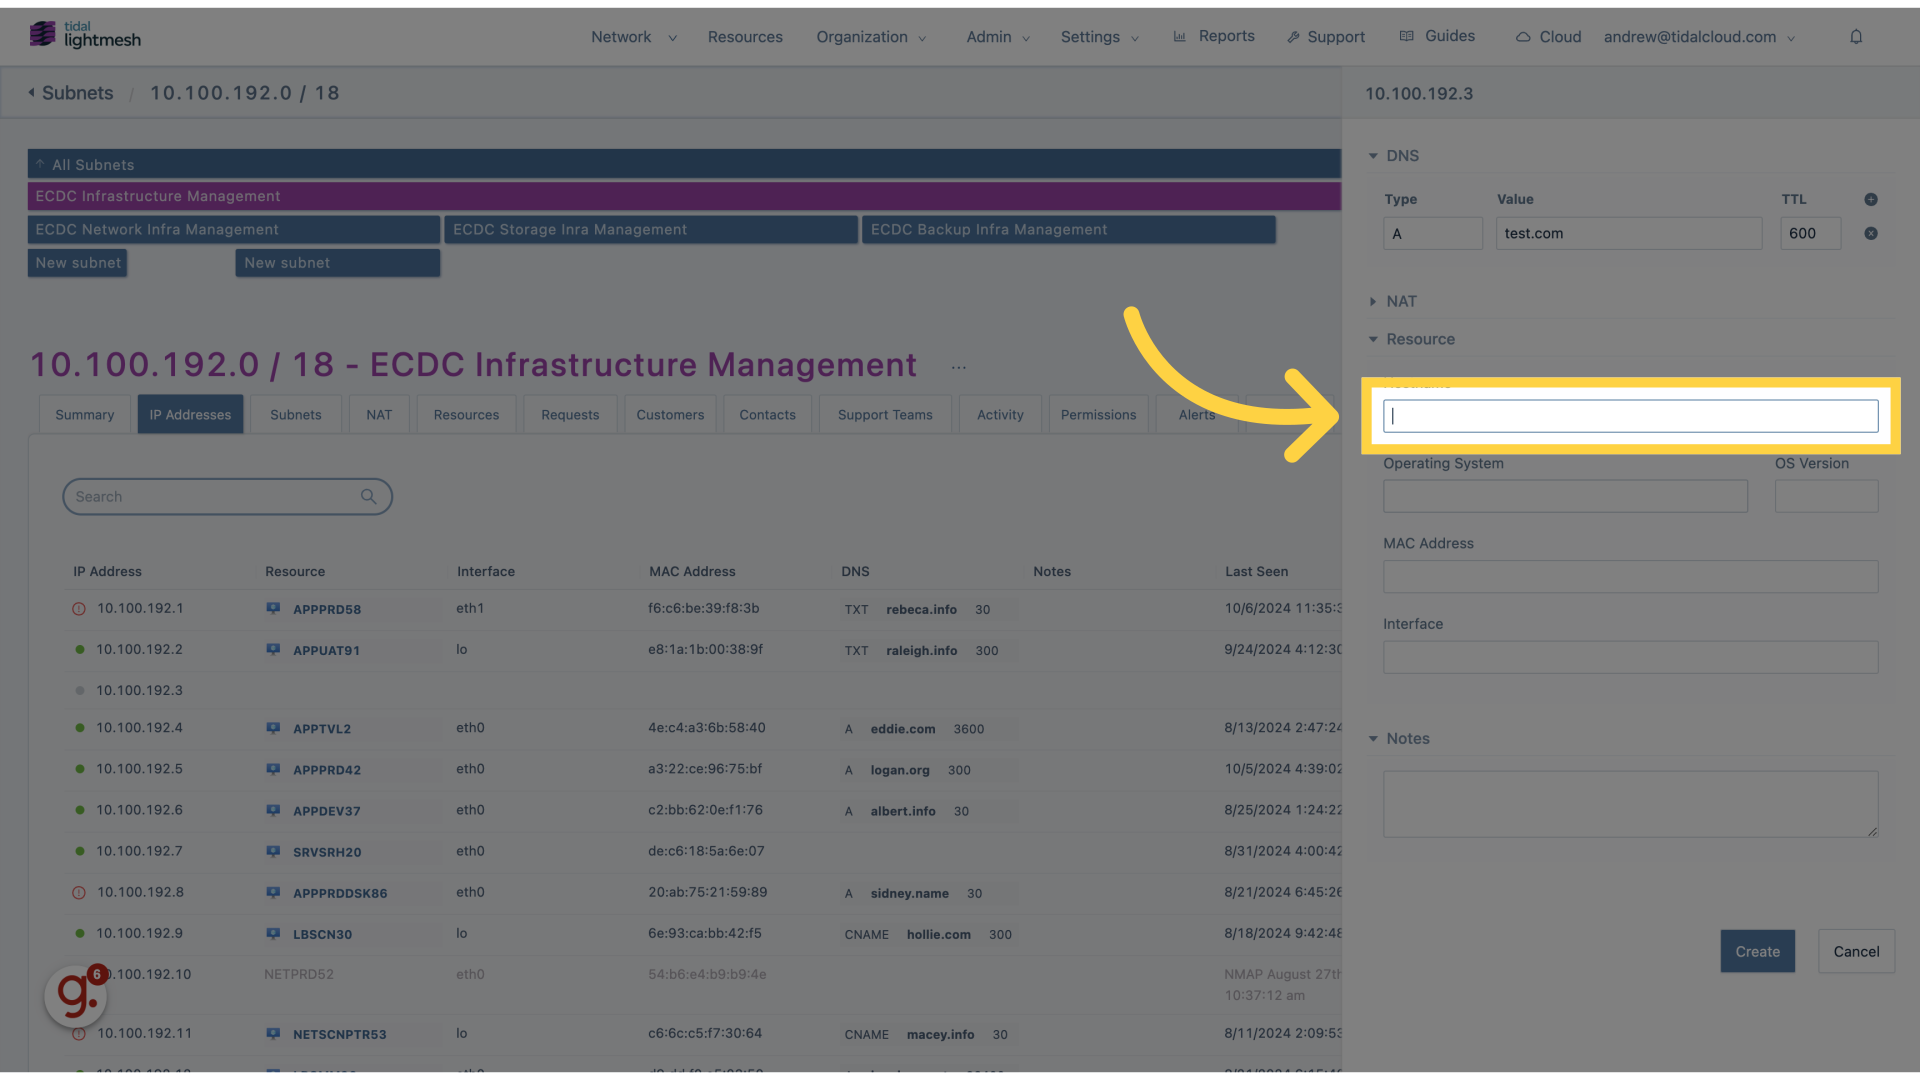
7. Fill “EXAMPLE01”
Enter “EXAMPLE01” in the provided field
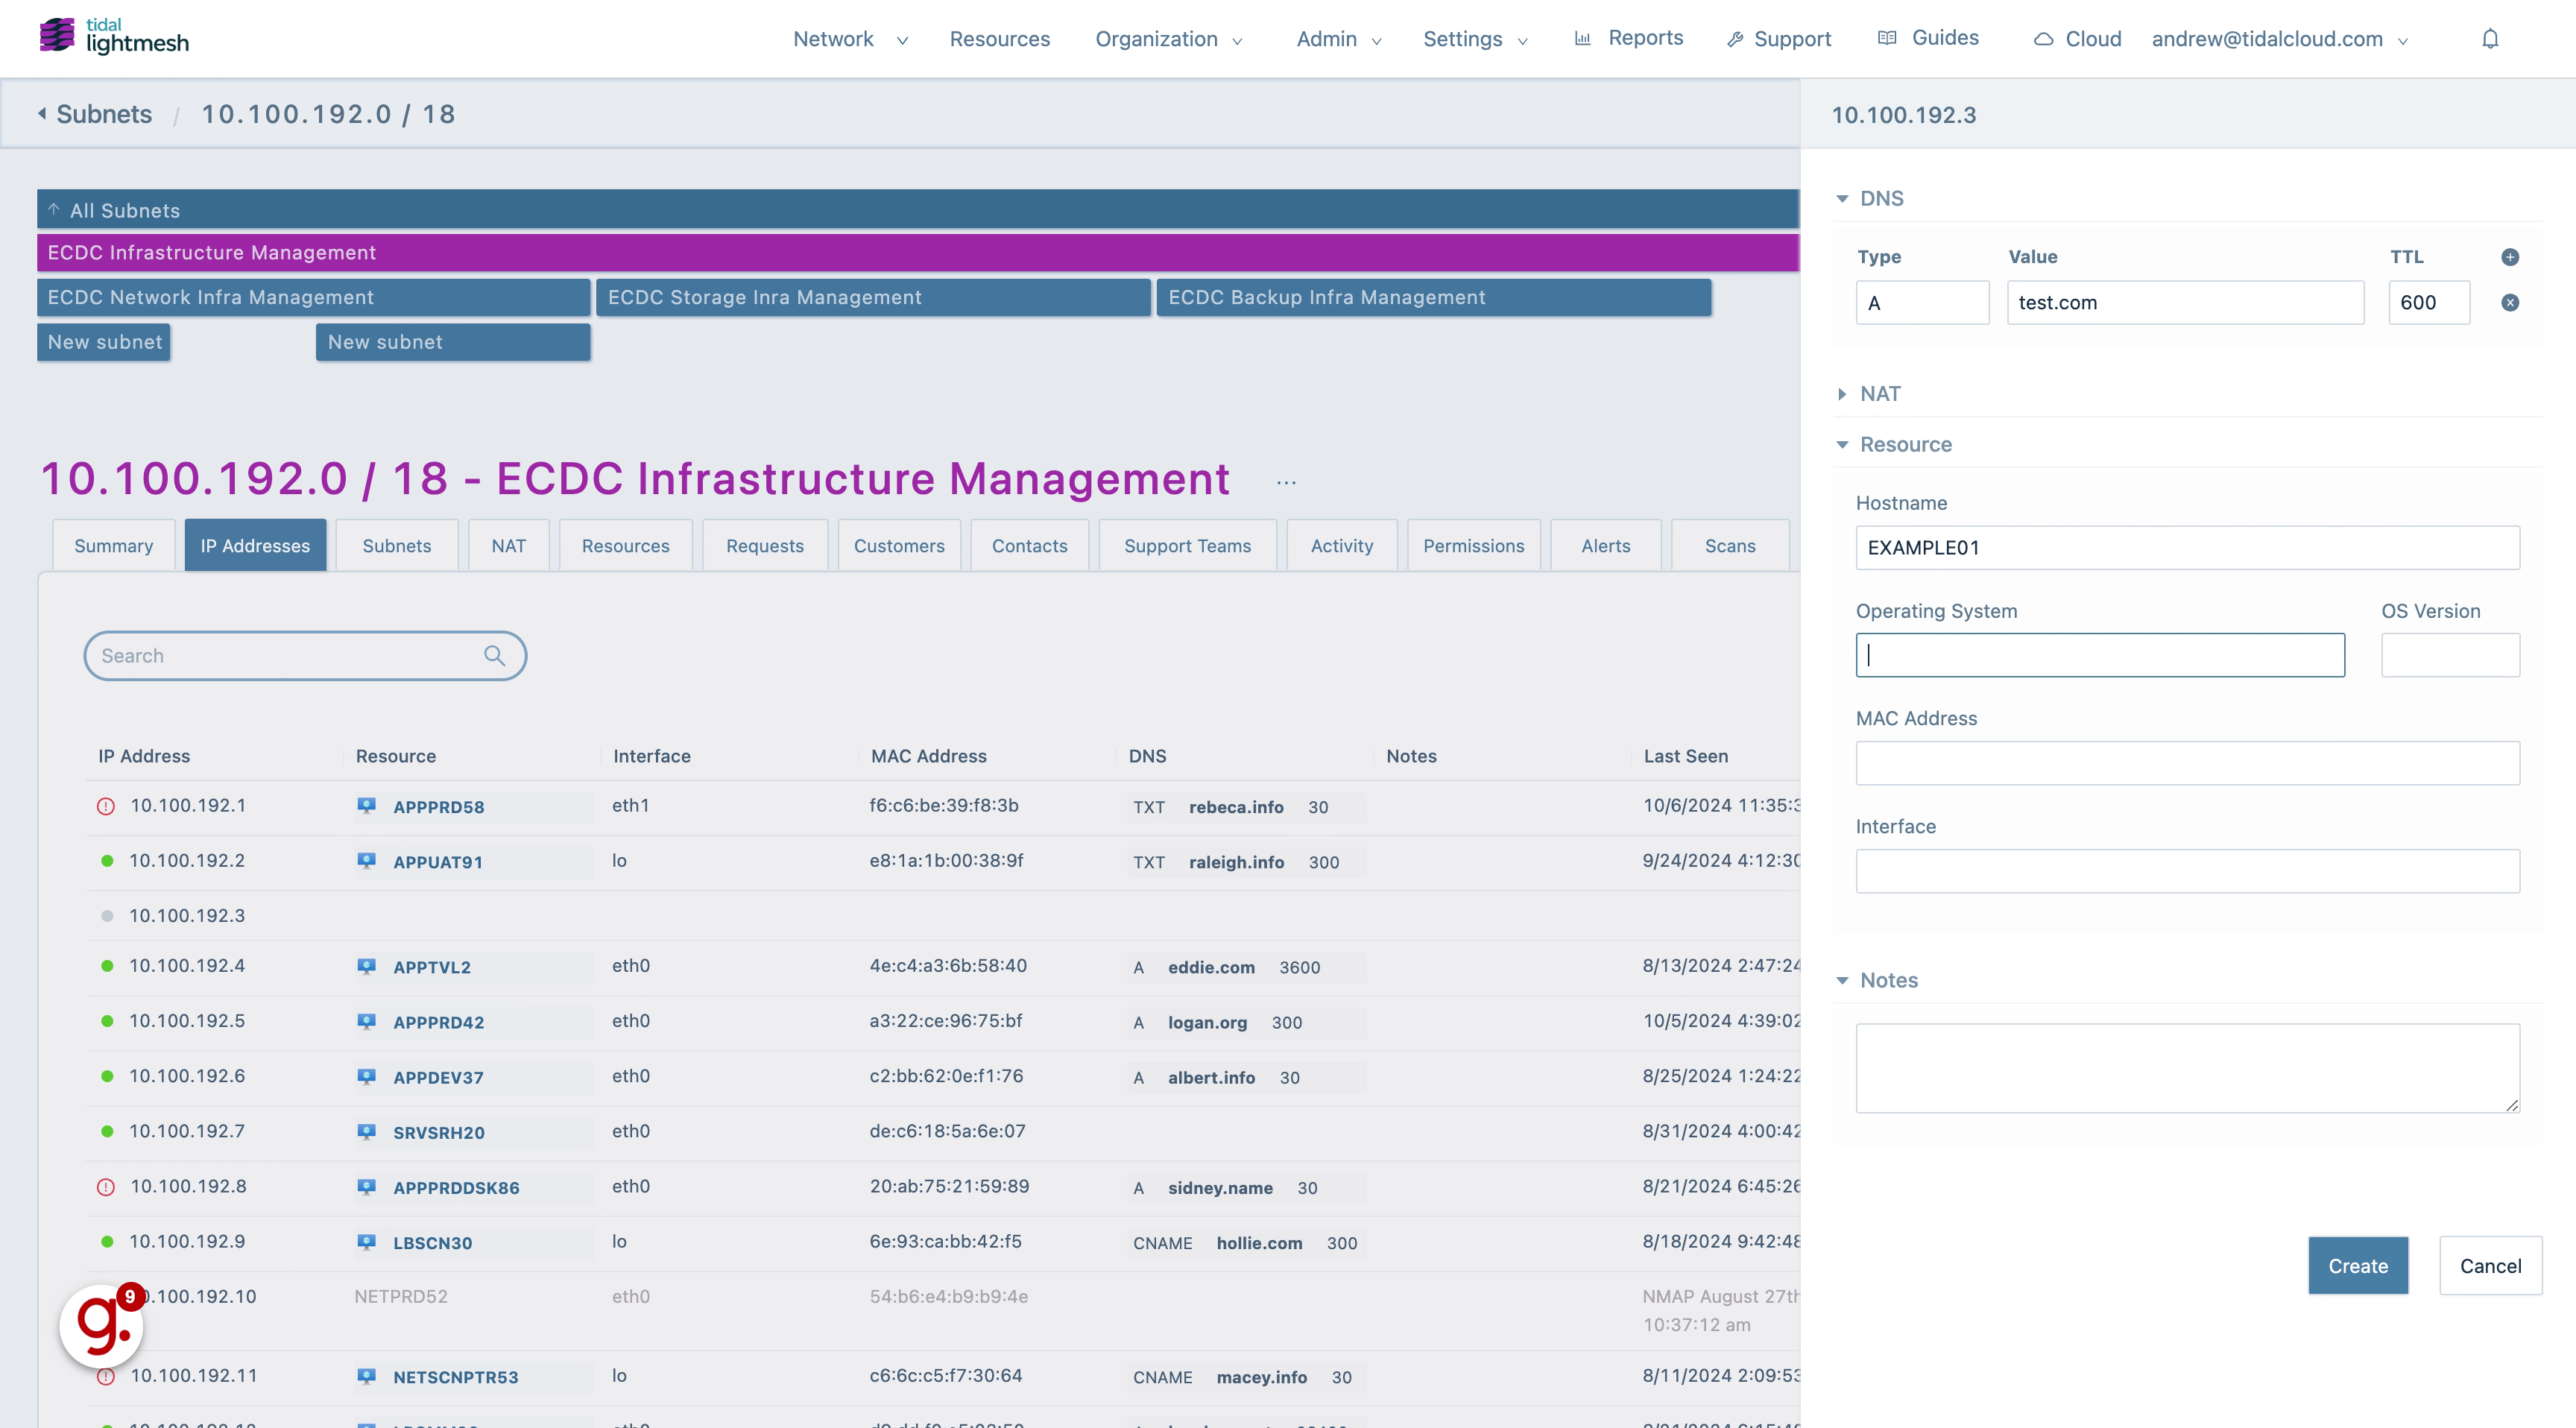
8. Click OS
Add Operating System.
9. Fill “Windows”
Fill in the text box with “Windows”
10. Click OS Version
Add OS Version.
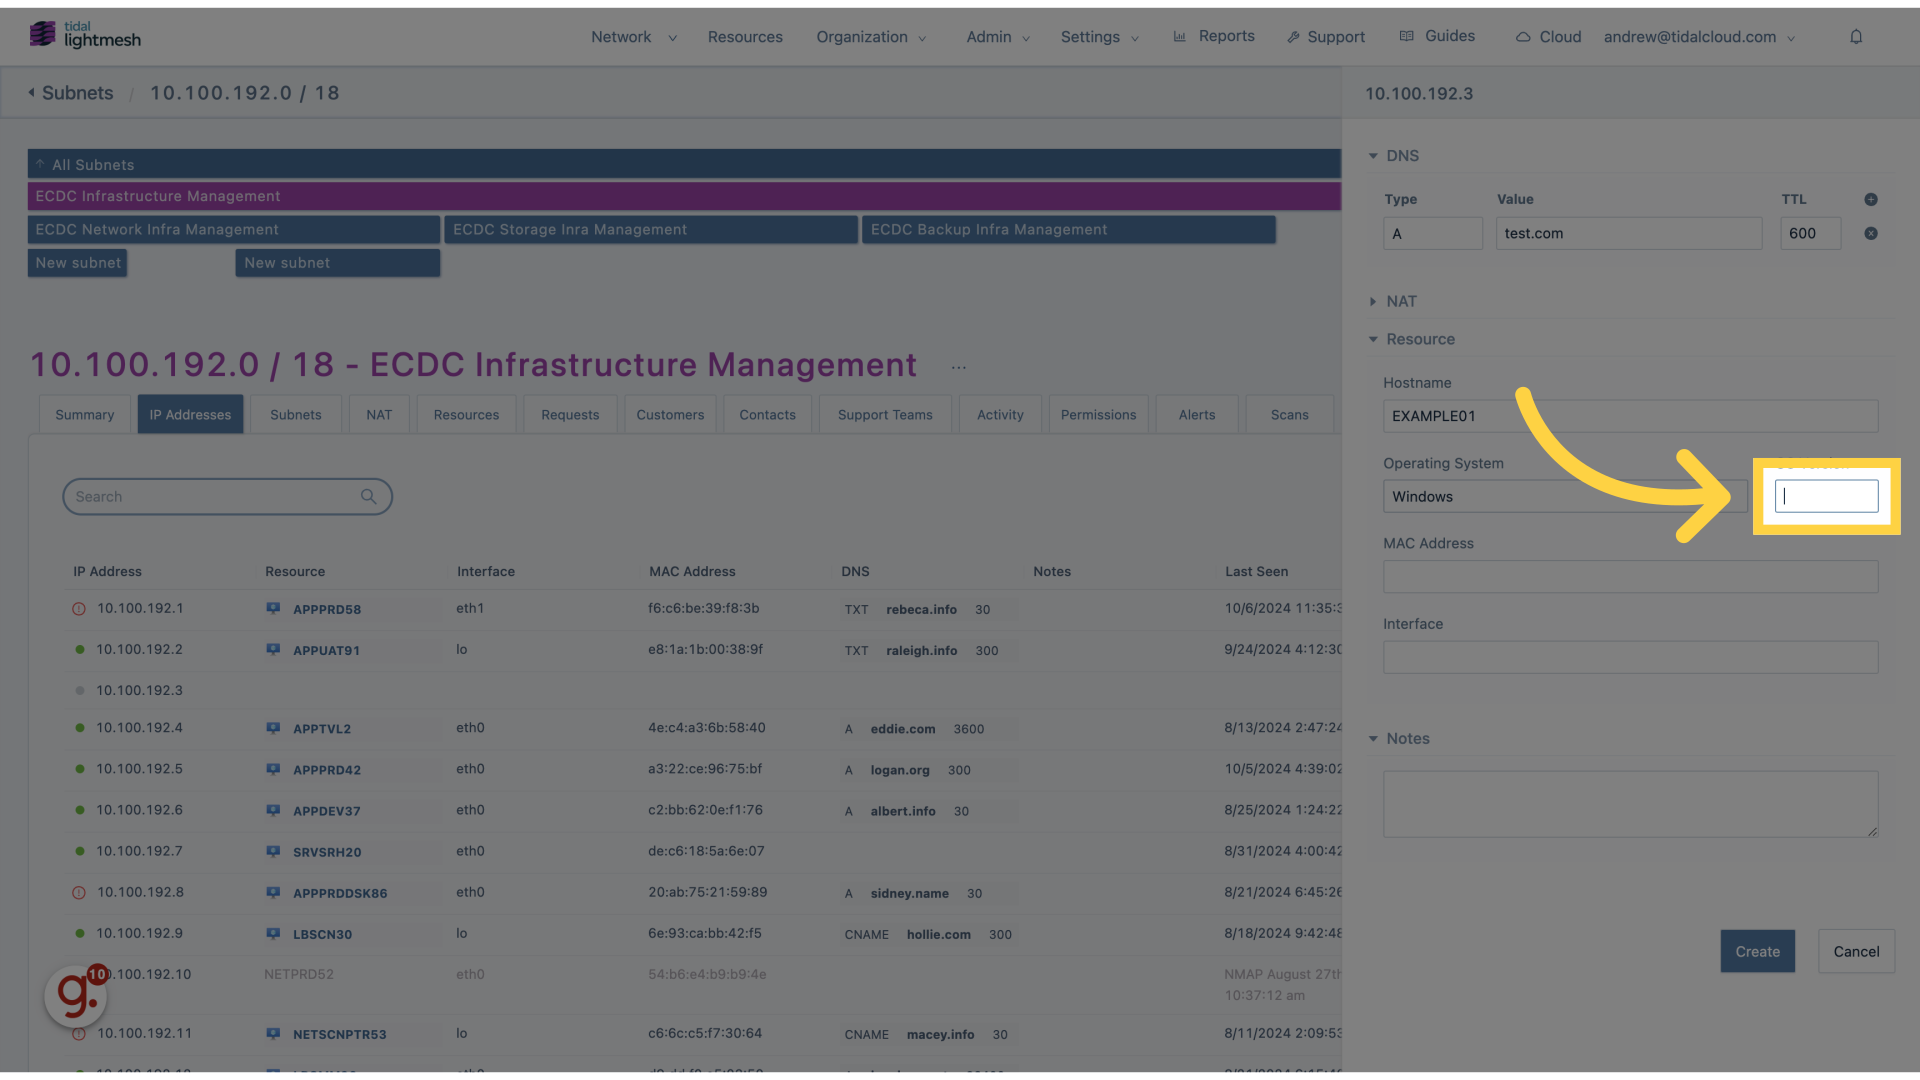
11. Fill “10.1”
Enter the desired text.

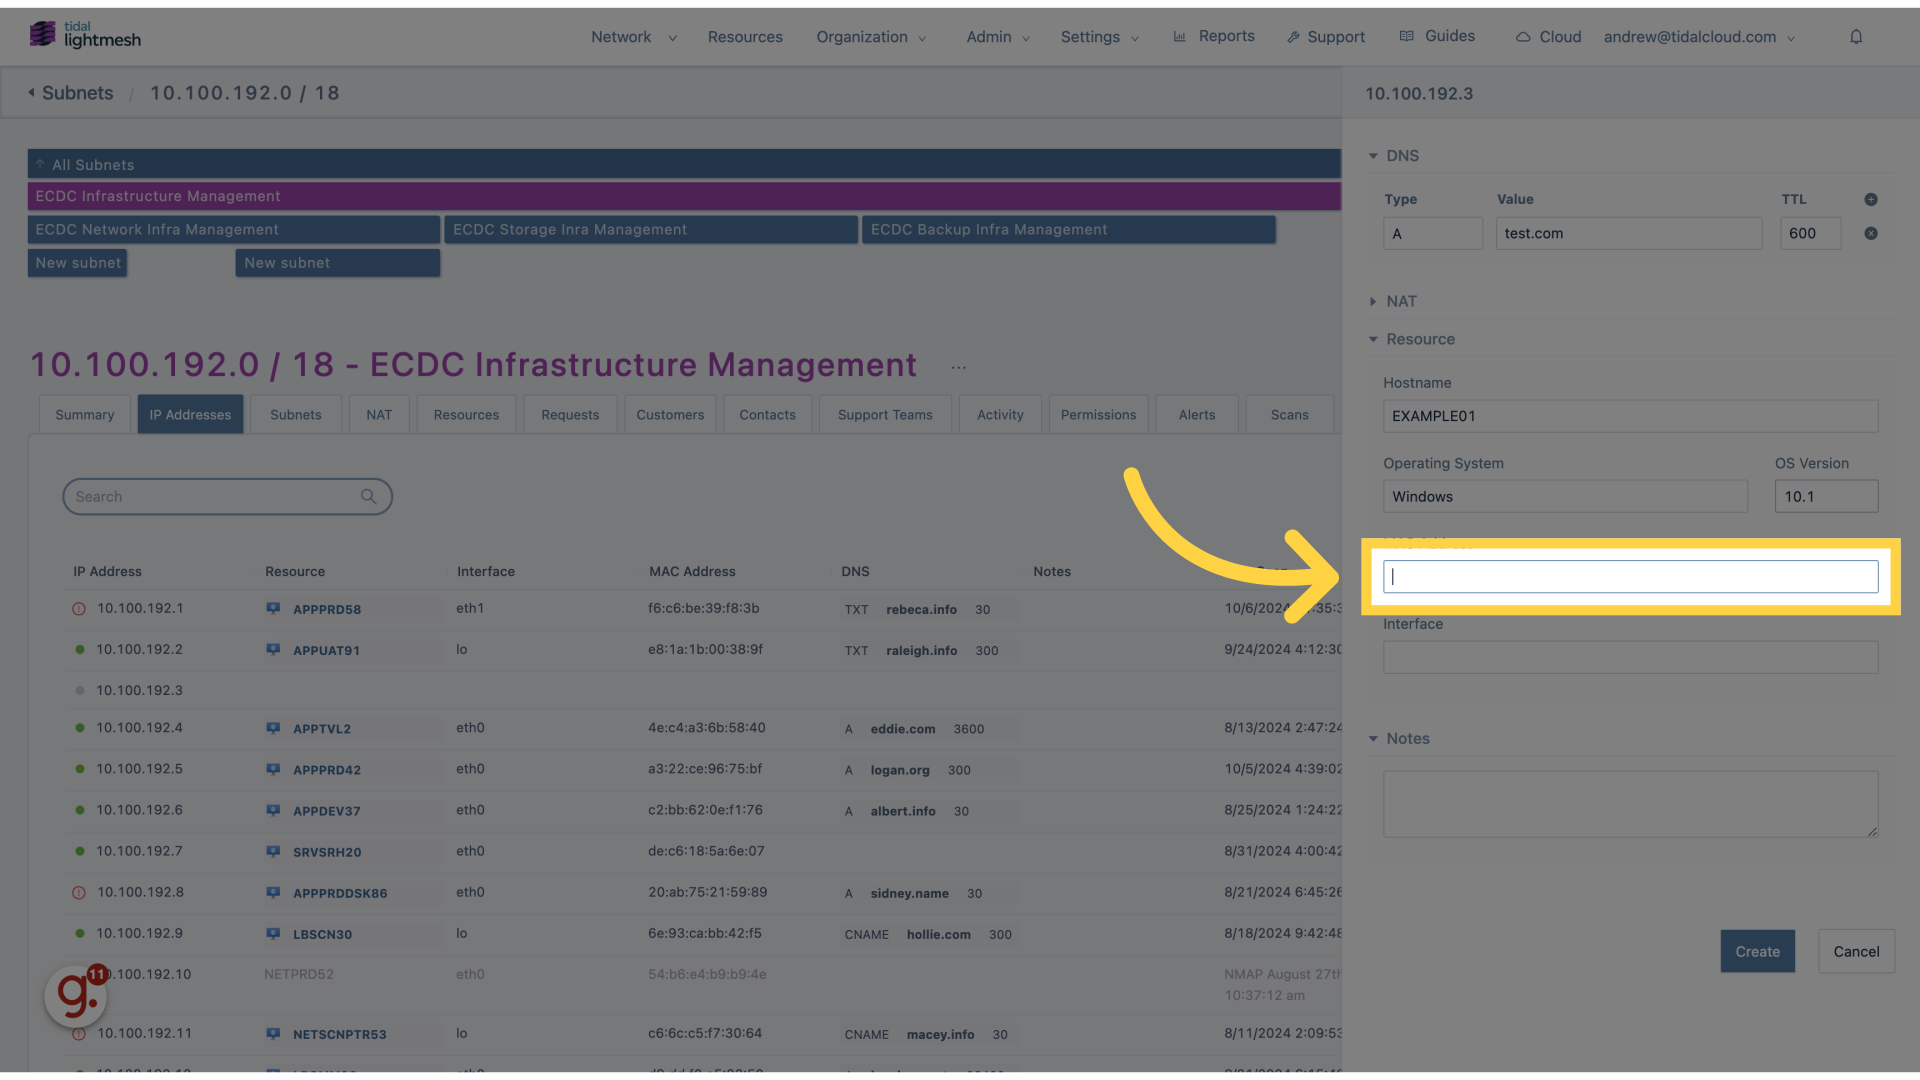
12. Click MAC Address
Add MAC Address.
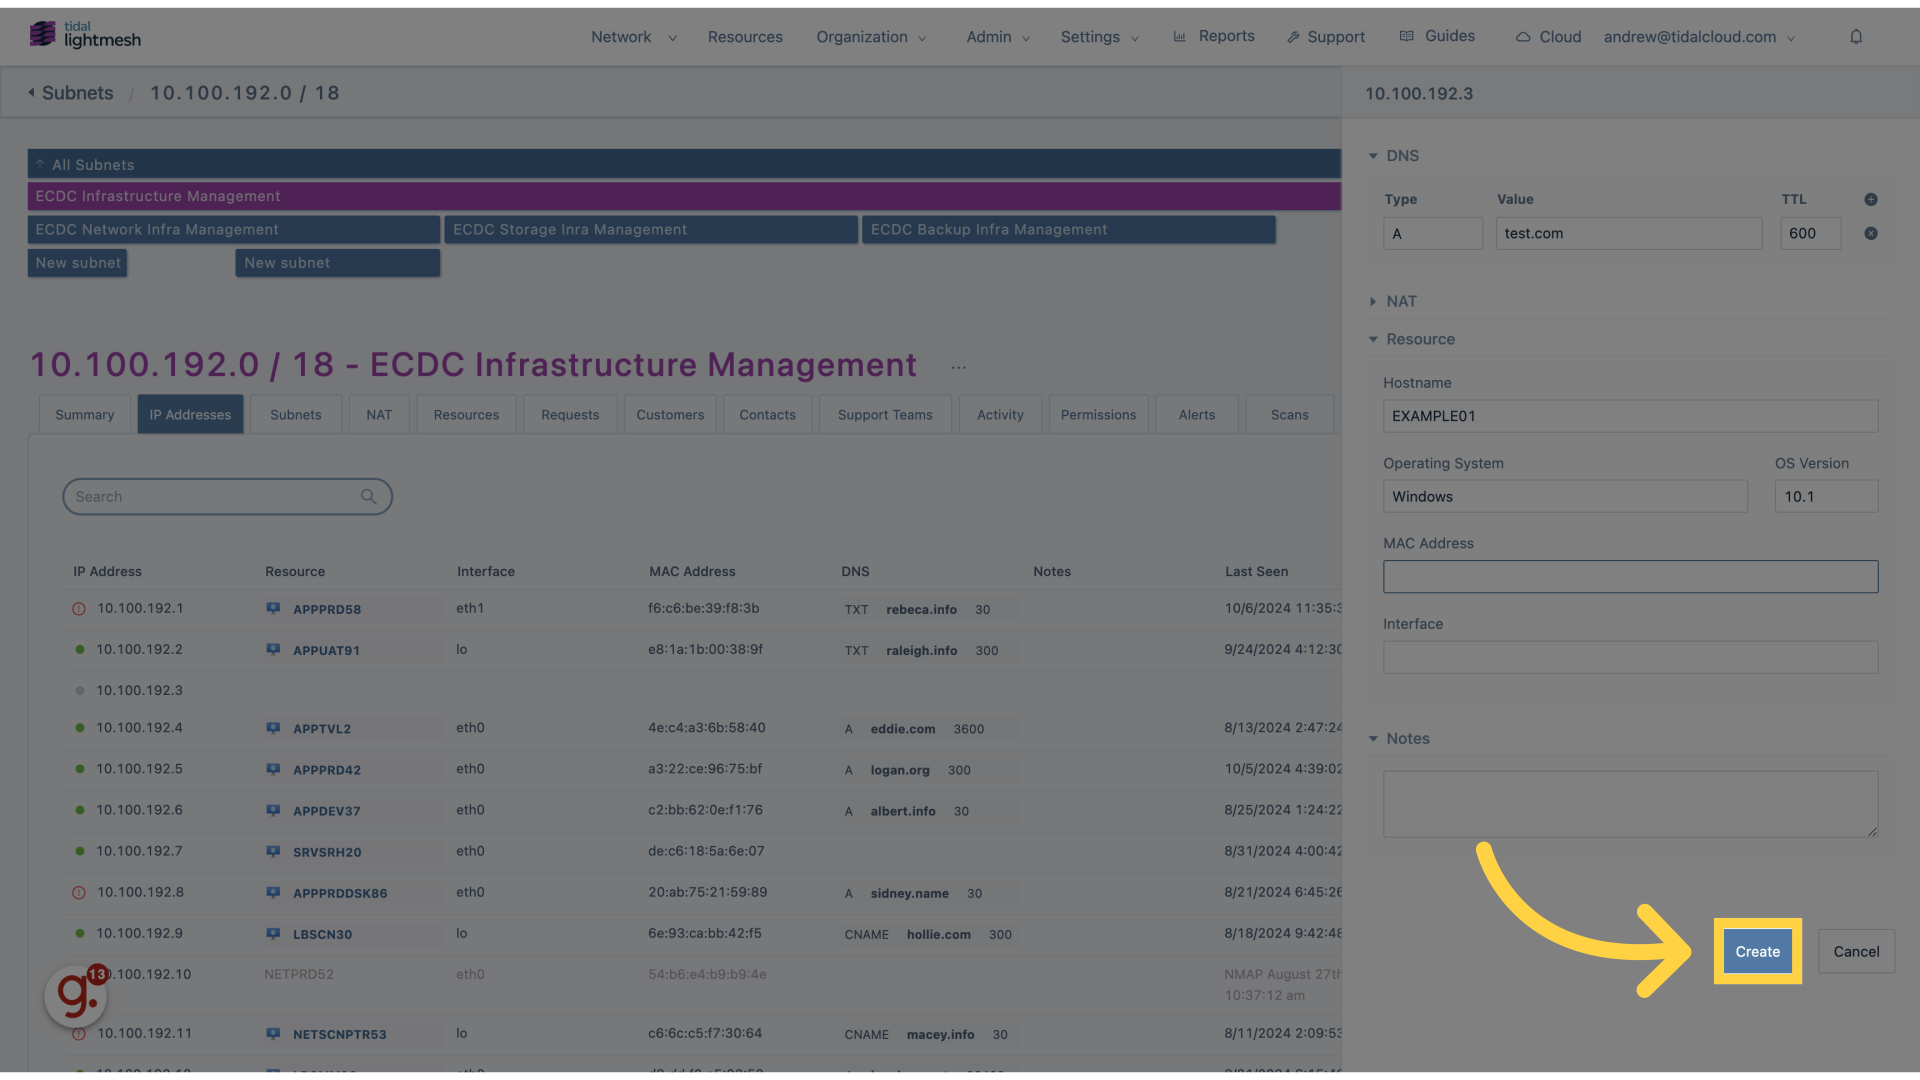
13. Click “Create”
Select “Create” to finalize the IP assignment.
In this guide, you’ve learned how to create an IP assignment in Lightmesh.