Importing Zones
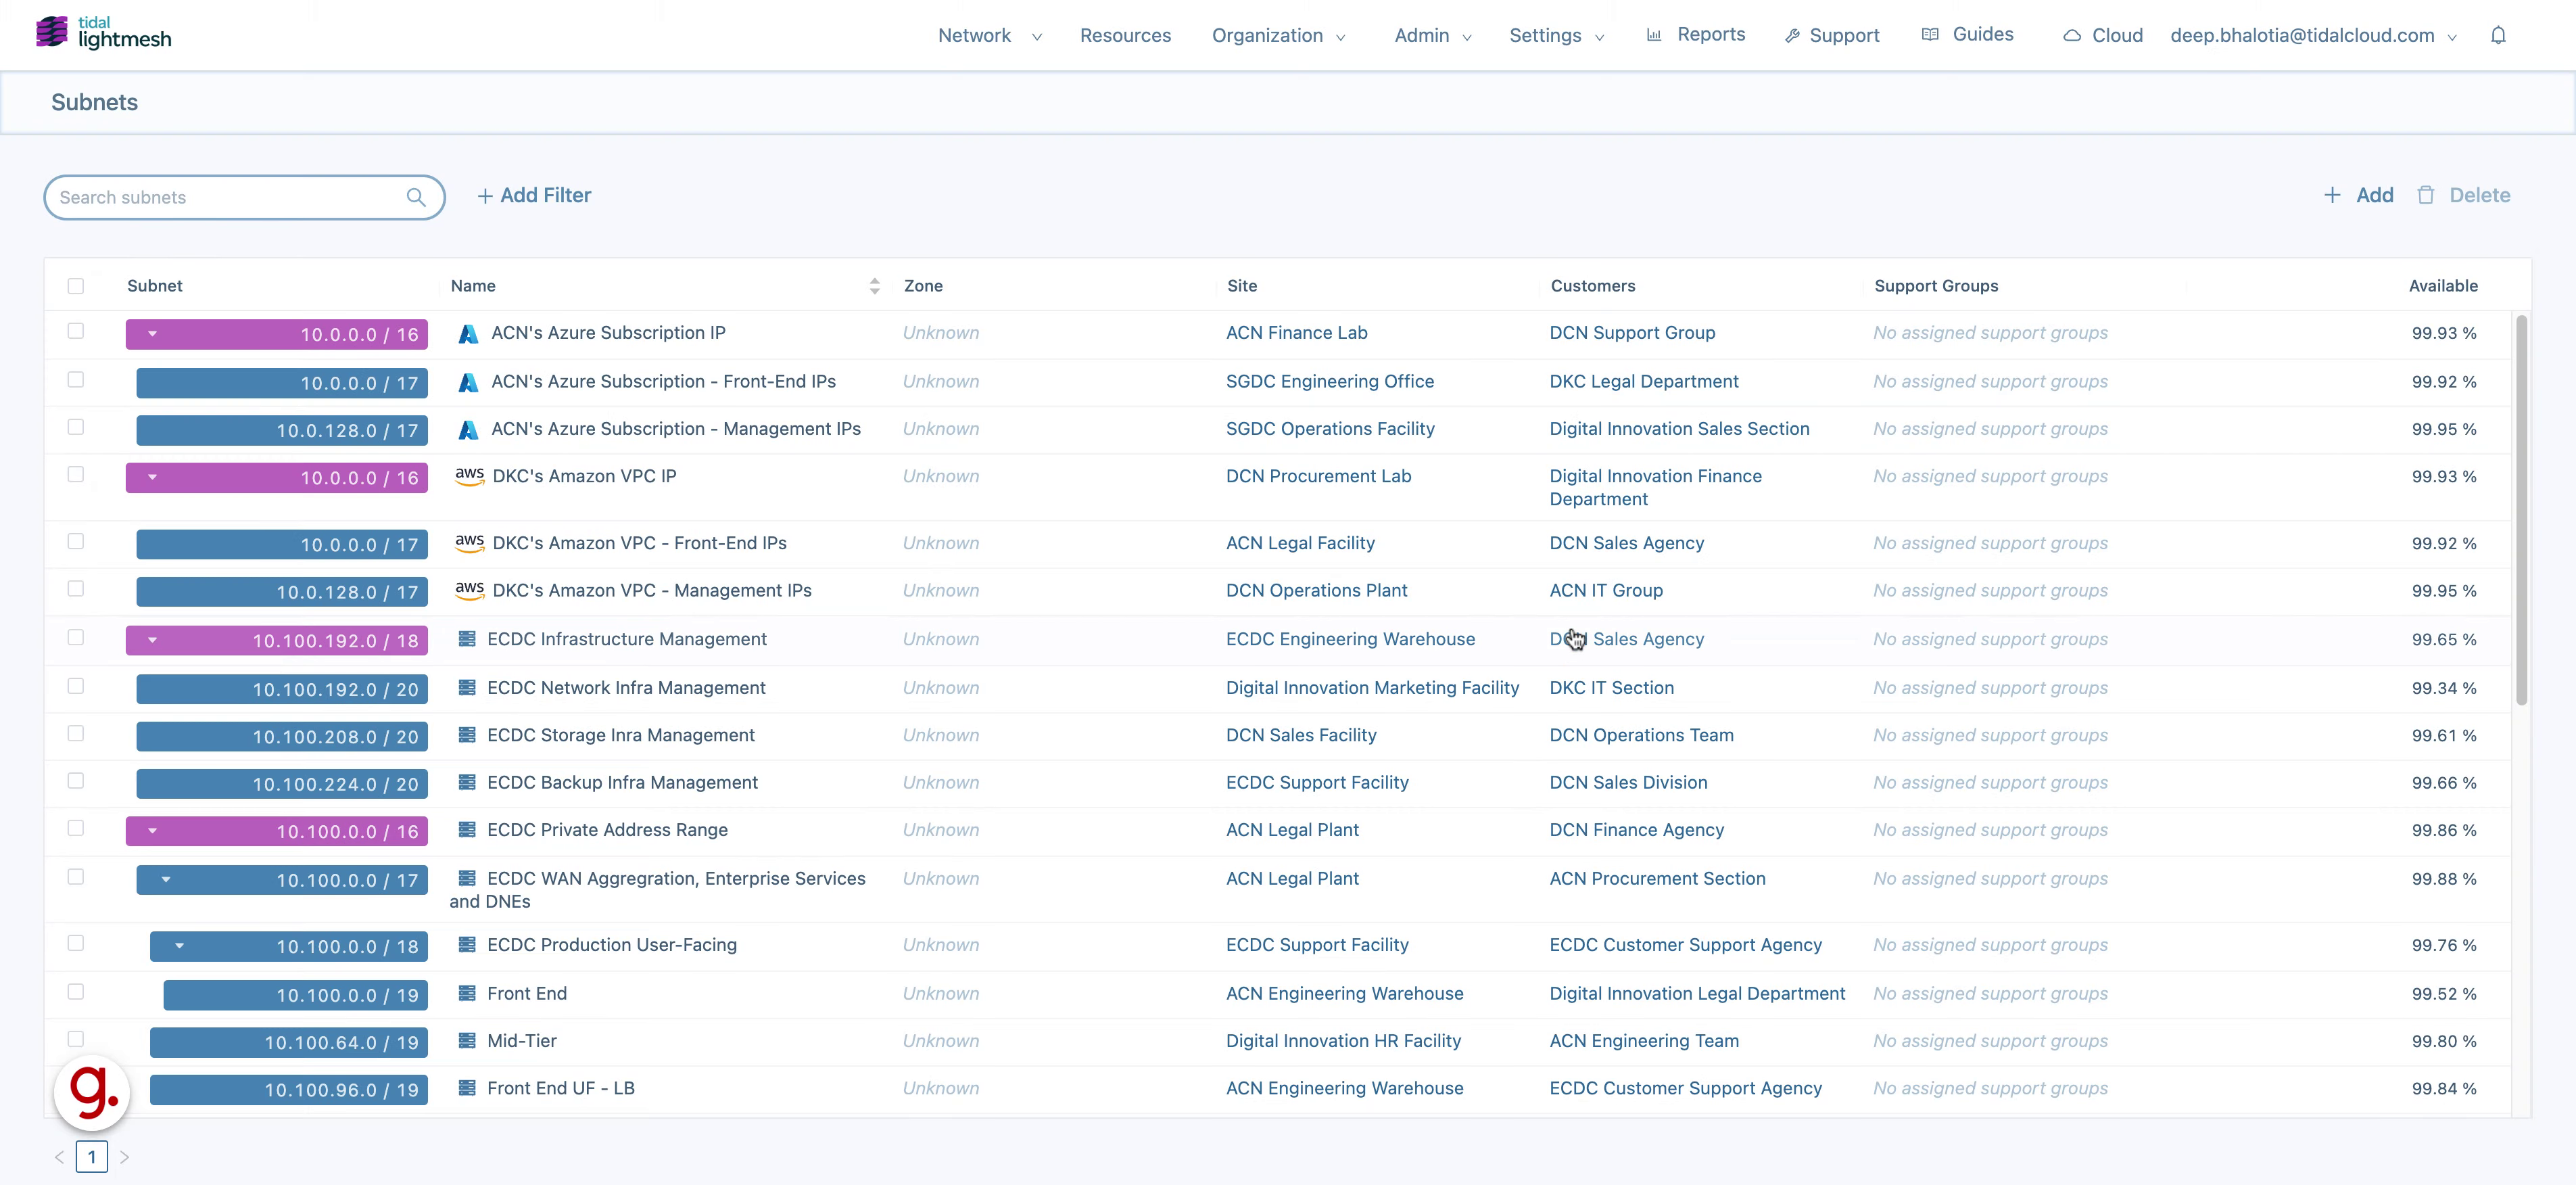
This guide walks you through the steps to import zones into LightMesh. Network Zones are a flexible way to organize overlapping address ranges. They can be tied to Locations, Organizations, or other organizational schemes. Zones can also be broken down in to smaller zones to accomodate complex environments.
1. Introduction
" By following these instructions, employees can easily navigate the system and enhance their data management capabilities.
2. Click Imports
Click on the designated button.
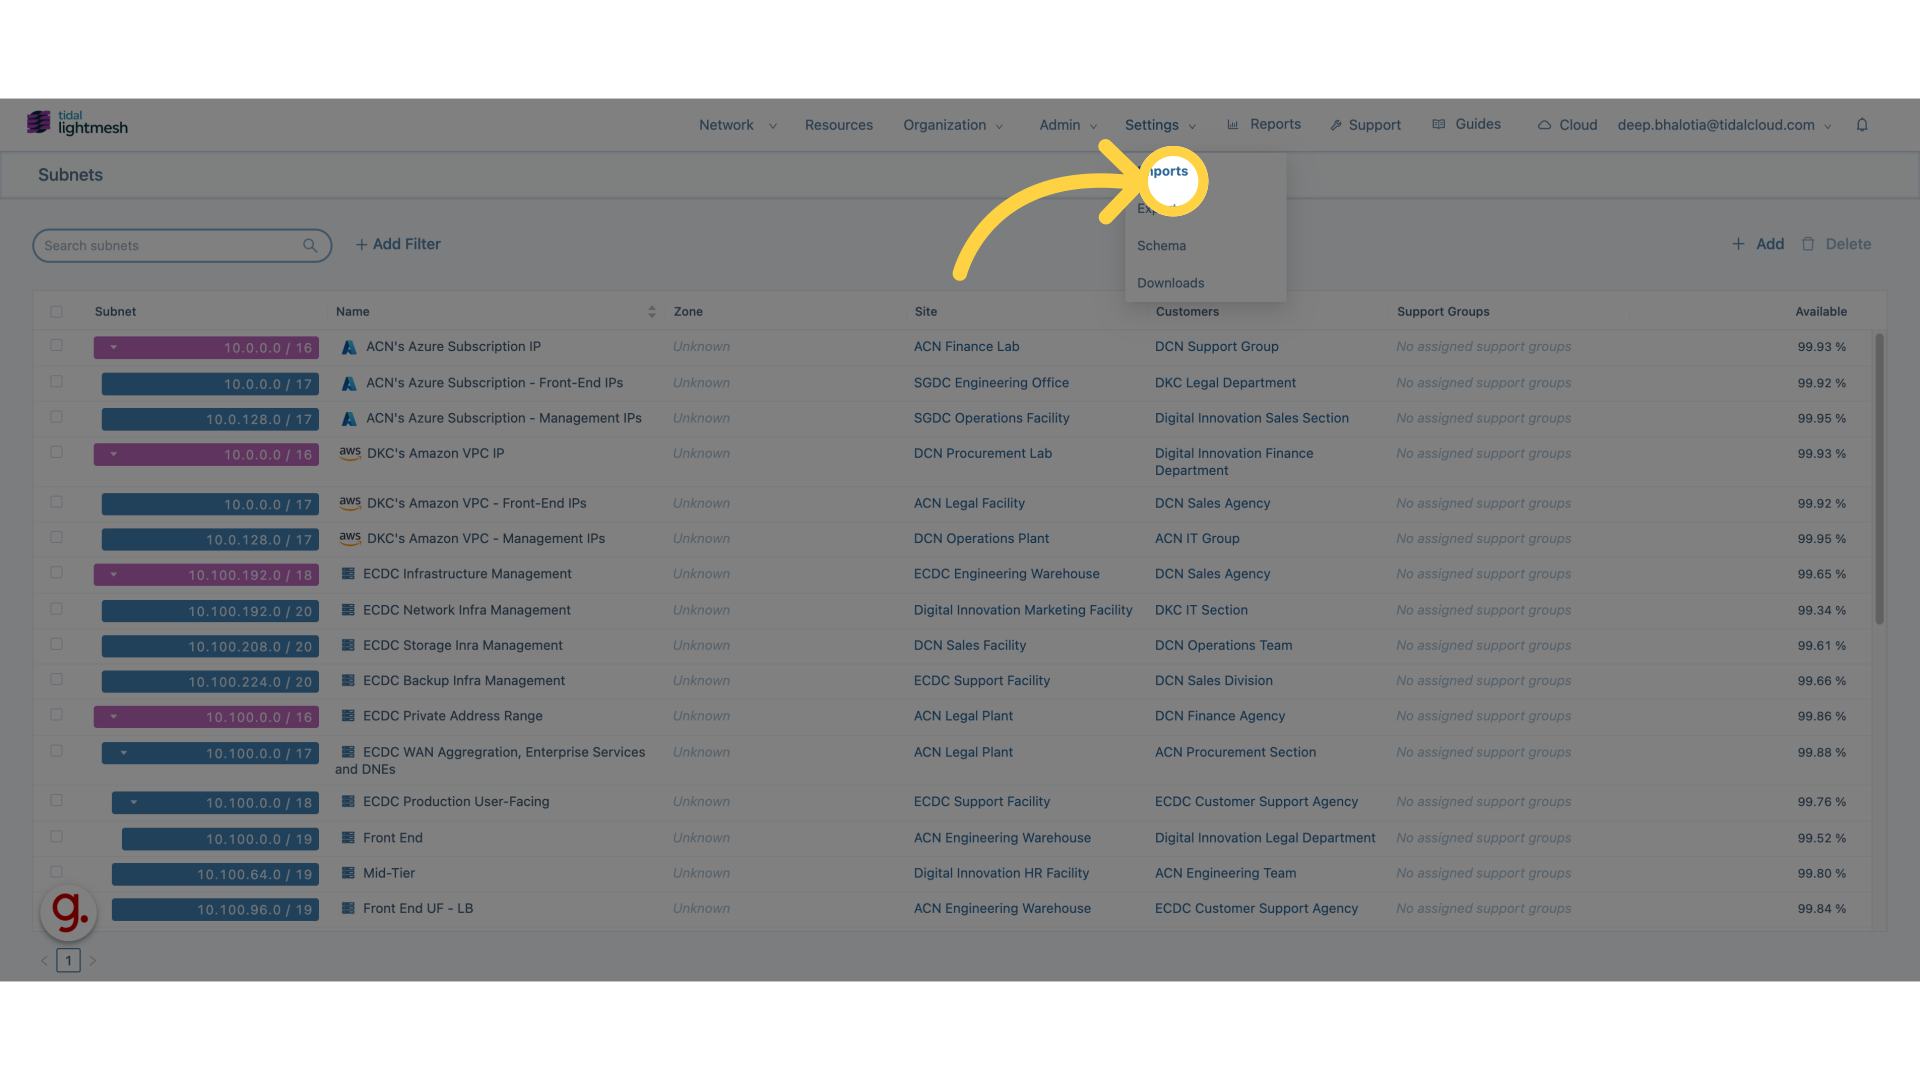
3. Click “Deep’s Import”
Select “Deep’s Import” from the menu.

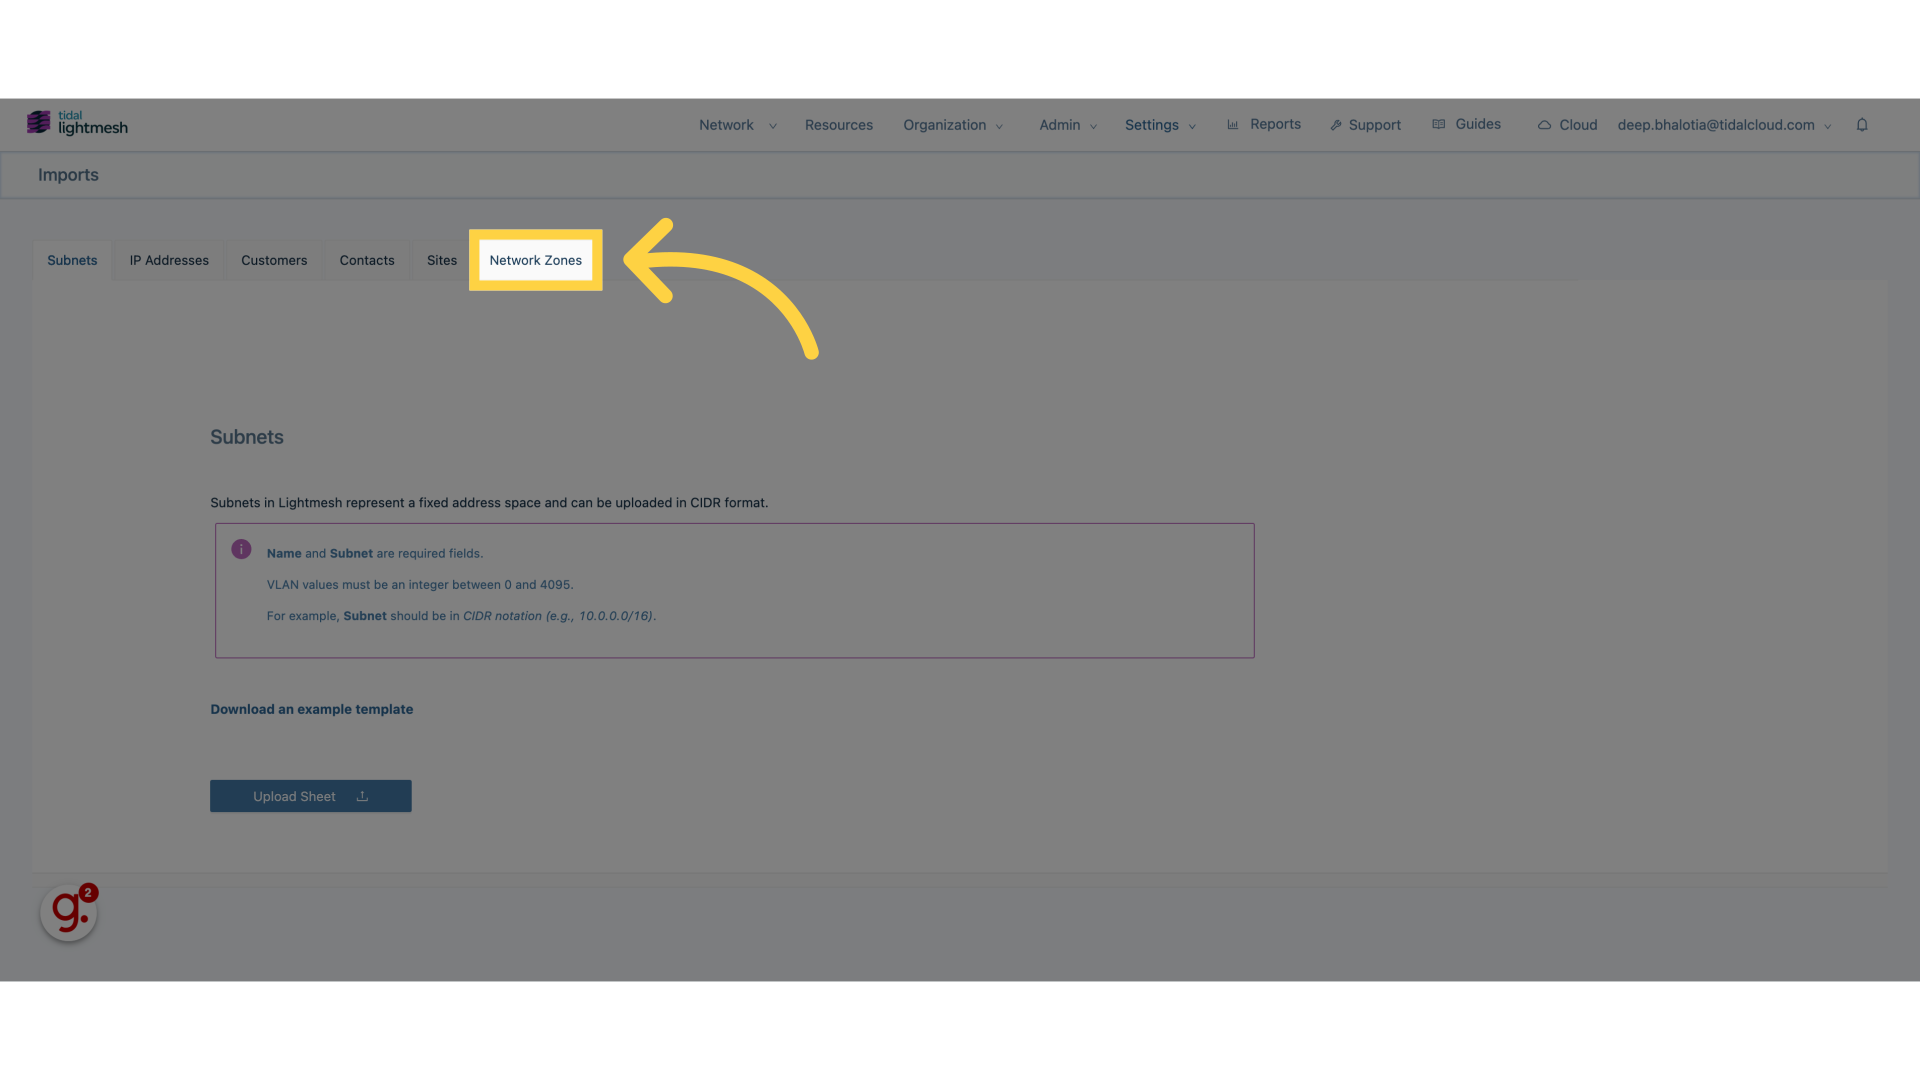
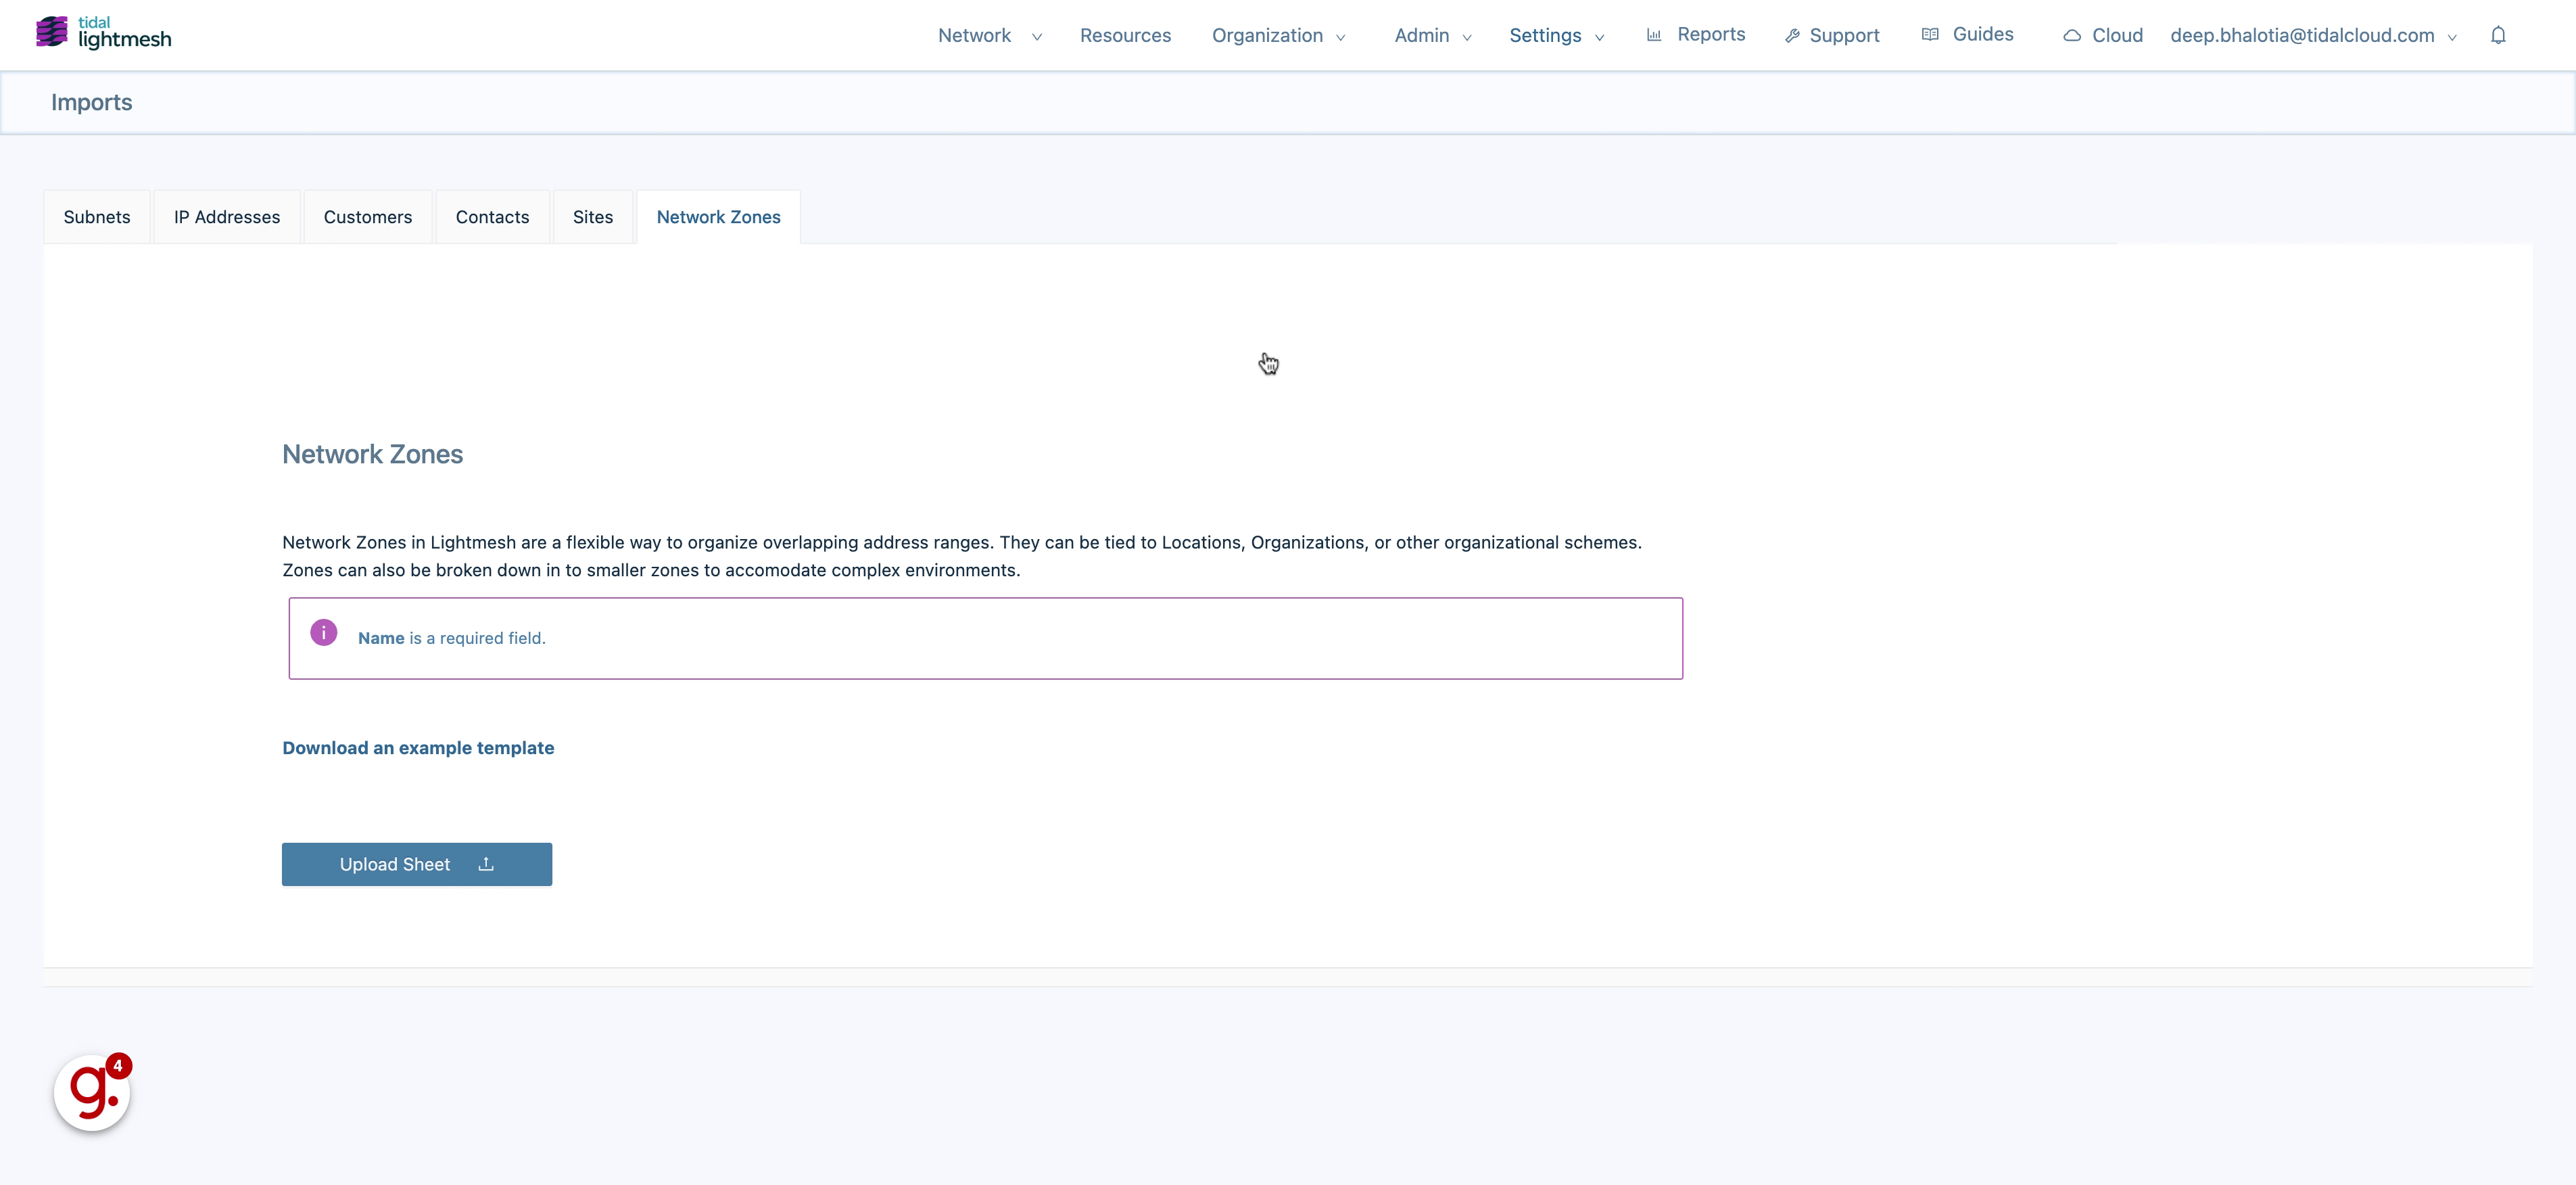
4. Click “Network Zones”
Navigate to “Network Zones” section.
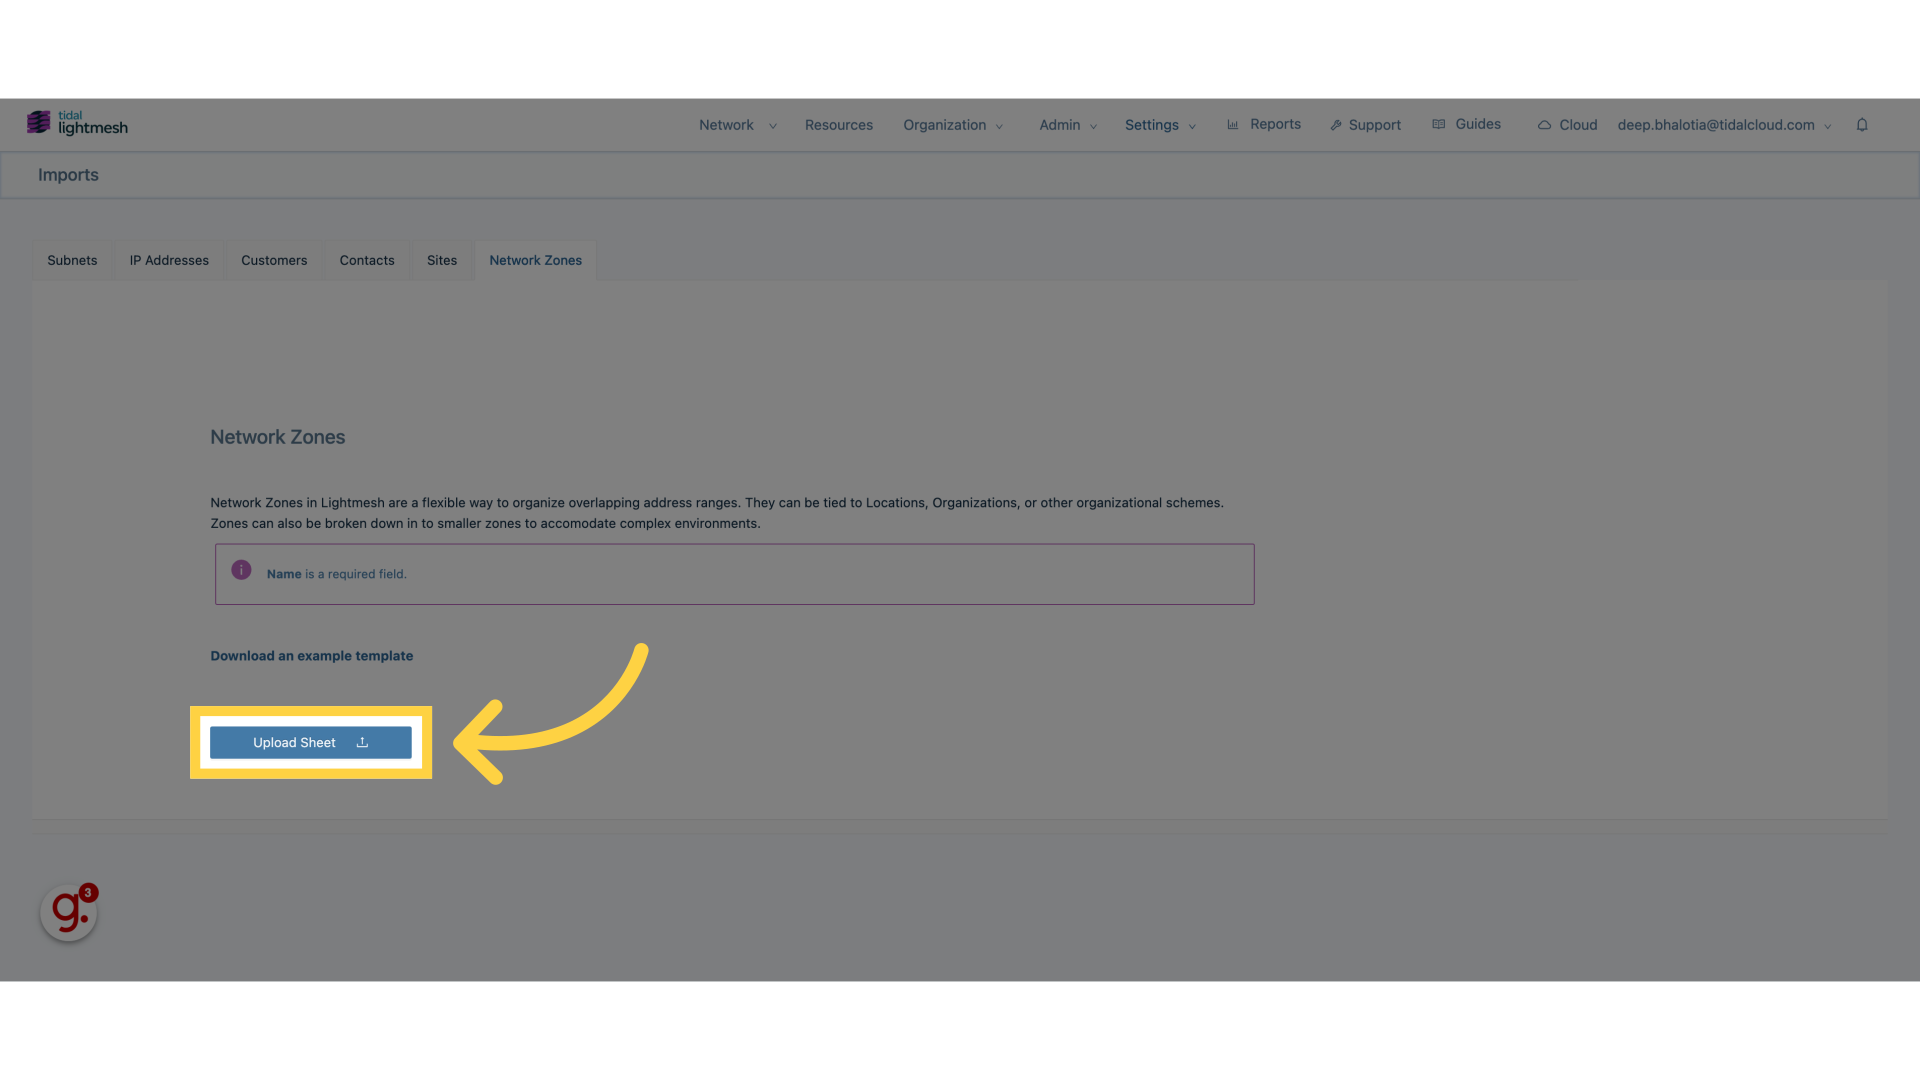
5. Click “Upload Sheet”
Choose “Upload Sheet” option.
6. Upload a file
Select a suitable csv or xlsx file
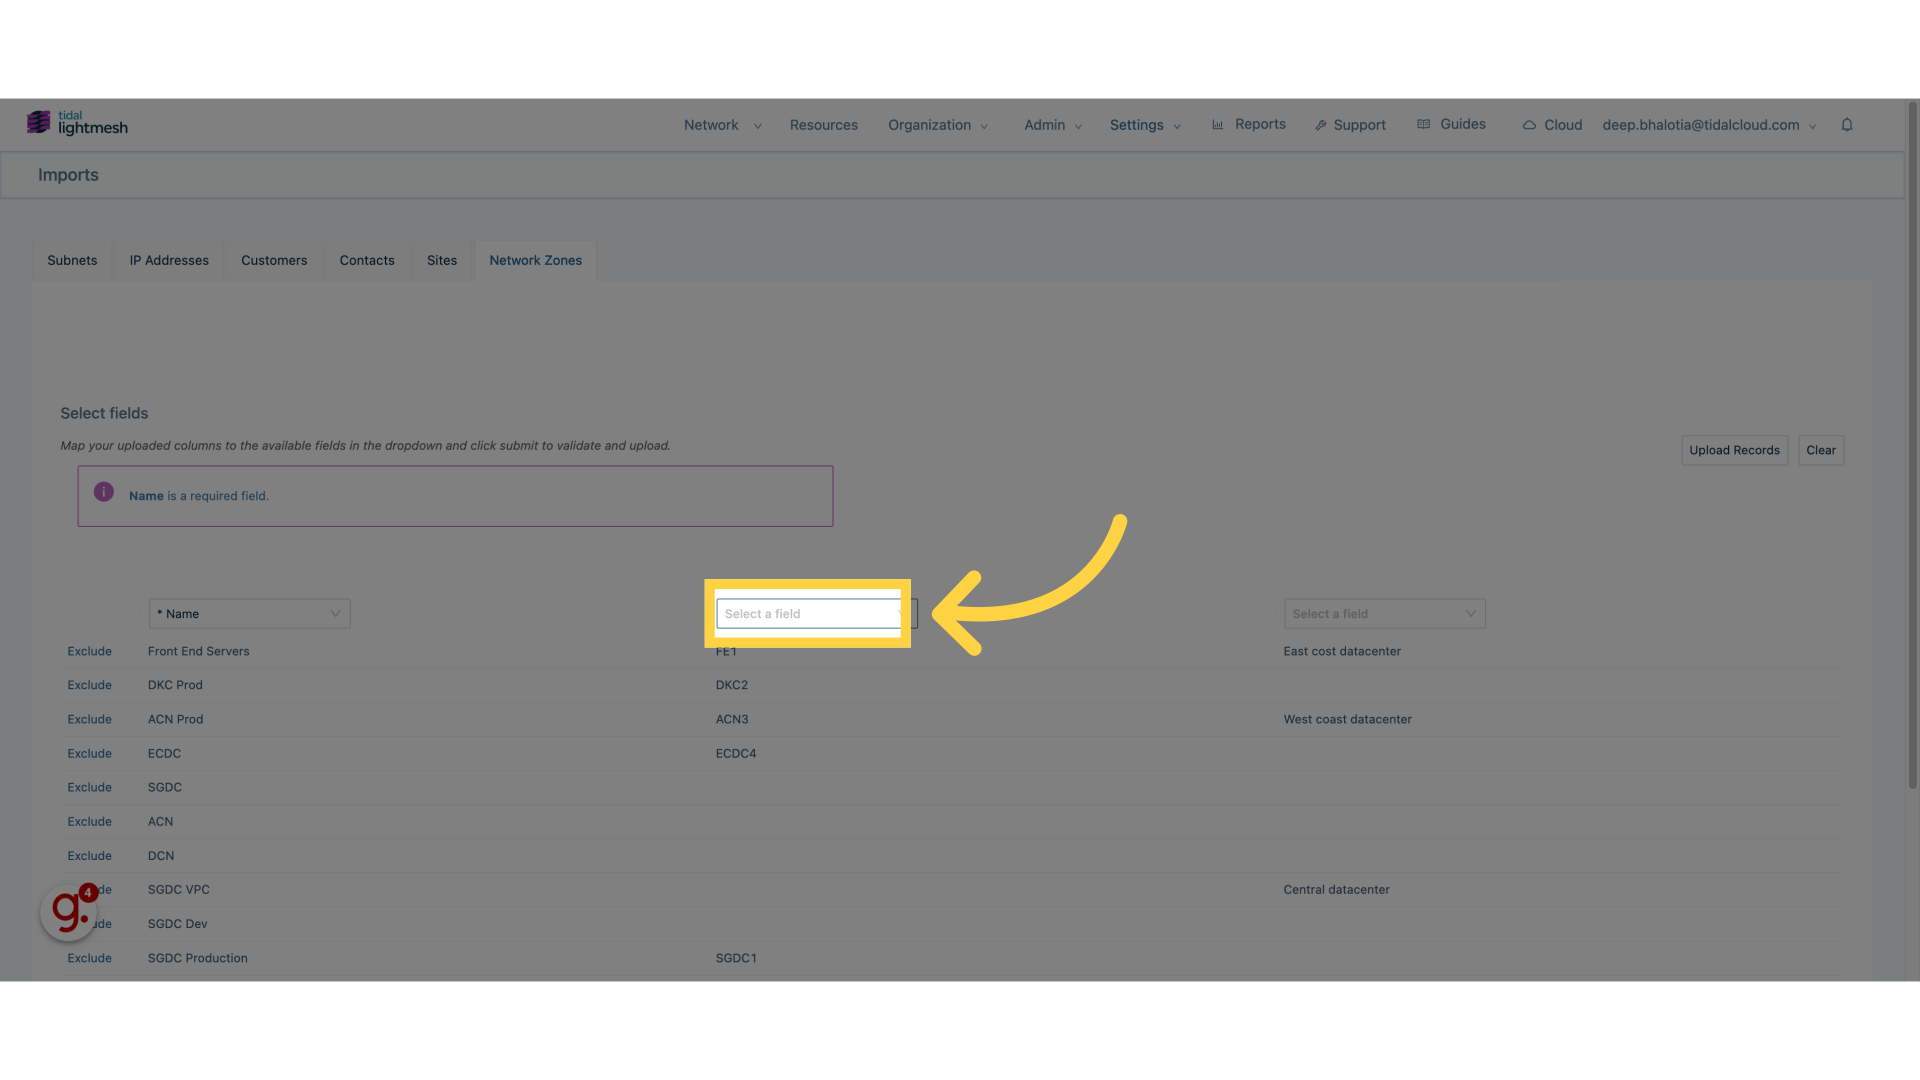
7. Click here
Select the indicated button.
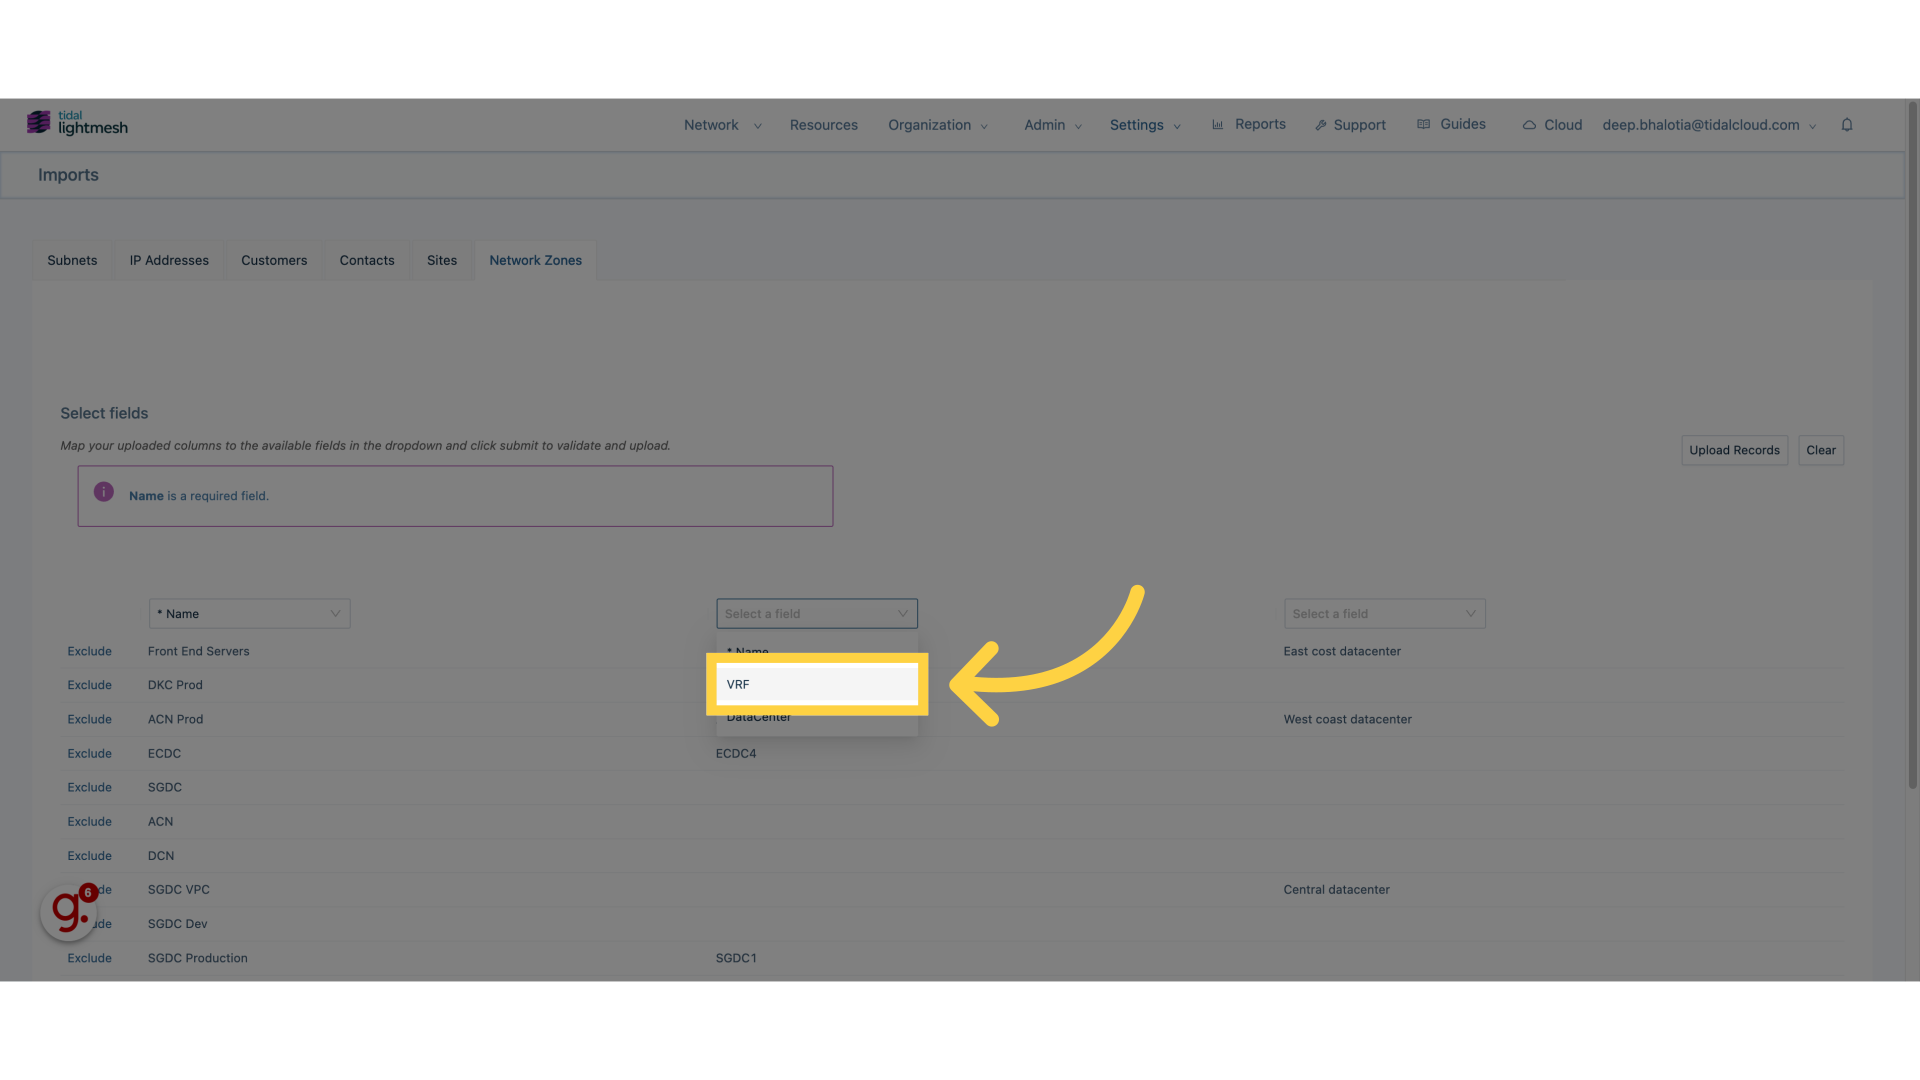
8. Click “VRF”
Access the “VRF” tab.
9. Click here
Click on the specified button.
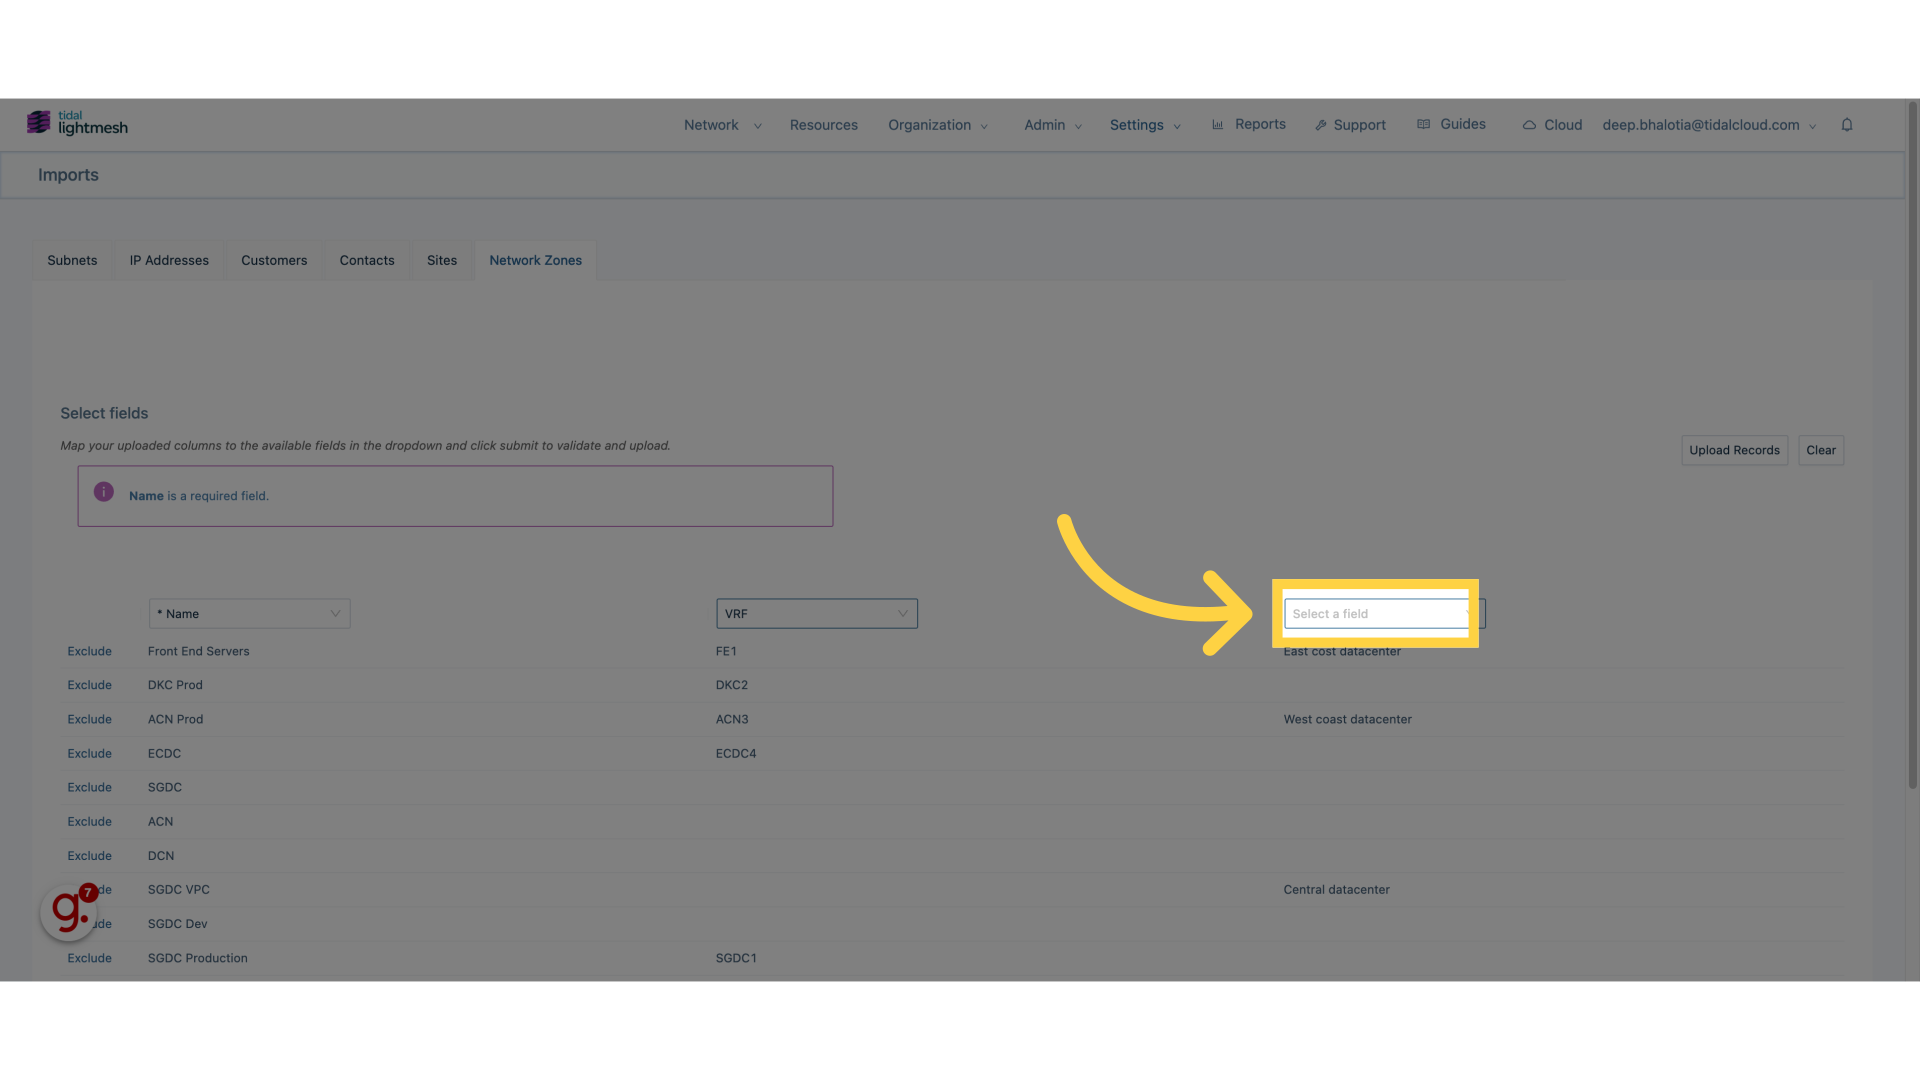
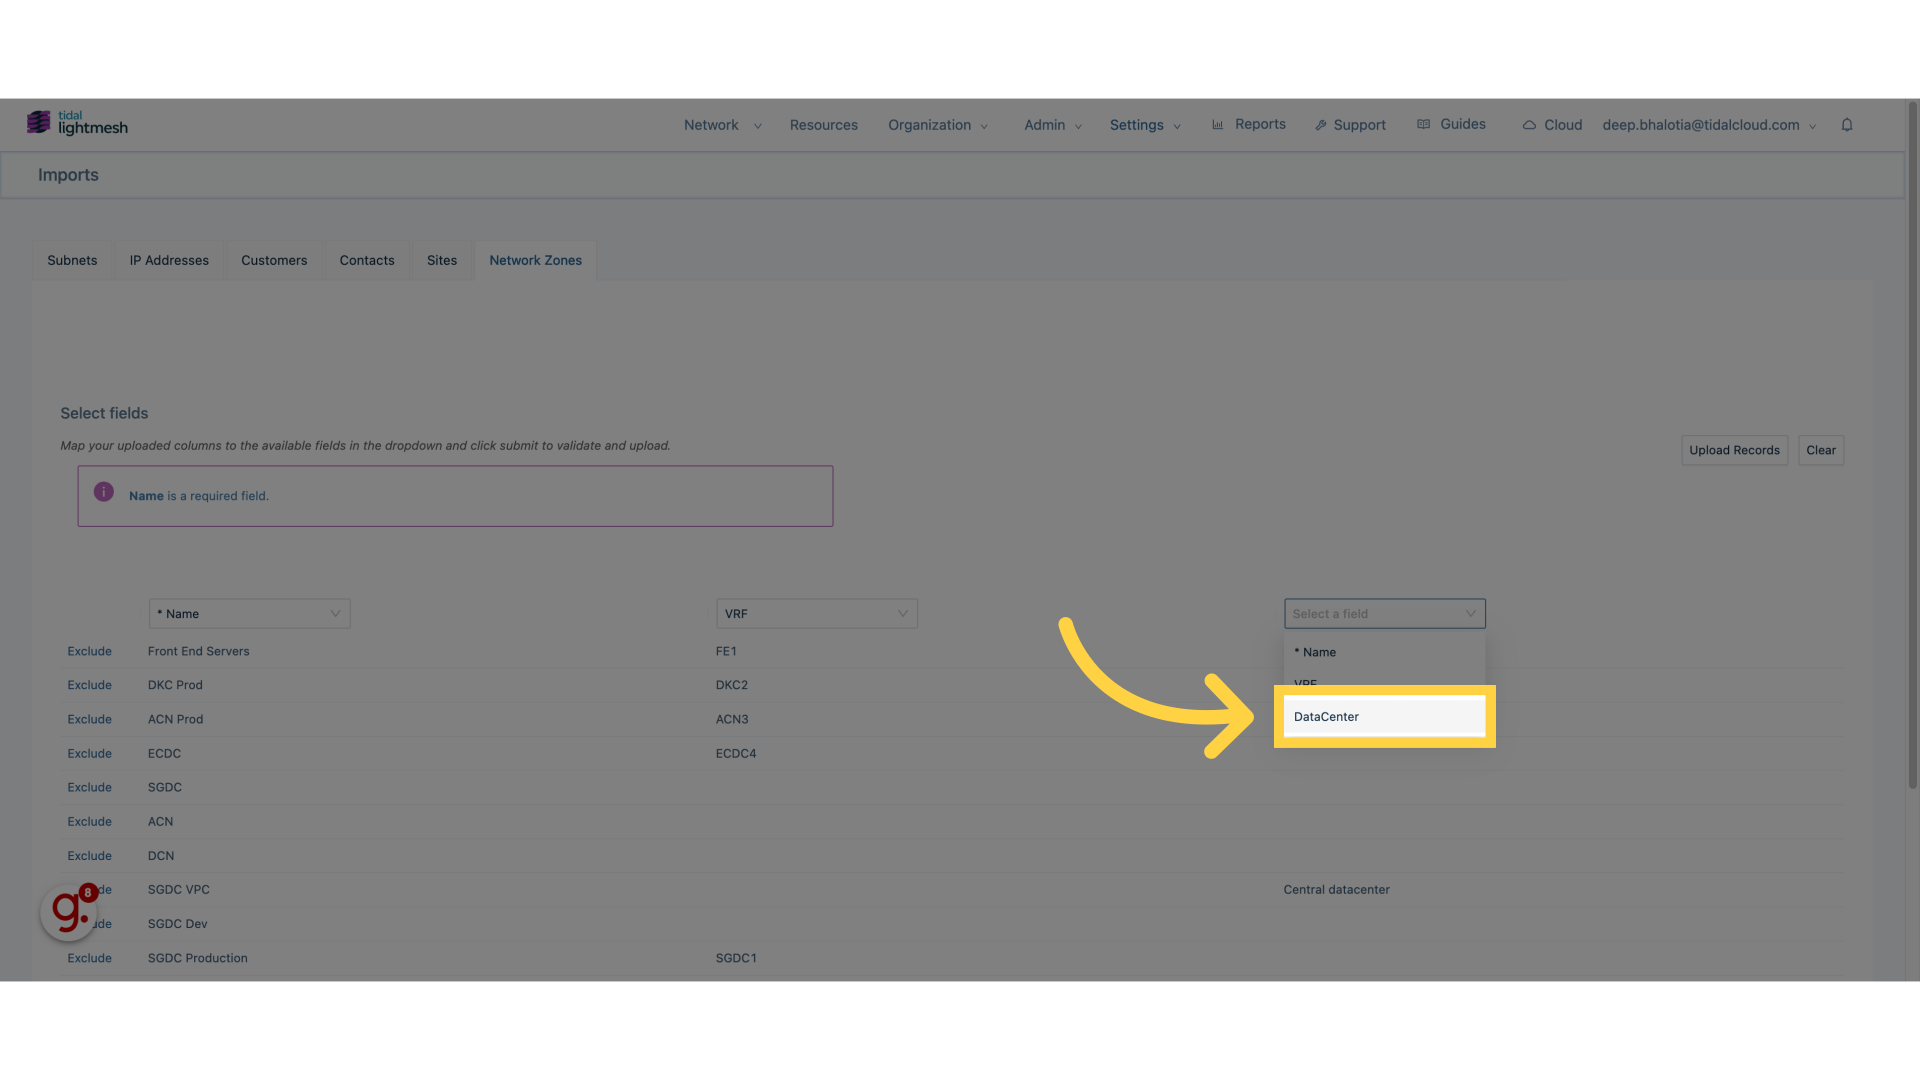
10. Click “DataCenter”
Navigate to “DataCenter” section.
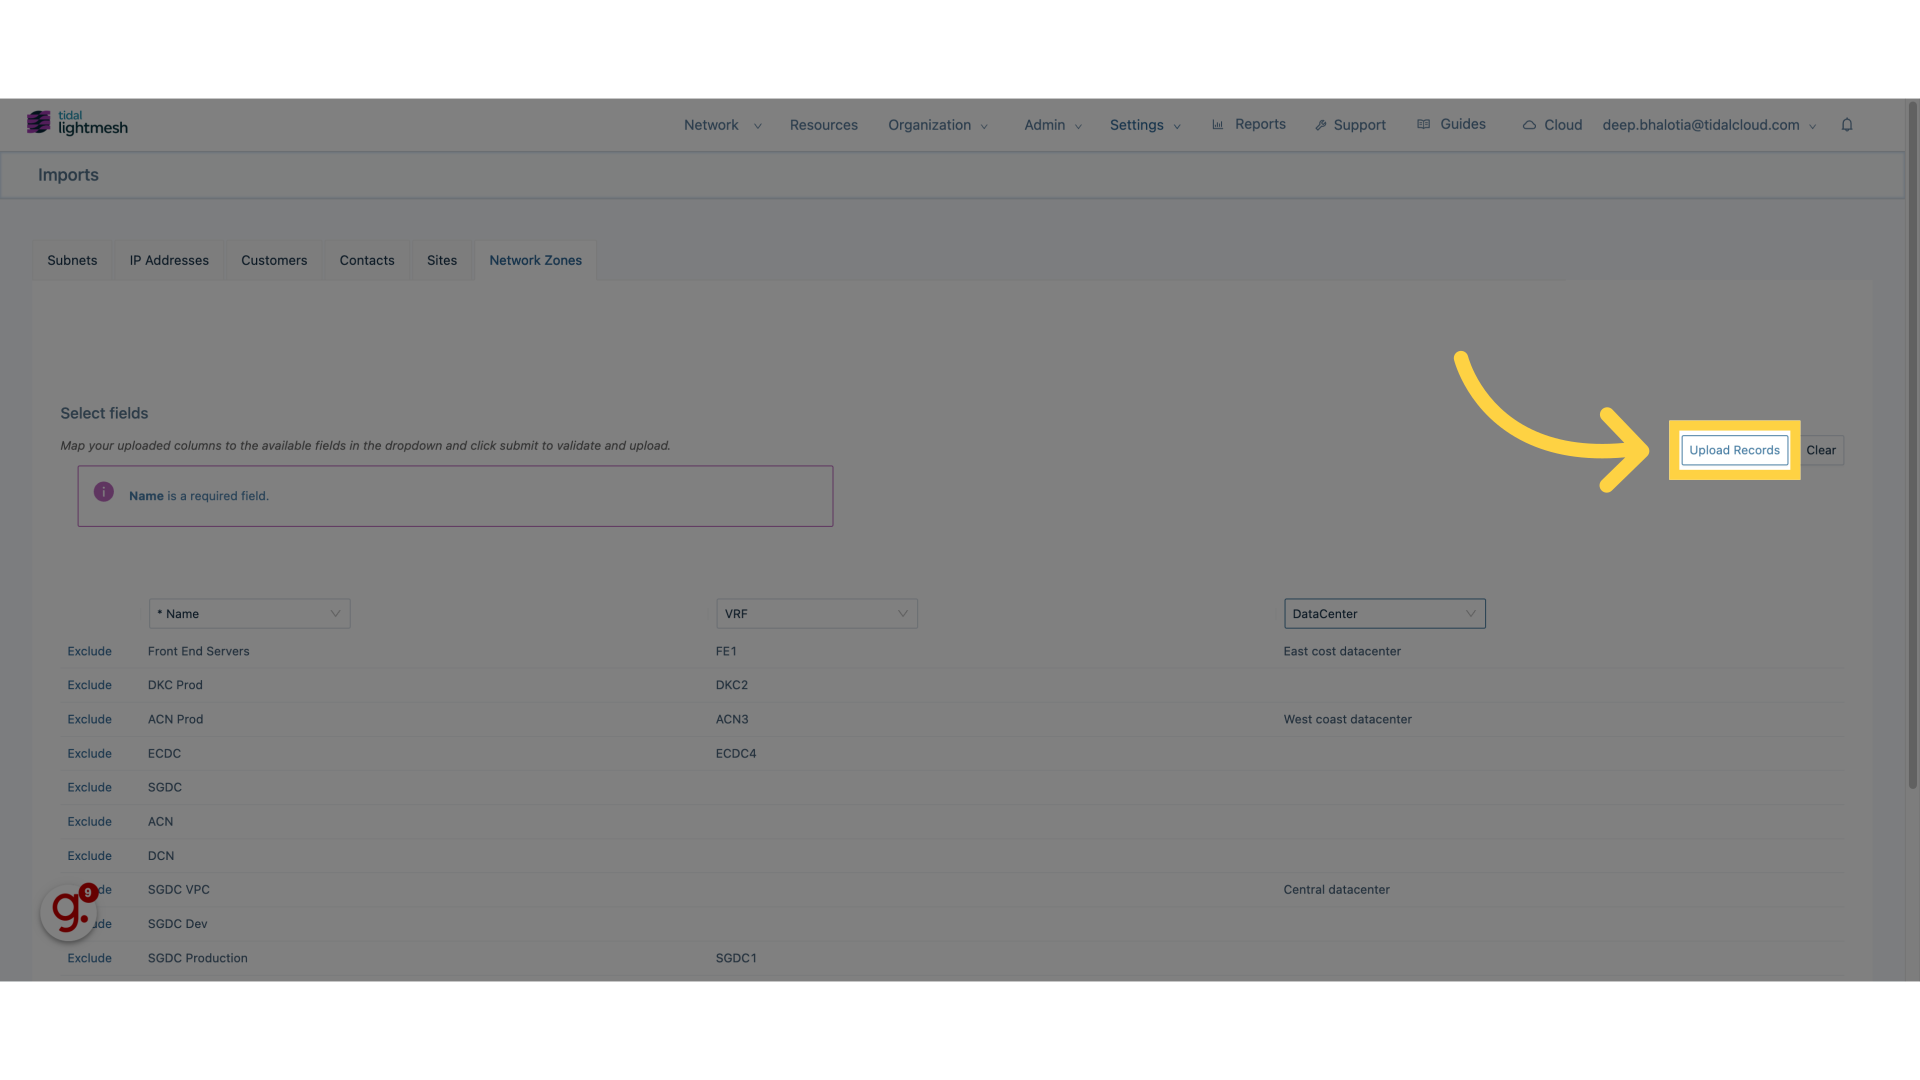
11. Click “Upload Records”
Select “Upload Records” option.
This guide covered the steps to import Zones in Lightmesh, including selecting options like “Deep’s Import” and “Upload Records.