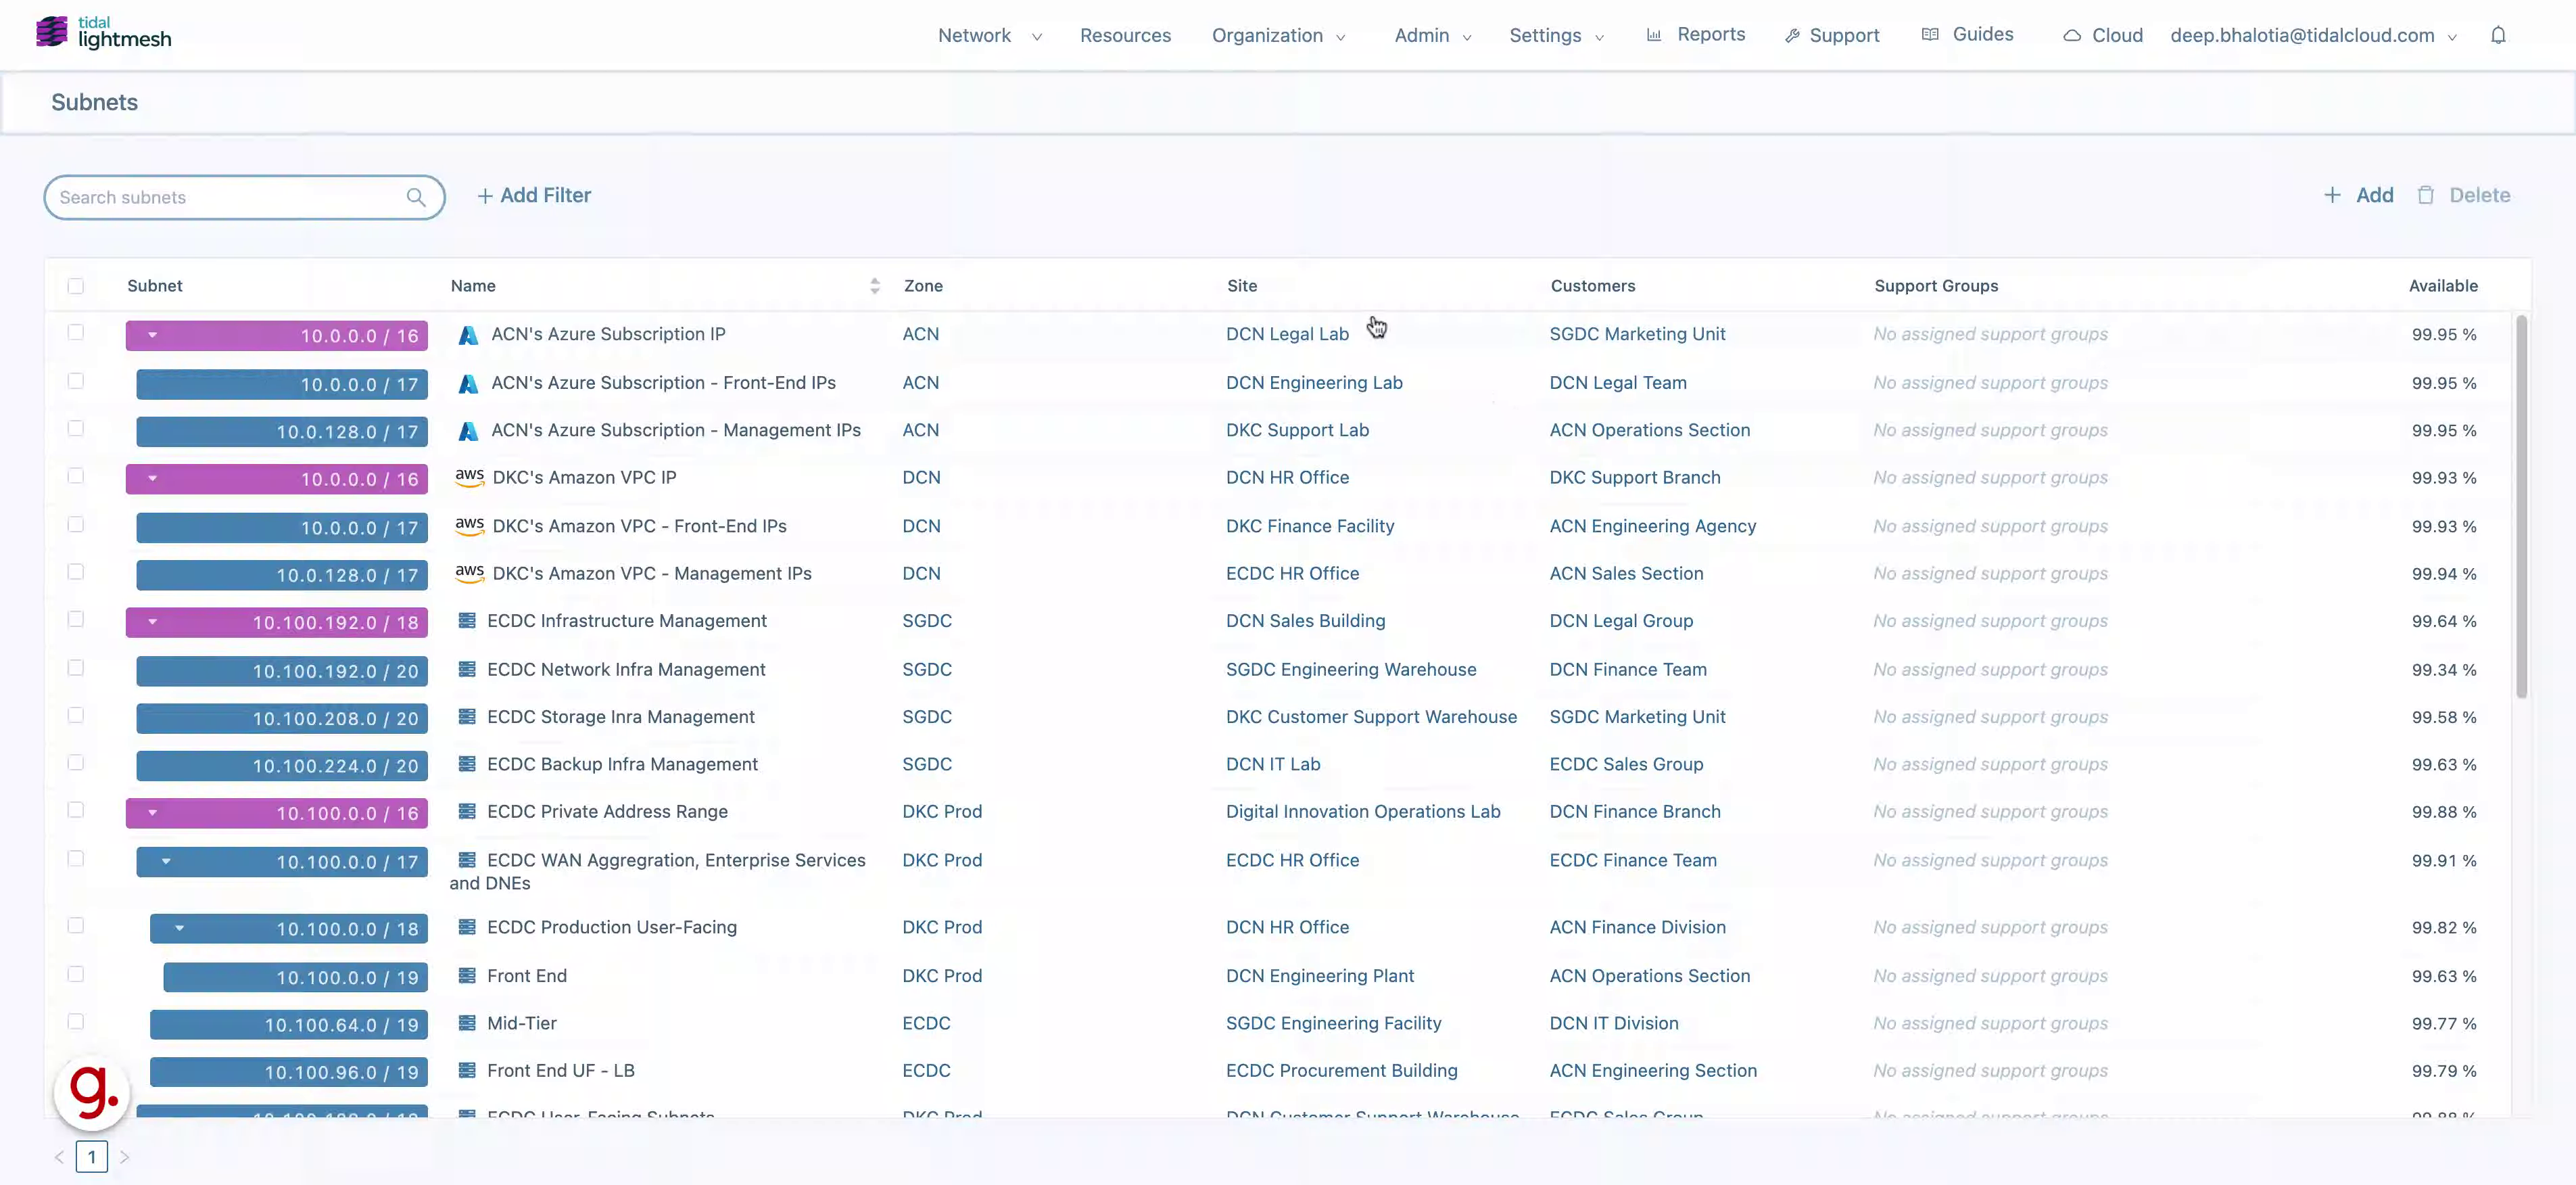
Importing Subnets
This guide walks you through the steps to import subnets into LightMesh. With this feature, you can easily upload subnet data to streamline network setup and management. Supported fields for import include name, zone, site, and customer, allowing you to structure imported subnets based on existing network parameters.
1. Introduction
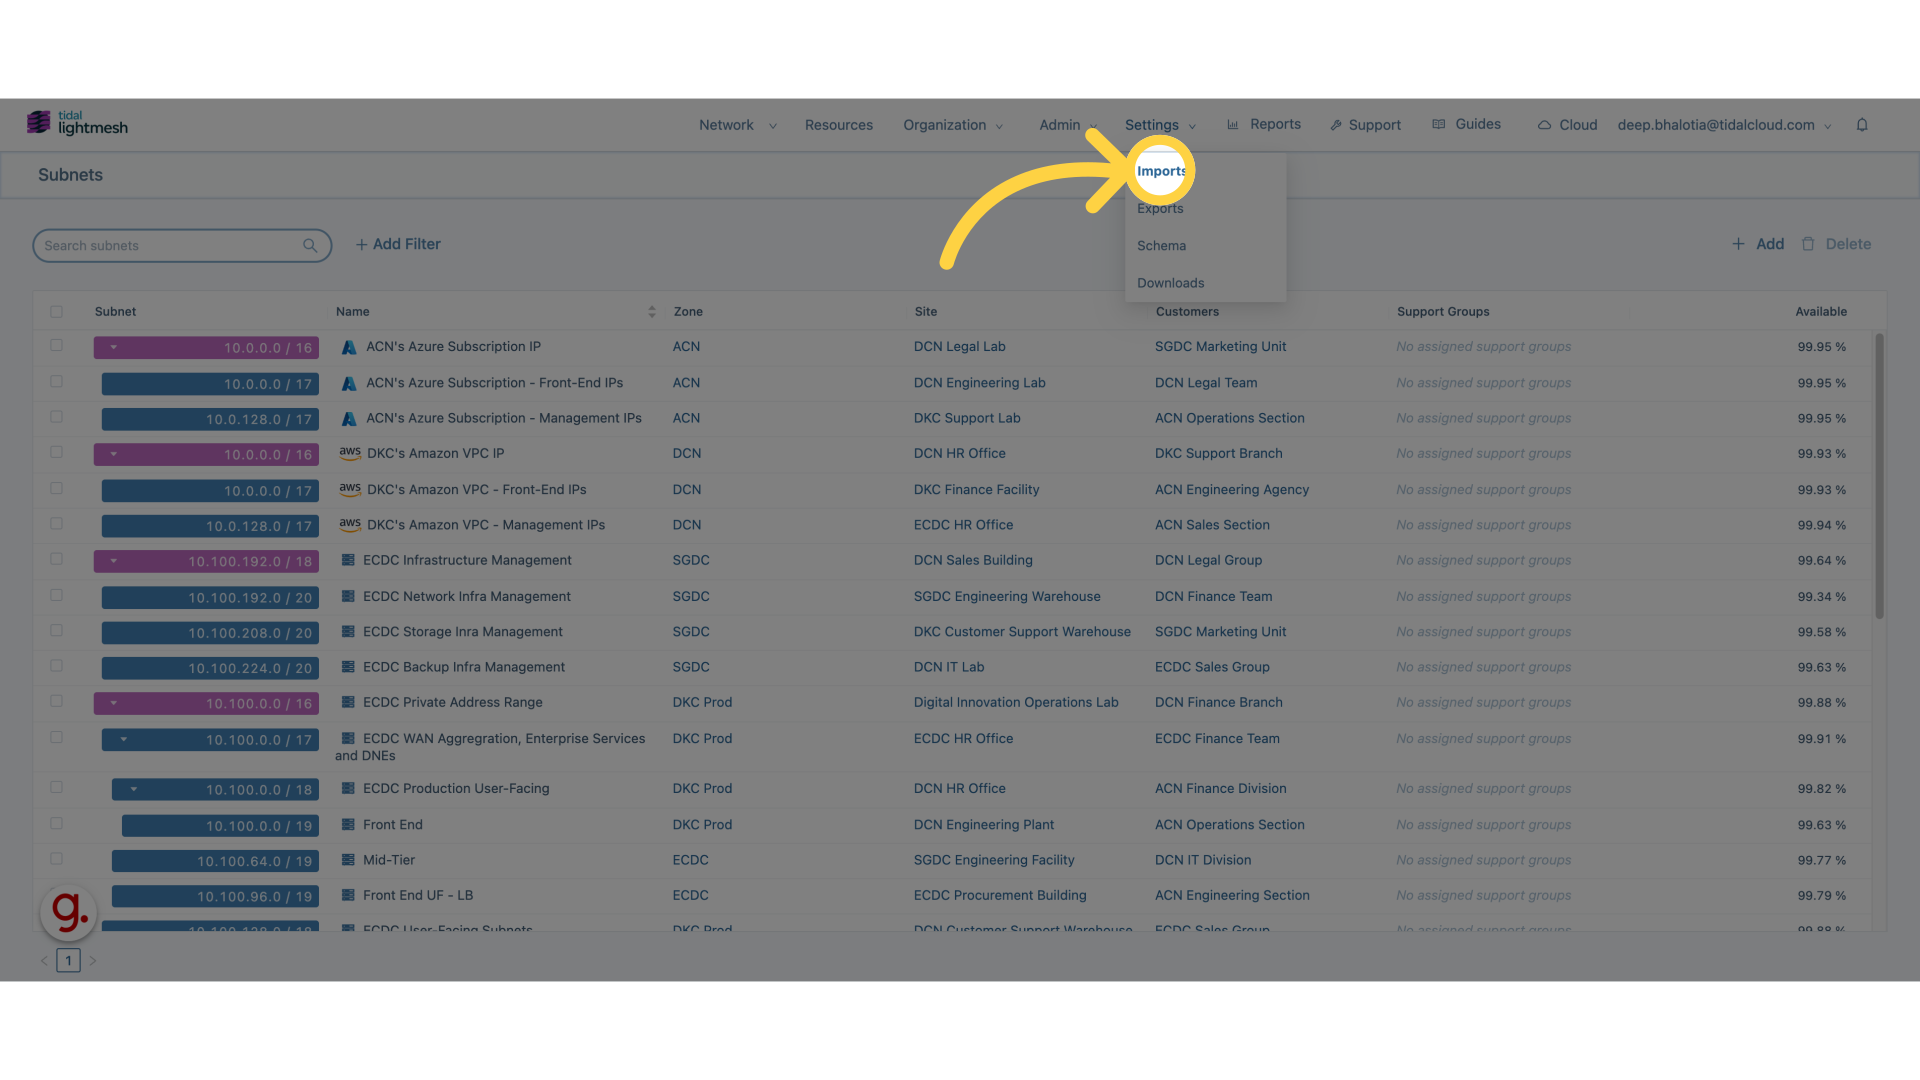
2. Click on Import
Navigate to the import section.
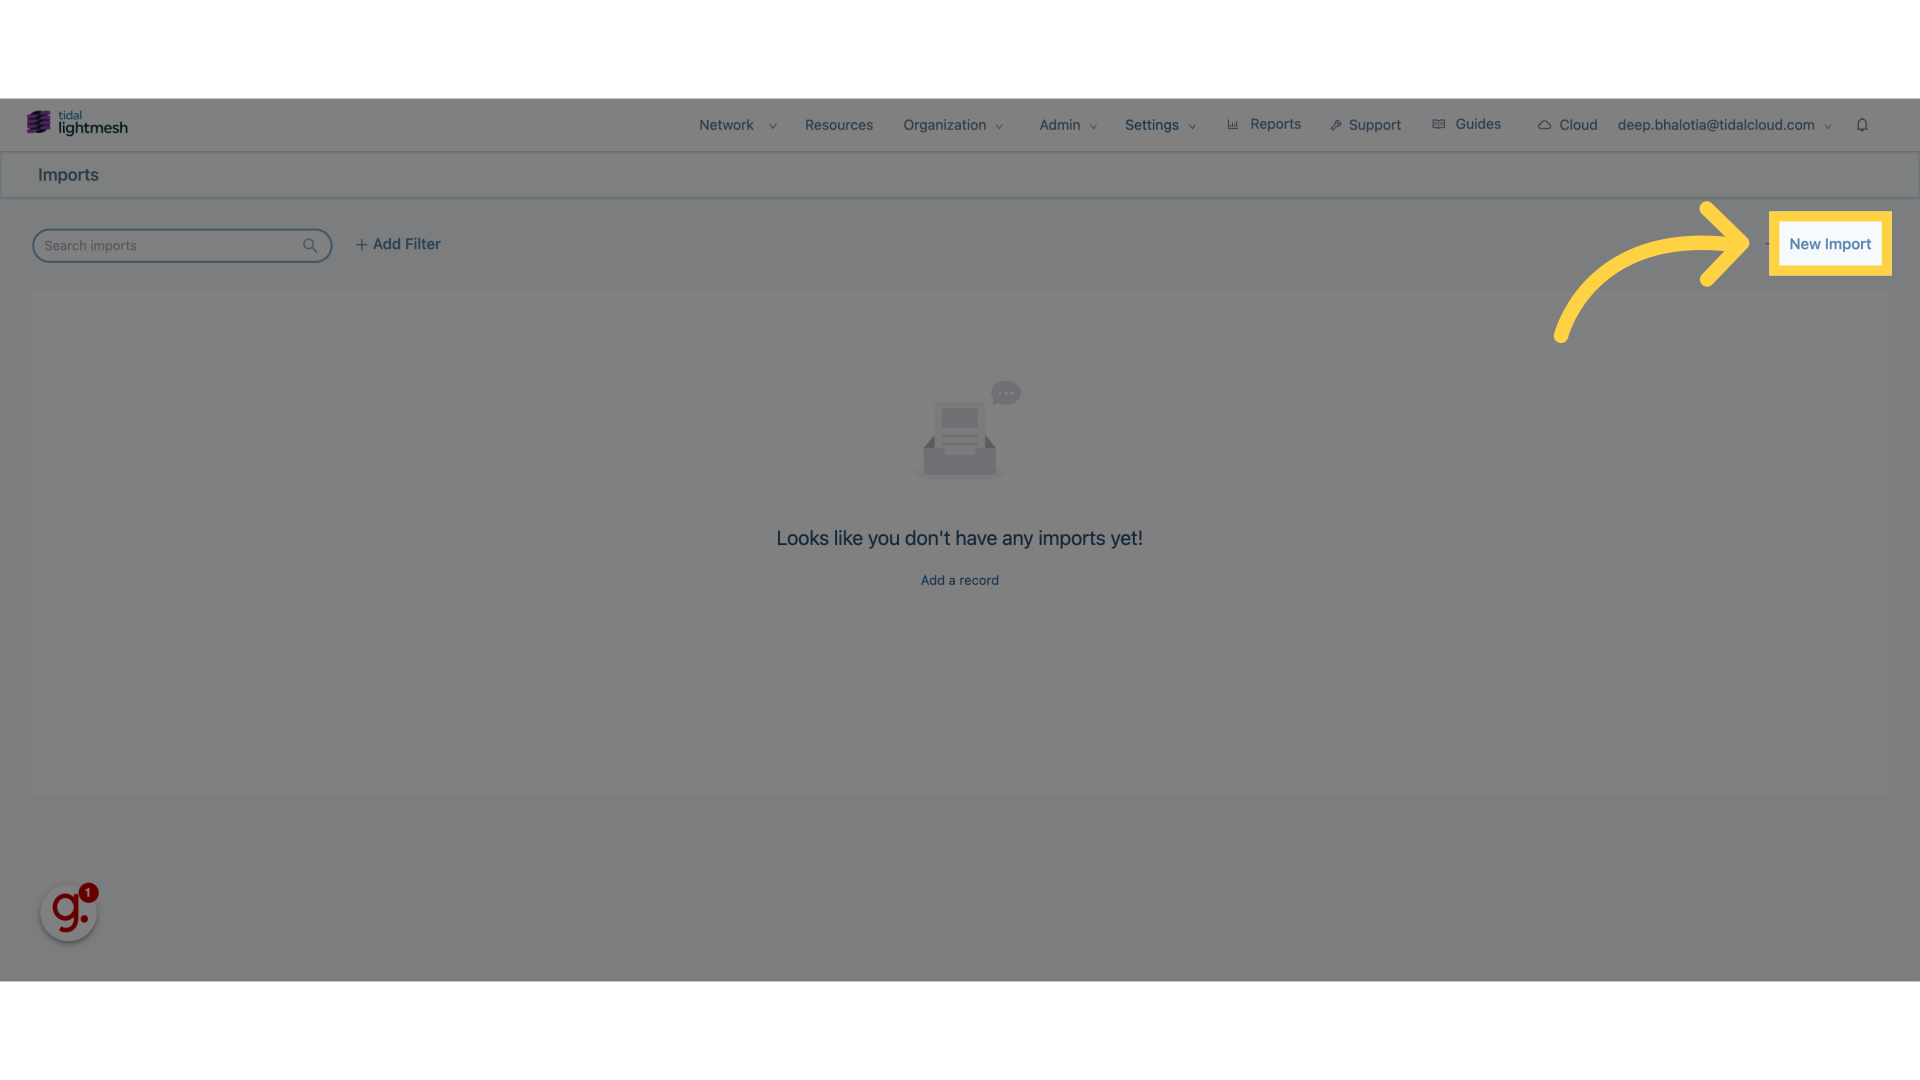
3. Click “New Import”
Initiate a new import process.
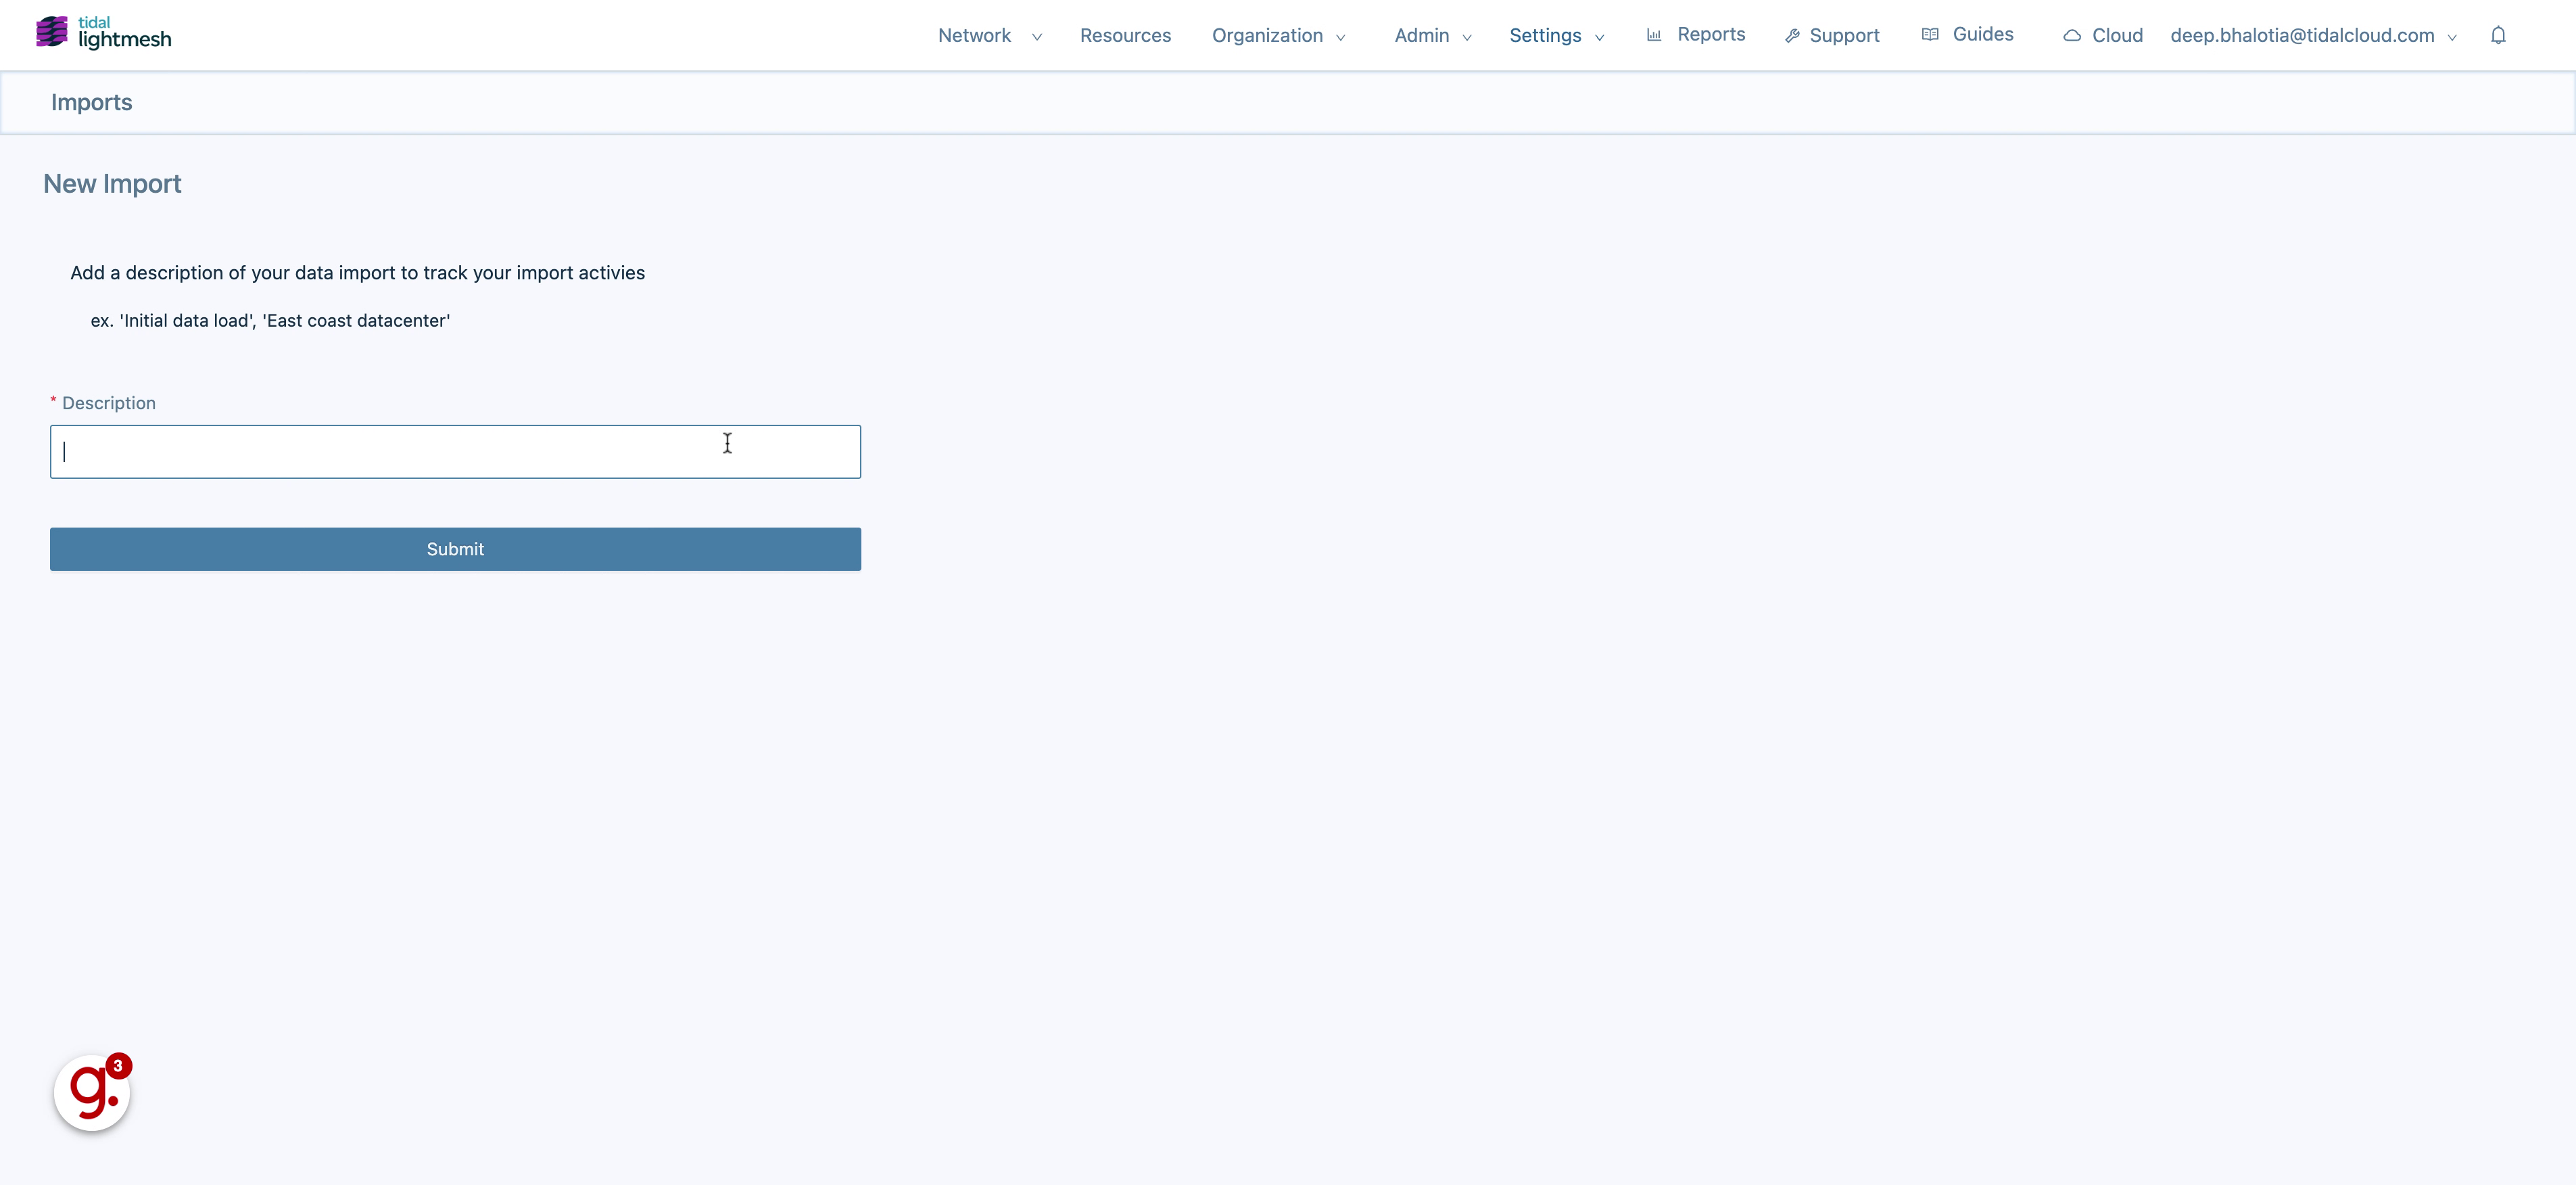
4. Add Import name
Select the desired file.
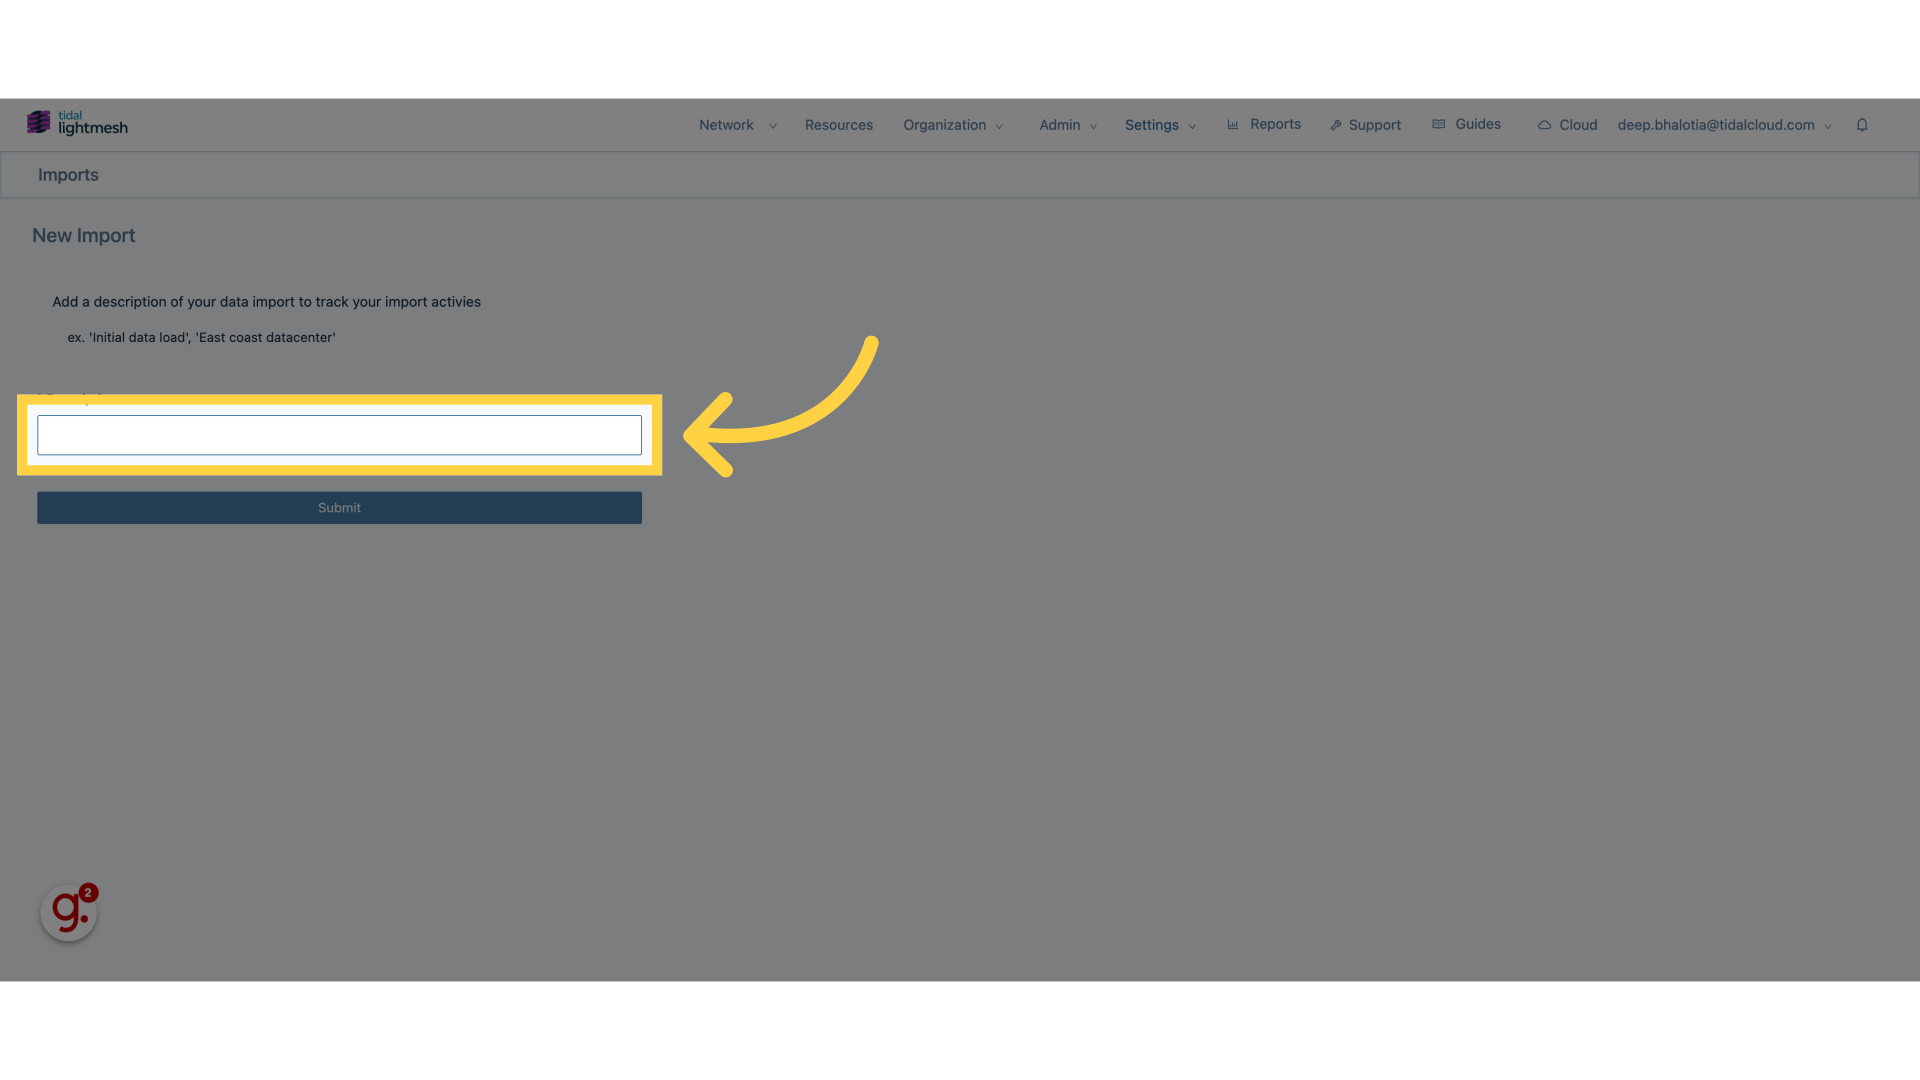
5. Fill “Deep’s Import”
Fill in “Deep’s Import”
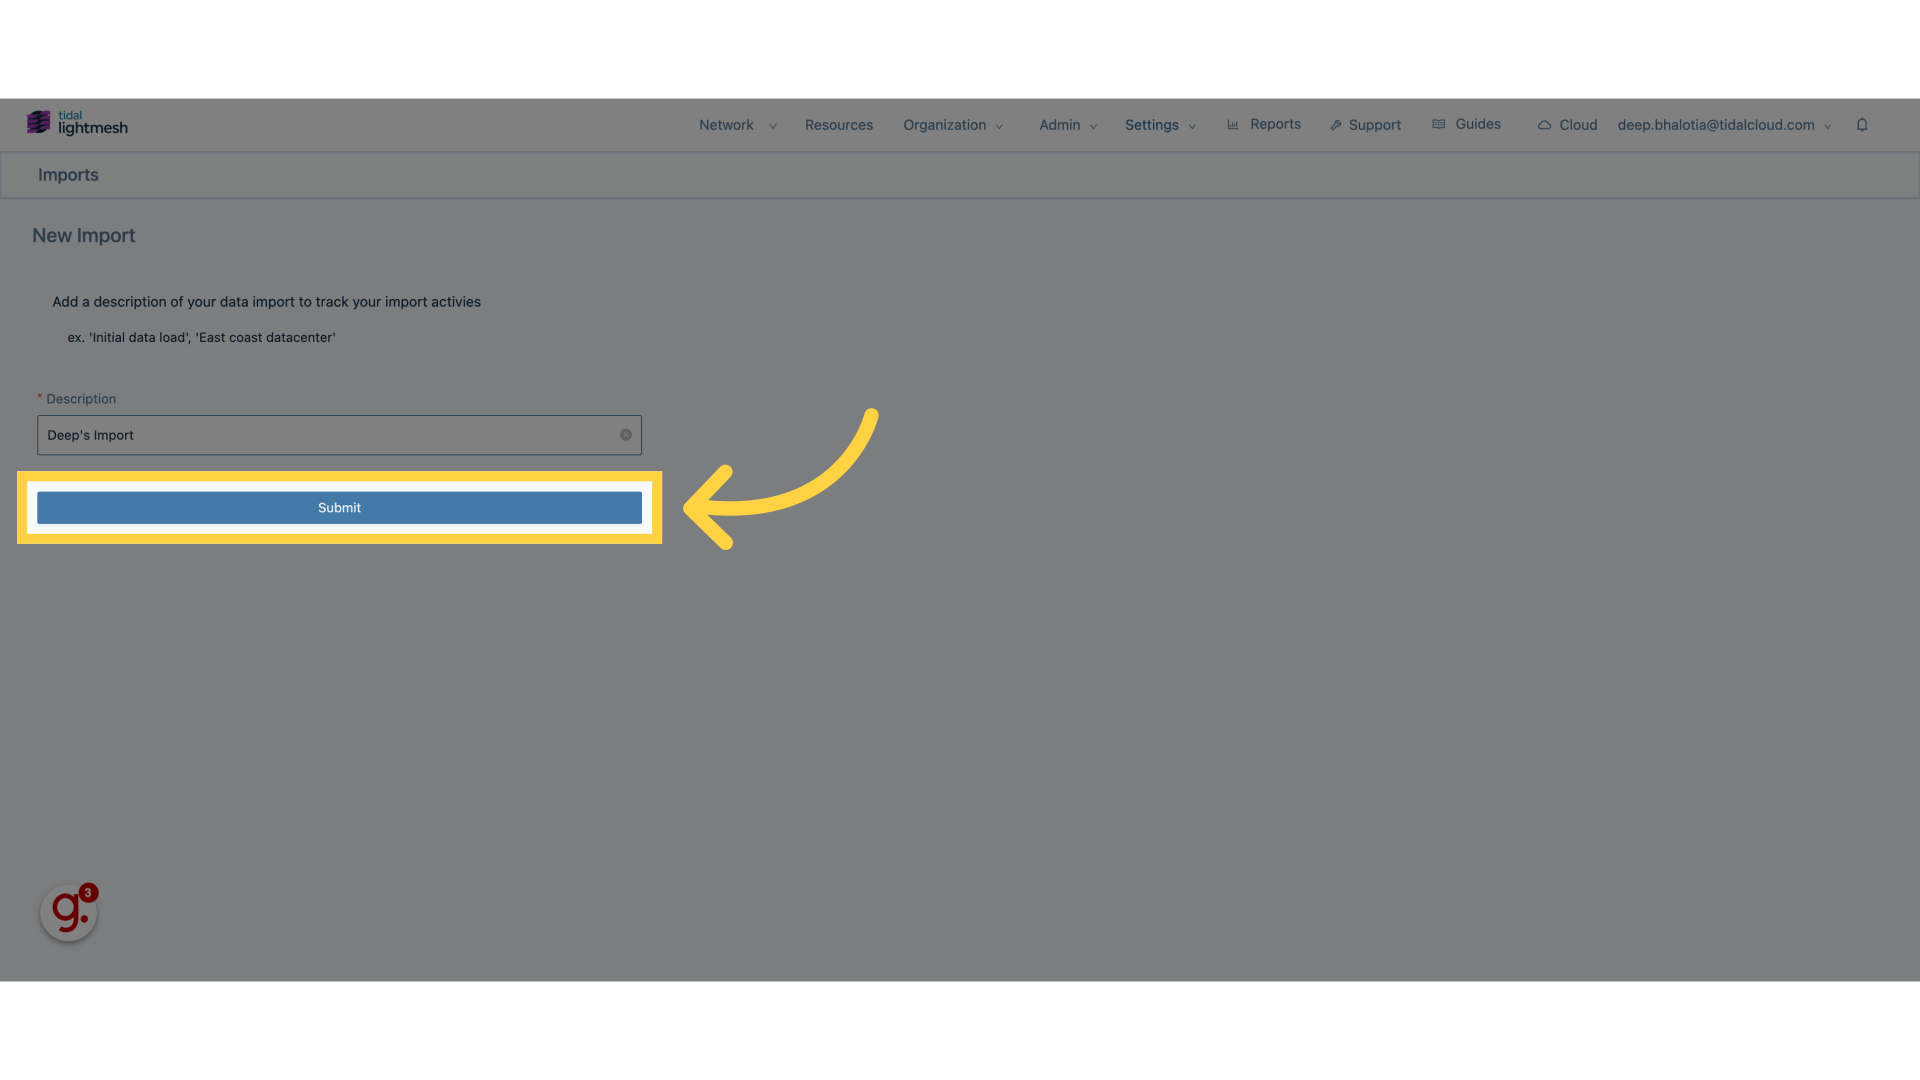
6. Click “Submit”
Confirm and submit the import.
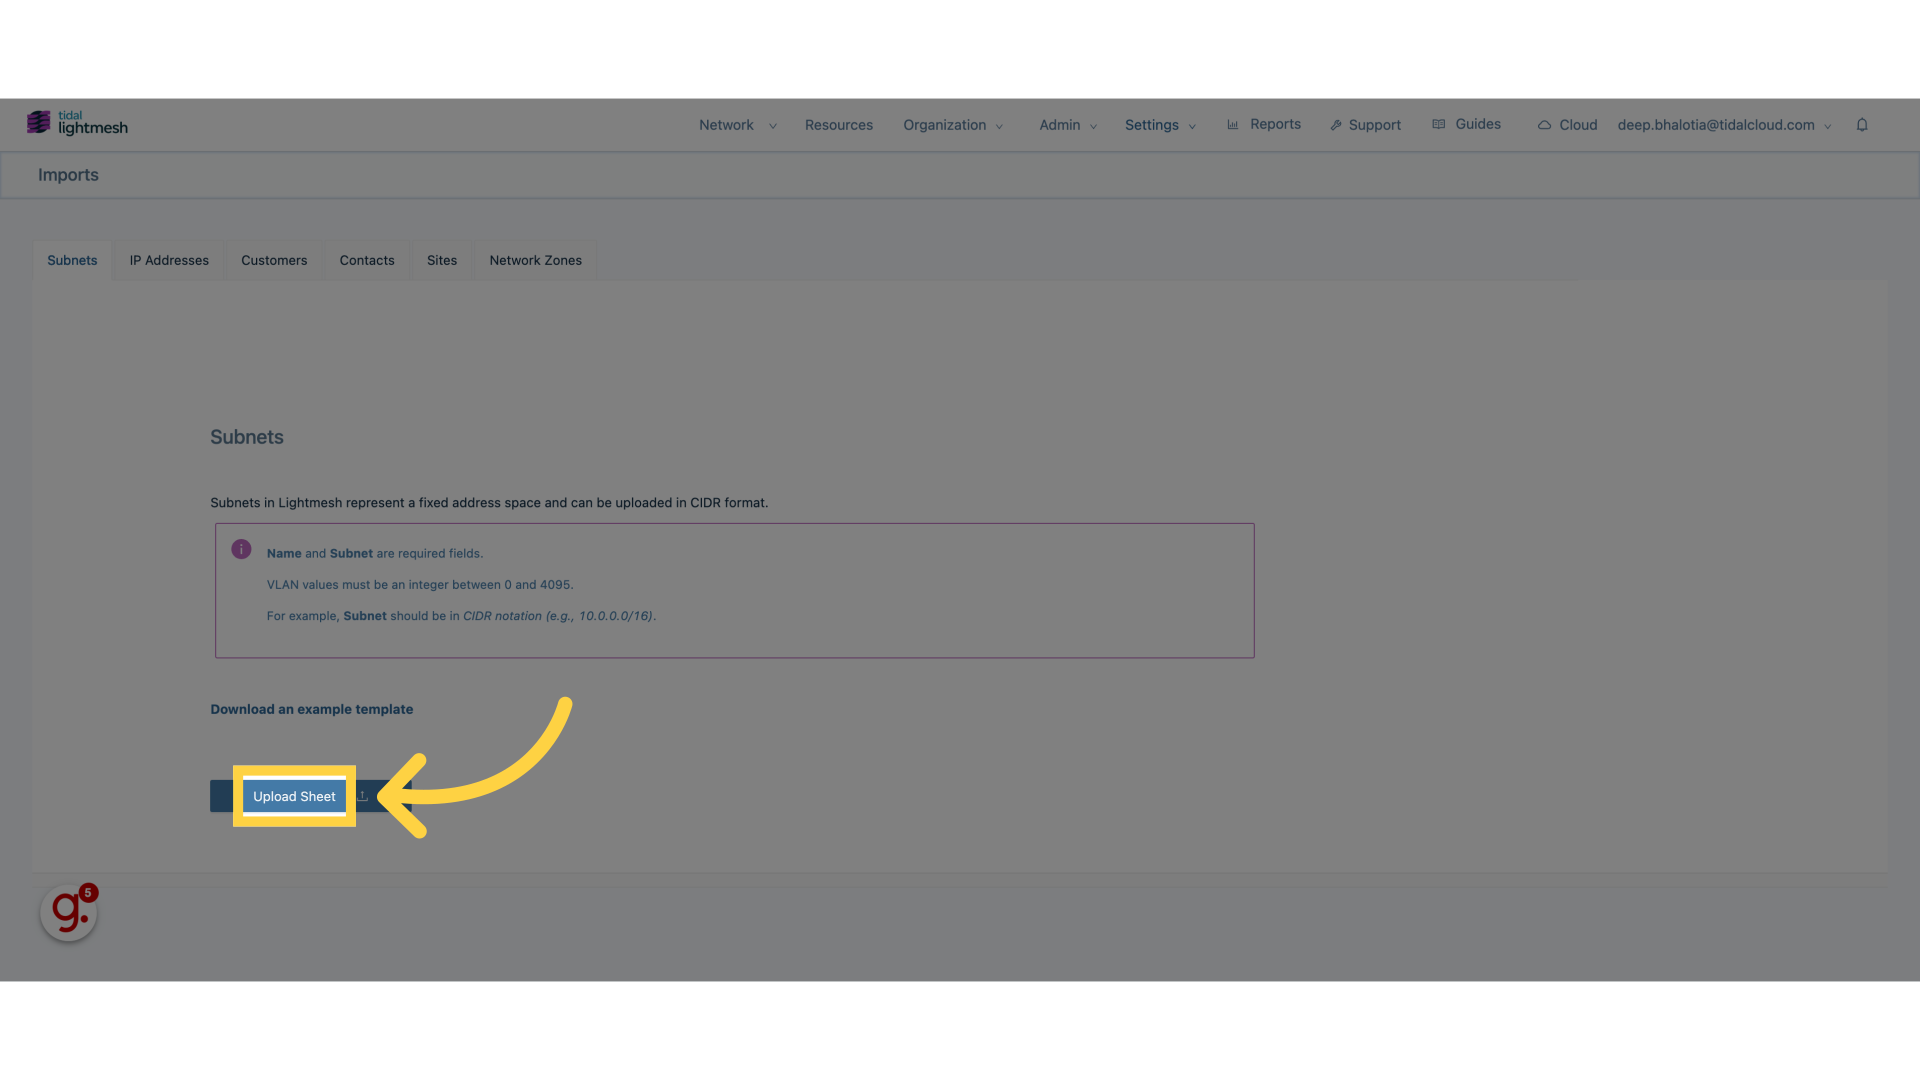
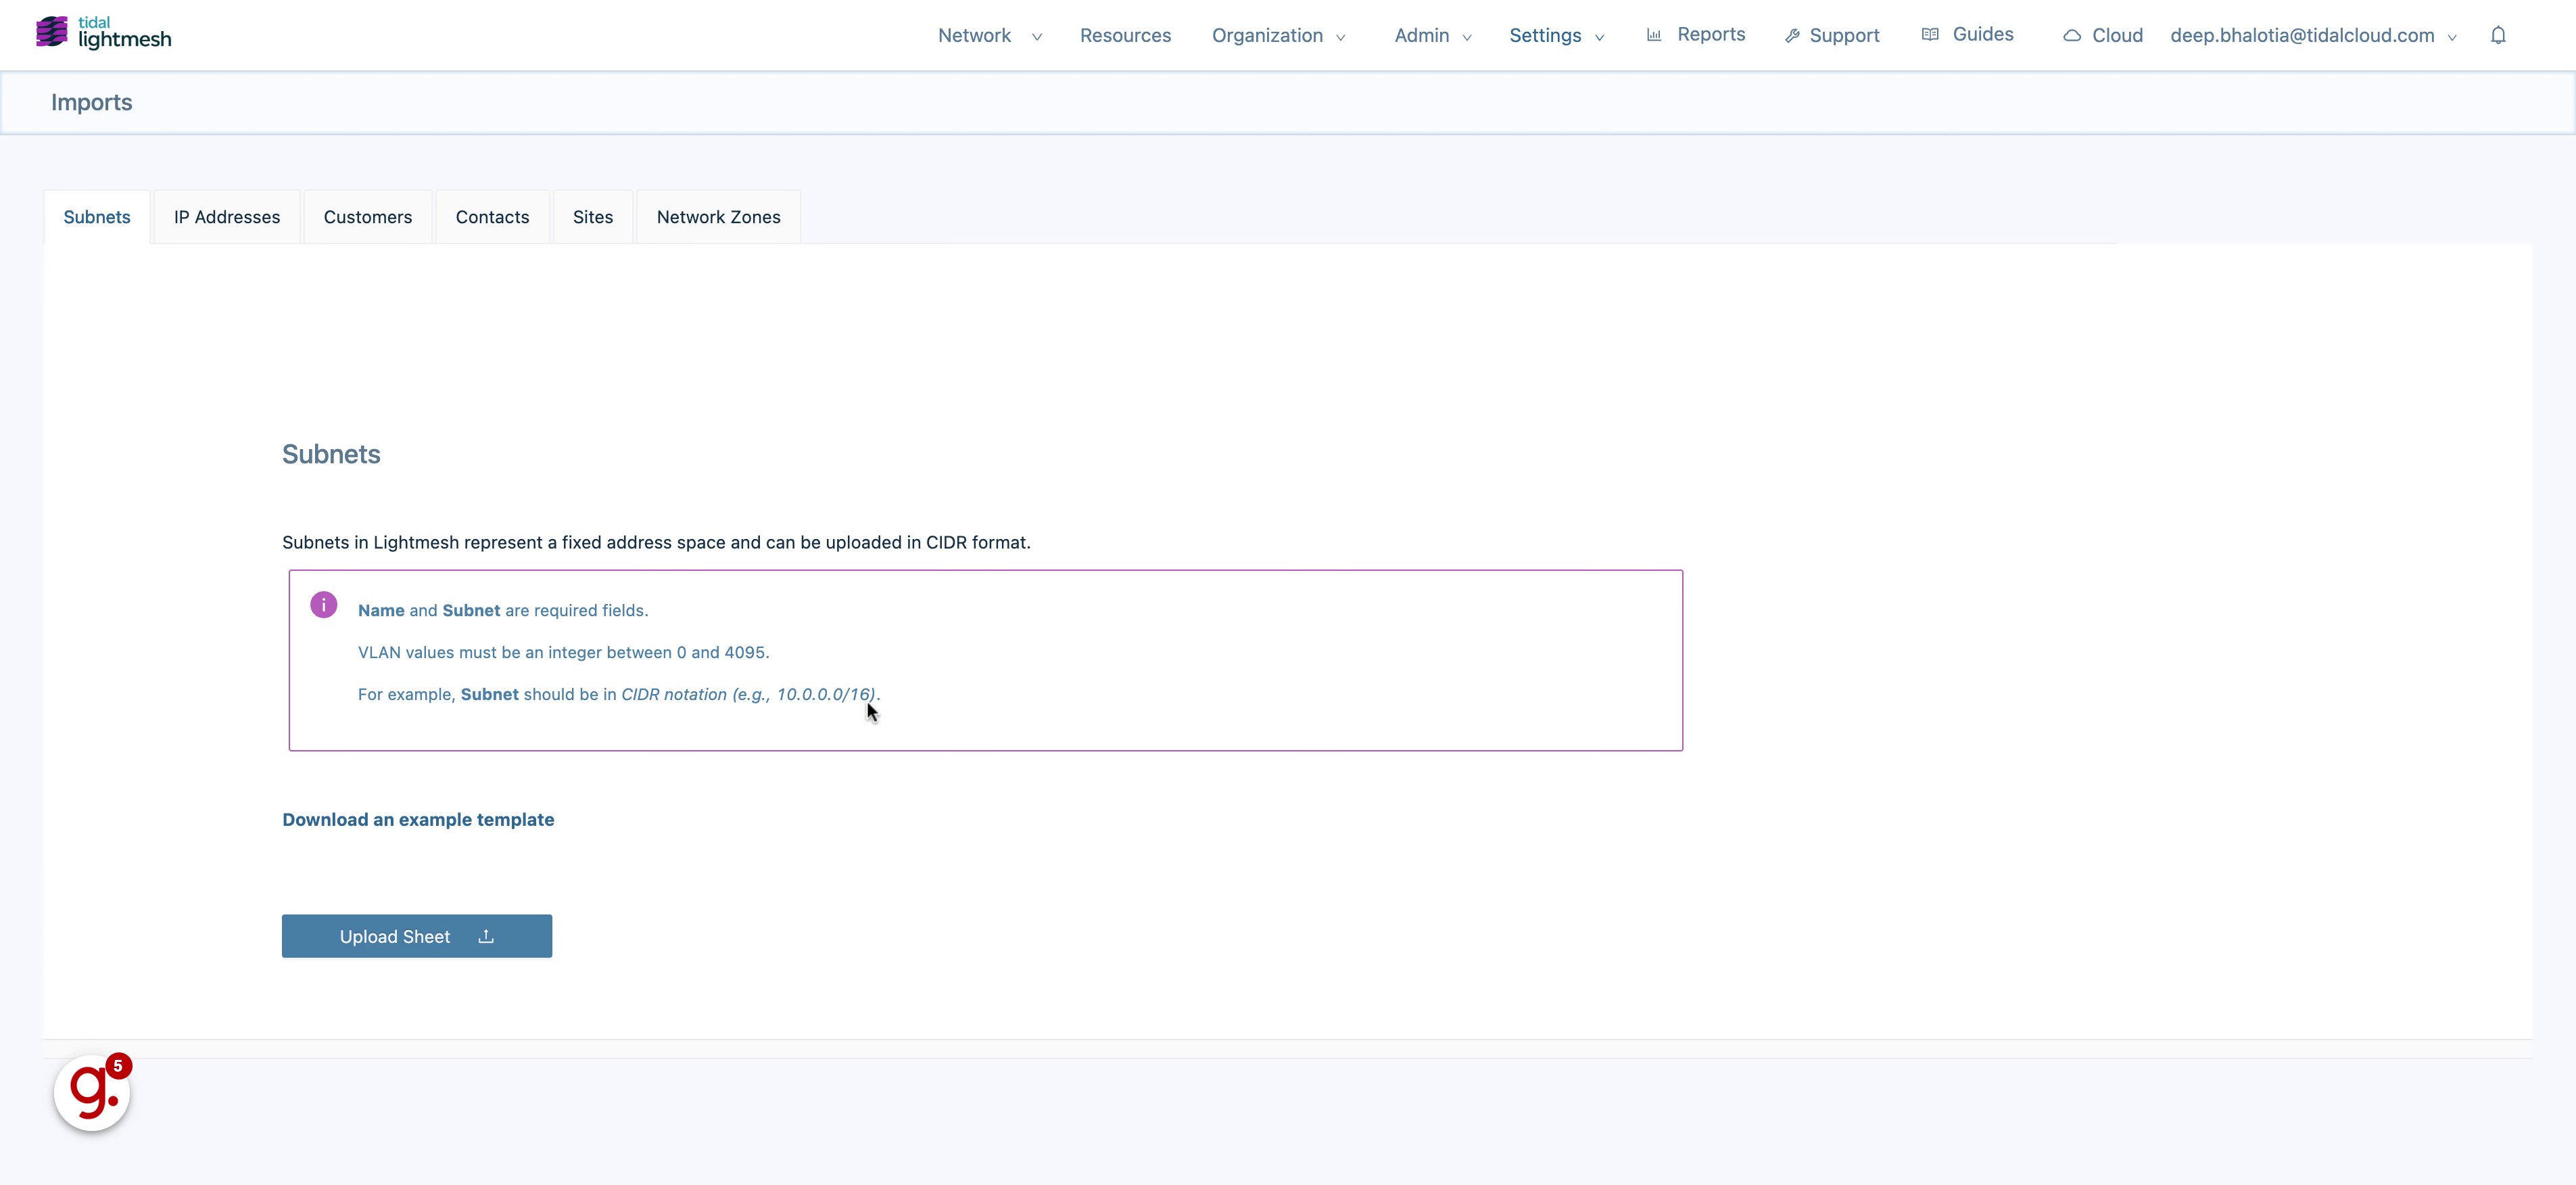
7. Click “Upload Sheet”
Choose the file to upload.
8. Select a suitable csv or xlsx file
Select a suitable csv or xlsx file.
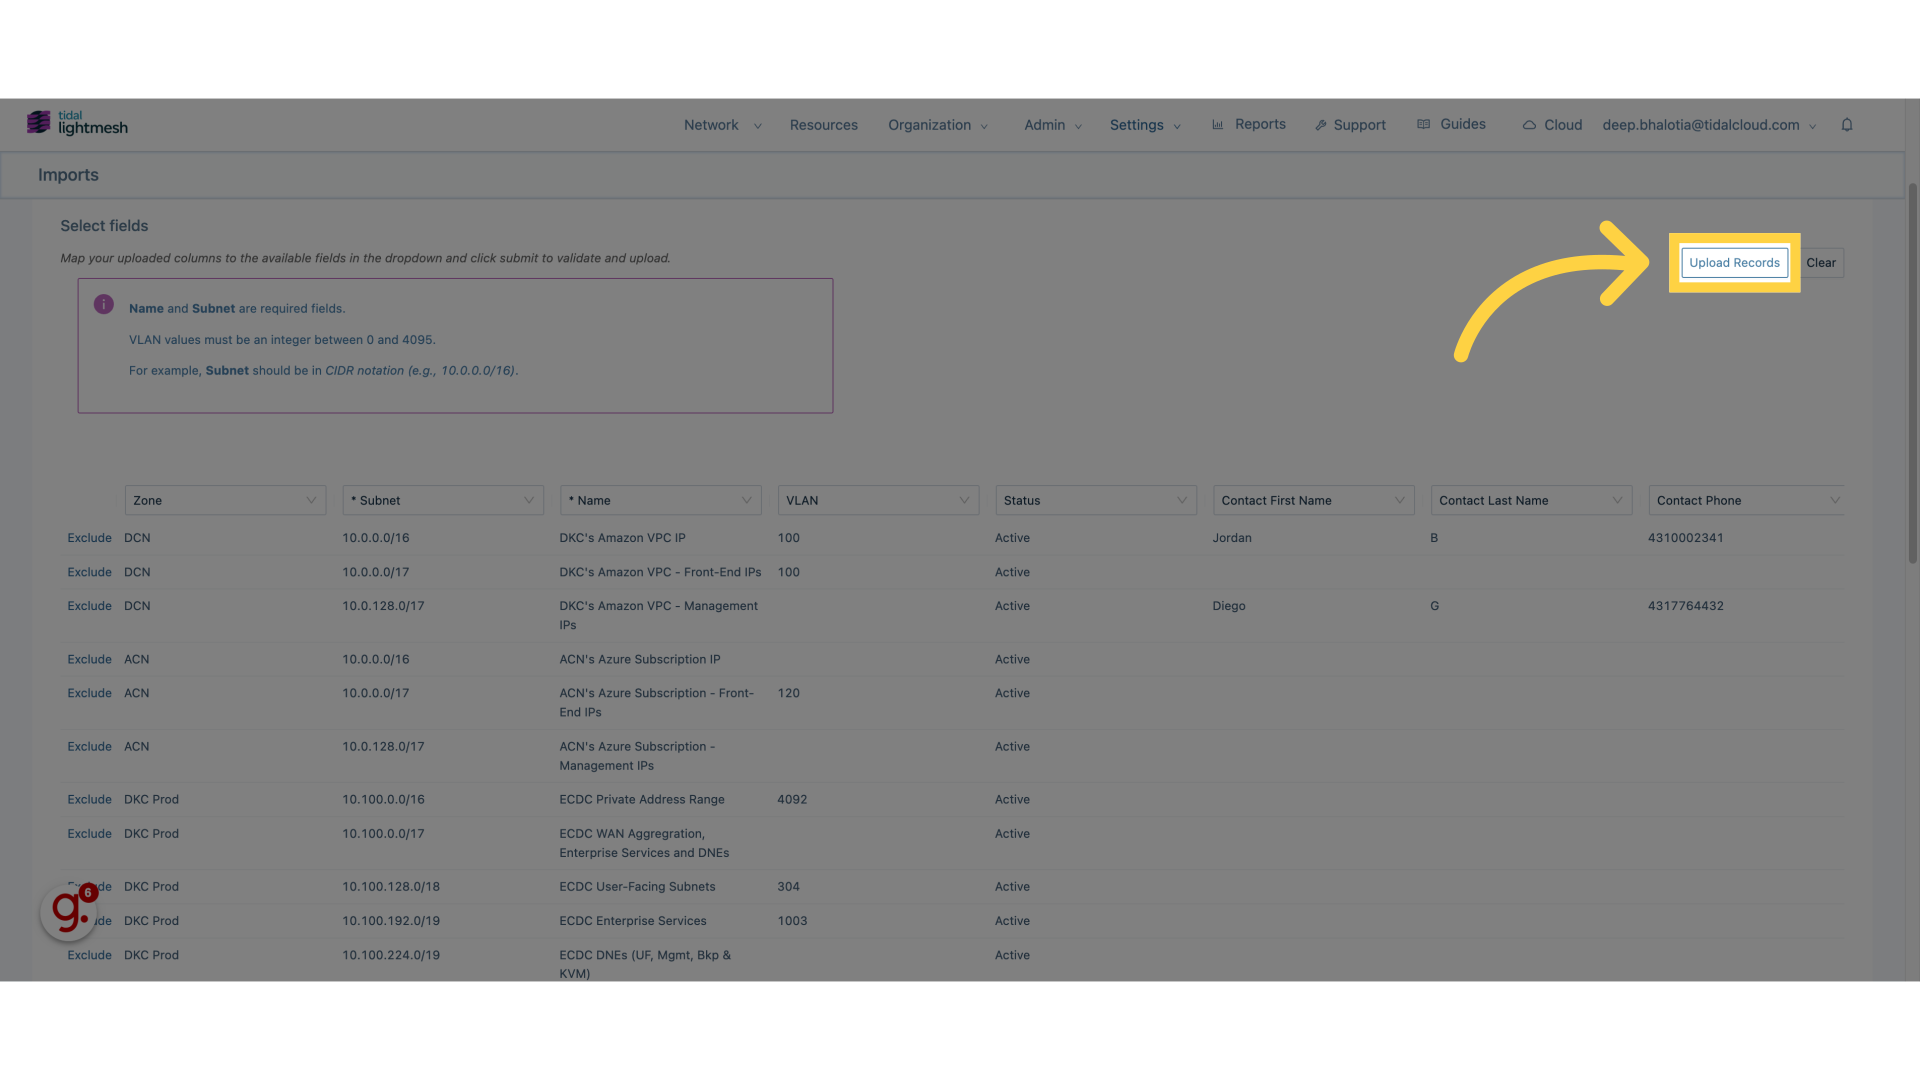
9. Click “Upload Records”
Finalize the import by uploading the records.
This guide covered the process of importing subnets using Lightmesh, including navigating to the import section, initiating a new import, selecting the file, confirming the import, choosing the file to upload, and finalizing the records upload.